It’s National CSA Week and the perfect time to talk about an oft overlooked pioneer in sustainable agriculture, Dr. Booker T. Whatley, and his contributions to the genesis of CSA in America.
The credit for the introduction of the Community Supported Agriculture (CSA) concept – which has led to over 12,000 thriving CSA farms across the country today – most often goes to either European or Japanese models that were first adopted by two farms in the U.S. in 1986 in New England.
In the mid 1960’s in Japan, an idea had blossomed from a group of women concerned with pesticide use, the increase in processed and imported foods, and the corresponding decrease in the local farm population. They called their idea “Teikei” which translates literally as partnership or cooperation, and philosophically as “food with the farmers face on it”, or face to face agriculture.
During this same period, farm cooperatives and mutually-supportive systems of agriculture were gaining popularity in Europe, largely influenced by Anthroposophy, and Rudolph Steiner’s writings on the subject.
The first CSA’s appeared in the U.S. in New England in 1986: Indian Line Farm in Massachusetts, and Temple-Wilton Community Farm in New Hampshire, both of which used the term CSA, or Community Supported Agriculture, for the first time.
But as is often the case with African American history, there is an overlooked story that tells us the credit should at the very least be shared with another pioneer whose contributions and ingenuity came years ahead of his time.
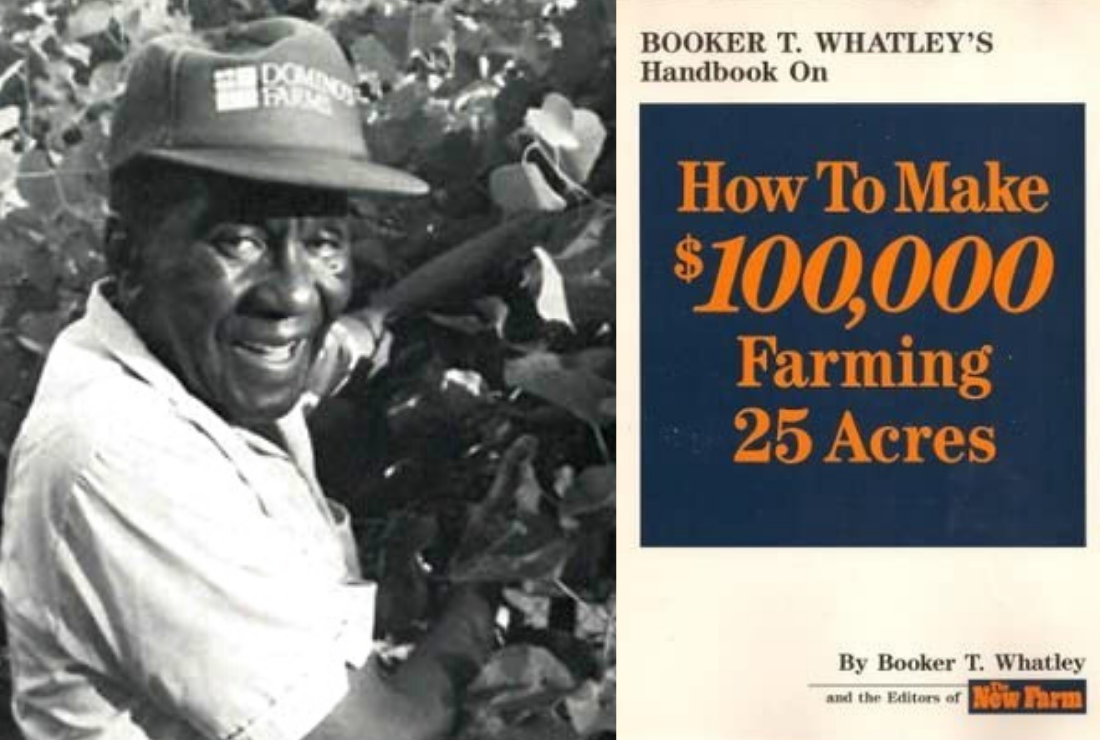
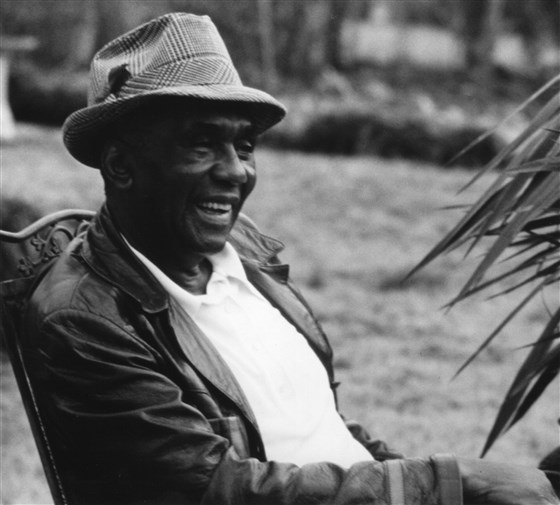
Dr. Booker T. Whatley was a prominent African American horticulturist, author and professor, born in Alabama in 1915 (d. 2005). Growing up in the South, Whatley witnessed firsthand the struggles, and subsequent decline, of black farm owners due to racist policies and land theft, and what he saw as an inability to compete with the growing industrialization of agriculture.
“Black people have largely been expelled from the US agricultural landscape. In 1920, nearly a million Black farmers worked on 41.4 million acres of land, making up a seventh of farm owners. Today, only about 49,000 of them remain, making up just 1.4 percent of the nation’s farm owners, and tending a scant 4.7 million acres—a nearly 90 percent loss.” Mother Jones, June 27, 2020
Whatley, the oldest of 12 children growing up on his family’s farm, decided to pursue a career in agriculture. He graduated from Alabama A&M University and, after serving in the Korean War where he was assigned to manage a 55-acre hydroponic farm providing food to the soldiers, he returned to get his doctorate in horticulture at Rutgers University and subsequently began his career as an agricultural professor at Tuskegee Institute (later renamed Tuskegee University).
Whatley’s in-depth work and research at Tuskegee on breeding new sweet potato varieties, small fruits (especially grapes) and honeybees eventually led to what would become a lifelong passion and devotion to helping small farmers develop efficient and financially sustainable operations.
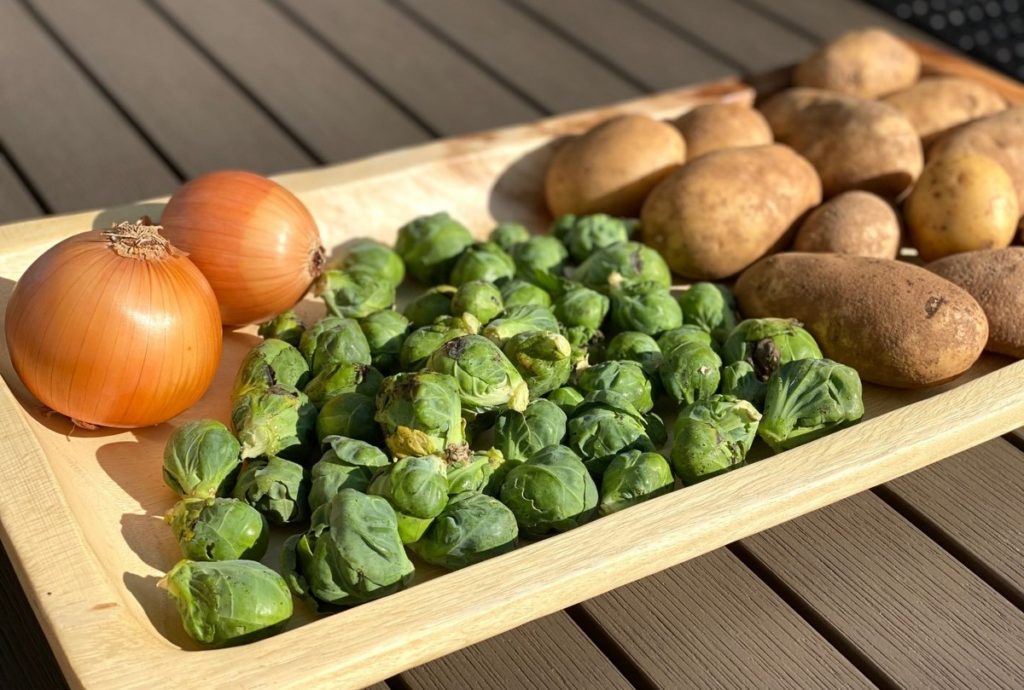
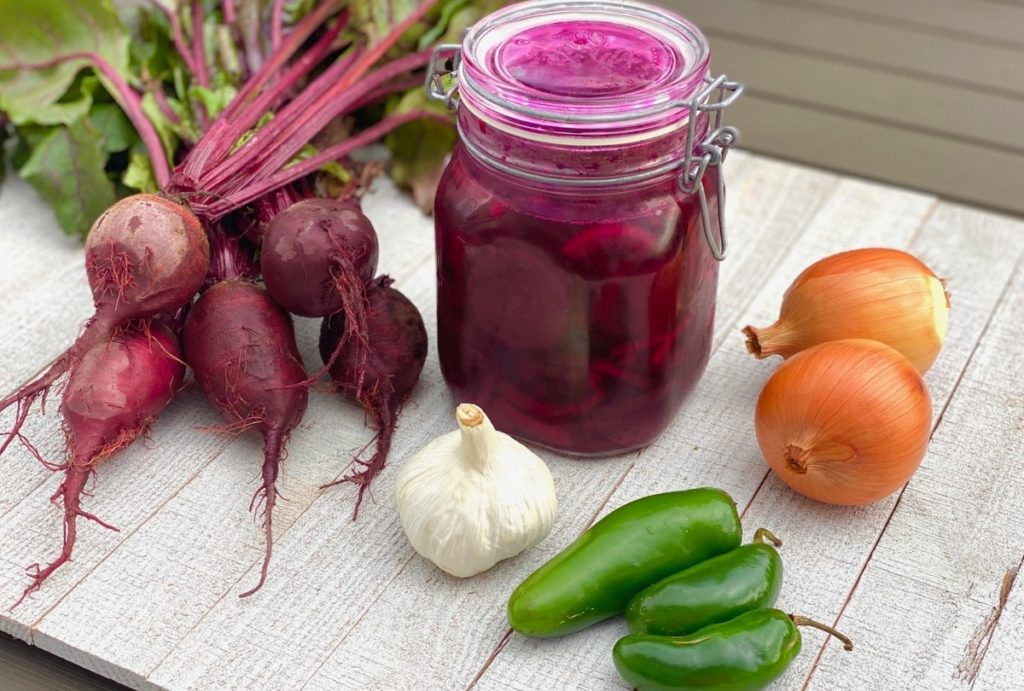
Beginning in the early 1970s, when the prevailing system was saying “get big or get out”, Whatley encouraged “smaller and smarter” as the key to success. He believed that small farms should leave the farming of commodity crops like cotton, corn and soybeans to larger industrial ag, and instead focus on a diversity of high value crops like berries and vegetables; specifically what “grows and sells well where you live”.
Whatley championed direct marketing: he recognized that the key to success didn’t just lay in growing great food, it was equally about selling it. Whatley’s innovative idea was to market to a loyal group of customer subscribers who would pay a membership fee to come to the farm to pick their own produce. He called these “clientele membership clubs”.
“The clientele membership club is the lifeblood of the whole setup. It enables the farmer to plan production, anticipate demand, and, of course, have a guaranteed market.”
This is exactly the definition and value of what we know today as CSA’s.
Whatley knew the importance of customer relationships: “after you get your customers, you’ve got to cultivate them just like you cultivate your crops.” And he had the foresight to see the value in connecting people with the experience of being on a farm.
“We’re bringing up a whole generation in this country today that don’t even know how collards or chickens are raised. So some parents see a farm visit as a wholesome and pleasant educational experience for their youngsters… one that the entire family can share. The average middle-class city person likes the chance to get out on a farm. It’s a form of entertainment, and those folks can save money while they’re having a good time.” Mother Earth News, 1982
In his advocacy for regenerative farming (soil building & health through compost, crop rotation and nitrogen fixation), Whatley was greatly influenced by another Tuskegee Institute agricultural legend who came before him, George Washington Carver.
Whatley mentored farmers to look at the farm as a whole ecosystem, “the sun, air, rain, plants, animals, people, and all the other physical resources that are within the immediate environment of every farm.”
Whatley saw small farm success as attainable, with the right focus and management. “I see farming as a business, not a lifestyle. I’m talking about a good living for the farmer, maybe even a Caribbean vacation once in a while.”
“Farmers need to spend less time on their air-conditioned tractors. What they really need is an air-conditioned office where they can do their planning, thinking, and managing”. Mother Earth News, 1982
In his book, “How to Make $100,000 Farming 25 Acres” (1987) Whatley outlined, with playful humor, his ten commandments for a successful and profitable small farm.
Thy small farm shalt:
I. Provide year-round, daily cash flow.
II. Be a pick-your-own operation.
III. Have a guaranteed market with a Clientele Membership Club.
IV. Provide year-round, full-time employment.
V. Be located on a hard-surfaced road within a radius of 40 miles of a population center of at least 50,000, with well-drained soil and an excellent source of water.
VI. Produce only what they clients demand—and nothing else!
VII. Shun middlemen and middlewomen like the plague, for they are a curse upon thee.
VIII. Consist of compatible, complementary crop components that earn a minimum of $3,000 per acre annually.
IX. Be ‘weatherproof’, at least as far as possible with both drip and sprinkler irrigation.
X. Be covered by a minimum of $250,000 worth ($1 million is better) of liability insurance.
50 years ago, Whatley’s work challenged the conventional teaching typical of the land grant university system. Whatley wrote and spoke widely around the country and the world, sharing his vision as he continued to live by his motto: “Find the Good and Praise It.” Booker T. Whatley’s innovative vision for small scale agriculture and clientele membership clubs can be found in the format of ours and so many other Community Supported Agriculture farms. His mantra of “smaller and smarter”, is still incredibly relevant and important today.
Post by Tricia Borneman, Blooming Glen farmer and co-owner. Tricia and her husband Tom have been farming together since 2000. Blooming Glen Farm is celebrating its 16th season bringing high quality certified organic vegetables, herbs, fruits and cut flowers to our local community.