


Author: bloomingglenfarm

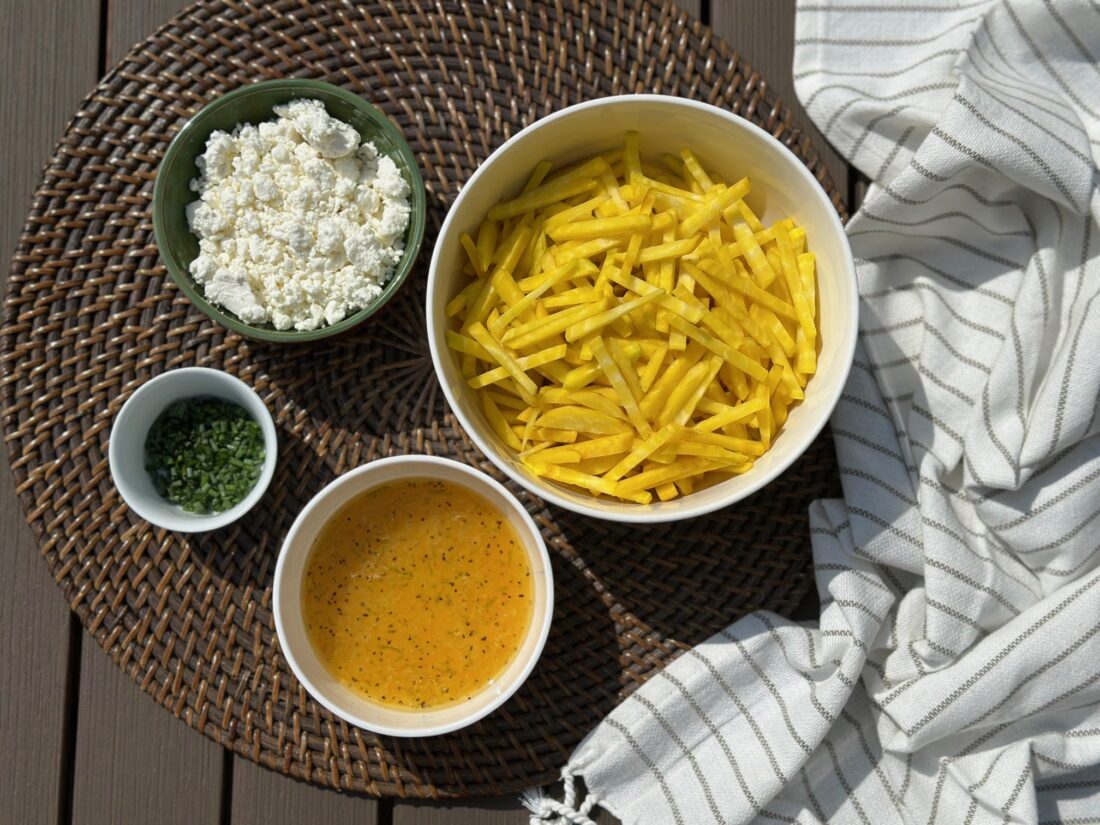
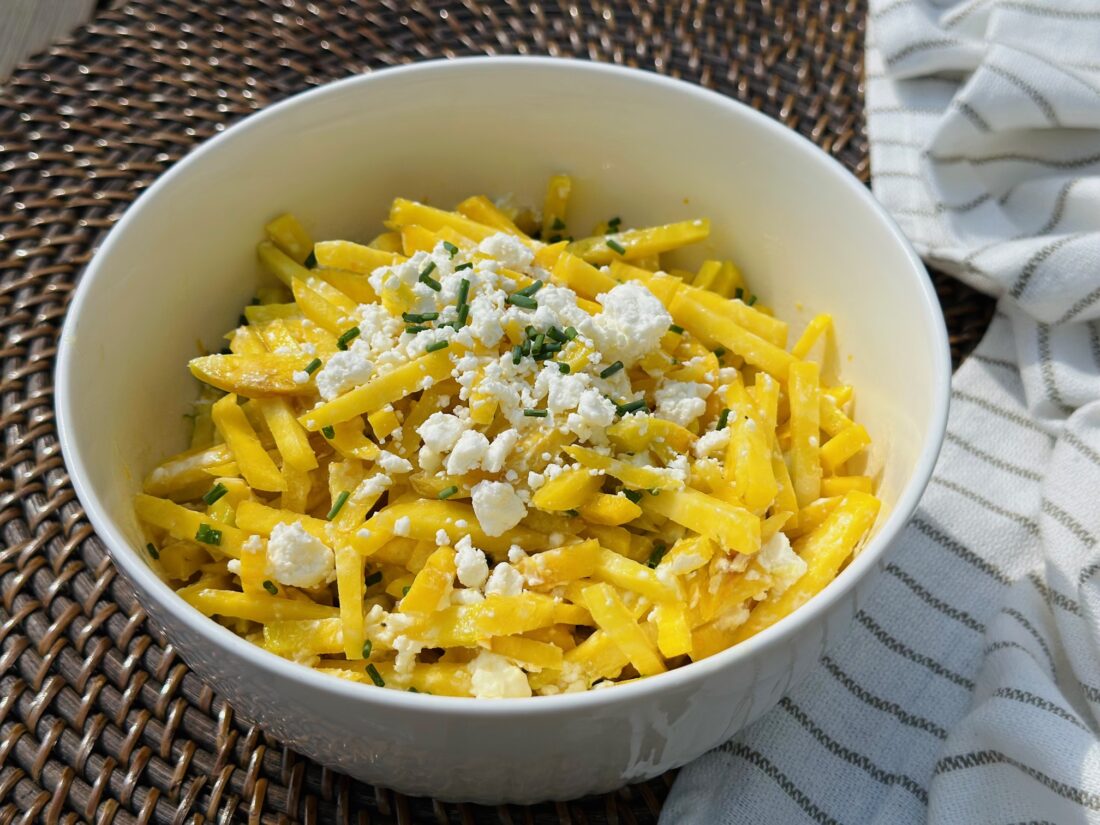
Combining freshly picked yellow wax beans with some fresh herbs, lemon, and garlic creates this delicious side dish.  It is easy, full of flavor, and sure to please any crowd.

Yellow Beans with Lemon and Herbs

Ingredients:
1 lb yellow wax beans
3 Tbsp avocado or olive oil
2-3 garlic cloves, minced
½ tsp sea salt
¼ tsp black pepper
2 Tbsp fresh herbs, finely chopped (great options- thyme, oregano, chives, basil, etc.)
½ – 1 tsp lemon zest
½ lemon juiced (about 1 Tbsp)

  • Bring a pot of salted water to a boil.
  • While the water is heating, clean and cut the stems off the beans.
  • Once the water is boiling, add the beans and boil for 3 minutes.
  • Remove the beans from the water and dry them on paper towels or a dish towel.
  • Heat the oil in a sauté pan on the stove top to medium heat. Once hot, add the beans.  Add the garlic, salt, and pepper.  Cook for 5 minutes, stirring frequently.
  • Add the fresh herbs, lemon zest, and lemon juice. Mix to combine everything.
  • Cook for 2-3 more minutes.
  • Remove from heat and serve immediately.
  • Enjoy!

Recipe and photos by Stephanie Borzio.  Stephanie is a mom of three active boys and is an autoimmune warrior.  After battling her own health for several years, Stephanie found healing through food and lifestyle changes, including joining Blooming Glen Farm CSA of which she is a long time member.  She is a Board Certified Integrative Nutrition Health Coach who is passionate about sharing healthy living tips and real food recipes.  Instagram and Facebook: Tru You Essentials; Website: www.truyouessentials.com
 

This simple summer tart is a wonderful way to celebrate ripe, farm-fresh tomatoes at their peak. The flaky puff pastry bakes into a light, crisp crust, while bright pesto adds a fresh, savory touch that makes each bite delicious.

Tomato Tart

Ingredients:
2 large tomatoes
1 package puff pastry, thawed
1 egg
1 tsp water
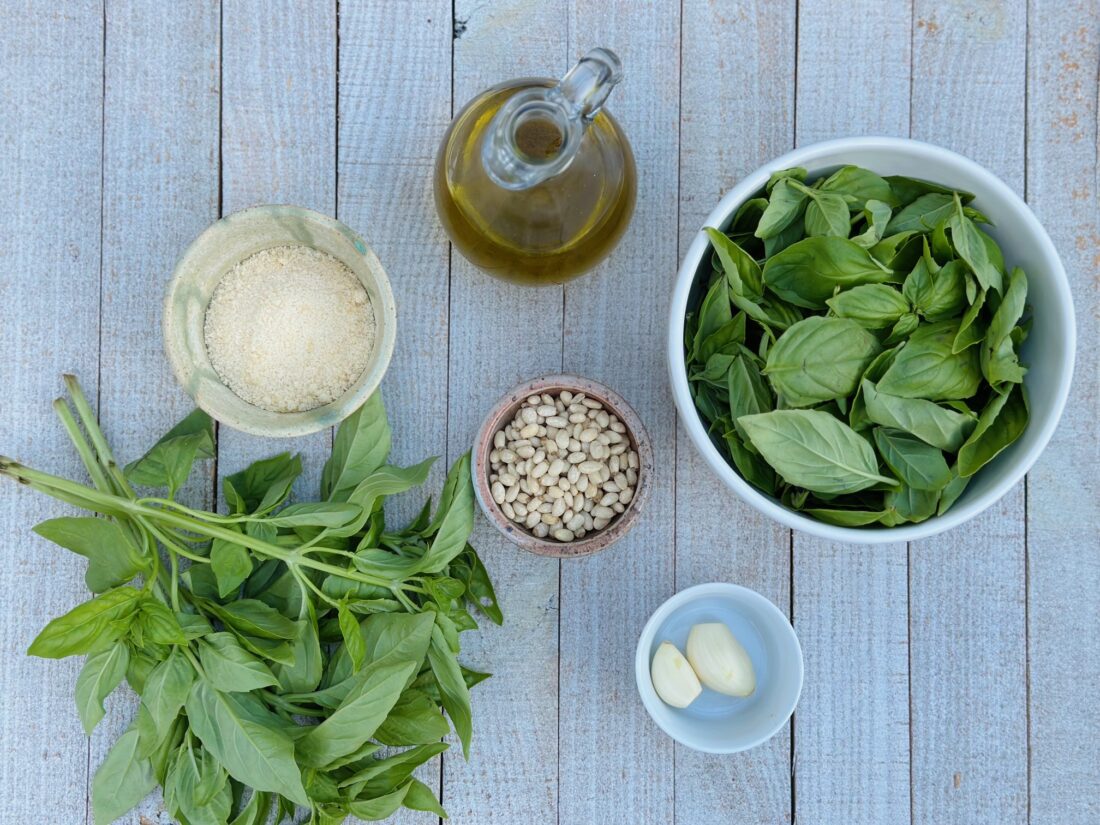
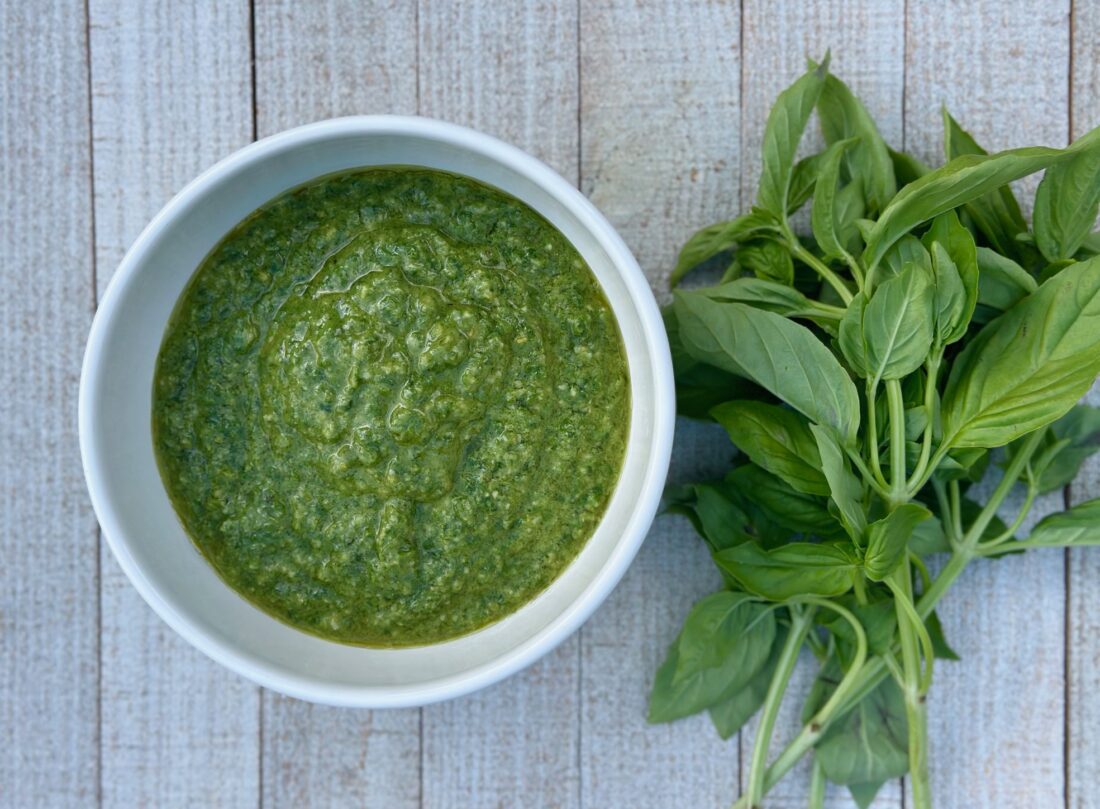
¼ cup pesto*
¼ tsp sea salt
1/8 tsp black pepper
Grated cheese, for garnish

  • Preheat the oven to 400°F.
  • Line a baking sheet with parchment paper.
  • Slice the tomatoes and lay between paper towels to remove extra moisture.
  • Roll out the puff pastry. If it is cracked from being rolled or folded in the package, you can use a little water to get it to come back together.
  • Mix the egg and water in a small bowl.
  • Brush the edges of the puff pastry with the egg. Fold the edges over about ½ inch to create an edge.

  • Brush the top of the folded edges with egg again.
  • Poke the inside of the puff pastry with a fork several times. Bake for 10 minutes.
  • Remove from oven and top the puff pastry with the slices of tomato and dollops of pesto. Sprinkle with salt and pepper.
  • Bake for an additional 10 minutes or until the crust is lightly browned.
  • Remove and garnish with grated cheese.
  • Enjoy!

*You can use any kind of pesto.  Use this PDF for a guide on pesto making- Recipe Formulas.

Recipe and photos by Stephanie Borzio.  Stephanie is a mom of three active boys and is an autoimmune warrior.  After battling her own health for several years, Stephanie found healing through food and lifestyle changes, including joining Blooming Glen Farm CSA of which she is a long time member.  She is a Board Certified Integrative Nutrition Health Coach who is passionate about sharing healthy living tips and real food recipes.  Instagram and Facebook: Tru You Essentials; Website: www.truyouessentials.com
Sweet, juicy summer watermelon pairs beautifully with the fresh bitter bite of dandelion greens in this recipe.  This simple dish is easy, flavorful, and perfect for warm weather meals.

Watermelon and Dandelion Greens Salad

Ingredients:
2 slices of watermelon (yellow or red), 1 inch thick each
½ bunch dandelion greens
1 small torpedo onion or 2 scallions, thinly sliced
½ cup crumbled feta or goat cheese

Dressing Ingredients:
2 limes, juiced
3 Tbsp avocado or olive oil
2 tsp honey
½ tsp sea salt
1/8 tsp black pepper

  • Take each slice of watermelon and cut it into a circle using a circle cookie cutter.
  • Place dandelion greens in ice water. Soak from 10- 30 min to help reduce some bitterness.  Remove and dry.
  • Finely chop the greens and place them in a medium bowl.
  • Add the onion or scallions and the cheese to the greens.
  • In a small bowl, combine the dressing ingredients. Mix well and pour over the produce.  Toss to coat.
  • Place the watermelon circle on a plate. Top with half of the dressed dandelion greens.  Repeat for the other watermelon circle.
  • Enjoy!

Recipe and photos by Stephanie Borzio.  Stephanie is a mom of three active boys and is an autoimmune warrior.  After battling her own health for several years, Stephanie found healing through food and lifestyle changes, including joining Blooming Glen Farm CSA of which she is a long time member.  She is a Board Certified Integrative Nutrition Health Coach who is passionate about sharing healthy living tips and real food recipes.  Instagram and Facebook: Tru You Essentials; Website: www.truyouessentials.com
The beautiful and flavorful yellow watermelon makes the best base for this summer sunshine mocktail.  It is the perfect thirst-quenching drink for a warm summer day.

Watermelon Mocktail

Ingredients *This recipe makes 4 drinks.*:

2 cups yellow watermelon, cubed
¼ cup honey
¼ cup hot water
1 can of garbanzo beans
4 limes
Ice
Optional- 1 cup sparkling water

  • Blend watermelon cubes and strain.
  • Make honey syrup by combining hot water and honey. Honey should be fully dissolved in the water.
  • Strain the garbanzo beans and reserve them for another use. The liquid that is strained is called aquafaba- that is what you will use in this recipe. Aquafaba, or the brine of chickpeas, is a unique mix of plant proteins and starches, that mimics egg whites and can be whipped into a foam
  • In a cocktail shaker, combine ½ cup watermelon juice, 2-3 tsp honey syrup, juice of 1 lime, 2 Tbsp aquafaba, and ice. Shake well for at least 30 seconds.
  • Strain into a glass and garnish with a piece of watermelon. You can also add ¼ cup sparkling water into the glass before straining the watermelon mixture.
  • Enjoy!

Recipe and photos by Stephanie Borzio.  Stephanie is a mom of three active boys and is an autoimmune warrior.  After battling her own health for several years, Stephanie found healing through food and lifestyle changes, including joining Blooming Glen Farm CSA of which she is a long time member.  She is a Board Certified Integrative Nutrition Health Coach who is passionate about sharing healthy living tips and real food recipes.  Instagram and Facebook: Tru You Essentials; Website: www.truyouessentials.com
Ground cherries, those delicious golden fruits in a papery husk, pair beautifully with oatmeal, adding a bright, sweet-tart flavor that makes this baked dish feel both hearty and fresh.

Ground Cherry Baked Oatmeal

Ingredients:
1 cup ground cherries, husked and cut in half
3 cups rolled oats- check out organically grown and milled fresh Morganics Family Farm Rolled Oats (grown in NJ) sold by Blooming Glen Farm!
2 tsp baking powder
1 tsp sea salt
1 tsp cinnamon
1 cup milk (can use dairy free also)
2 eggs
½ cup maple syrup
¼ cup butter or coconut oil, melted
1 tsp vanilla

Ground Cherry Maple Drizzle-
½ cup maple syrup
½ cup ground cherries, peeled and cut in half

  • Preheat oven to 375°F.
  • Combine oats, baking powder, sea salt, and cinnamon in medium bowl.
  • In large bowl, combine milk, eggs, maple syrup, melted butter, and vanilla.
  • Add the dry ingredients to the wet ones and mix well. Fold in ground cherries.
  • Place in a greased 8 x 8 baking dish.
  • Bake for 30 minutes covered. Uncover and bake an additional 5-10 minutes.
  • While the baked oatmeal is cooking, make the maple drizzle.
    • Combine the maple syrup and ground cherries in a small pot. Heat on low.  Simmer for 5 minutes.  Let cool for 5 minutes and then blend.
  • Once the baked oatmeal is done, serve in bowls and top with maple drizzle.
  • Enjoy!

Recipe and photos by Stephanie Borzio.  Stephanie is a mom of three active boys and is an autoimmune warrior.  After battling her own health for several years, Stephanie found healing through food and lifestyle changes, including joining Blooming Glen Farm CSA of which she is a long time member.  She is a Board Certified Integrative Nutrition Health Coach who is passionate about sharing healthy living tips and real food recipes.  Instagram and Facebook: Tru You Essentials; Website: www.truyouessentials.com
 

Sugar cube cantaloupes from the farm are one of summer’s sweetest treats, with their juicy texture and naturally bright flavor. This simple recipe turns ripe cantaloupe into smooth, refreshing frozen popsicles that are perfect for cooling off on a hot day. With just a few ingredients and minimal prep, you can enjoy a wholesome homemade dessert that lets the fresh melon flavor shine.

Cantaloupe Popsicles

Ingredients:
1 sugar cube cantaloupe
¼ cup coconut milk
1 tsp vanilla
2 Tbsp honey (optional)*

  • Prepare cantaloupe. Cut in half, remove seeds, peel the skin, and cube the flesh of the cantaloupe.
  • Combine cantaloupe cubes, coconut milk, and vanilla in blender.


*If you would like a sweeter popsicle, you can add 2 Tbsp of honey to the blender also.  I prefer to leave this out and let the sweetness of the cantaloupe shine!

  • Blend all ingredients until you get a nice smooth texture. Pour the mixture into your favorite popsicle molds.
  • Freeze overnight.
  • Once fully frozen, remove from molds and enjoy!

Recipe and photos by Stephanie Borzio.  Stephanie is a mom of three active boys and is an autoimmune warrior.  After battling her own health for several years, Stephanie found healing through food and lifestyle changes, including joining Blooming Glen Farm CSA of which she is a long time member.  She is a Board Certified Integrative Nutrition Health Coach who is passionate about sharing healthy living tips and real food recipes.  Instagram and Facebook: Tru You Essentials; Website: www.truyouessentials.com

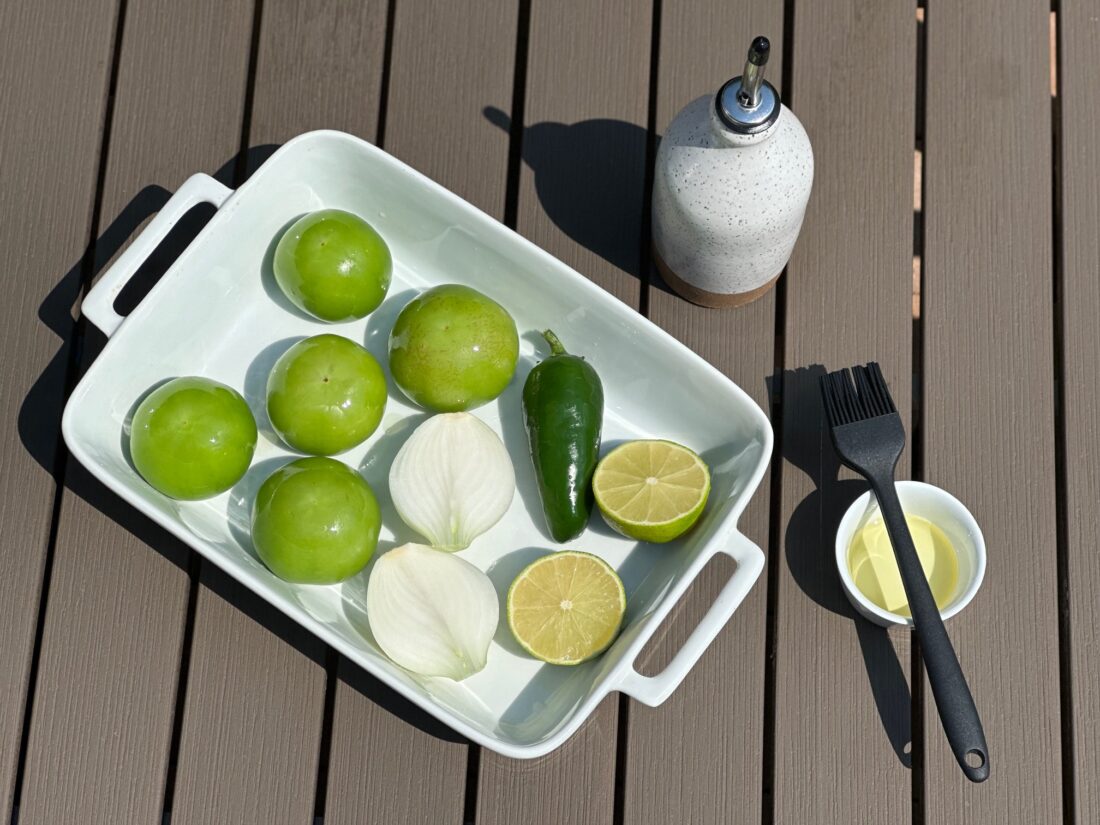
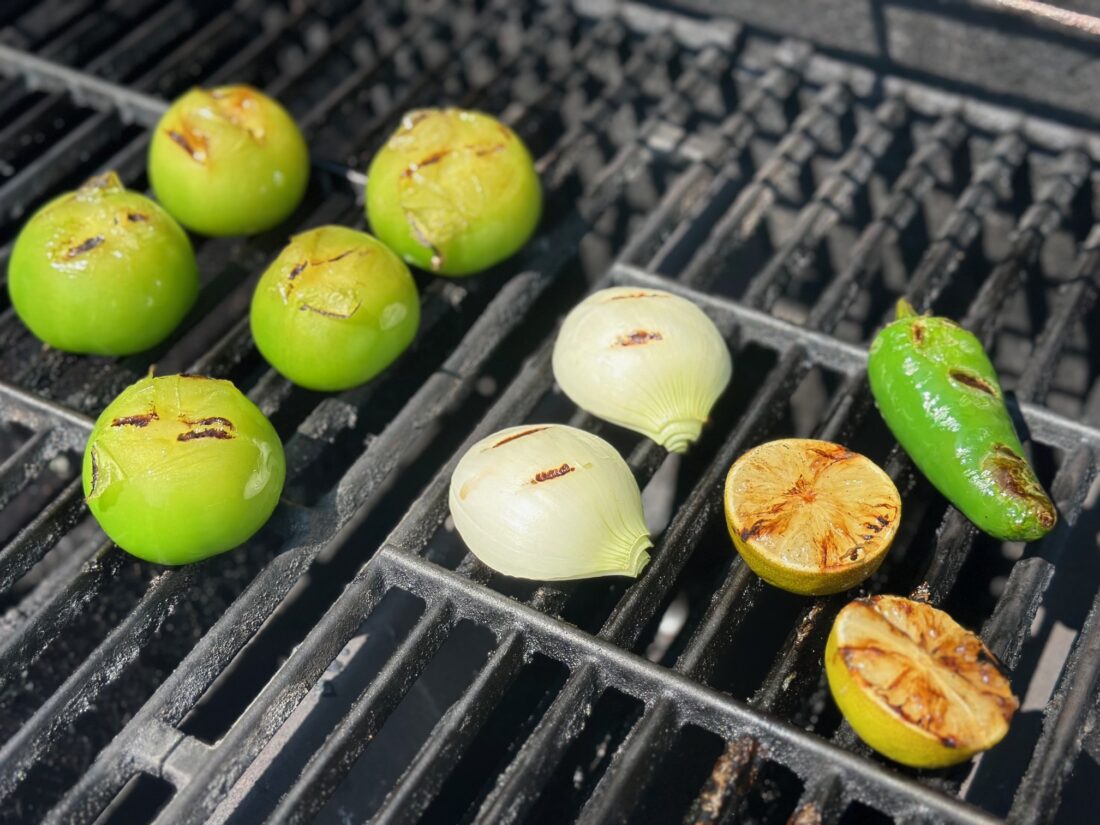
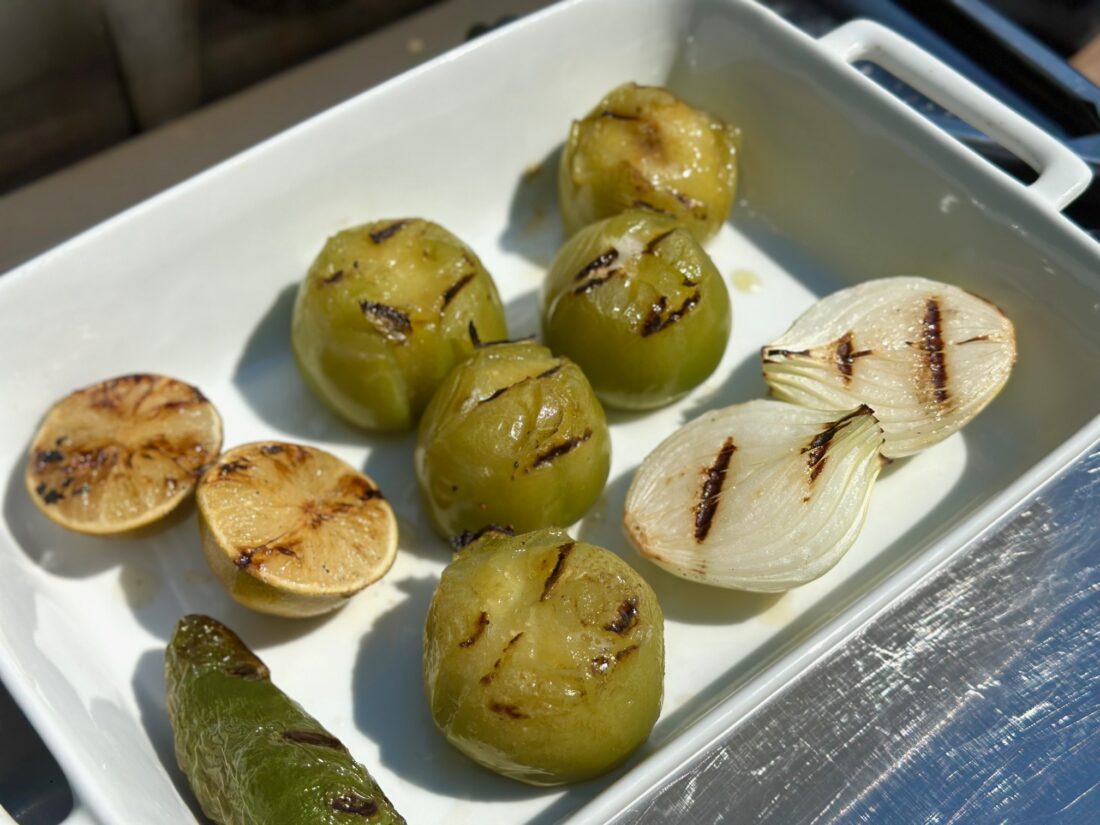
This simple summer soup brings together tomatillos, onions, garlic, peppers, and cilantro for a bright, fresh flavor. The vegetables are roasted, then pureed into a smooth, delicious soup that can be served warm or chilled.

Tomatillo Soup

Ingredients:
9-10 tomatillos, husks removed and quartered
2 medium onions, quartered
2 cloves garlic, peeled
2 green bell or Cubanelle peppers, seeds/stems removed and quartered
Optional: up to 1 hot pepper (seeds and membranes removed if you want less heat)
2 Tbsp olive or avocado oil
1 tsp sea salt
½ tsp black pepper
1/3 cup cilantro leaves, unpacked
1 lime, juiced
1 cup broth (vegetable or chicken)
Fresh cilantro and sour cream for garnish

  • Preheat oven to 375°F.
  • Prepare all produce and place the tomatillos, onion, garlic, and peppers on a large baking sheet. Drizzle on the oil.  Sprinkle with salt and pepper.  Toss to coat.
  • Bake for 25 minutes.
  • Place roasted vegetables and all of the juices in a blender. Add cilantro, lime juice, and broth.
  • Puree on high until the texture is smooth and all ingredients are well blended.
  • Serve warm or chilled.
  • Garnish with fresh cilantro and/or sour cream.
  • Enjoy!

Recipe and photos by Stephanie Borzio.  Stephanie is a mom of three active boys and is an autoimmune warrior.  After battling her own health for several years, Stephanie found healing through food and lifestyle changes, including joining Blooming Glen Farm CSA of which she is a long time member.  She is a Board Certified Integrative Nutrition Health Coach who is passionate about sharing healthy living tips and real food recipes.  Instagram and Facebook: Tru You Essentials; Website: www.truyouessentials.com
 

This refreshing, easy recipe highlights the best of summer produce—crisp cucumbers, juicy tomatoes, peppers, garlic, and fresh cilantro—for a colorful dish that is both bright and flavorful. Light citrus juice brings everything together, creating a vibrant shrimp ceviche that works beautifully as an appetizer, snack, or simple dish to share.

Shrimp Ceviche

Ingredients:
12 oz uncooked shrimp, peeled and deveined*
4 limes, juiced*
3 lemons, juiced*
½ large cucumber
1 large tomato
1 green bell or Cubanelle pepper
2 cloves fresh garlic
½ medium onion
¼ cup packed cilantro leaves
½ jalapeno pepper
1 tsp sea salt
½ tsp black pepper

  • Chop up the shrimp into small pieces and place in a medium glass bowl.
  • Juice the limes and lemons into a bowl. Strain to remove any seeds.  You should end up with about 1 cup of liquid.
  • Pour the juice over the raw shrimp, making sure it completely covers the shrimp, and allow it to marinate for 20 minutes.
  • While the shrimp is marinating, prepare all the other produce.
    • Cucumber- peel, remove seeds, and chop
    • Tomato- chop and strain to remove juices
    • Pepper- remove stem and seeds, dice
    • Garlic- mince
    • Onion- finely chop
    • Cilantro- finely chop
    • Jalapeno- remove seeds and finely dice
  • Place all produce in a large bowl.
  • Once the shrimp is done marinating, it should be pink in color. Add it, along with the juice, to the large bowl.  Add the salt and pepper.  Mix to combine everything.
  • Allow to sit for 10 minutes before serving.
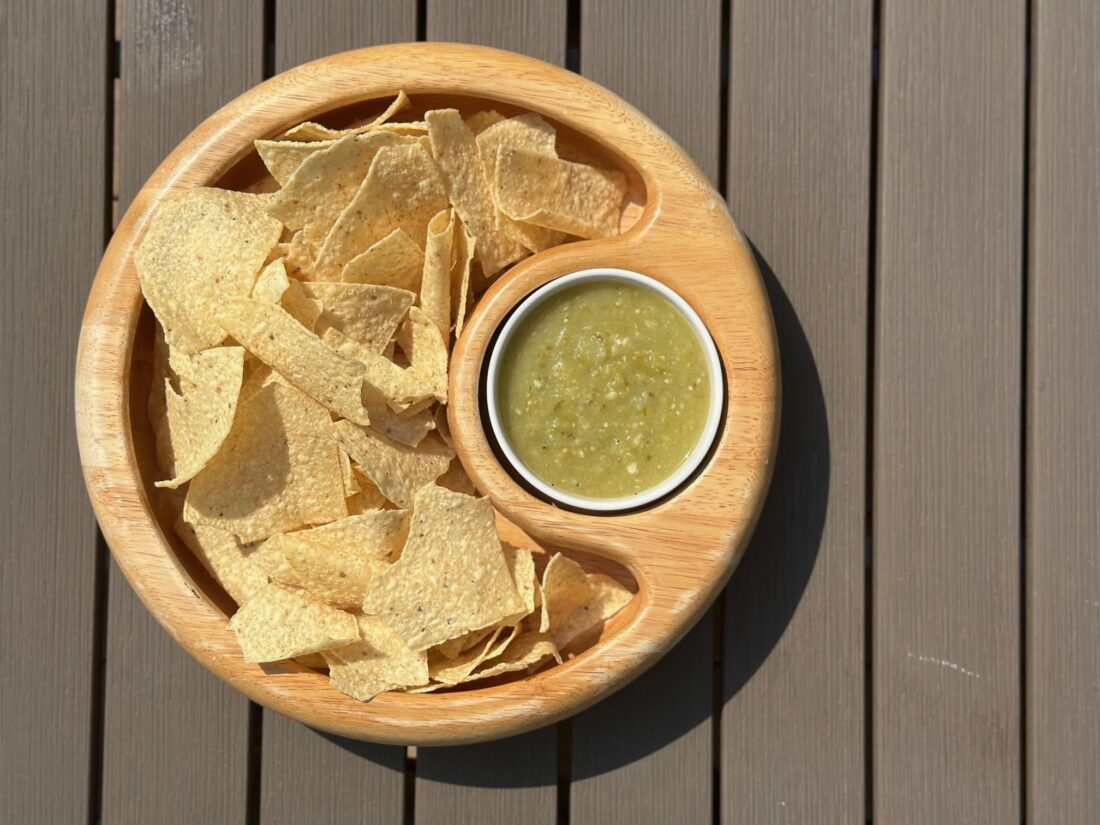
  • Serve with tortilla chips.
  • Enjoy!

*Shrimp ceviche can be a delicious and refreshing dish, but it’s essential to be aware of the potential risks associated with consuming raw seafood. If you would like to use cooked shrimp, reduce the lemon and lime juice by half.  You can skip the step of marinating the shrimp.  Just add everything to a large bowl and mix to combine. OR see below, from https://www.chefsresource.com/faq/is-shrimp-ceviche-safe-to-eat/ :

*What is the safest way to prepare ceviche shrimp?

The safest way to enjoy ceviche is to blanch the shrimp in boiling water before the “curing” process. By quickly poaching the shrimp until they are just opaque, you eliminate the risk of pathogens while maintaining the snap and texture that defines a great ceviche.

Follow these steps for a safer preparation:

  1. Bring a pot of water to a rolling boil.
  2. Drop the shrimp in for 60 to 90 seconds until they curl into a “C” shape.
  3. Immediately plunge the shrimp into an ice bath to stop the cooking.
  4. Toss the chilled, par-cooked shrimp into your citrus marinade.


Recipe and photos by Stephanie Borzio.  Stephanie is a mom of three active boys and is an autoimmune warrior.  After battling her own health for several years, Stephanie found healing through food and lifestyle changes, including joining Blooming Glen Farm CSA of which she is a long time member.  She is a Board Certified Integrative Nutrition Health Coach who is passionate about sharing healthy living tips and real food recipes.  Instagram and Facebook: Tru You Essentials; Website: www.truyouessentials.com
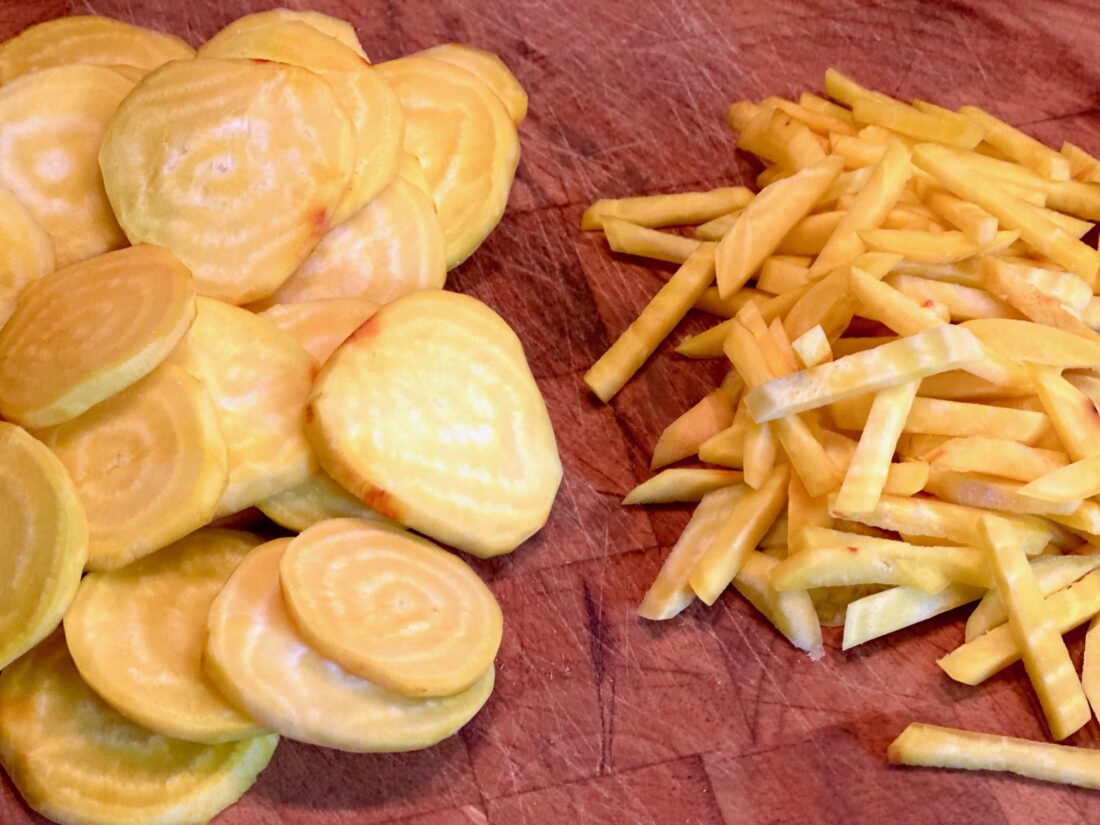
 

Tender sautéed Swiss chard, savory onion and garlic, and gently baked eggs come together in this simple, flavorful dish.  It a delicious meal that pairs beautifully with crisp toast, roasted new potatoes, or your favorite breakfast side.

Swiss Chard Baked Eggs

Ingredients:
2 Tbsp olive oil or avocado oil
1 sweet onion (bulb and tops), finely chopped
2 cloves fresh garlic, minced
1 bunch Swiss chard, chopped
½ tsp sea salt
¼ tsp black pepper
¼ tsp smoked paprika
4 eggs
1 Tbsp fresh parsley, finely chopped

  • Preheat oven to 375°F.
  • Heat oil in large frying pan. Reduce heat to medium.
  • Add onion and garlic. Cook for 2 minutes.
  • Add Swiss chard, salt, pepper, and smoked paprika. Mix and cook for 3 more minutes.
  • Place cooked chard mixture in a baking dish. I used an 8×11 inch dish that worked well.
  • Create 4 wells in the chard mixture using the bottom of a small cup or the back of a spoon.
  • Place one egg in each well. Sprinkle each egg with a pinch of salt, pepper, and smoked paprika.

  • Bake for 10-14 minutes until eggs are cooked to your liking.
  • Remove from oven and garnish with fresh parsley.

  • Serve immediately.
  • Enjoy!

Recipe and photos by Stephanie Borzio, Blooming Glen Farm CSA Coach.  Stephanie is a mom of three active boys and is an autoimmune warrior.  After battling her own health for several years, Stephanie found healing through food and lifestyle changes, including joining Blooming Glen Farm CSA of which she is a long time member.  She is a Board Certified Integrative Nutrition Health Coach who is passionate about sharing healthy living tips and real food recipes.  Instagram and Facebook: Tru You Essentials; Website: www.truyouessentials.com
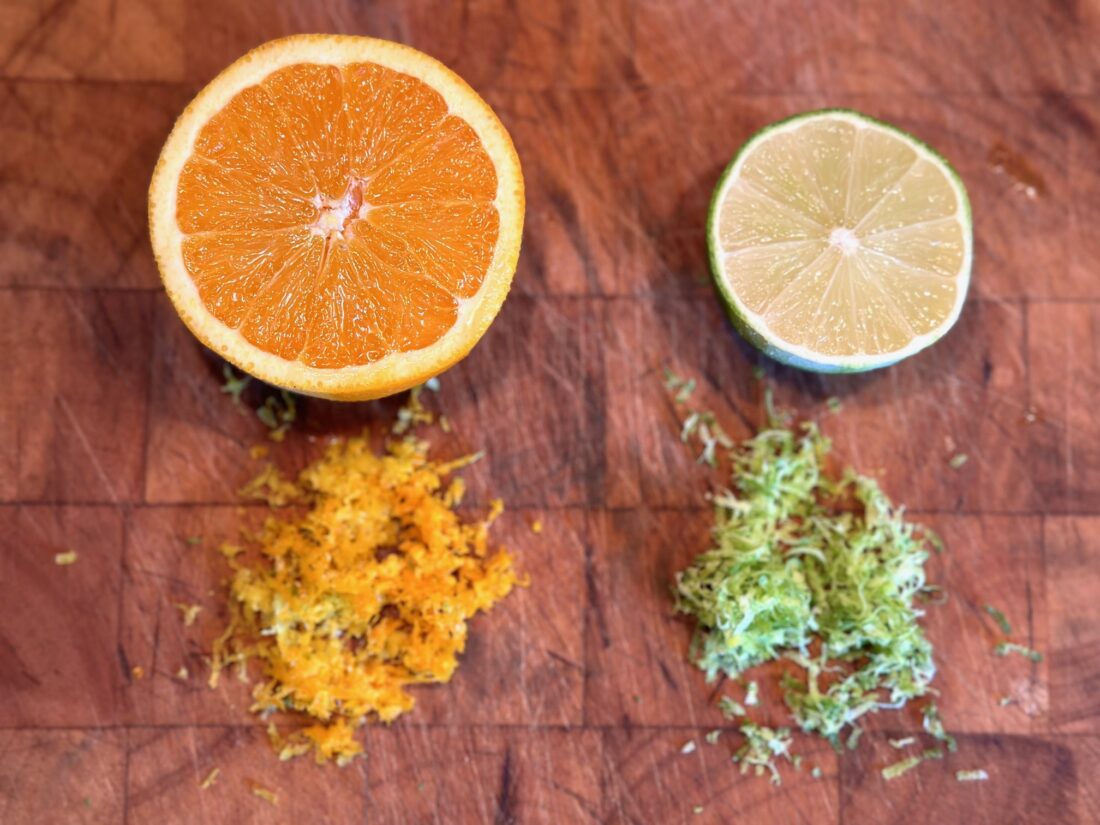
Fresh-picked summer squash takes center stage in this bright, flavorful appetizer. Served warm over creamy ricotta with toasted bread on the side, it is a simple dish for family meals, casual entertaining, or any summer gathering.

Sauteed Summer Squash over Ricotta

Ingredients:
6 Tbsp olive or avocado oil (divided)
3 garlic scapes, finely chopped or 2 garlic cloves, minced
4 scallions, finely chopped
3 cups summer squash, cubed into ½ inch pieces
¾ tsp sea salt
½ tsp red pepper flakes
1 lemon, juiced (divided)
1 baguette or similar loaf of bread
16 oz ricotta

  • Heat 3 Tbsp oil in large pan over medium heat.
  • Add garlic scapes and scallions and cook for 2 minutes.
  • Add summer squash, salt, red pepper flakes, and juice from half a lemon. Cook for about 7 minutes.
  • Continue to stir while cooking. Squash should be slightly browned when done.
  • While squash is cooking, slice bread. Place on a large baking sheet.  Brush with the remaining 3 Tbsp of oil.  Broil in oven until lightly toasted.
  • Spread ricotta on a platter. Top with warm squash mixture.  Squeeze the other half of lemon over top.
  • Serve with toasted bread.
  • Enjoy!

Recipe and photos by Stephanie Borzio, Blooming Glen Farm CSA Coach.  Stephanie is a mom of three active boys and is an autoimmune warrior.  After battling her own health for several years, Stephanie found healing through food and lifestyle changes, including joining Blooming Glen Farm CSA of which she is a long time member.  She is a Board Certified Integrative Nutrition Health Coach who is passionate about sharing healthy living tips and real food recipes.  Instagram and Facebook: Tru You Essentials; Website: www.truyouessentials.com