18 Jul Grilled Salsa Verde
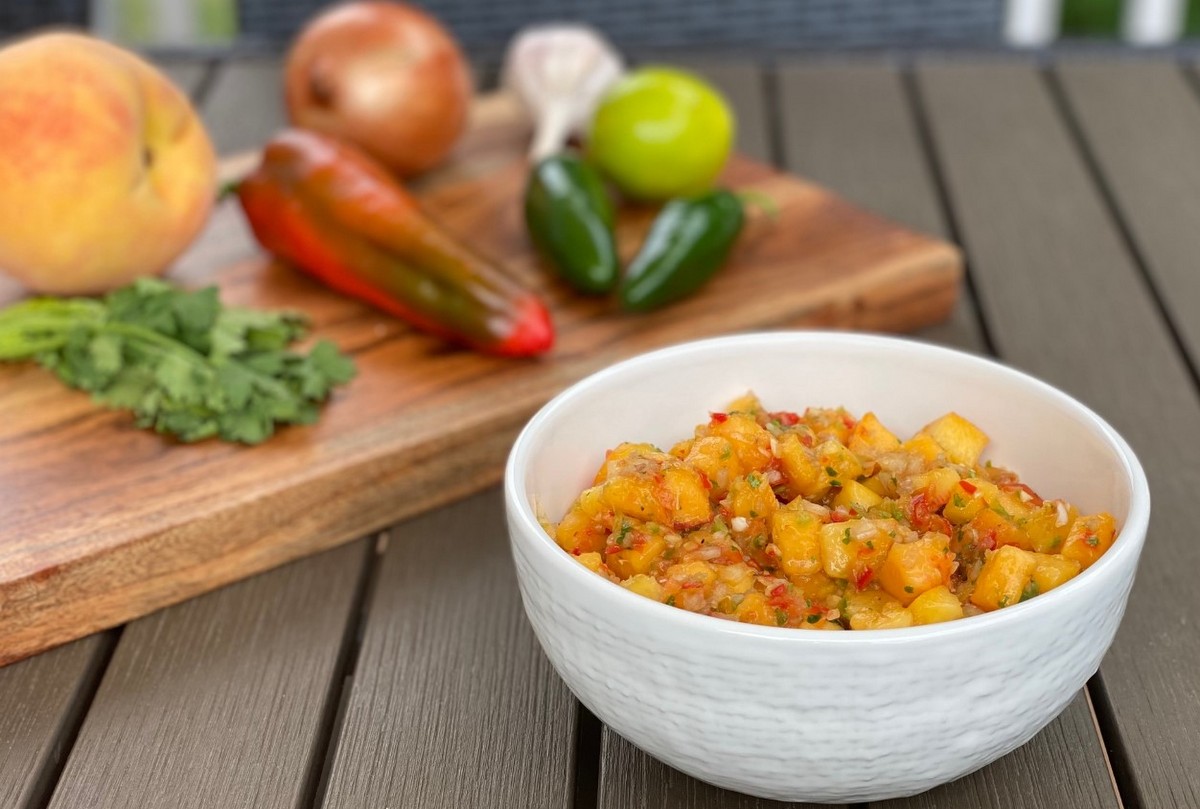
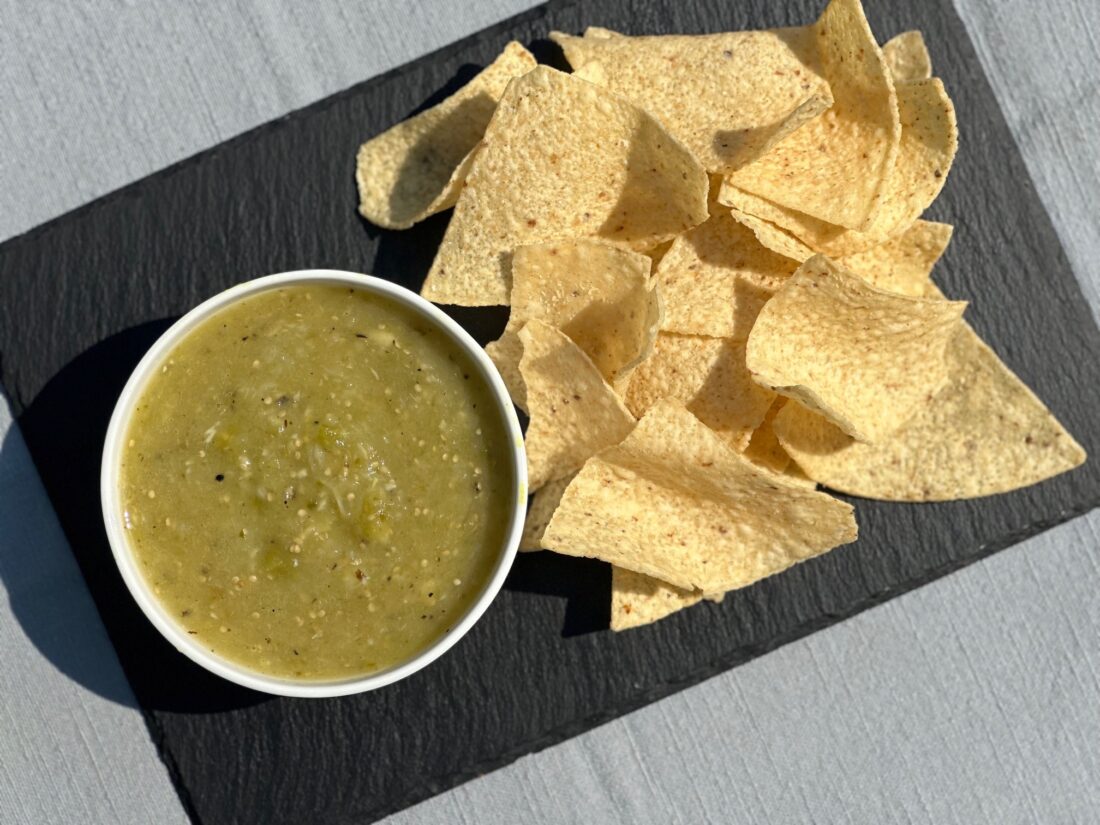
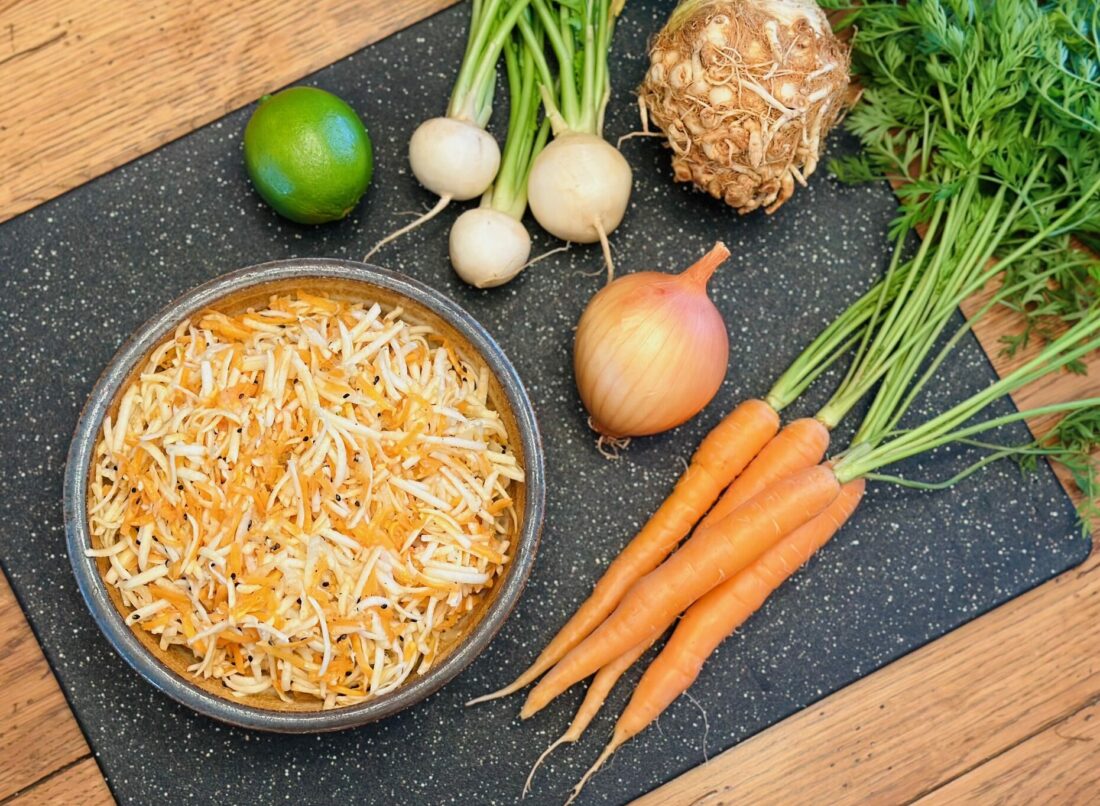
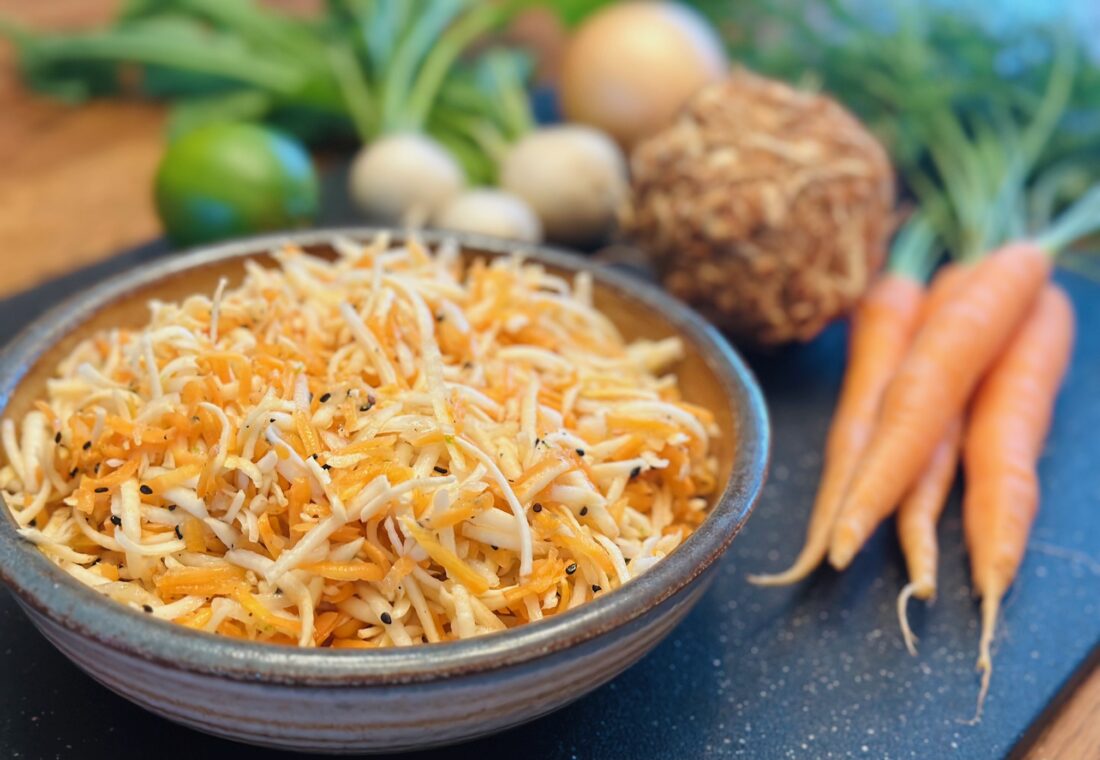
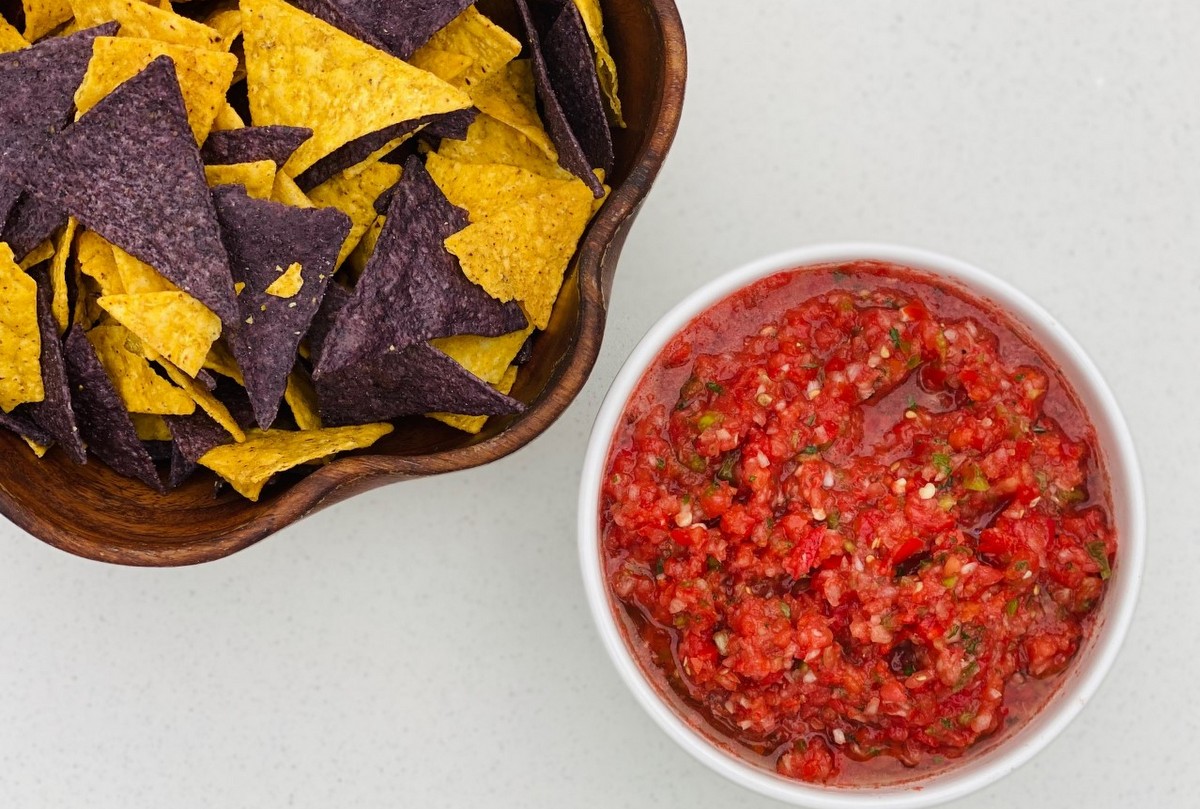
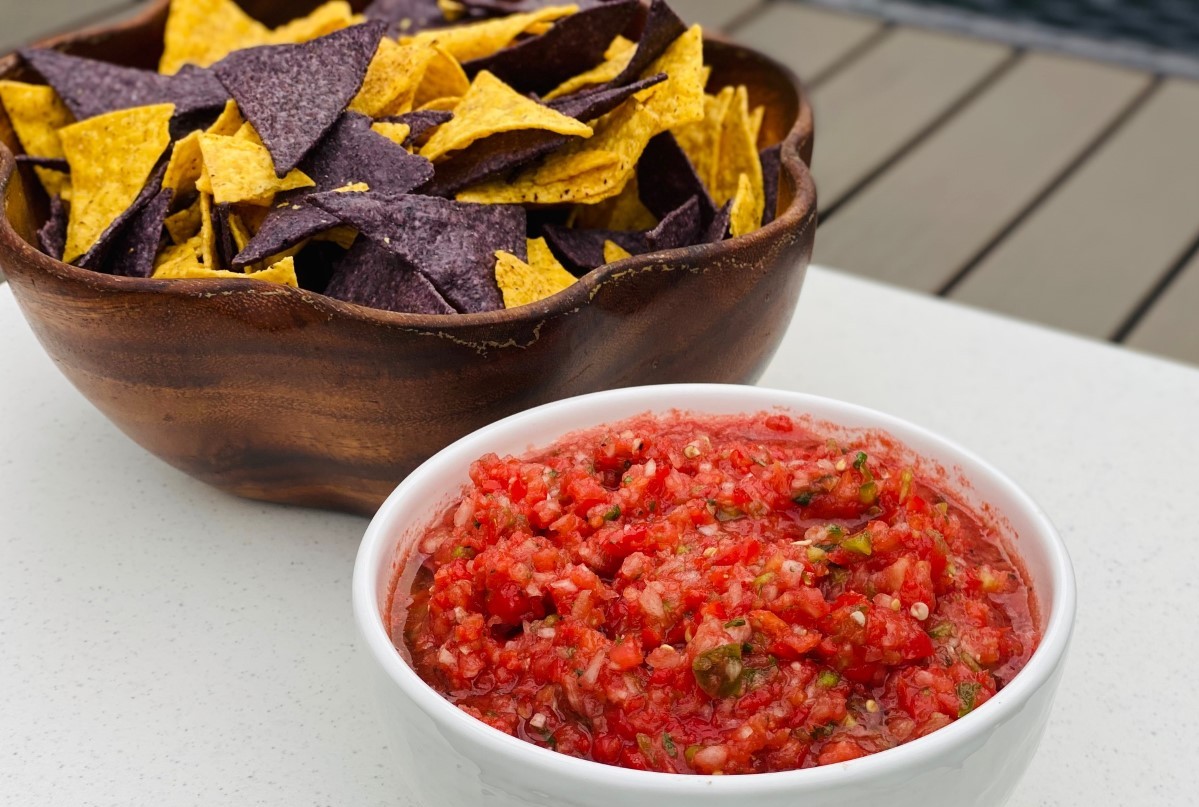
This grilled tomatillo salsa is the first thing I make when tomatillos are in season. It is fresh and easy. Salsa verde is delicious as a dip with chips, served atop a Mexican inspired rice bowl, tacos or burritos, or even on breakfast eggs.
Grilled Salsa Verde
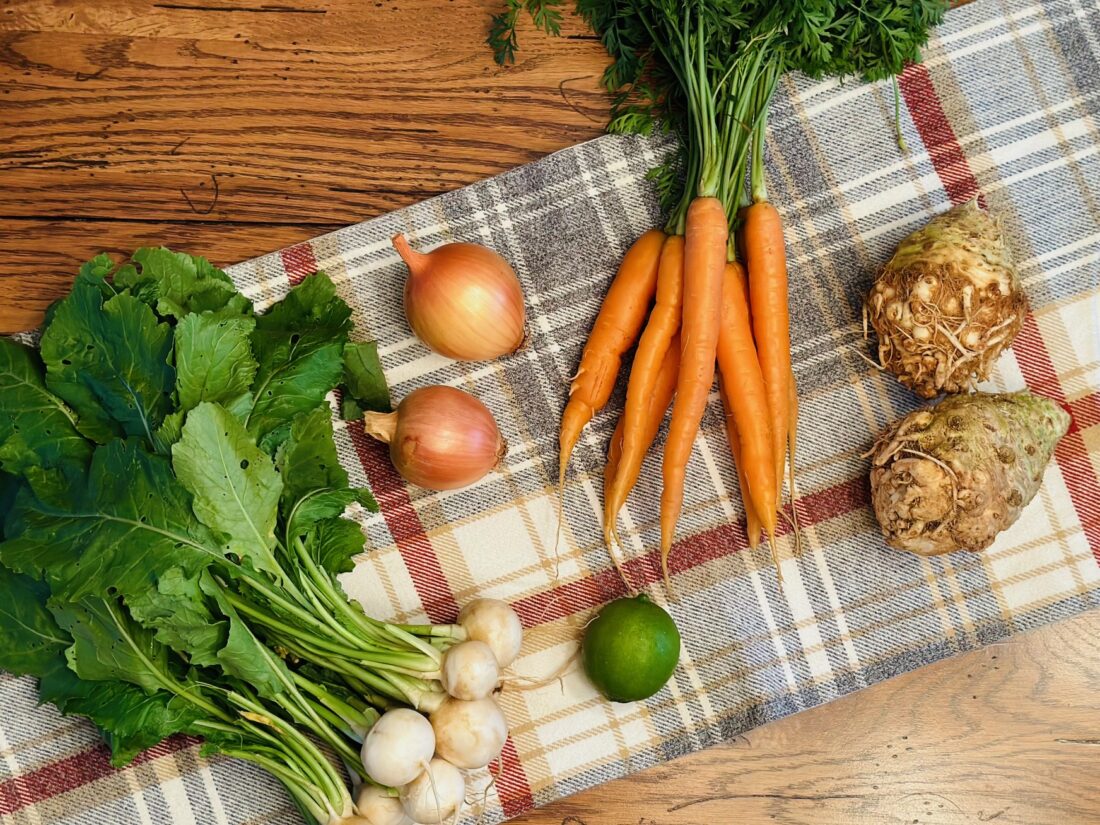
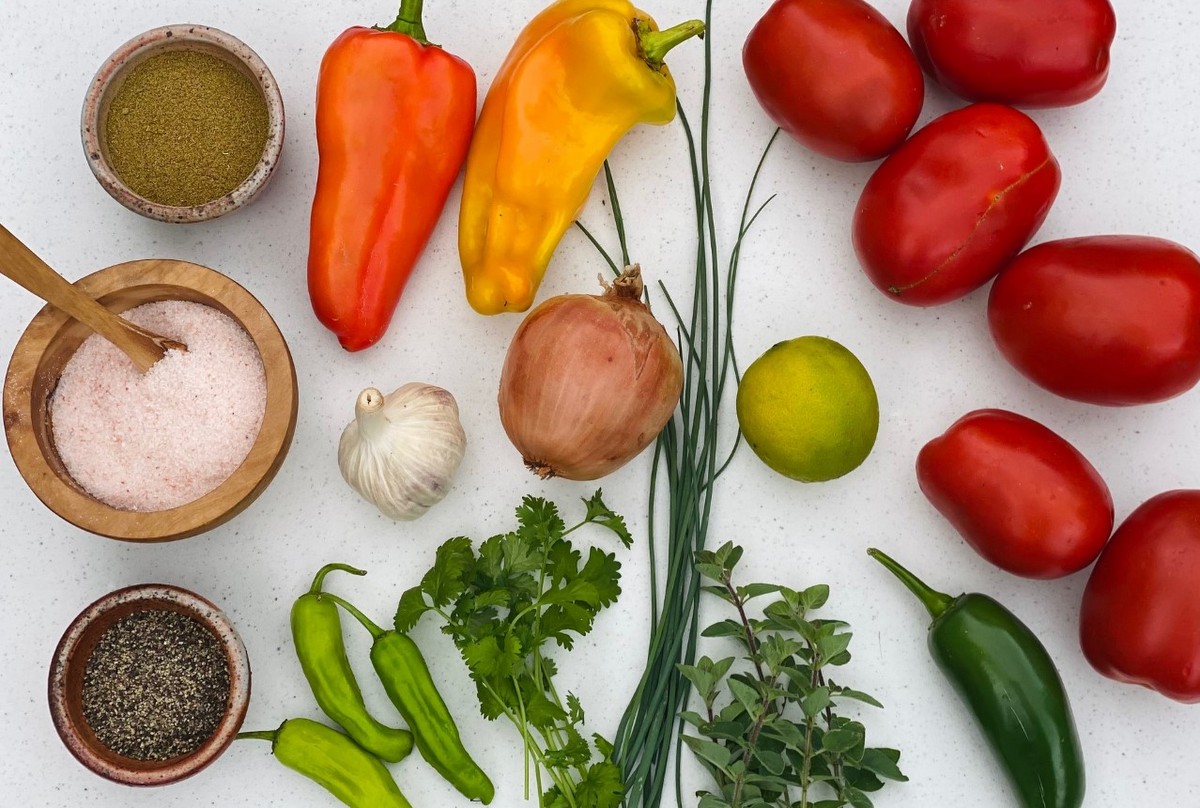
Ingredients:
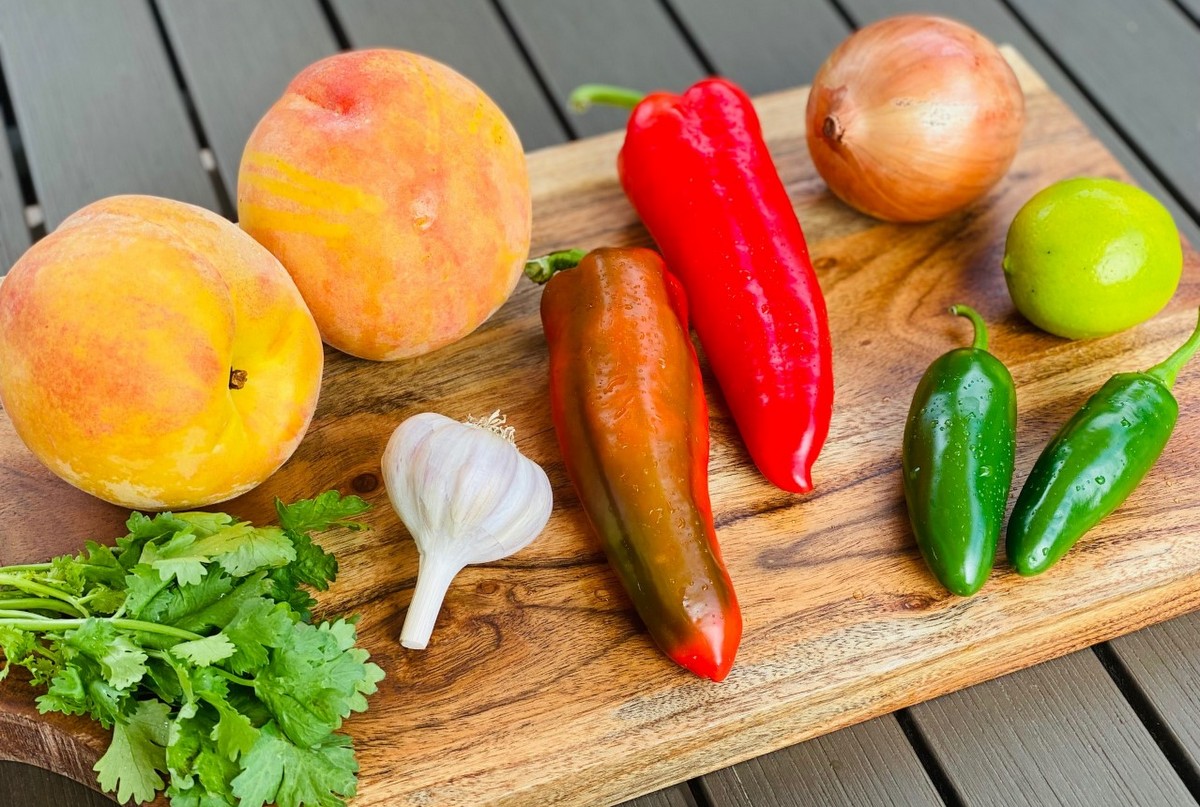
5-6 medium tomatillos
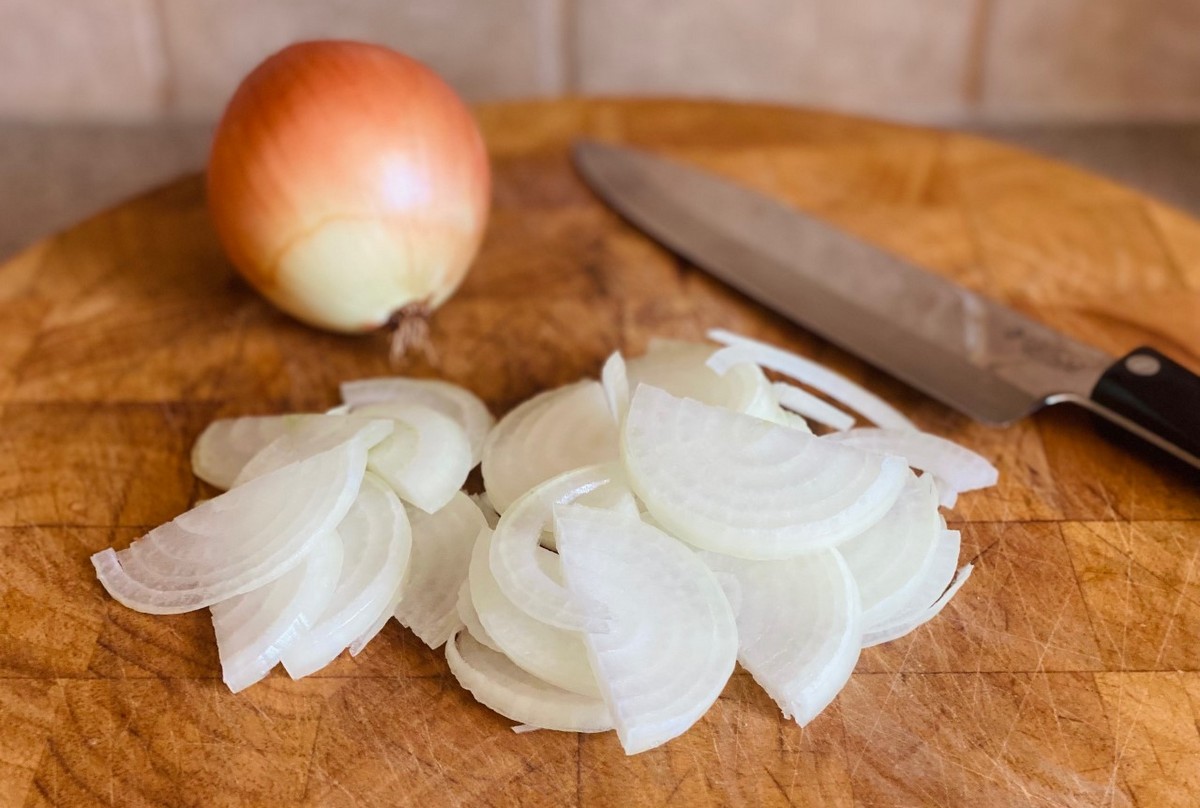
1 large onion or 2 torpedo onions (bulb only)
1 lime
1 jalapeno pepper (or hot pepper of choice)
1-2 Tbsp olive oil
1 clove garlic
½ tsp sea salt
¼ tsp black pepper
4 sprigs fresh cilantro (optional)
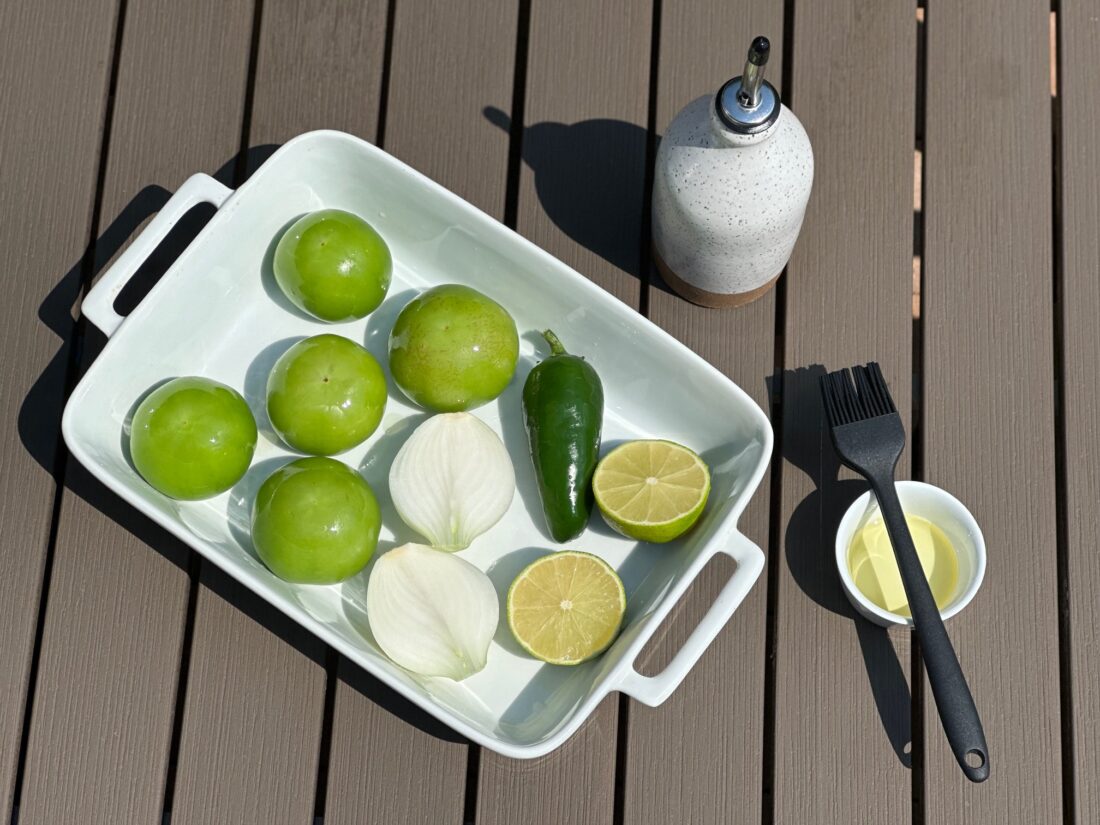
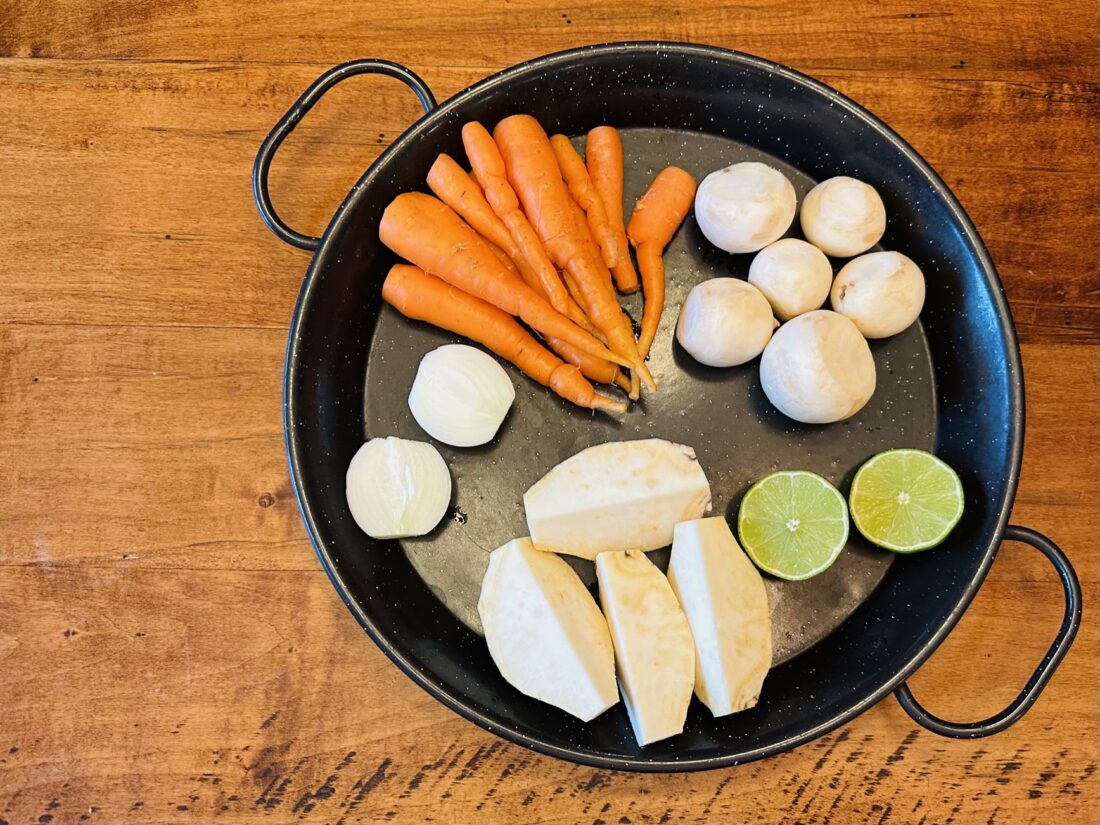
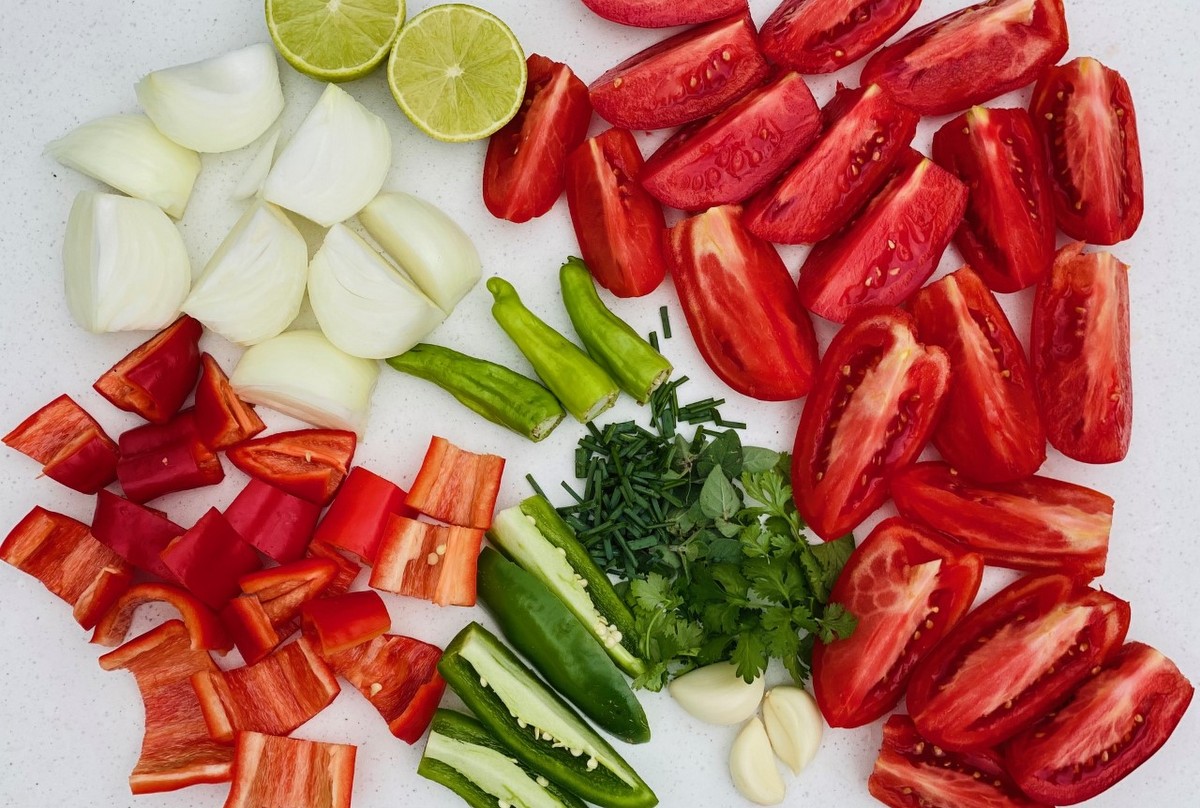
- Remove husks from tomatillos. Cut onions and lime in half. Leave tomatillos and hot pepper whole.
- Brush tomatillos, onions, lime, and hot pepper with oil.
- Preheat grill. Turn to low and place produce on grill.
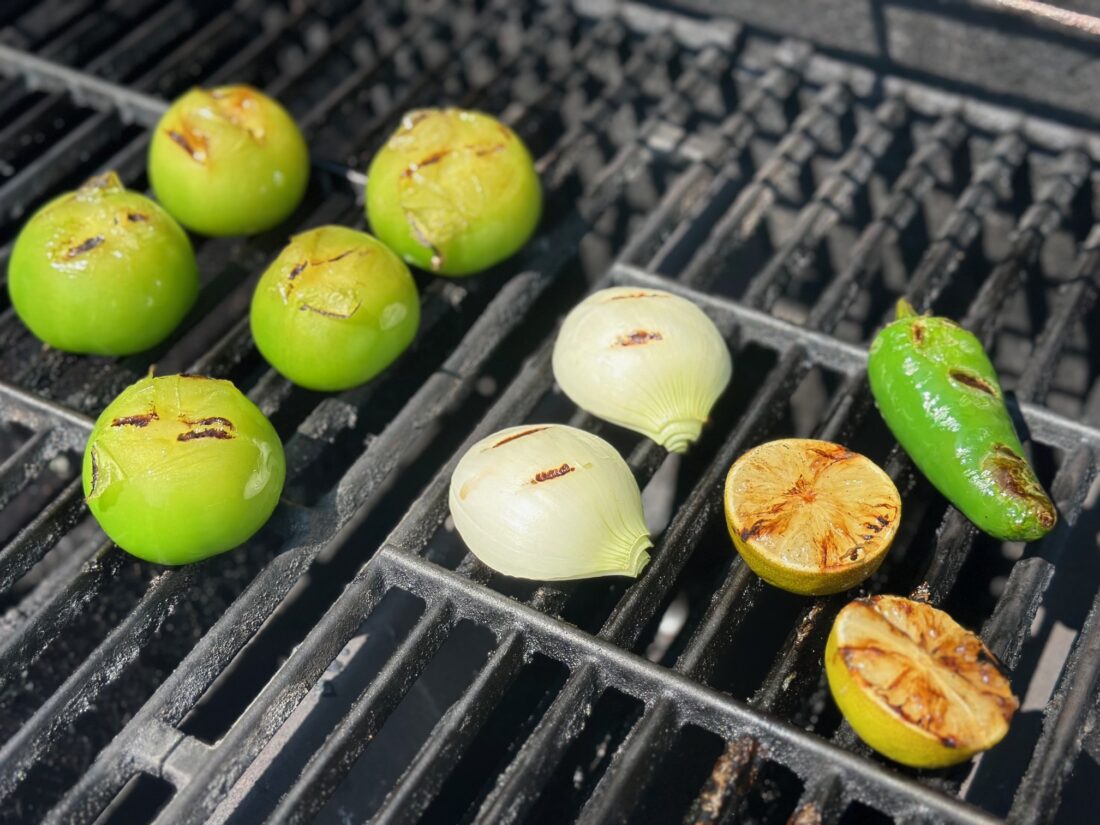
- Cook for 4 minutes and then flip. Cook for an additional 4 minutes and then remove from heat.
- Let cool.
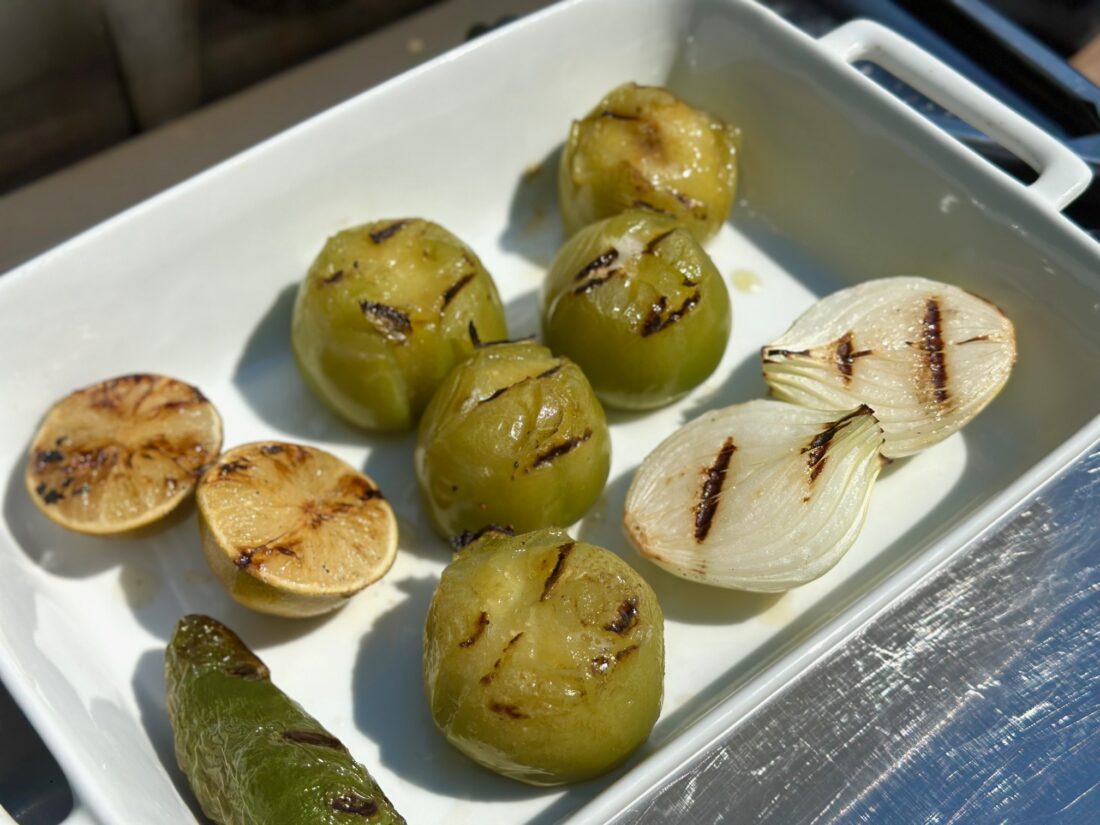
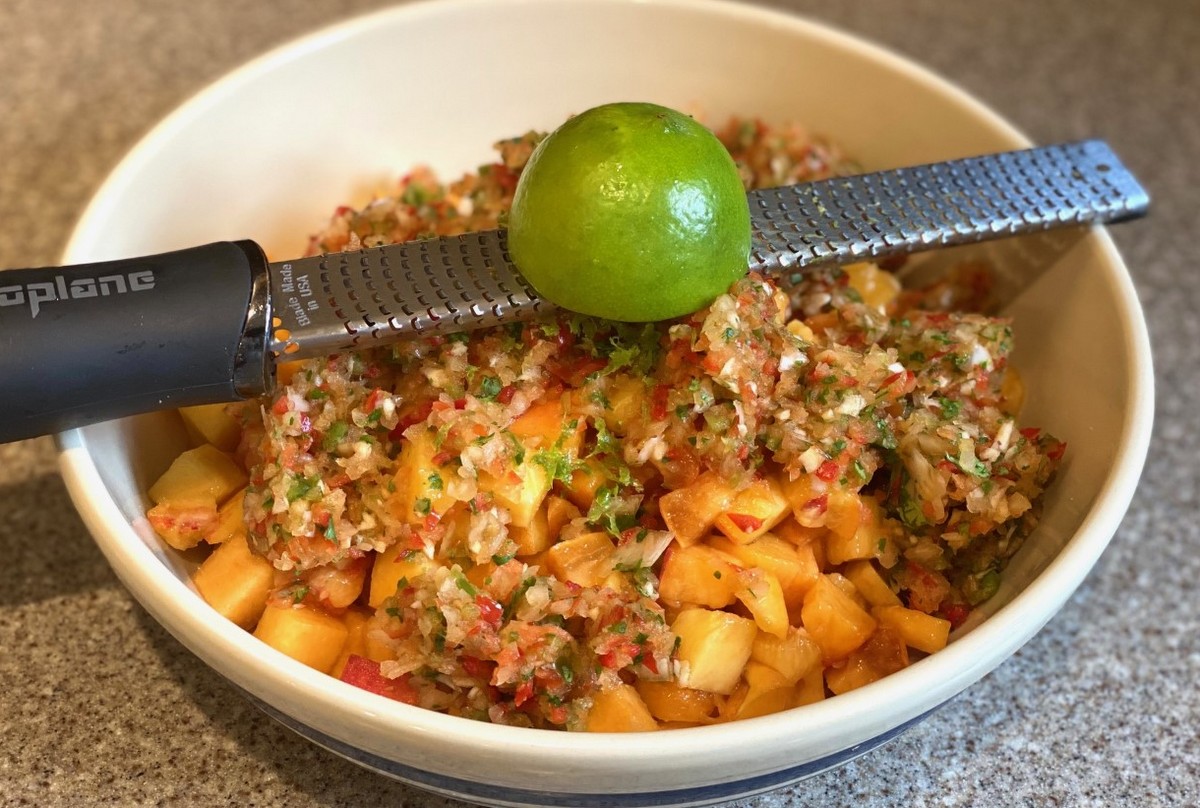
- Place the grilled tomatillos and grilled onions in the blender (or food processor).
- Remove the stem and seeds from the hot pepper. Add the whole pepper to the blender or only half if you want less spice.
- Squeeze the juice from the lime halves into the blender.
- Add the garlic clove, salt, pepper, and cilantro (if using) to the blender.
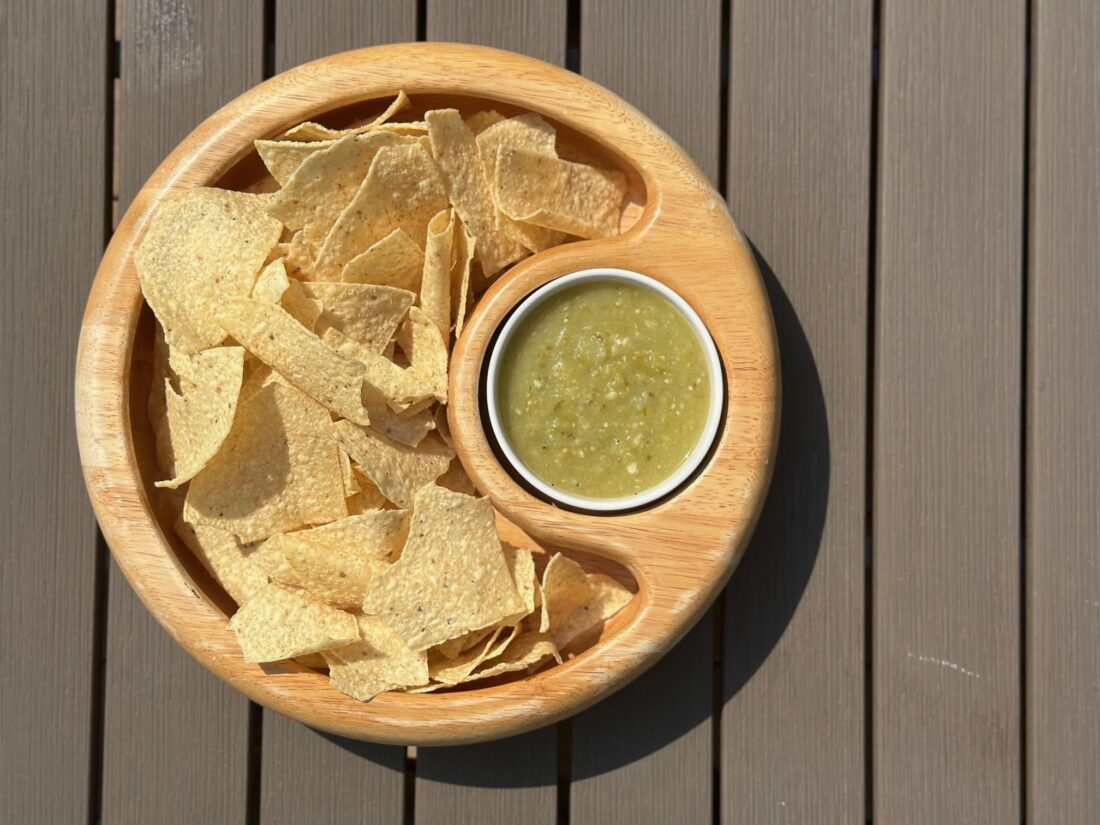
- Pulse to combine and break everything down. Keep the consistency chunky, do not over blend!
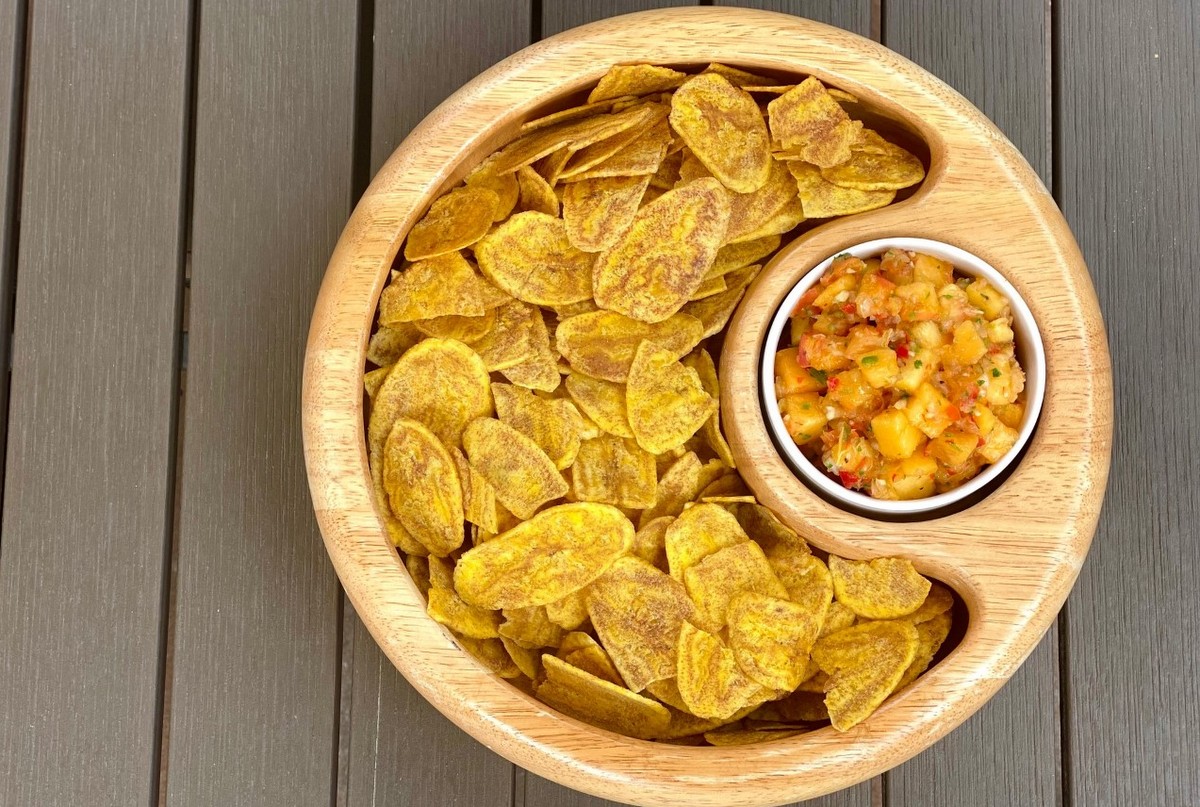
- Refrigerate salsa and then serve with your favorite corn chips. Enjoy!
Recipe and photos by Stephanie Borzio. Stephanie is a mom of three active boys and is an autoimmune warrior. After battling her own health for several years, Stephanie found healing through food and lifestyle changes, including joining Blooming Glen Farm CSA of which she is a long time member. She is a Board Certified Integrative Nutrition Health Coach who is passionate about sharing healthy living tips and real food recipes. Instagram and Facebook: Tru You Essentials; Website: www.truyouessentials.com


 Recipe and photos by Stephanie Borzio. Stephanie is a mom of three active boys and is an autoimmune warrior. After battling her own health for several years, Stephanie found healing through food and lifestyle changes, including joining Blooming Glen Farm CSA of which she is a long time member. She is a Board Certified Integrative Nutrition Health Coach who is passionate about sharing healthy living tips and real food recipes. Instagram and Facebook: Tru You Essentials; Website: www.truyouessentials.com