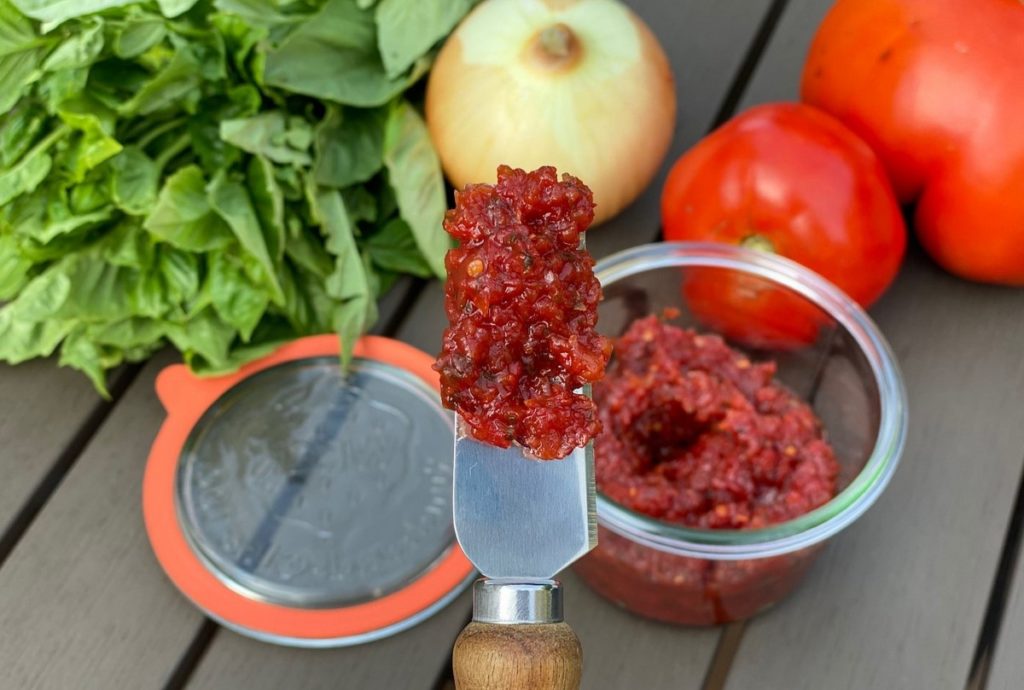
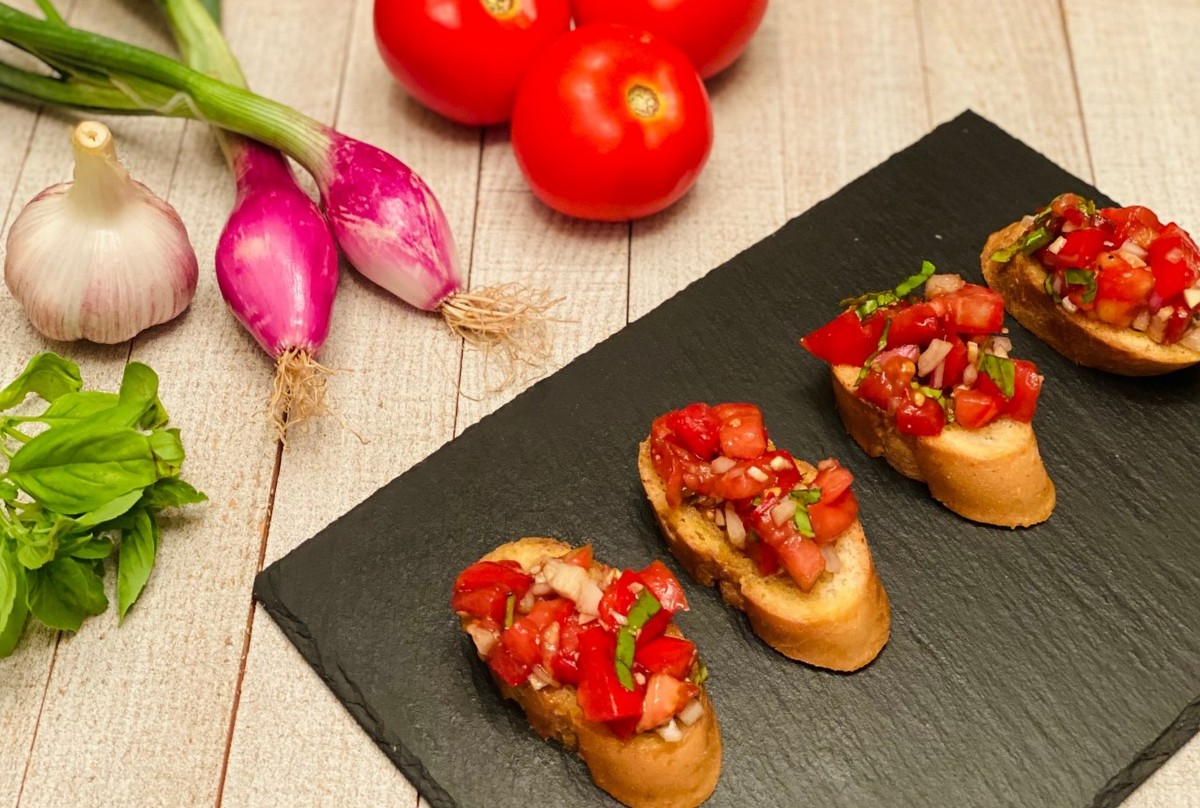
21 Jul Bruschetta
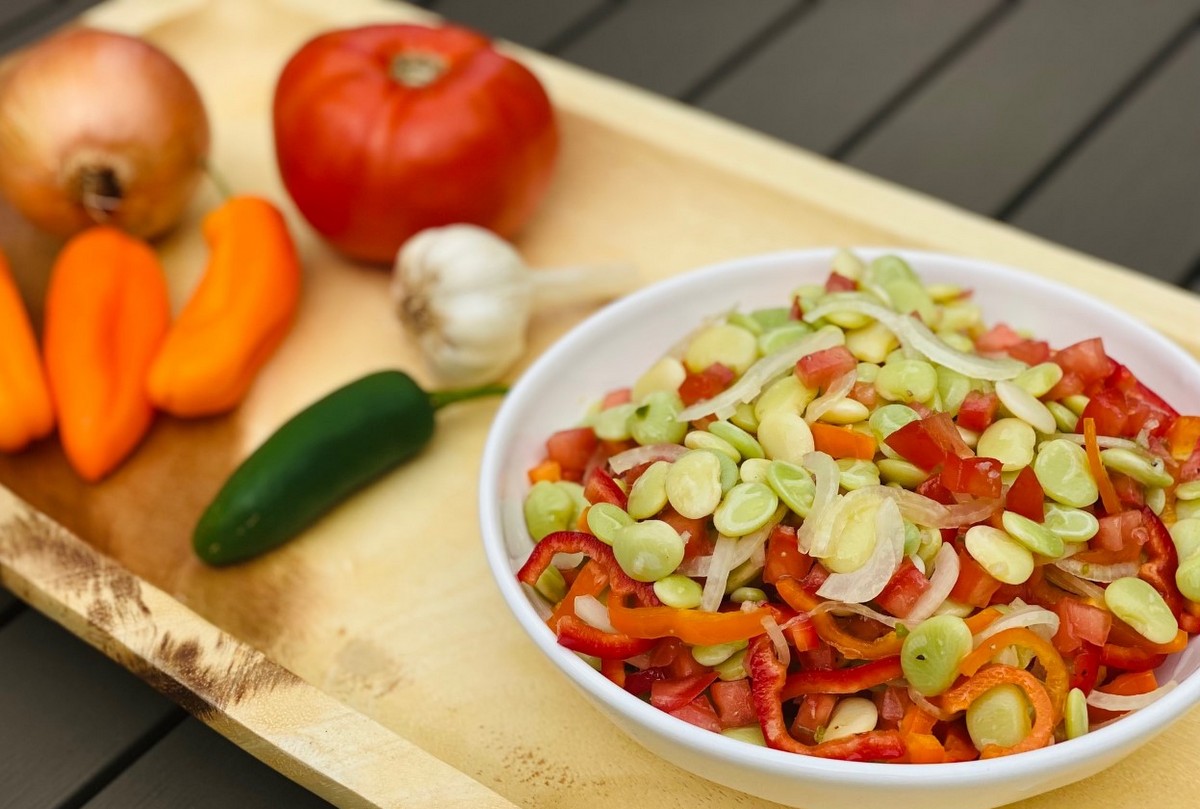
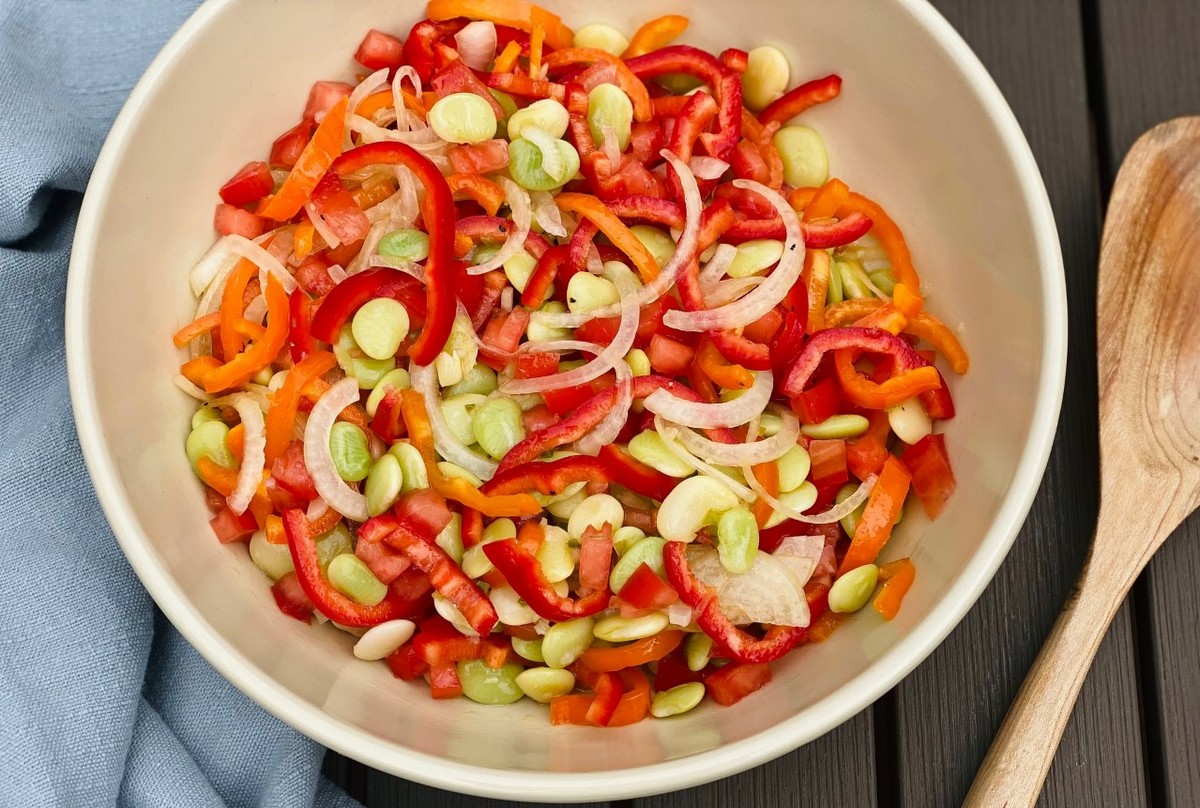
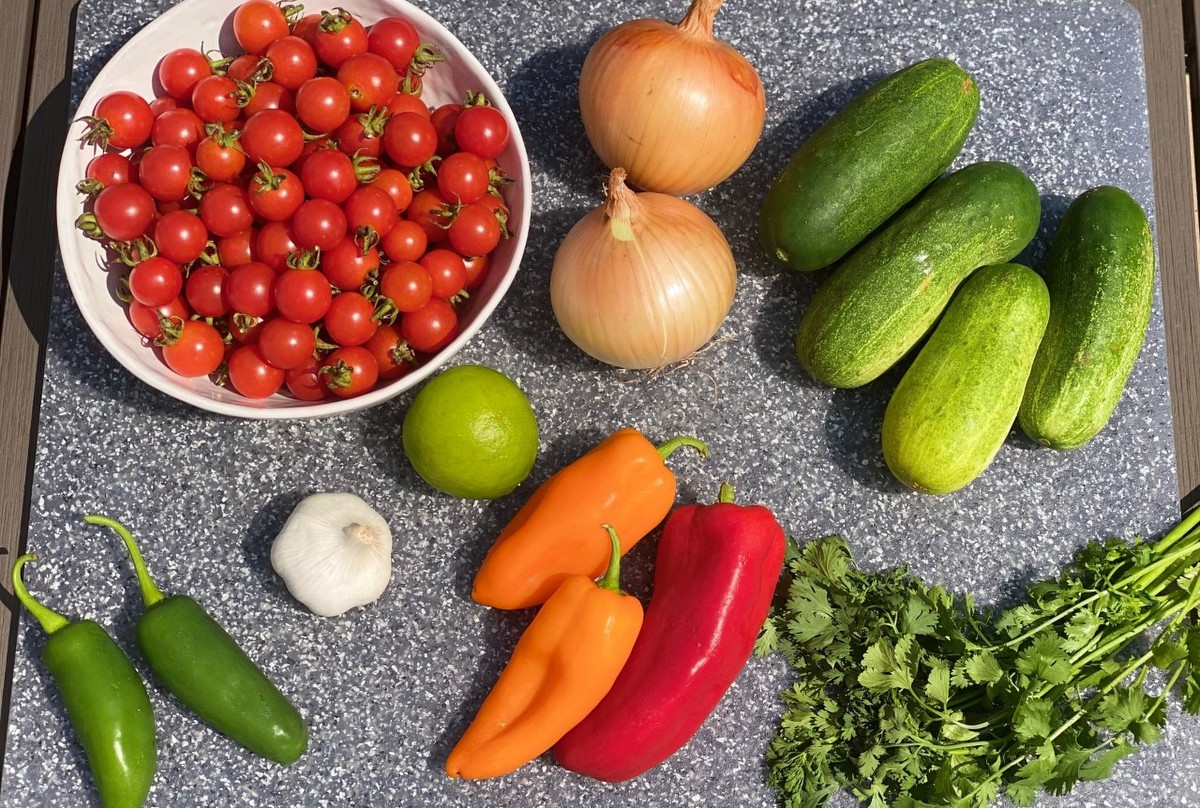
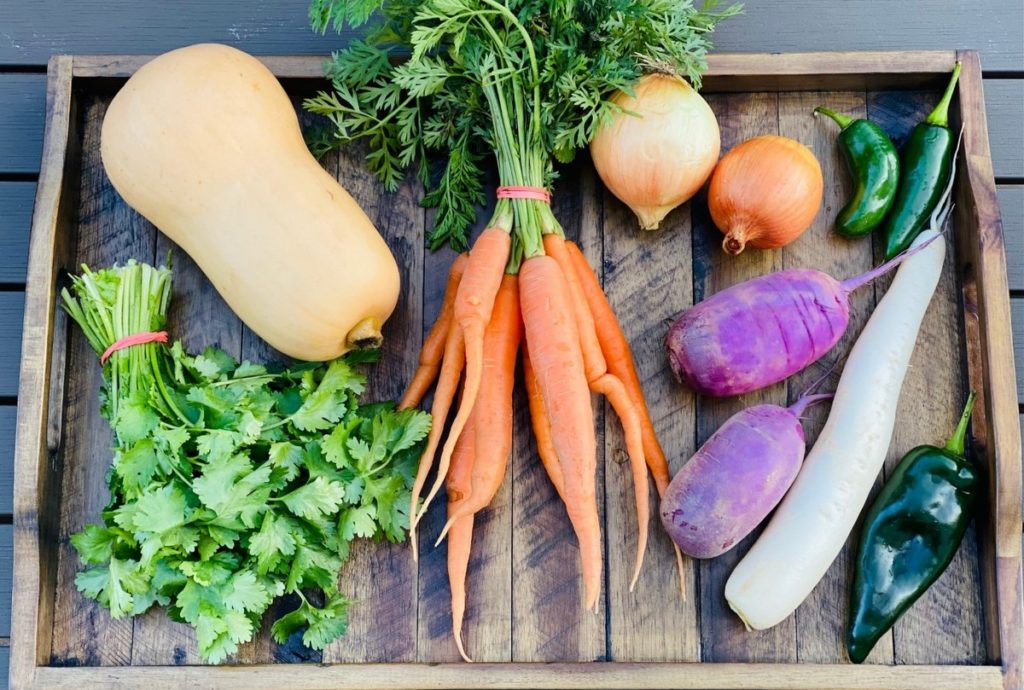
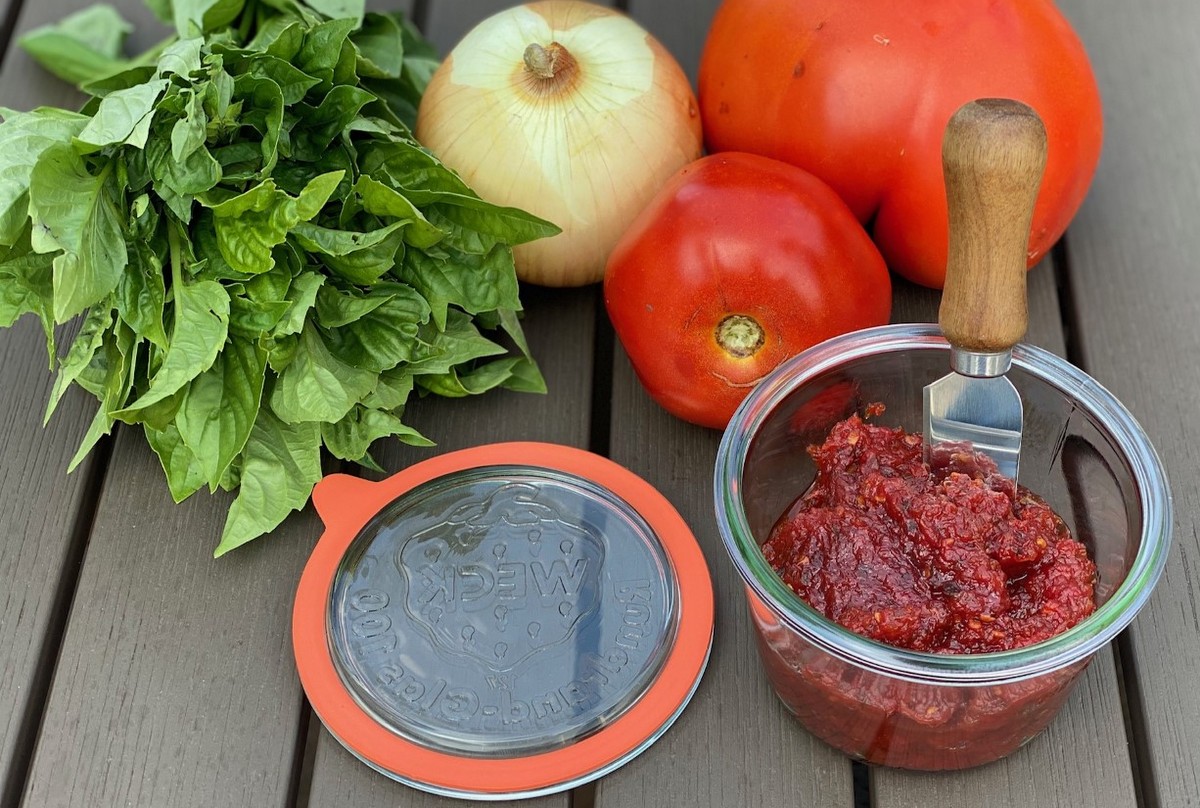
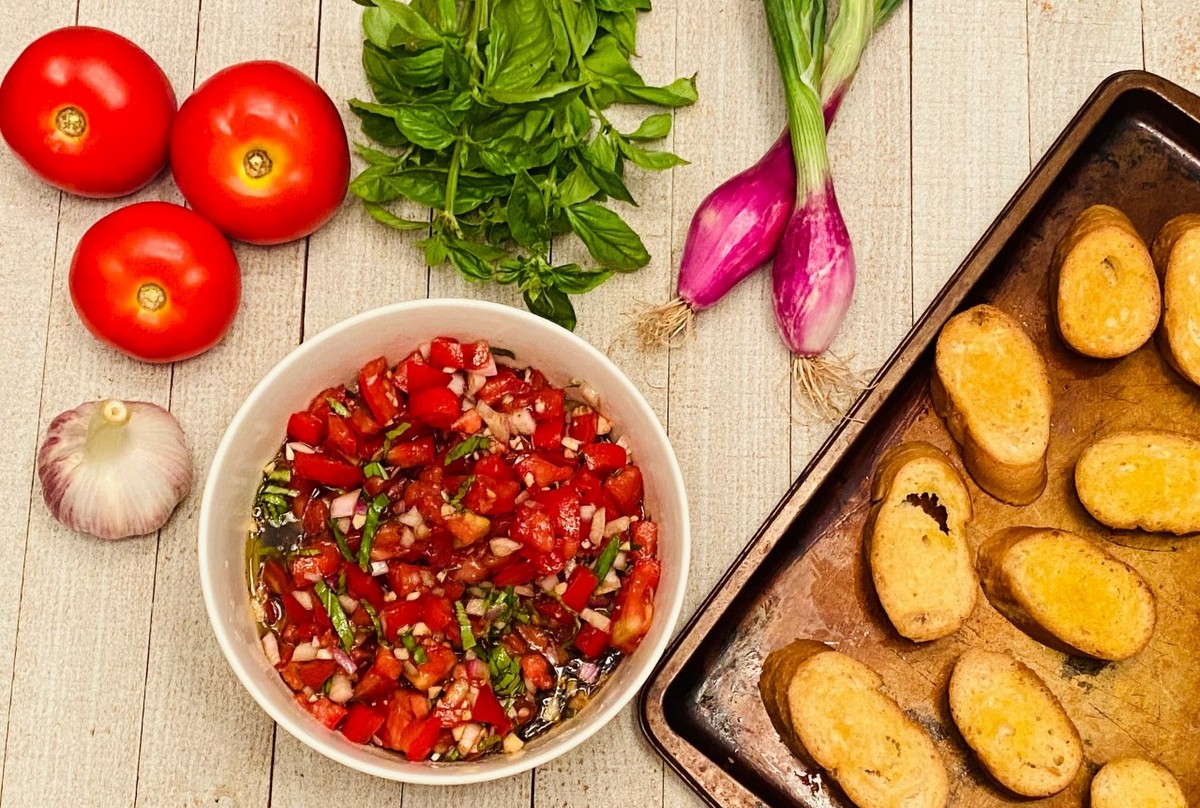
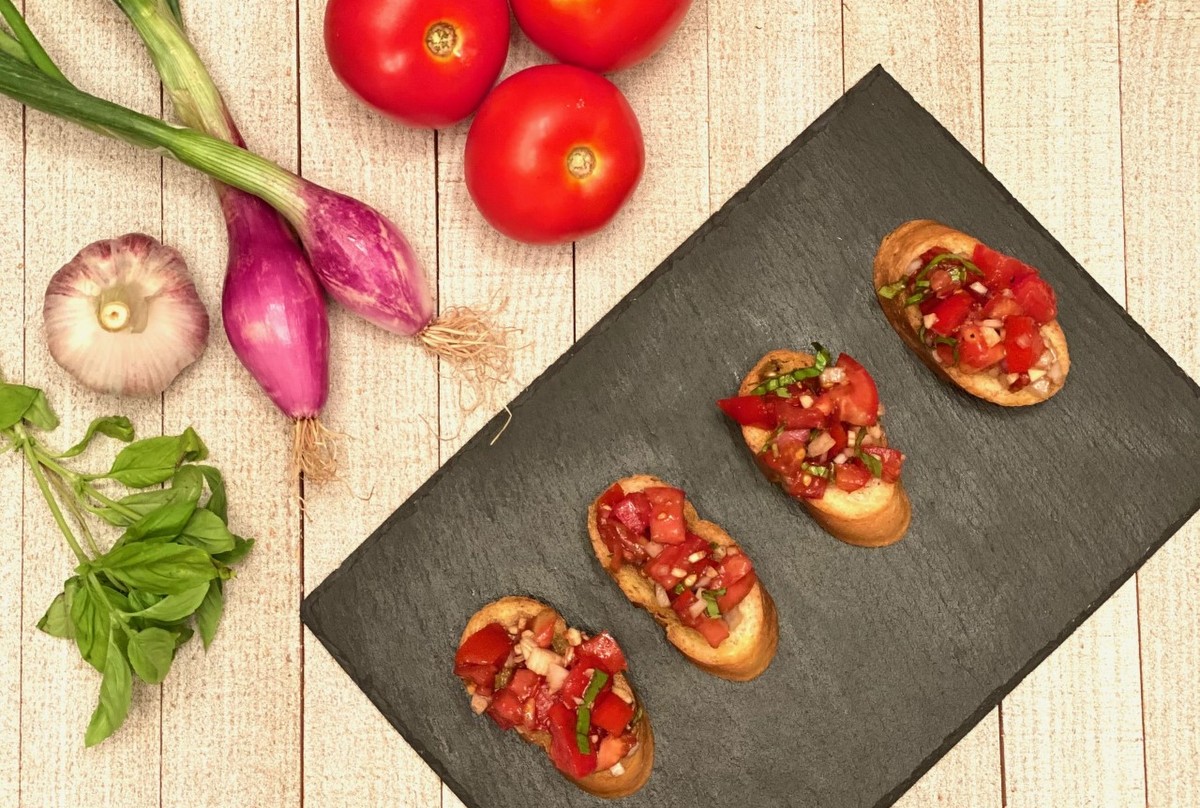
Our farm shares this week have all of the ingredients to make the perfect bruschetta- vine ripened tomatoes, fresh onions, garlic, and fresh herbs (basil from last week’s share, or try other options like oregano or marjoram from the pick-your-own herb boxes). This recipe showcases the freshness of these ingredients by keeping them in their raw form and allowing them to marinate in a blend of oil and vinegar. You can keep it traditional by serving on toasted bread or get creative and serve on top of grilled summer squash instead.
Bruschetta
Ingredients:
Tomato mixture–
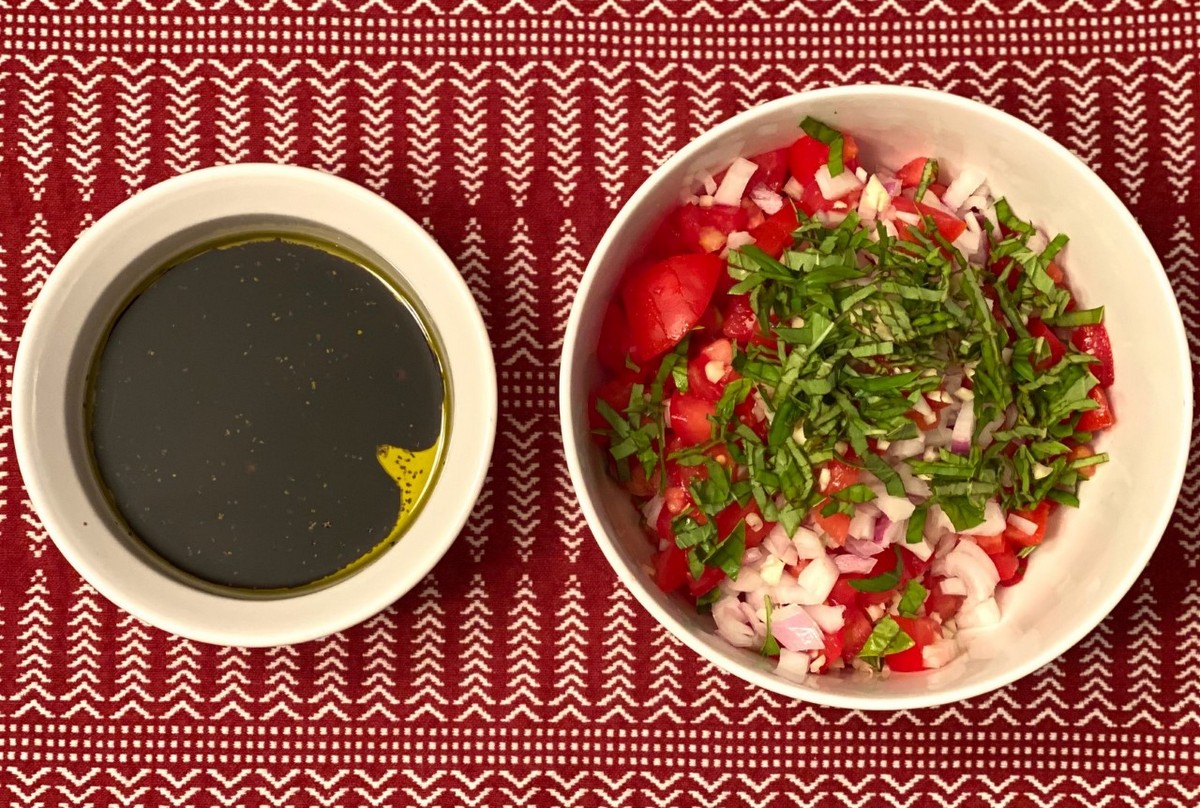
¼ cup olive oil
3 Tbsp balsamic vinegar
½ tsp sea salt
Pinch black pepper
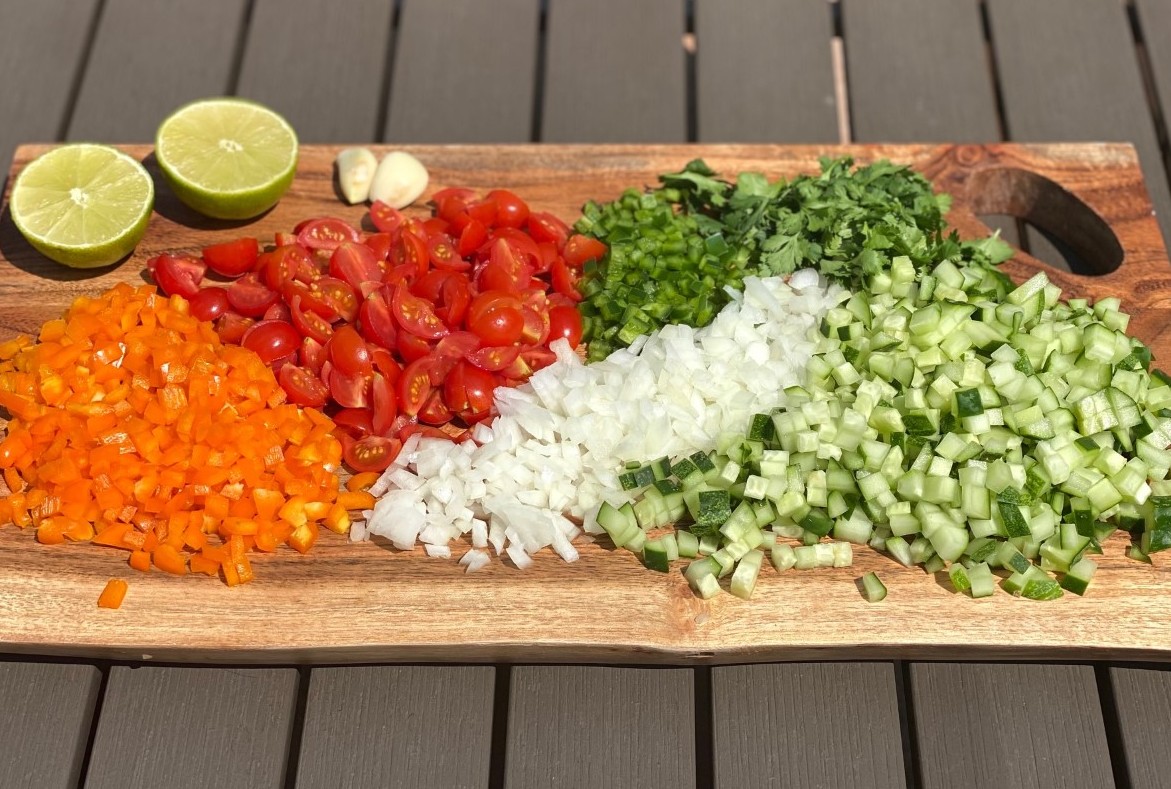
5 smaller red tomatoes (equivalent to about 2 ½ cups once diced)
2 torpedo onions or ½ medium red onion
3 cloves garlic
3 Tbsp basil, cut into ribbons*
Toasted bread–
1 loaf baguette or favorite bread
3 Tbsp olive oil
1 clove garlic
- Combine oil, vinegar, salt, and pepper in small bowl.
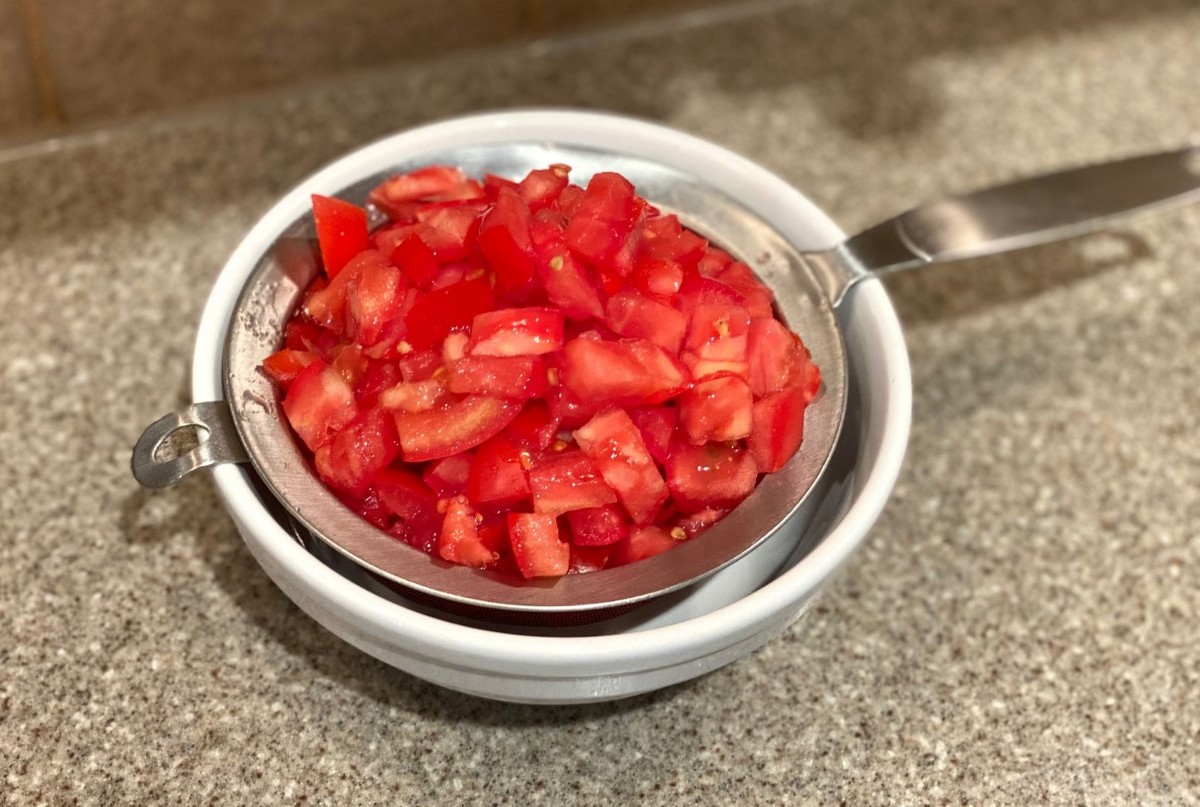
- Dice tomatoes. Place in fine mesh sieve to drain excess liquid.
- Finely chop onions and garlic.
- Place tomatoes, onions, garlic, and basil in large bowl. Mix well.
- Pour marinade over tomato mixture and toss to coat. Allow to marinate for at least 30 minutes before serving.
- While tomatoes are marinating, prepare toast. Preheat oven to 400°F.
- Cut bread into ½ inch slices and place on baking sheet. Using a pastry brush, spread olive oil on both sides of the bread slices.

- Place toast in oven and bake for 5 minutes. Flip and bake for an additional 2 minutes.
- Slice garlic clove in half and rub cut side on the top of each toasted bread slice. If you don’t want to waste this garlic after using on the toast, just finely chop and add it to the tomato mixture.
- Top each slice of toast with a scoop of tomato mixture and serve.
- Enjoy!
*To cut basil into ribbons- stack leaves on top of each other, roll, and thinly slice. Basil easily bruises, so using a sharp knife is really important.
**For a low carb option, serve tomato mixture on grilled summer squash slices! Or for a twist on the traditional bruschetta, add 1 cup of finely diced summer squash to the tomato mixture before marinating.
***Other optional add-ins: parmesan cheese or your favorite minced fresh herbs.
Recipe and photos by Stephanie Borzio. Stephanie is a mom of three active boys and is an autoimmune warrior. After battling her own health for several years, Stephanie found healing through food and lifestyle changes, including joining Blooming Glen Farm CSA of which she is a long time member. She is a Board Certified Integrative Nutrition Health Coach who is passionate about sharing healthy living tips and real food recipes. Instagram and Facebook: Tru You Essentials; Website: www.truyouessentials.com