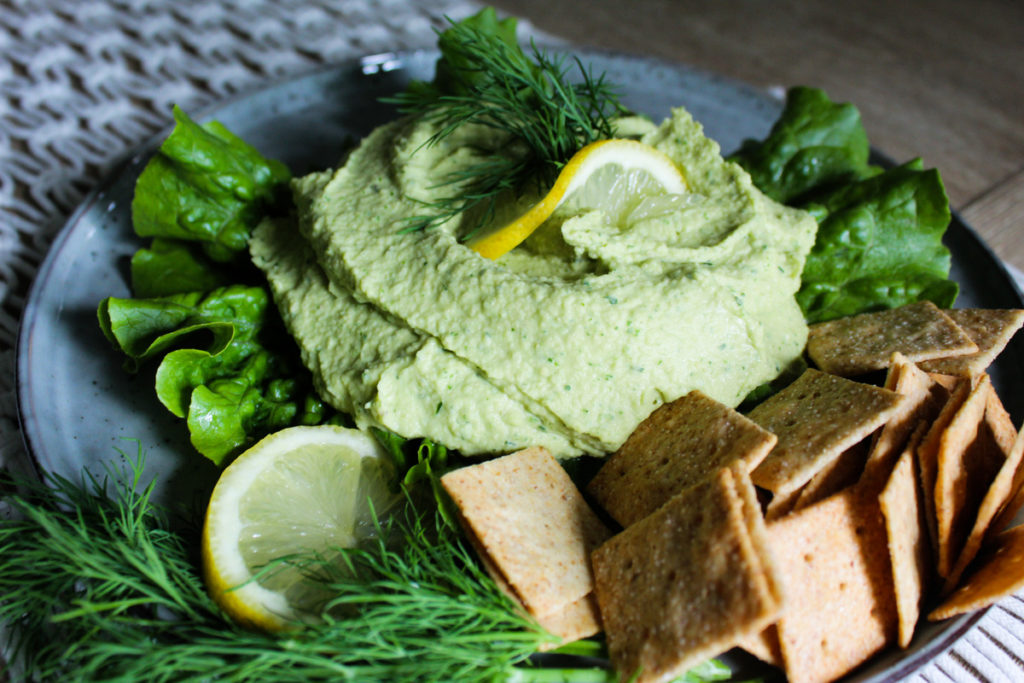
green garlic Tag

Beets are new to our shares this week, so I thought it would be fun to showcase these nutrient rich root veggies in a simple salad.  Roasting them only enhances their sweet earthy flavor. This salad can be made ahead of time and is best when given time to chill and marinate.  It can be served alone, as a side, or on top of greens.
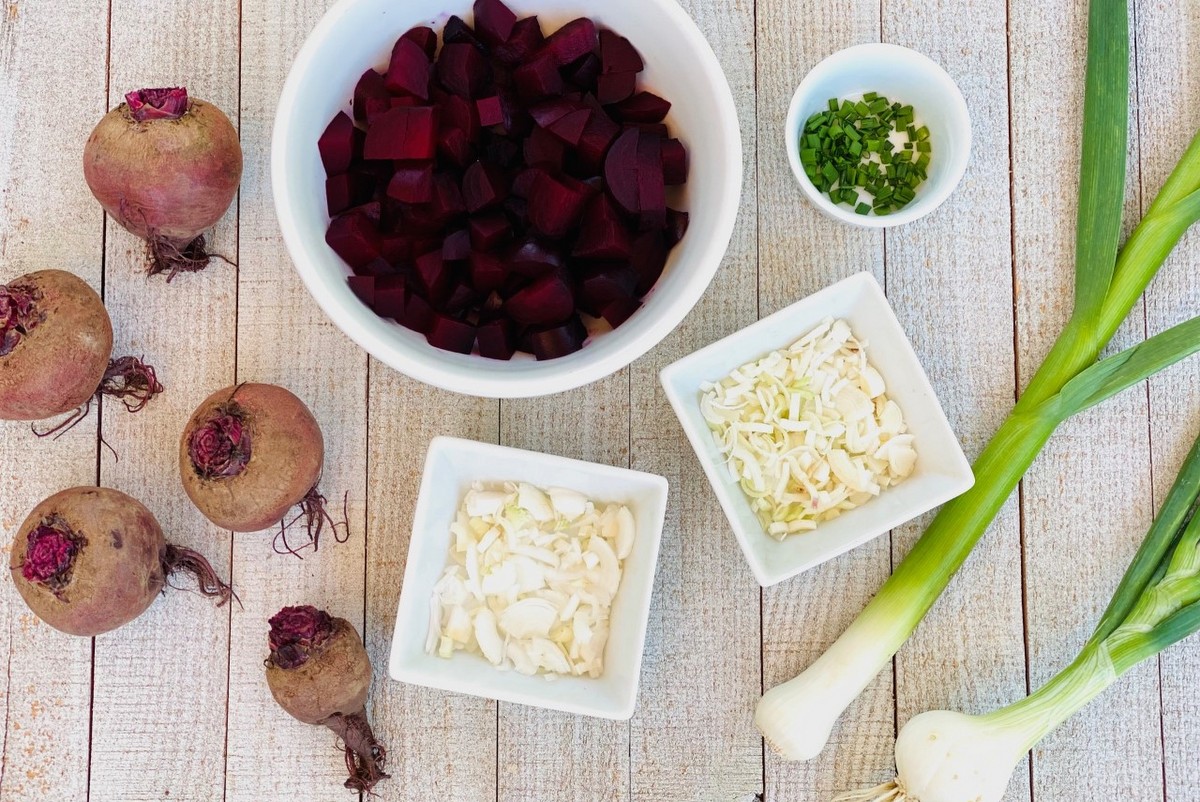
Roasted Beet Salad

Ingredients:
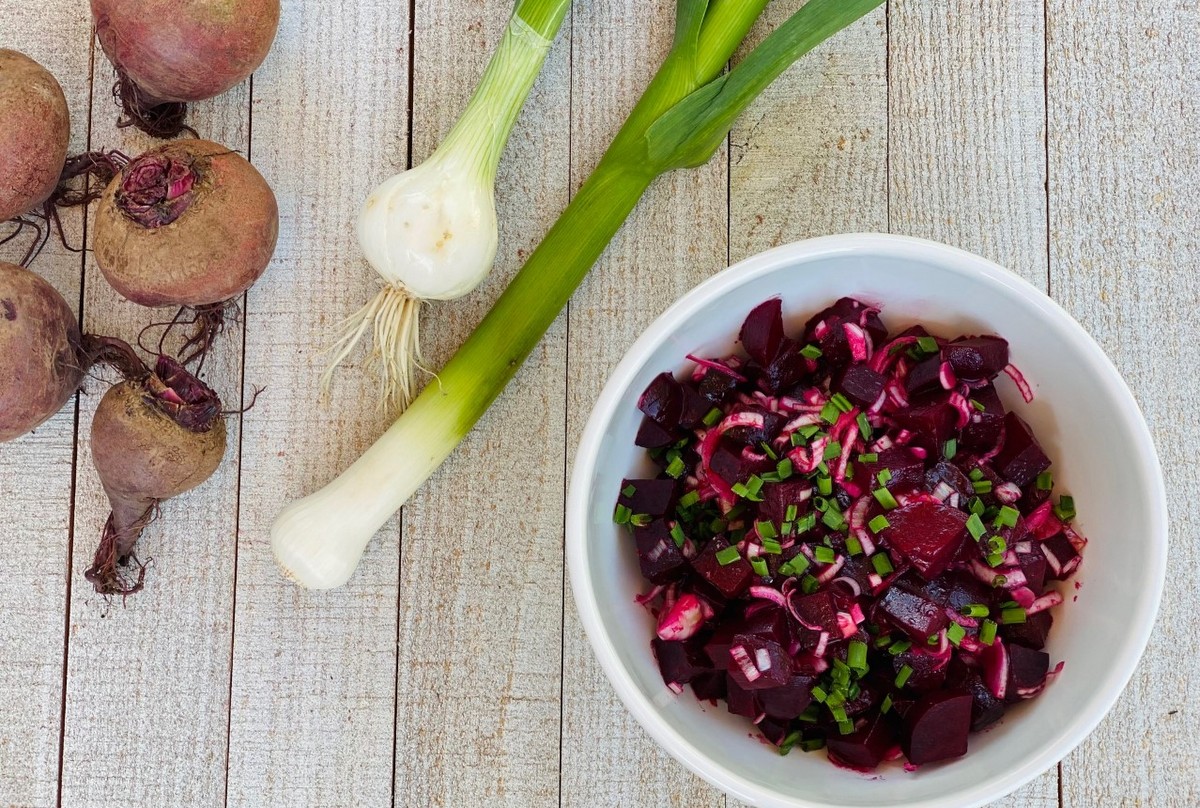
1 bunch beets, bulbs only
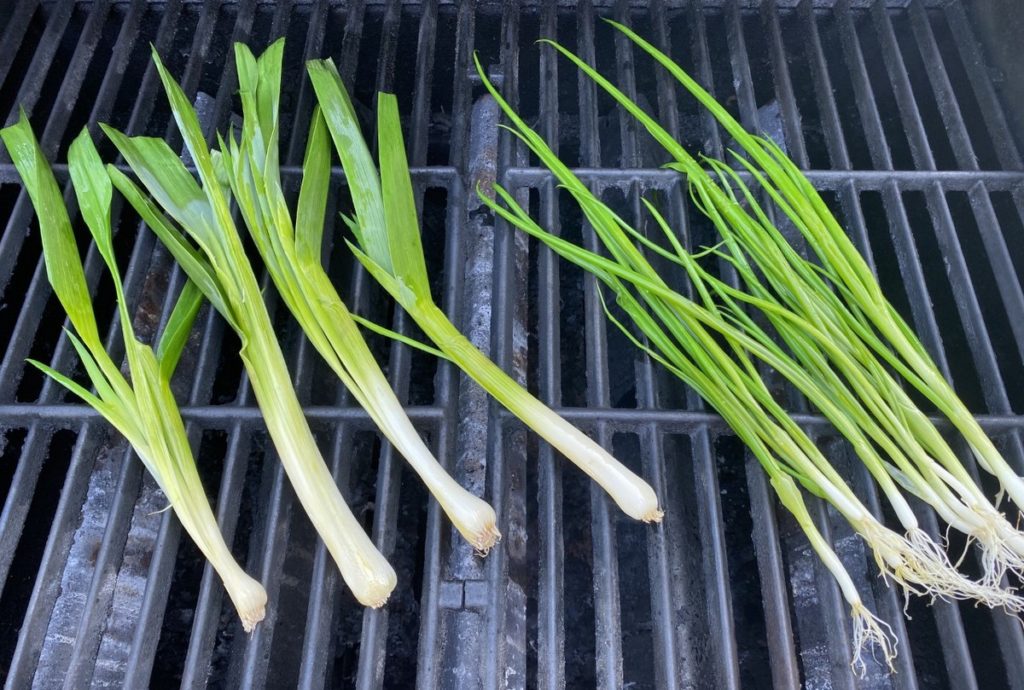
1 green garlic, white part only
1 spring onion, bulb only
2 Tbsp olive oil or avocado oil
1 Tbsp balsamic vinegar
1 tsp lemon juice
½ tsp lemon zest
½-1 tsp honey or maple syrup
½ tsp sea salt
Pinch black pepper
1 tsp finely chopped fresh chives

Directions:

  • Clean beet bulbs. Wrap each bulb in foil and roast in 400°F oven for 30-45 minutes.

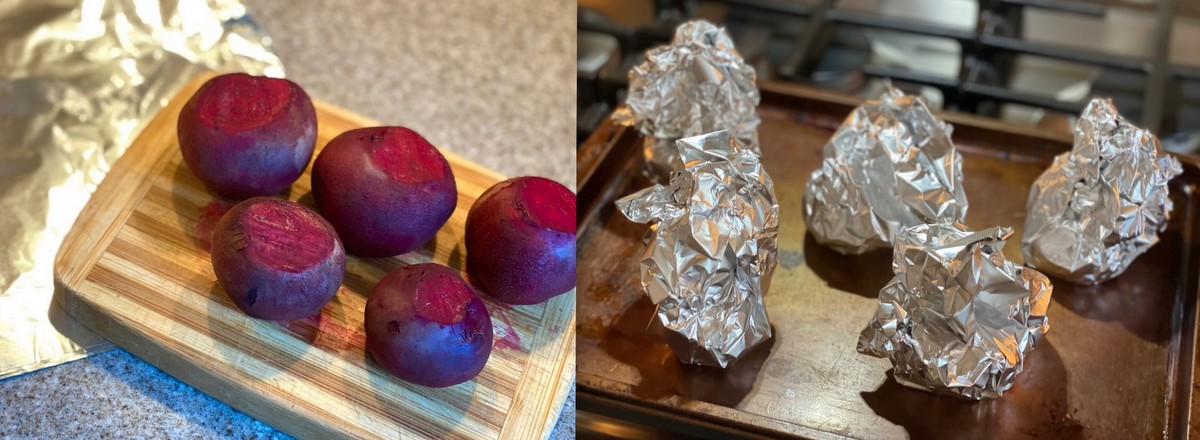
  • Time will vary depending on the size of the beets.  They should be fork tender when done.  Larger beet bulbs may need up to 60 minutes of roasting time.
  • Remove from oven and open foil. Allow to cool for 20-30 minutes.
  • Peel (they should rub right off) and cut into cubes. Place in a medium bowl.
  • Thinly slice green garlic and spring onion and mix in with beets.

  • Combine oil, vinegar, lemon juice, lemon zest, honey/maple syrup, salt, and pepper in a small bowl or mason jar. Mix well.
  • Pour dressing over beet mixture and mix until beets are well coated.
  • Garnish with chives.
  • Store in an airtight container in refrigerator.
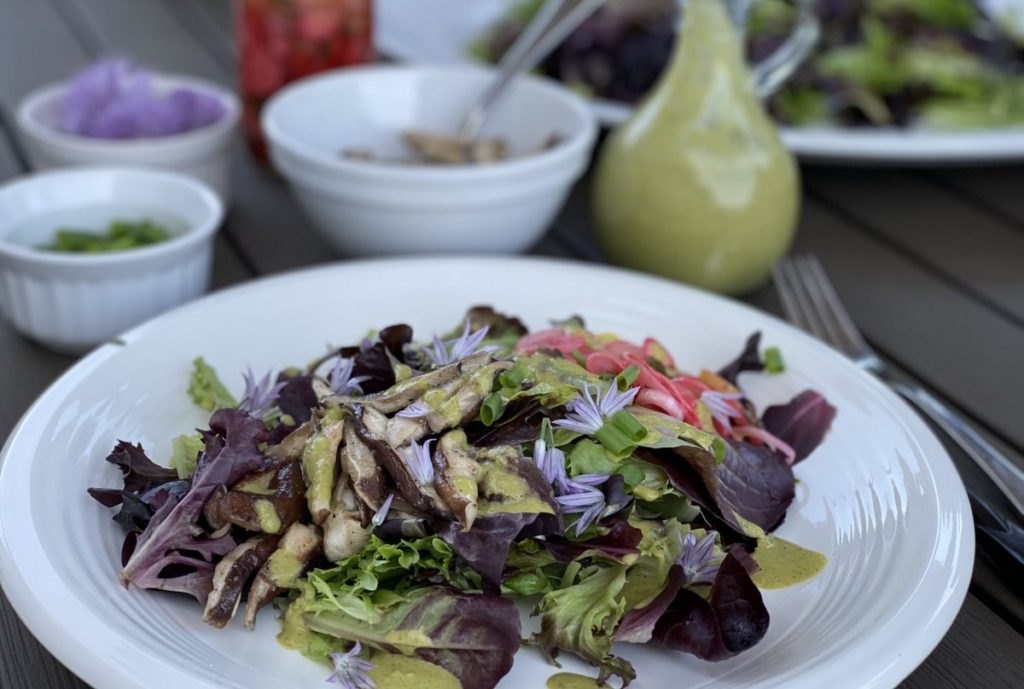
  • Serve as a side or over a bed of fresh salad greens.

**Feel free to also add a crumbled cheese like goat or feta (or try the Birchrun Hills Farm Blue Cheese from this week’s cheese share) and some toasted nuts like walnuts or almonds.

Recipe and photos by Stephanie Borzio.  Stephanie is a mom of three active boys and is an autoimmune warrior.  After battling her own health for several years, Stephanie found healing through food and lifestyle changes, including joining Blooming Glen Farm CSA of which she is a long time member.  She is a Board Certified Integrative Nutrition Health Coach who is passionate about sharing healthy living tips and real food recipes.  Instagram and Facebook: Tru You Essentials; Website: www.truyouessentials.com

The 2021 CSA season is here and what a beautiful share we received this week.  This week’s recipe showcases the fresh spinach and green garlic! Green garlic is a young garlic that is harvested in the spring before it bulbs up. It adds a creamy, mild, fresh garlic flavor to this dish.

Green Garlic and Spinach over Pasta

Ingredients:
2 stalks green garlic
5 Tbsp olive or avocado oil, divided
1 bunch spinach- rinsed, dried, and chopped
¼ tsp sea salt
1/8 tsp black pepper
½ lb cooked pasta (whatever kind you prefer)
½ lb sautéed shitake mushrooms **
Freshly grated parmesan cheese (optional)

  • Cut off the bottom 8-10 inches of the green garlic stalks. Save the tops for later in the recipe.
  • Cut off the roots and ends of the green garlic. Chop into rounds- about ¼ inch thick.

  • Heat 2 Tbsp oil in pan on stovetop. Once oil is hot, place green garlic rounds in.  Cook on medium low until tender (about 4-5 minutes).

  • Add spinach to pan and sauté until wilted (about 3-4 minutes).
  • Add salt and pepper. Mix well.
  • Chop some of the green garlic tops that you set aside earlier. You will need ¼ cup finely chopped tops.  Any remaining tops can be saved for another use (like vegetable broth).
  • In small saucepan or frying pan, add 3 Tbsp oil. Heat to medium and add the finely chopped green garlic tops.  Cook for about 5 minutes.
  • Toss the cooked pasta with the oil and green garlic top mixture.
  • To assemble this dish, plate the pasta. Place the green garlic and spinach mixture on top of the pasta and then add the shitake mushrooms.  Top with freshly grated cheese and enjoy!


**Sautéed shitake mushrooms:

  • Clean mushrooms and remove stems.
  • Thinly slice.
  • Heat 1 Tbsp oil in pan on stovetop. Add sliced mushrooms and sauté for 3 minutes on medium heat.
  • Season with salt and pepper to taste.


Recipe and photos by Stephanie Borzio.  Stephanie is a mom of three active boys and is an autoimmune warrior.  After battling her own health for several years, Stephanie found healing through food and lifestyle changes, including joining Blooming Glen Farm CSA of which she is a long time member.  She is a Board Certified Integrative Nutrition Health Coach who is passionate about sharing healthy living tips and real food recipes.  Instagram and Facebook: Tru You Essentials; Website: www.truyouessentials.com

Fresh herbs are appearing in this week’s share. Sometimes it can be challenging to use all your herbs up while they are still fresh. One method of preservation is to freeze- wrap your hardier fresh herbs (dill, thyme, sage, rosemary) in a paper towel, place in a plastic freezer bag, and squeeze the air out and freeze. This will keep for months in your freezer- just break or chop bits of the frozen herb into whatever recipe you would like. Or spread out on a single layer on a cooking tray and freeze then bag up for less clumping. More tender herbs like cilantro, parsley or basil can be blended and frozen in ice cube trays.

Basil Salt (pictured above)
Making salt blends is a great way to preserve any fresh herb. Basil salt in particular lends itself to many uses: sprinkle on tomato sandwiches, on popcorn, corn-on-the-cob, or tomato soup. Enjoy it on the rim of a refreshing summer cocktail. (Blackberry Basil Margarita with Basil Salt?!)

Ingredients
1 cup packed fresh basil leaves (about 1/2 a bunch)
1/2 cup kosher salt (I used coarse but you could certainly use whatever salt you have on hand)

Preheat oven to 225 degrees, and line a baking sheet with parchment paper. Pulse the basil leaves in your food processor, add the salt and continue to pulse. Spread the mixture on your prepared tray and dry in the oven for 15 min. Remove from oven and stir, breaking up any clumps. Bake for another 15 min. Remove from oven, stir, and add more drying time if mixture appears wet at all.  When drying is complete, using the parchment paper as a sling, transfer back to your clean, dry food processor. Regrind. Store on your counter or in the fridge, in an airtight container, for up to 4 months.

Recipe and photo from Tricia Borneman.

Lemon Dill Hummus
The creamiest, herb hummus that takes five minutes to whip up! Serve on a salad, or enjoy with crackers or veggies (like thinly sliced kohlrabi) for a snack:

Ingredients
2 cans chickpeas
1/2 cup oil (avocado or olive works)
juice of 1 large lemon, about 1/4 cup
1/2 cup dill without stems
1 green garlic
1/4 tsp cumin
salt and pepper

Blend in food processor till smooth!

Recipe and photo from Olivia Edgar.

The CSA season has officially begun and although pickup days look different than they have in the past, we are still getting beautiful organic produce from our favorite farmers.  This week’s recipe started with a focus on the green garlic, but evolved into a full meal that includes the salad greens, radishes, scallions, basil, oats and shitake mushrooms as well.

Salad Ingredients:
½ lb salad greens
Marinated radishes (recipe below)
Creamy garlic dressing (recipe below)
Grilled shitake mushrooms
Chive blossoms (optional)

  • Rinse and dry salad greens. Place in bowl or on platter.
  • Make marinated radishes and allow to set while preparing the rest of the meal.
  • Make dressing and set aside.
  • Remove stems from mushrooms and wash caps. Slice and place in bowl.  Add 2 Tbsp avocado or olive oil to pan.  Place pan on grill to heat.  Once oil is hot, add sliced mushrooms and cook for about 5 minutes.  Add ¼ tsp sea salt, 1/8 tsp black pepper, and 1/8 tsp garlic powder and stir to combine.  Place mushrooms in bowl to serve.
  • Chop scallions and place in bowl.
  • If you have access to chive blossoms, I like to add them as a garnish if available.
  • I served this salad with each item in separate bowls, but feel free to put everything together over the salad greens if you want.


Marinated Radish Ingredients:
½ bunch radishes, greens removed
½ stalk green garlic
½ cup apple cider vinegar
¼ cup avocado or olive oil
1 Tbsp honey
½ tsp sea salt
¼ tsp black pepper

  • Thinly slice radishes using a mandolin.
  • Thinly slice green garlic using both the white and green parts.
  • Place radishes and green garlic in a glass jar.
  • In a small pot, combine apple cider vinegar, oil, honey, salt, and pepper.
  • Heat to boil, mixing well.
  • Remove from heat and carefully pour over the radishes and green garlic. Place lid on jar and allow to cool for at least 30 minutes.

Creamy Garlic Dressing Ingredients:
1 ½ stalks green garlic
6 small scallions
½ cup homemade oat milk **
3 large basil leaves
½ lime, juiced
¼ cup apple cider vinegar
¼ cup + 3 Tbsp olive oil (divided)
½ tsp sea salt
¼ tsp black pepper

  • Rinse green garlic and scallions.
  • Slice green garlic stalks in half lengthwise.
  • Drizzle green garlic and scallions with 1 Tbsp olive oil.
  • Preheat grill and then reduce heat to low.
  • Place green garlic and scallions on grill.
  • Cook scallions for 2-3 minutes and green garlic for 4-5 minutes. Flip halfway through cooking time.
  • Remove from grill and trim roots off, as well as any pieces that are overcooked.
  • Place all dressing ingredients in blender (use the remaining ¼ cup + 2 Tbsp olive oil). Blend until smooth, about 30 seconds.

** Homemade Oat Milk- soak ¼ cup oats in about ½ cup water for 30 minutes.  Drain water and rinse oats.  Blend with ½ cup water for 30-60 seconds.  Strain through a nut bag or cheesecloth.  This makes about ½ cup oat milk, which the recipe calls for.

Recipe and photos by Stephanie Borzio.  Stephanie is a mom of three active boys and is an autoimmune warrior.  After battling her own health for several years, Stephanie found healing through food and lifestyle changes, including joining Blooming Glen Farm CSA of which she is a long time member.  She is a Board Certified Integrative Nutrition Health Coach who is passionate about sharing healthy living tips and real food recipes.
Instagram and Facebook: Tru You Essentials
Website: www.truyouessentials.com

If you’re like a lot of our market customers and CSA members, you might find yourself puzzled as to what to do with that oddly shaped vegetable you picked up this week. On first glance it can be daunting to figure out how to even begin to use it. But kohlrabi, which comes from Eastern Europe and is the German name for ‘cabbage turnip’, is really just a strange looking sister to the cabbage family and can be used in many similar ways. You can eat the bulbs raw or cooked. Shred them into a salad with some lemon juice or substitute them for cabbage in your favorite coleslaw recipe. They are equally delicious cooked into a stir-fry or vegetable sauté.

I’m new to kohlrabi myself. But, I’ve already found my favorite way to use it… in fritters! Mostly composed of ingredients you’ll already have in your cupboard or refrigerator, they are really simple to whip up and take very little time. You can use them as a side dish or for a lighter meal, pair them with a spring salad mix. However you use them, one thing is for sure, you’ll definitely remember them the next time kohlrabi season comes around!

Start by combining the following ingredients for yogurt dip and refrigerate 30 minutes before serving: 1/3 cup yogurt, 3 Tablespoons chopped fresh dill, 1 teaspoon lemon juice and salt to taste. *For a different sauce, you can replace the dill with cilantro and the lemon with lime juice, and add a bit of honey. Or try mint!

Meanwhile, peel and shred the 4 kohlrabi bulbs into a colander and sqeeze out excess moisture. In a separate bowl combine 2 beaten eggs, 3 Tablespoons dried bread crumbs, 1/4 cup chopped spring onion (you can add in some green garlic too if you have it), 1 teaspoon of salt, 1/4 teaspoon crushed red pepper and black pepper to taste. Add kohlrabi by the spoonful and mix until egg is coating the entire mixture. Heat 4 Tablespoons of olive oil in skillet until small bubbles appear. Form fritter mixture into two-inch balls and drop into skillet. Press gently with spatula to flatten. Cook for 5-7 minutes on each side, or until golden brown. Serves 4-6

Recipe adapted from: From Asparagus to Zucchini, A Guide to Cooking Farm Fresh Produce (3rd ed.). Photos and text by Blooming Glen Farm apprentice Rebecca Metcalf.

Green garlic stalkWoo hoo, another season has begun at Blooming Glen Farm! I’m sure you were as excited as I was about the first share of the year. Fresh strawberries, lots of greens (including gorgeous spinach), turnips, and green onions and garlic have been making their way into our meals all week.

Green garlic is probably a crop that most of us aren’t too familiar with, but can do a lot for meals and nutrition. Green garlic is “baby” garlic, also known as spring garlic. Although it’s smell is as pungent as the mature bulb, the flavor is much more mild and can be enjoyed raw in salads, or cooked, where it sweetens up a bit. The greens can also be used, similar to how one would use chives. As far as nutrition, green garlic contains the same great benefits as garlic:

  • Allicin, a natural antibiotic that helps boost your immune system by blocking infections.
  • Iron, which keeps iron levels high in your blood stream, and ferroportin, a protein that transports iron from the inside of a cell to the outside of it.
  • Vitamin C, a super vitamin that can help with everything from weight management to cancer prevention.
  • Vitamin B6, which has been shown to help prevent heart disease.
  • Selenium, which support our cancer-fighting antioxidant system.
  • Manganese, another mineral that supports antioxidant efforts, as well as our “good” cholesterol (HDL).

Luck for us, there are lots of ways to utilize green garlic in the kitchen. Here are a few yummy recipes to add to your recipe box:

I’ve been using the creamy (and bright!) green garlic dressing below with grain and pasta salads, green salads, and in stirfries this week.  I’ve played with a couple different oils and vinegars and they all turned out tasty. If you don’t have the called-for ingredients, feel free to play around with what you do have on hand!

Green garlic dressingGreen Garlic Dressing
Ingredients
2 stems of green garlic, trim bulbs, include greens
1/4 cup champagne vinegar
1/4 cup sesame oil
1/4 cup water
1 tbs agave honey, plus more to taste
salt and pepper, to taste

Method
Simply add all the ingredients to a food processor or blender and blend until smooth, adding a bit of water if needed. Adjust agave, salt and pepper to taste.

Post sources and recommended links:
What’s New and Beneficial About Garlic, from WHFoods.
Ferroportin on Wikipedia.
Spring Vegetable to Try: Green Garlic, from PopSugar.
Green Garlic: All The Flavor & Nutrients 5 Calories Can Handle from Your Organic Gardening Guide.

Post and photos by Mikaela D. Martin: Blooming Glen CSA member since 2005, board-certified health counselor, and co-founder of Guidance for Growing, an integrative wellness practice in Souderton. Read more about healthy eating and living on her site, http://guidanceforgrowing.com!