dill Tag

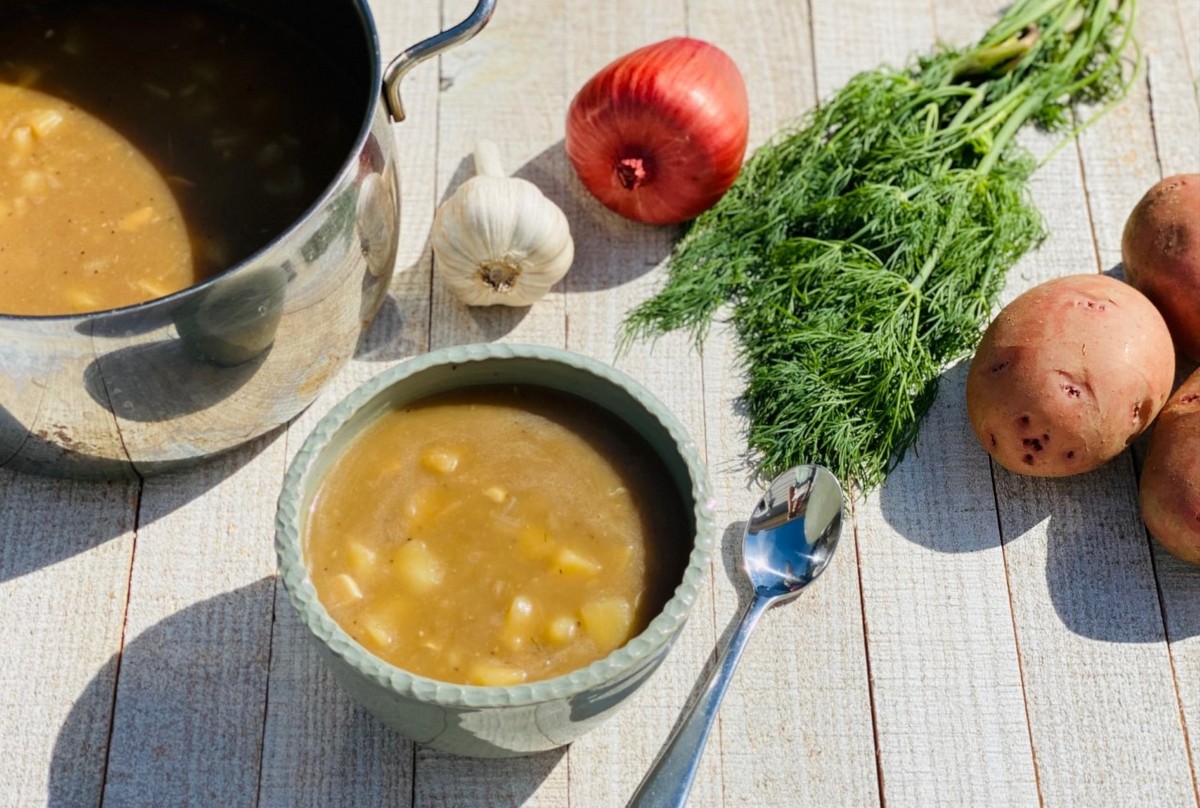
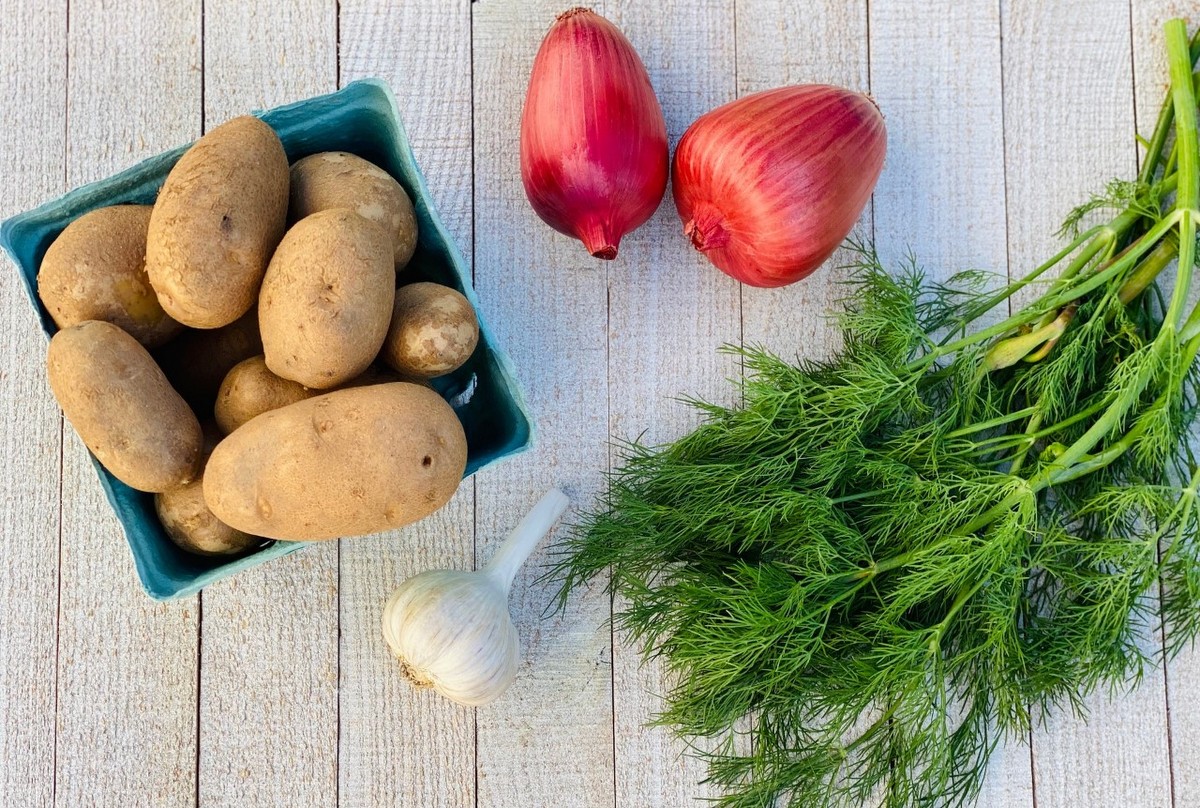
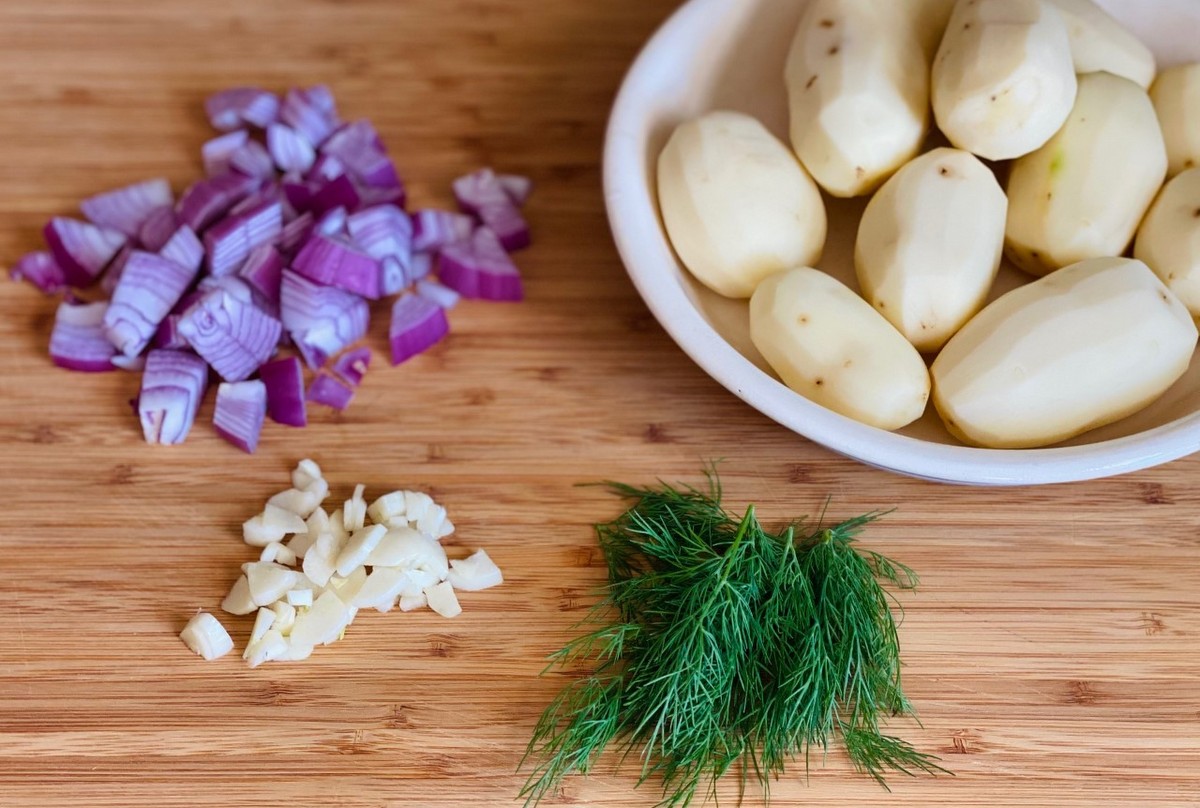
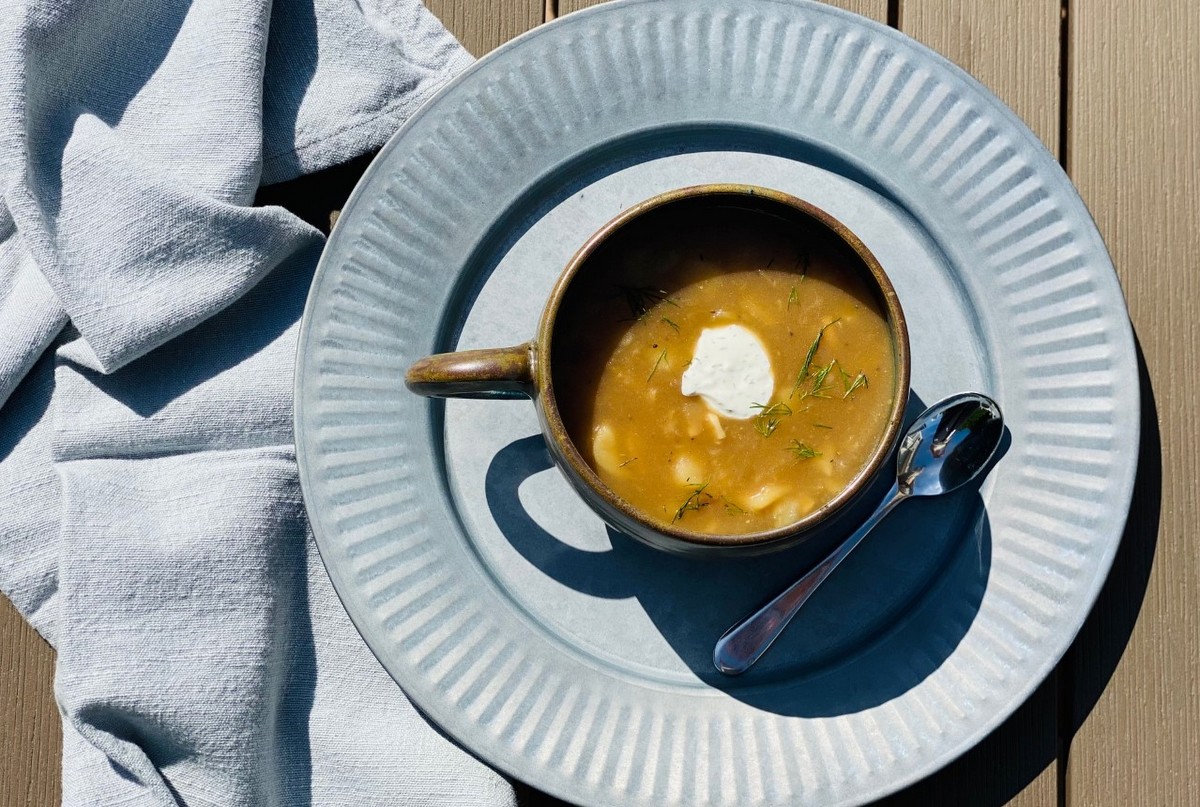
This potato soup is full of flavor, but very simple to make.  It combines the russet potatoes, onion, and garlic from this week’s share and uses the fresh dill as a possible topping.  This is a recipe the whole family will enjoy!

Potato Soup

Ingredients:
4 Tbsp butter
1 red onion, diced
2 cloves garlic, finely chopped
1 quart russet potatoes, peeled and cut into ½ inch cubes
5 cups vegetable broth, divided
1 tsp sea salt
½ tsp black pepper
3 Tbsp flour (*if gluten free, you can use a gluten free flour)
½ cup sour cream
2 tsp finely chopped fresh dill

  • In medium pot on stovetop, melt butter.
  • Add onion and cook on medium heat for 2 minutes.
  • Add garlic and cook an additional minute, stirring constantly.
  • Add potatoes and toss to coat.
  • Pour in 4 ½ cups broth (reserve ½ cup for use later), salt, and pepper. Bring to a boil.
  • Reduce to a simmer and cook for 20 minutes uncovered.
  • Mix the last ½ cup of broth with the flour in a small bowl. Slowly add to the soup, mixing as you go.  Allow to simmer for 2 more minutes.
  • Once the soup is done cooking, you can serve as is or you can blend it up to create a uniform texture.

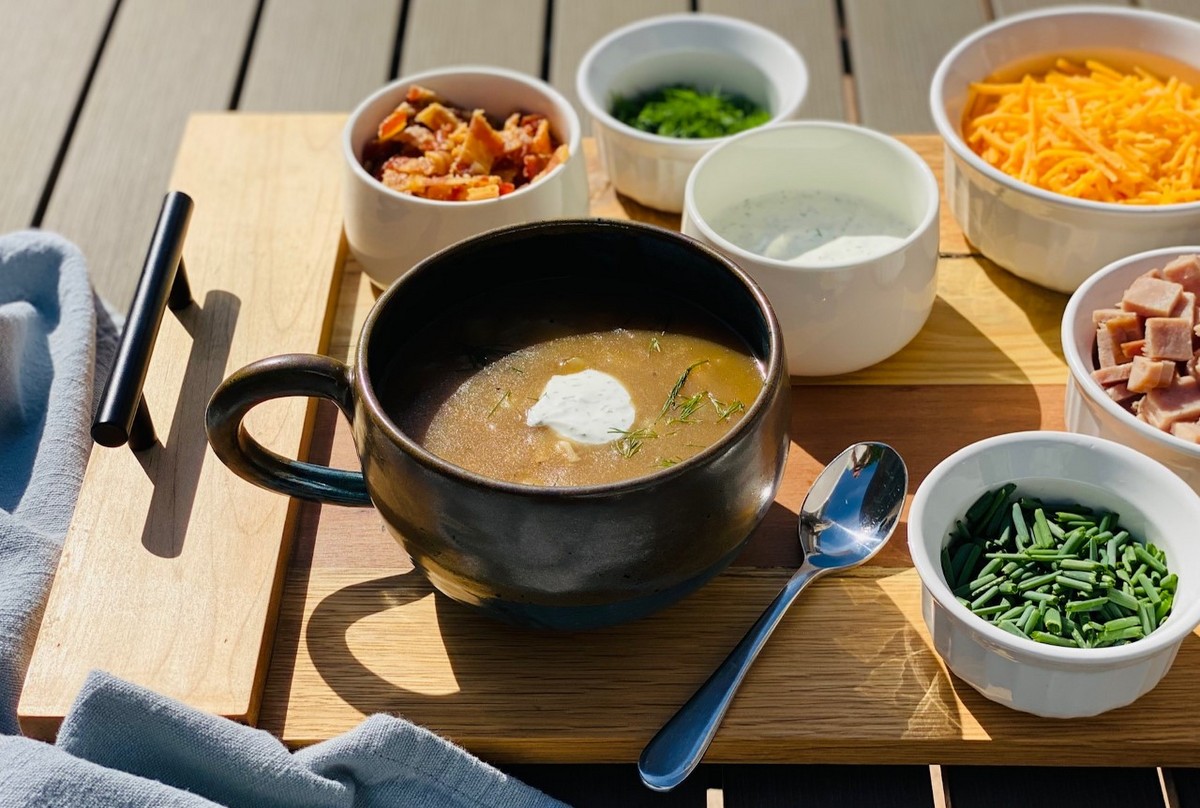
  • Dill Sour Cream: combine sour cream and dill in a small bowl. This can be used as a topping.
  • Divide soup into bowls. Top with the dill sour cream, shredded cheese, bacon, ham, fresh chives, fresh dill, etc.
  • Enjoy!

Recipe and photos by Stephanie Borzio.  Stephanie is a mom of three active boys and is an autoimmune warrior.  After battling her own health for several years, Stephanie found healing through food and lifestyle changes, including joining Blooming Glen Farm CSA of which she is a long time member.  She is a Board Certified Integrative Nutrition Health Coach who is passionate about sharing healthy living tips and real food recipes.  Instagram and Facebook: Tru You Essentials; Website: www.truyouessentials.com

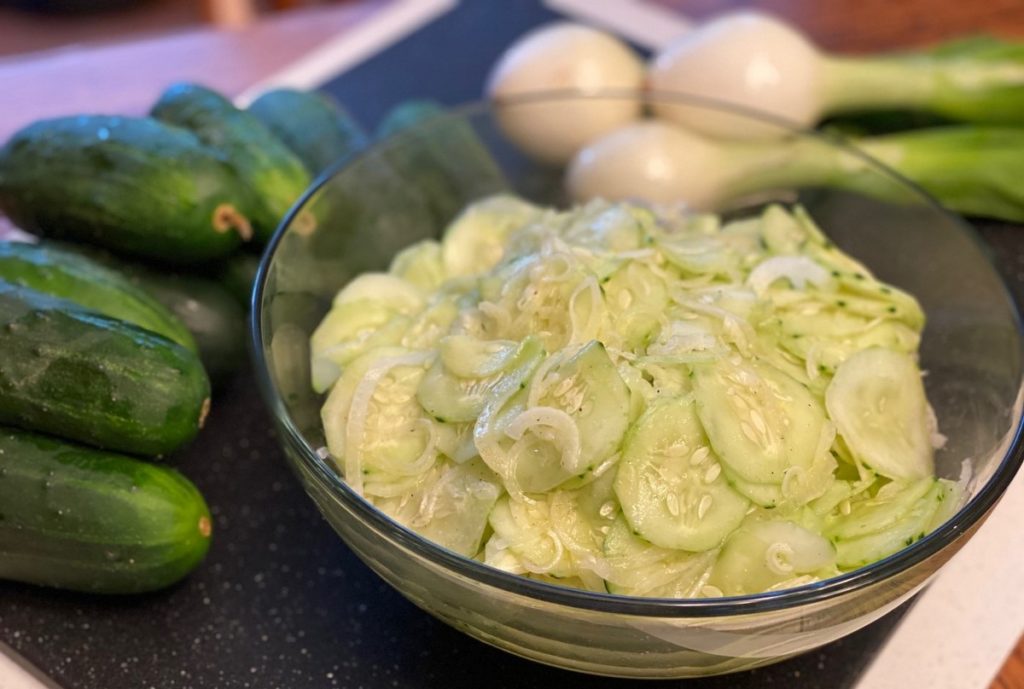
Cucumbers are a refreshing and welcome addition to our CSA shares!  There are so many amazing things you can make with cucumbers.  Simply slice them up and enjoy or use them in various recipes.  This week I have two wonderful recipes to share with you.  The first one is a family recipe for our cucumber salad.  It is a salad that has been passed on for generations, but I’m not sure a recipe was ever written down.  The second is an easy refrigerator pickle that can be ready in as little as 24 hours!

Cucumber Salad
Ingredients
5 Kirby cucumbers or 3 regular cucumbers
2 medium sweet onions or regular onions
6 Tbsp white vinegar
¼ cup olive oil
1 tsp sea salt
1 tsp honey
¼ tsp black pepper
¾ tsp garlic powder

  • Peel cucumbers. Thinly slice to about 1/16” or 1/8” on mandolin.  Place in large bowl.
  • Use the bulbs of the onions only. Cut bulb in half and then slice on mandolin (same thickness as cucumbers).  Place in bowl with cucumbers.
  • In small bowl, combine vinegar, oil, salt, honey, pepper, and garlic powder. Whisk well.
  • Pour dressing over cucumbers and onions. Mix well to coat.
  • Refrigerate until ready to serve.

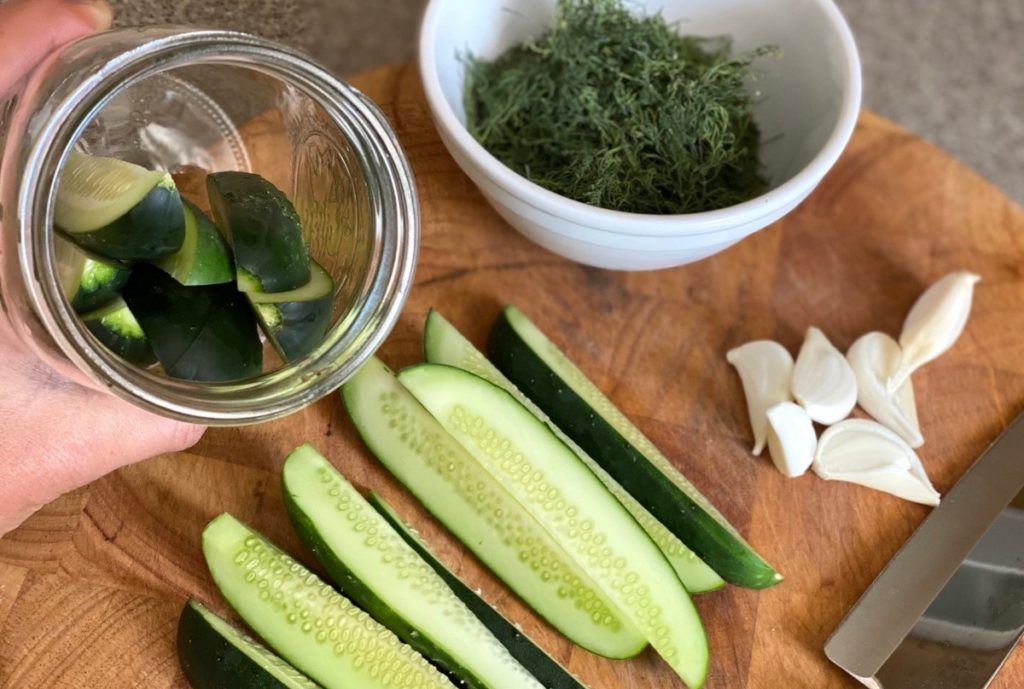
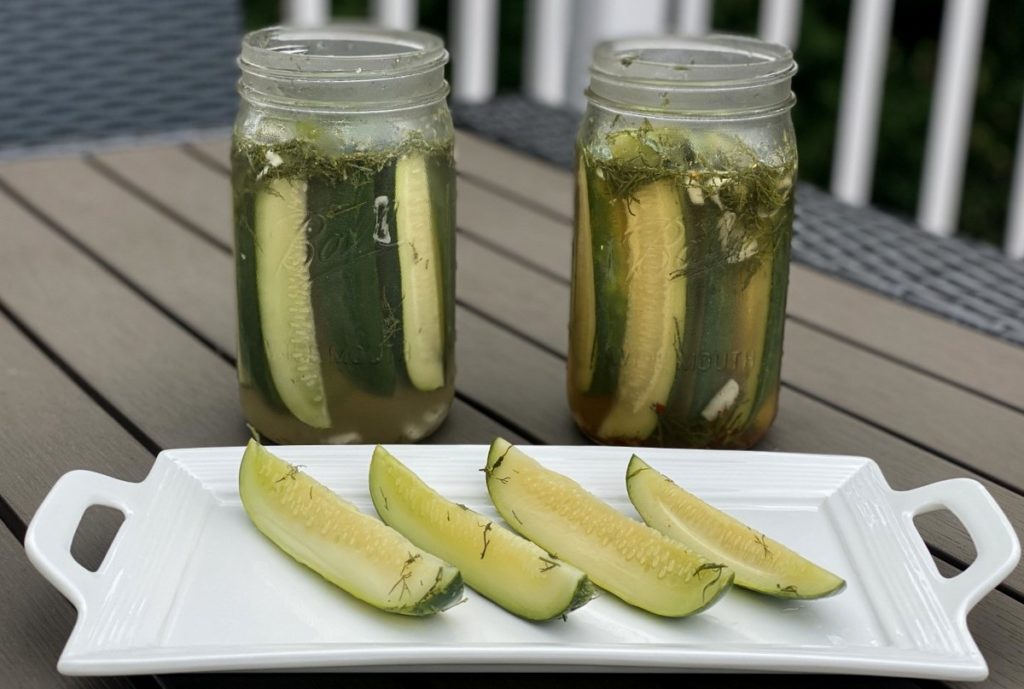
Refrigerator Pickles
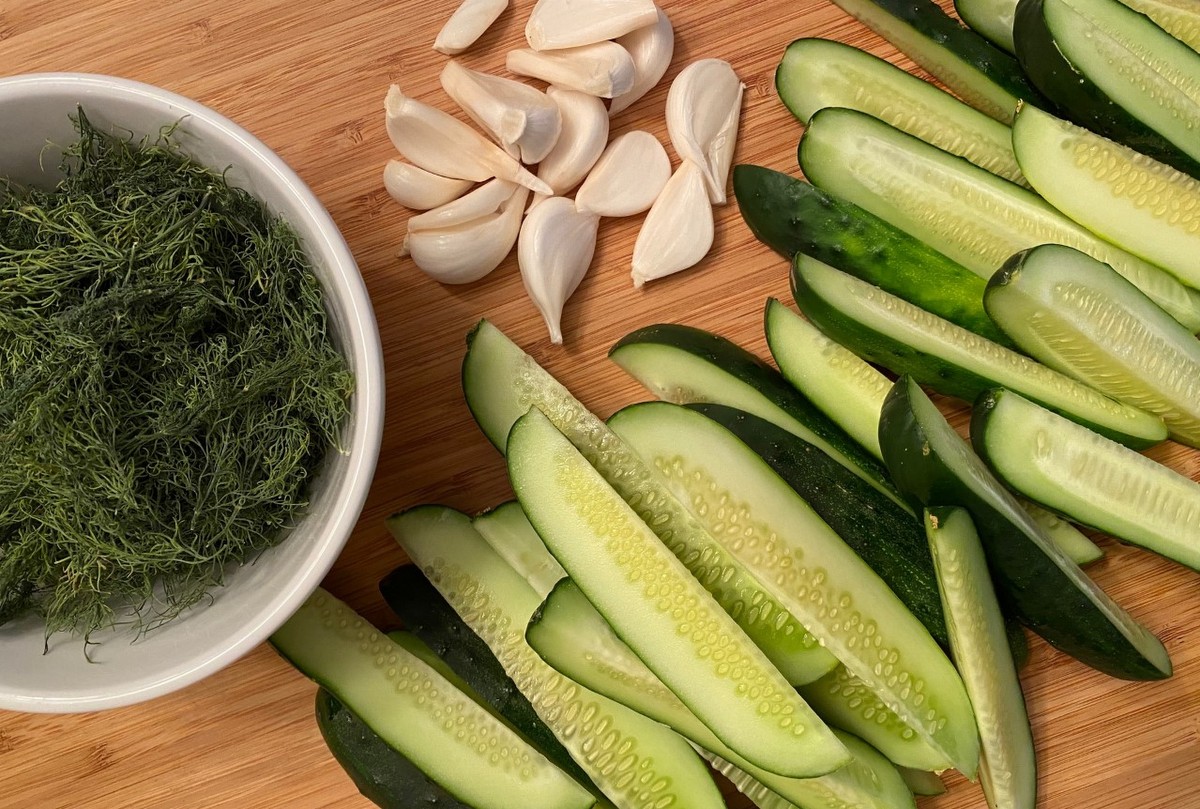
Fresh cucumbers + dill + garlic = the perfect blend for crisp, delicious pickles.  This recipe is easy and does not require canning.  Feel free to cut in half if you only want to make one quart jar. 

Ingredients
6-8 Kirby cucumbers (you can use other cucumbers, these are just my favorites for this recipe)
3 cups water
1 cup white vinegar
3 Tbsp honey
3 ½ Tbsp sea salt
5 tsp dried dill or 4-6 sprigs of fresh dill (I prefer fresh dill but sometimes only have dried on hand)
4 cloves fresh garlic

  • Clean two quart jars and lids.
  • Cut cucumbers into spears or rounds. Pack into jars.  The number of cucumbers needed varies depending on their size.  Cucumbers should be tightly packed.

  • Slice garlic and add 2 cloves per jar.
  • Add 2 ½ tsp dried dill to each jar or 2-3 sprigs of fresh dill to each jar.
  • In a medium saucepan, combine water, vinegar, honey, and sea salt. Bring to a boil and mix well.  Allow to simmer until honey and salt are dissolved.  Remove from heat and allow to cool to room temperature.
  • Pour liquid into each jar. Fill to the top.  Place lid on and gently flip upside down to mix.
  • Refrigerate for at least 24 hours.
  • Keep refrigerated. Best if eaten within 1 month.

**Optional: Add ½ tsp red pepper flakes to each jar or add fresh sliced jalapenos to give your pickles some spice.

Recipe and photos by Stephanie Borzio.  Stephanie is a mom of three active boys and is an autoimmune warrior.  After battling her own health for several years, Stephanie found healing through food and lifestyle changes, including joining Blooming Glen Farm CSA of which she is a long time member.  She is a Board Certified Integrative Nutrition Health Coach who is passionate about sharing healthy living tips and real food recipes.  Instagram and Facebook: Tru You Essentials; Website: www.truyouessentials.com

With the weather getting warmer it seemed the perfect time to cook some simple food that can be good on its own, be packed for a veg heavy picnic, or work as the anchor for food off the grill.

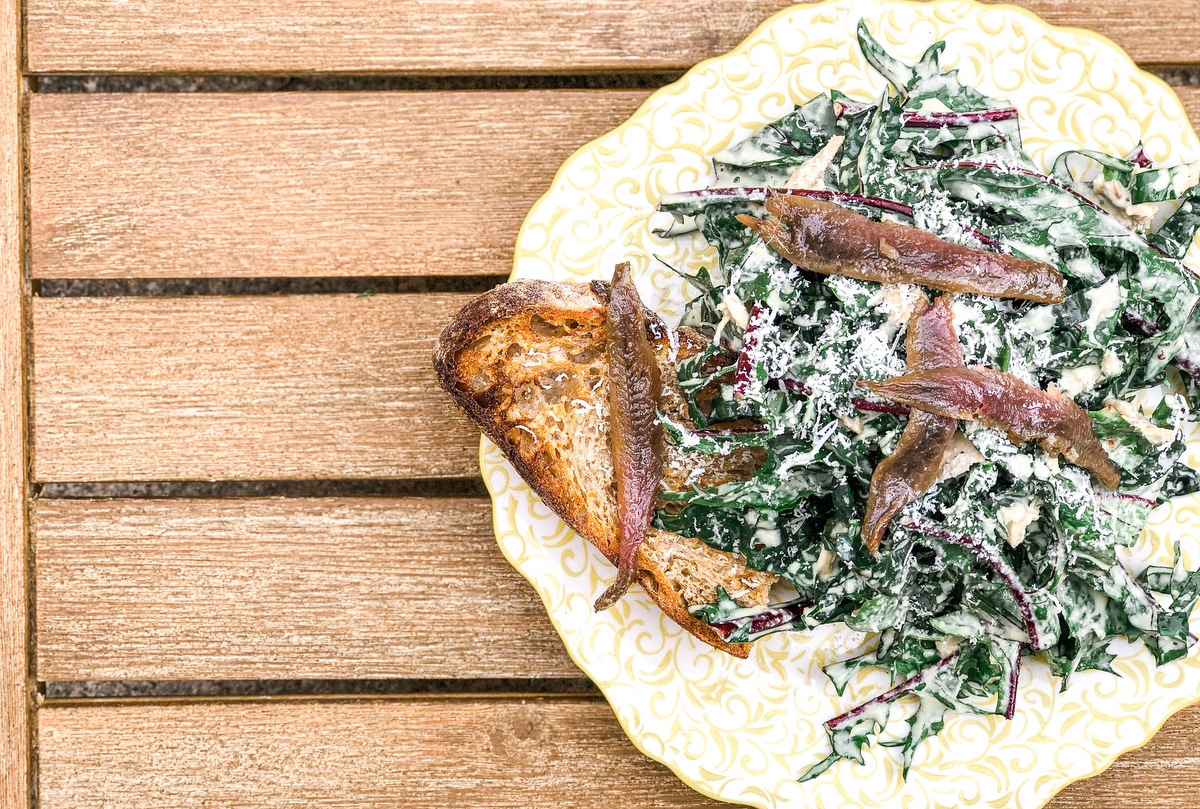
Dandelion & Kale Caesar
This salad is perfect for packing because the hearty greens actually improve after being dressed, becoming more supple and absorbing the dressing. For this reason we make the tonnato creamier than regular caesar dressing. (*Tonnato is an Italian condiment often made with tuna, anchovies, olive oil, and mayonnaise or egg.)

Ingredients
1/2 bunch kale, cut into quarter inch ribbons, bottom stems removed
1 bunch dandelion, cut every two inches, bottom stems removed
1 6oz can of tuna, drained
1 yolk
1 oz white wine vinegar
.5 oz grated pecorino cheese, with more to garnish
1 tablespoon water
1 garlic clove
3 oz olive oil
salt and pepper
anchovy filets
crusty bread to serve

Place the yolk, grated cheese, vinegar, water, garlic, and half the tuna in a blender. Blend on medium speed until smooth, then stream the oil in. Season with salt and pepper. Place the greens and remaining tuna in a bowl, and dress well, seasoning aggressively with black pepper and salt. Place a piece of well toasted crusty bread on each plate or container you are using and place the dressed salad on top of it. Sprinkle some extra cheese and place over a few anchovy filets.

Genovese Pasta Salad

In Genoa, where basil pesto comes from, they enjoy their pasta with beans and potato. It’s delicious, but rather than hot, it makes a great salad (even better when the first cherry tomatoes come). Just like the Genovese, you can cook everything in one pot.
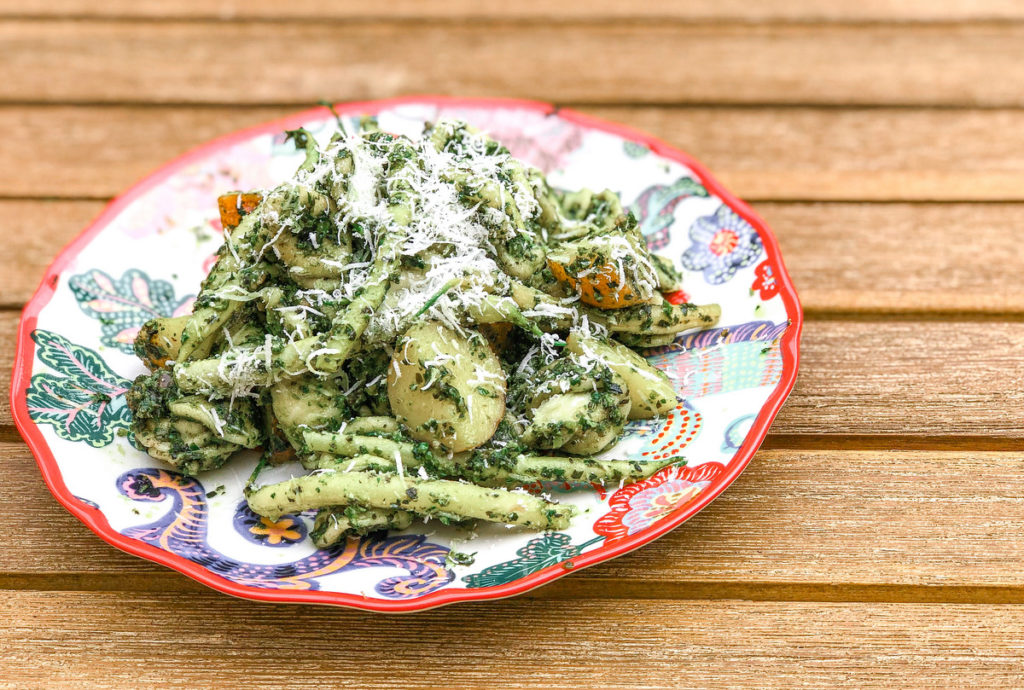
Ingredients
8 oz Orecchiette, or your favorite short pasta
1 bunch basil
1/4 bunch parsley
1 bunch garlic scapes, ends and flower heads trimmed
1 oz grated pecorino
1 clove garlic, crushed
1.5 oz sunflower seeds
4 oz olive oil
4 small potatoes, quartered
1/2 quart green or wax beans, trimmed
1/2 lemon

Bring a medium pot of water to a boil and salt aggressively. Add the pasta and cook according to the directions on the label. With 8 minutes to go, add the potato. With 1 minute to go, add the beans. Drain well and dress the pasta and vegetables in a little olive oil to prevent sticking. Heat a cast iron pan to smoking and place the scapes in. Add a shot of oil and let them char one minute, resist the temptation to move them, then turn, and let char another minute. Remove to a board, and let cool, then chop finely. Add the scapes, herbs, garlic, cheese, and seeds to a food processor. Blend thoroughly, then stream in the oil. Season with salt and dress the pasta and vegetables with it. Squeeze the lemon through and dress as soon as possible to eating.

Grilled Cucumber and Fennel, tahini dressing

Grilling cucumber brings out the vegetale notes, and makes it more nuanced, and somehow juicy, and the fennel adds good sweetness. Keeping the vegetables in large pieces helps them hold up.
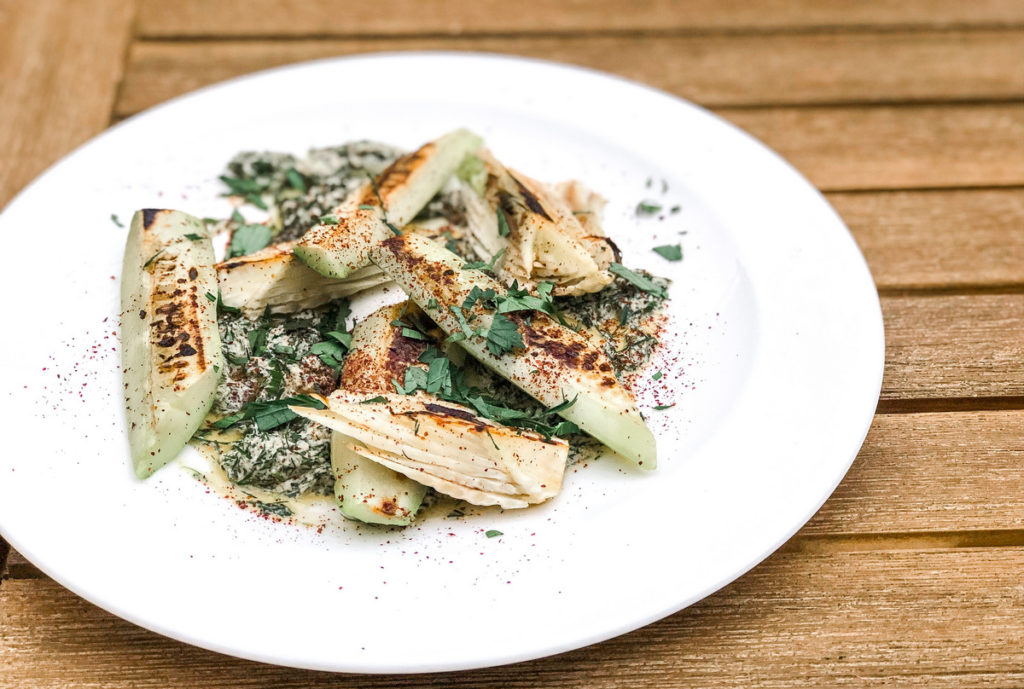
Ingredients
1 cucumber, peeled
2 fennel bulbs
1 clove garlic, grated
2 Tbs. tahini
juice of 1/2 lemon
1/4 bunch of dill, chopped fine
2 Tbs. water
1 teaspoon smoked paprika, preferably from Coddiwomple Canning
2 oz olive oil
Sumac to garnish

In a bowl place the tahini and stream the olive oil in while continuously whisking. Next, add the lemon juice, and then the water until you reach the desired consistency. Add the grated garlic, paprika, and dill and season with salt. Cut off the fennel stalks and reserve for future use. Cut ends off the bulbs, then in half, and remove the out leaves. Cut the core out of the bulb in a ‘V’, leaving enough that the bulb stays intact. Cut the cucumber into quarters lengthwise, then slice away some of the seedy core to make a flat surface. Cut those pieces in half horizontally. Rub the vegetables with olive oil and season with salt. On a very hot grill, place the cucumber seed side down for one or two minutes until charred but still mostly raw. Remove and cool. Place the fennel cut side down on a less hot section, and cook until well grilled, and about half cooked. Remove and cool. Dress a plate with the tahini and place the vegetables over top. Give a liberal sprinkle of sumac and serve.

Minestrone

The first time my aunt went to visit our family in Italy each of our great aunts served her minestrone. More than 40 years later she refuses to eat it. I don’t suffer from the same affliction. Soup like this is restorative, and a great way to use the odds and ends left over from your CSA, plus the trimmings in broth, extra which can always be stored in the fridge for up to one week and frozen for no more than three months. We would serve it with a side of crusty bread or focaccia and a ball of mozzarella or burrata for a perfect lunch.
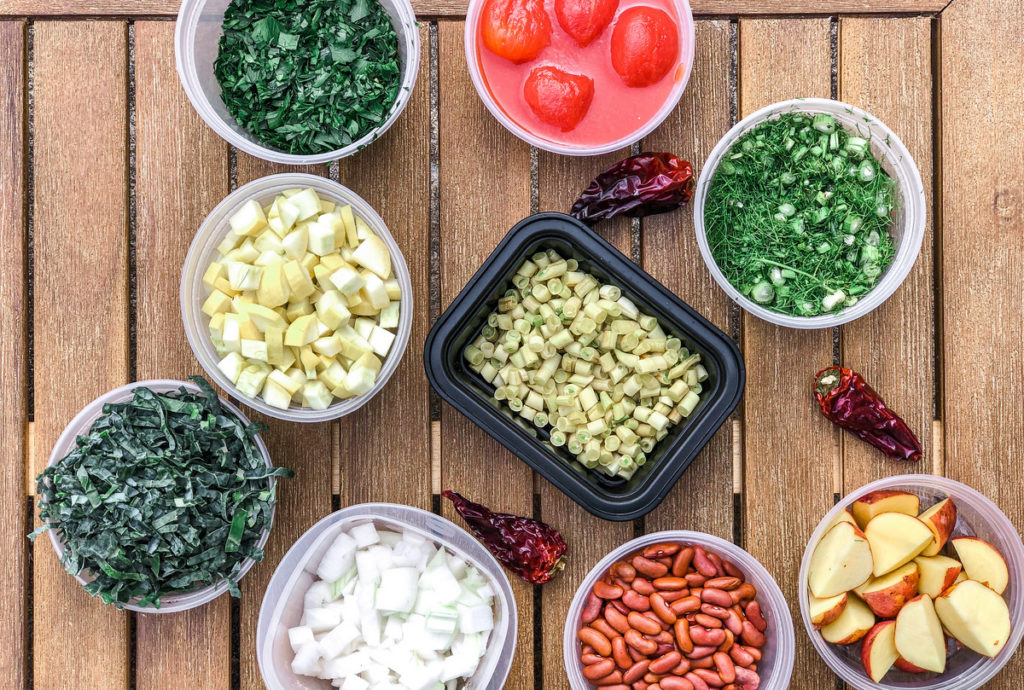
Ingredients
2 quarts vegetable broth (recipe below)
1 onion, small diced
3 cloves garlic, sliced
2 fennel stalks, sliced
1 squash, diced
1 cup peeled tomato and their juice, lightly crushed
1 cup dried beans, cooked ahead
1 cup kale, finely sliced
6 small potatoes, cut in half
1/4 bunch parsley, chopped
ground chili or chili sauce

In an instant pot, place all the trims from the vegetables for the week. Add a touch of oil and salt and turn on sauté . When you smell a bit of burning, and this is good!, add two quarts of water, seal, and pressure cook for 30 minutes. If you don’t have a pressure cooker, cook the vegetable bits in a heavy bottom pot until fragrant, then add the water and simmer for 70 minutes. Then strain the broth through a fine mesh sieve.

Sweat the onion and garlic on medium heat in some olive oil until translucent. Add a pinch of salt now, and every time you add an ingredient, to build the layers. Next add the fennel, and cook for one minute. Then the squash, potato, and kale, cooking until the kale starts to wilt. Then add the rest of the ingredients, bring to a boil, then cover and simmer on low for 20 minutes. Adjust the seasoning to your liking, and garnish with a splash of oil and some chili.

Palmer Marinelli is the Executive Director of Roughwood Table, an organization that uses heirlooms seed saving to shine a light on local foodways. Originally from Washington Crossing, he has been cooking locally for almost 20 years. 
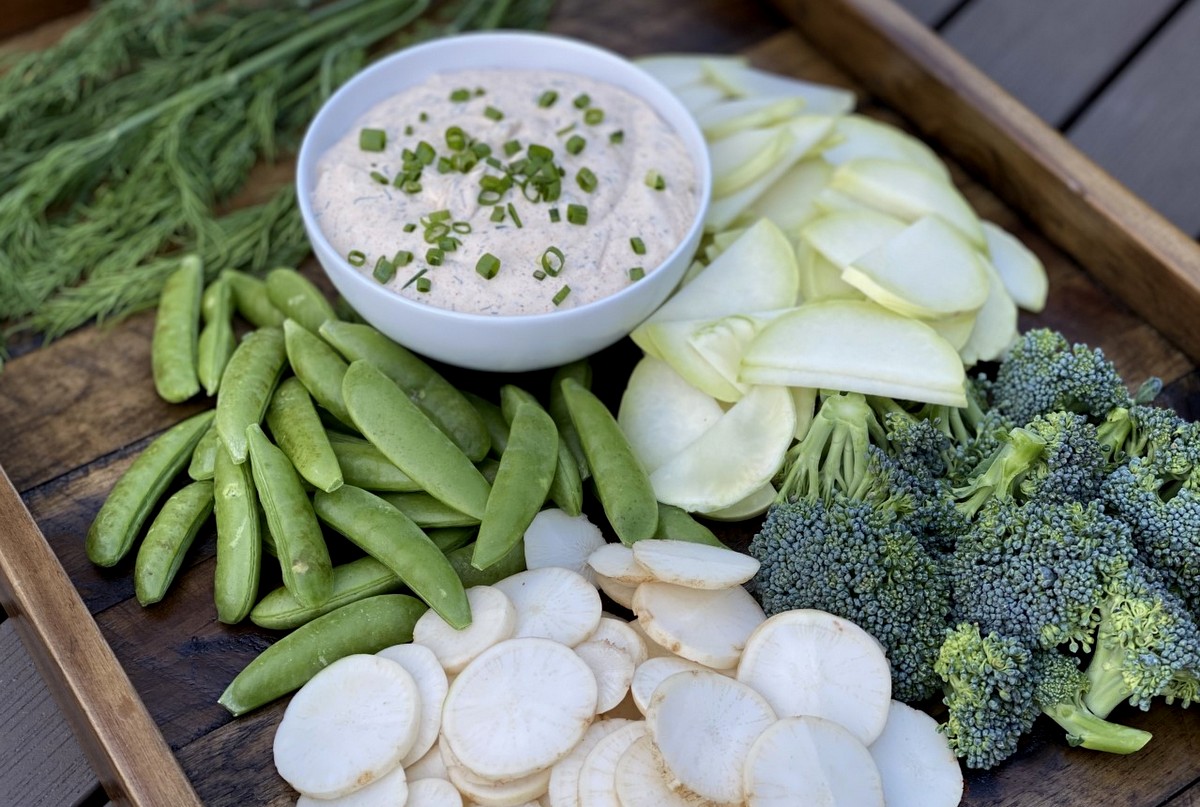
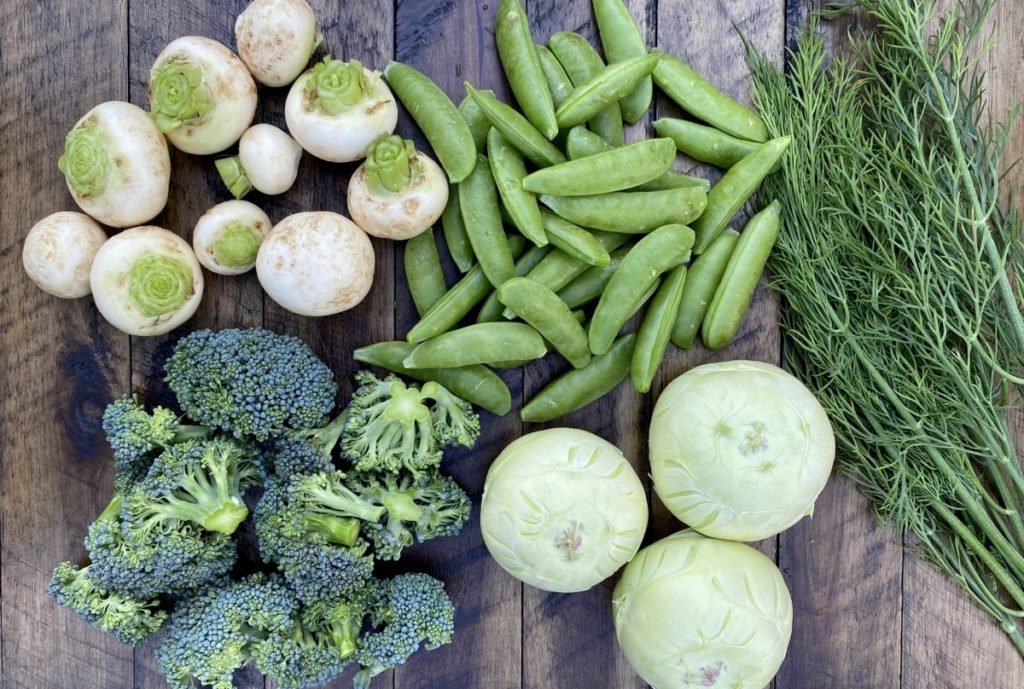
Although it is fun to create new and unique recipes, sometimes it is great to just let the produce shine on its own.  This week’s share was filled with so many amazing vegetables that can be eaten raw.  Pair them with a nice dip and you have an easy appetizer or snack.

Crudité Ingredients:
1 bunch kohlrabi bulbs
1 small head broccoli florets
1 bunch hakurei turnips
1 pint sugar snap peas

 Dip Ingredients:
8 ounces sour cream or yogurt
8 ounces mayonnaise
2 ½ Tbsp fresh dill, finely chopped
¾ tsp onion powder
1 tsp garlic powder
1 tsp fresh parsley, finely chopped
2 tsp paprika
¼ tsp sea salt
¼ tsp black pepper
2 tsp scallions, finely chopped (for garnish)

  • Clean and chop vegetables. I left the sugar snap peas whole, chopped the broccoli into bite size pieces, sliced the turnips into thin rounds, and sliced the kohlrabi into rounds and then cut in half.  I did not peel the turnips or the kohlrabi.
  • Combine all of the dip ingredients in a medium bowl. Mix well.  Garnish with scallions.  Chill until ready to serve.
  • Store any leftover dip and vegetables in airtight containers in the refrigerator.


Recipe and photos by Stephanie Borzio.  Stephanie is a mom of three active boys and is an autoimmune warrior.  After battling her own health for several years, Stephanie found healing through food and lifestyle changes, including joining Blooming Glen Farm CSA of which she is a long time member.  She is a Board Certified Integrative Nutrition Health Coach who is passionate about sharing healthy living tips and real food recipes.
Instagram and Facebook: Tru You Essentials; Website: www.truyouessentials.com

Fresh herbs are appearing in this week’s share. Sometimes it can be challenging to use all your herbs up while they are still fresh. One method of preservation is to freeze- wrap your hardier fresh herbs (dill, thyme, sage, rosemary) in a paper towel, place in a plastic freezer bag, and squeeze the air out and freeze. This will keep for months in your freezer- just break or chop bits of the frozen herb into whatever recipe you would like. Or spread out on a single layer on a cooking tray and freeze then bag up for less clumping. More tender herbs like cilantro, parsley or basil can be blended and frozen in ice cube trays.

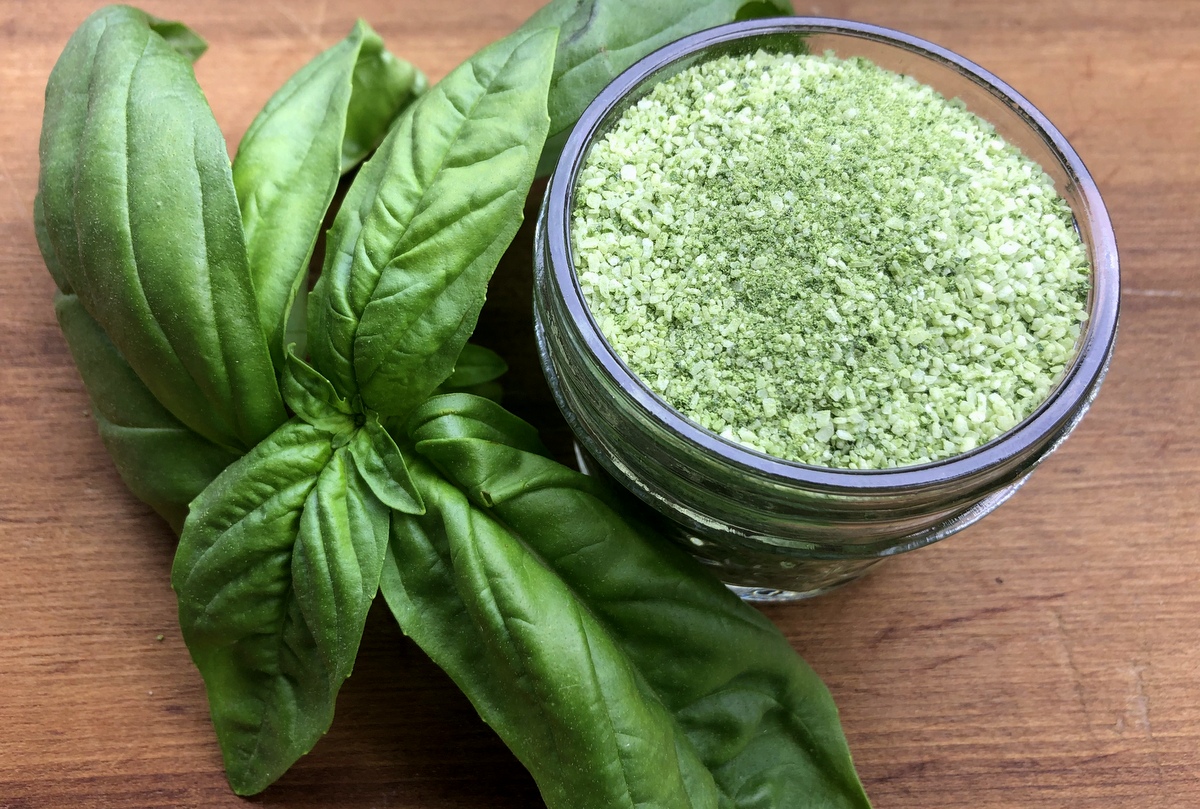
Basil Salt (pictured above)
Making salt blends is a great way to preserve any fresh herb. Basil salt in particular lends itself to many uses: sprinkle on tomato sandwiches, on popcorn, corn-on-the-cob, or tomato soup. Enjoy it on the rim of a refreshing summer cocktail. (Blackberry Basil Margarita with Basil Salt?!)

Ingredients
1 cup packed fresh basil leaves (about 1/2 a bunch)
1/2 cup kosher salt (I used coarse but you could certainly use whatever salt you have on hand)

Preheat oven to 225 degrees, and line a baking sheet with parchment paper. Pulse the basil leaves in your food processor, add the salt and continue to pulse. Spread the mixture on your prepared tray and dry in the oven for 15 min. Remove from oven and stir, breaking up any clumps. Bake for another 15 min. Remove from oven, stir, and add more drying time if mixture appears wet at all.  When drying is complete, using the parchment paper as a sling, transfer back to your clean, dry food processor. Regrind. Store on your counter or in the fridge, in an airtight container, for up to 4 months.

Recipe and photo from Tricia Borneman.

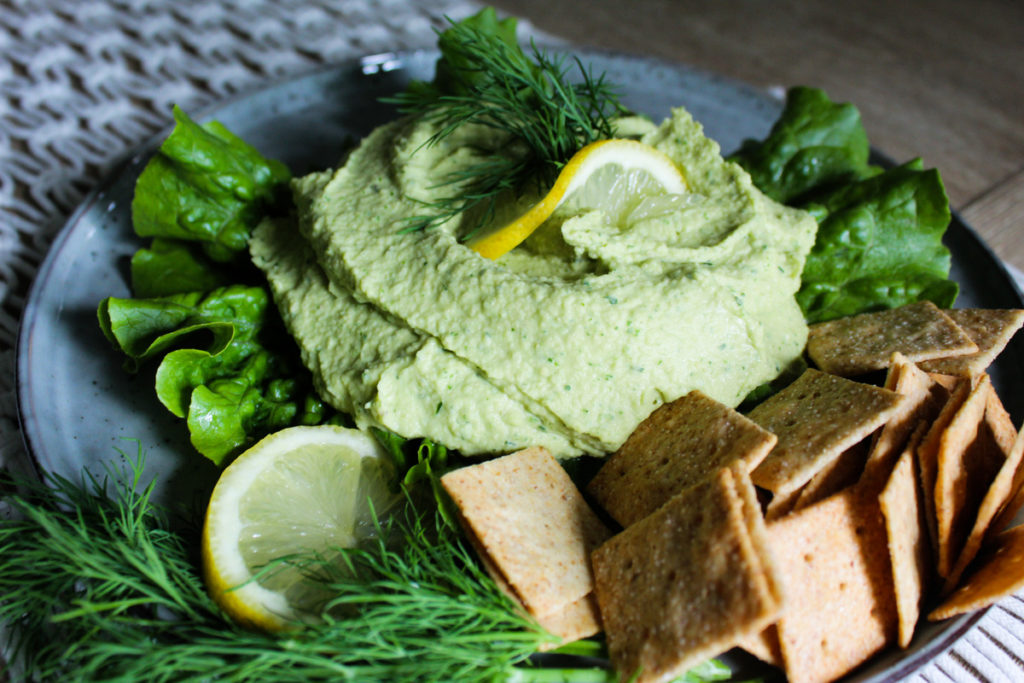
Lemon Dill Hummus
The creamiest, herb hummus that takes five minutes to whip up! Serve on a salad, or enjoy with crackers or veggies (like thinly sliced kohlrabi) for a snack:

Ingredients
2 cans chickpeas
1/2 cup oil (avocado or olive works)
juice of 1 large lemon, about 1/4 cup
1/2 cup dill without stems
1 green garlic
1/4 tsp cumin
salt and pepper

Blend in food processor till smooth!

Recipe and photo from Olivia Edgar.

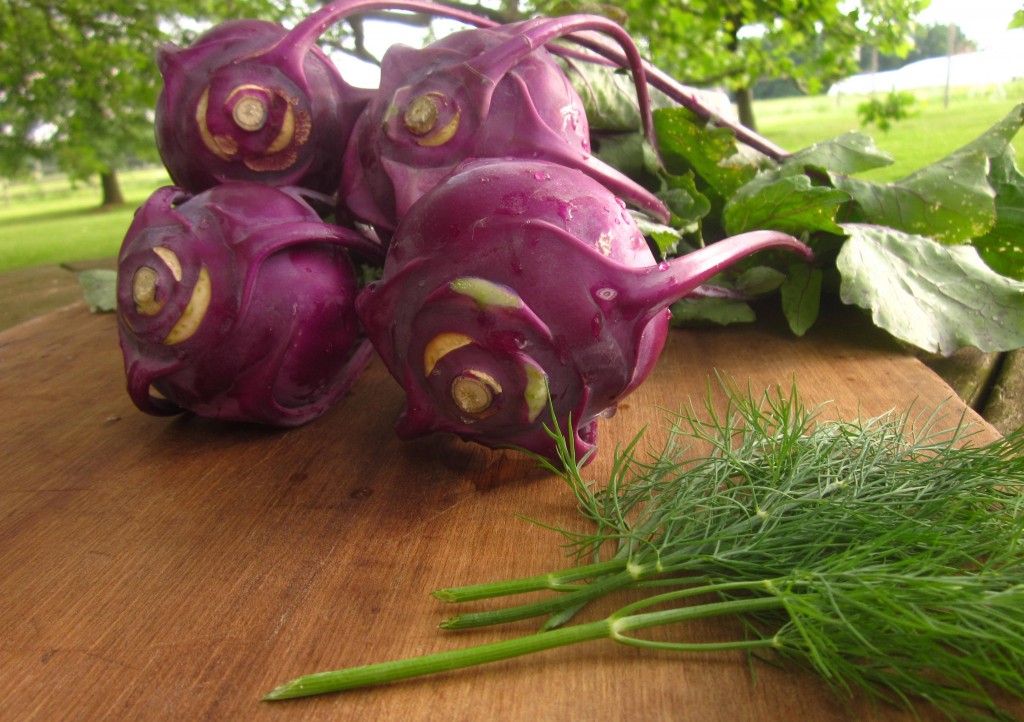
If you’re like a lot of our market customers and CSA members, you might find yourself puzzled as to what to do with that oddly shaped vegetable you picked up this week. On first glance it can be daunting to figure out how to even begin to use it. But kohlrabi, which comes from Eastern Europe and is the German name for ‘cabbage turnip’, is really just a strange looking sister to the cabbage family and can be used in many similar ways. You can eat the bulbs raw or cooked. Shred them into a salad with some lemon juice or substitute them for cabbage in your favorite coleslaw recipe. They are equally delicious cooked into a stir-fry or vegetable sauté.

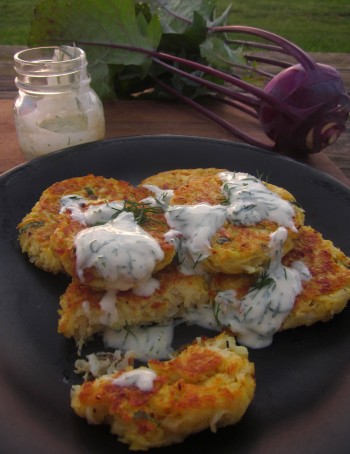
I’m new to kohlrabi myself. But, I’ve already found my favorite way to use it… in fritters! Mostly composed of ingredients you’ll already have in your cupboard or refrigerator, they are really simple to whip up and take very little time. You can use them as a side dish or for a lighter meal, pair them with a spring salad mix. However you use them, one thing is for sure, you’ll definitely remember them the next time kohlrabi season comes around!

Start by combining the following ingredients for yogurt dip and refrigerate 30 minutes before serving: 1/3 cup yogurt, 3 Tablespoons chopped fresh dill, 1 teaspoon lemon juice and salt to taste. *For a different sauce, you can replace the dill with cilantro and the lemon with lime juice, and add a bit of honey. Or try mint!

Meanwhile, peel and shred the 4 kohlrabi bulbs into a colander and sqeeze out excess moisture. In a separate bowl combine 2 beaten eggs, 3 Tablespoons dried bread crumbs, 1/4 cup chopped spring onion (you can add in some green garlic too if you have it), 1 teaspoon of salt, 1/4 teaspoon crushed red pepper and black pepper to taste. Add kohlrabi by the spoonful and mix until egg is coating the entire mixture. Heat 4 Tablespoons of olive oil in skillet until small bubbles appear. Form fritter mixture into two-inch balls and drop into skillet. Press gently with spatula to flatten. Cook for 5-7 minutes on each side, or until golden brown. Serves 4-6

Recipe adapted from: From Asparagus to Zucchini, A Guide to Cooking Farm Fresh Produce (3rd ed.). Photos and text by Blooming Glen Farm apprentice Rebecca Metcalf.

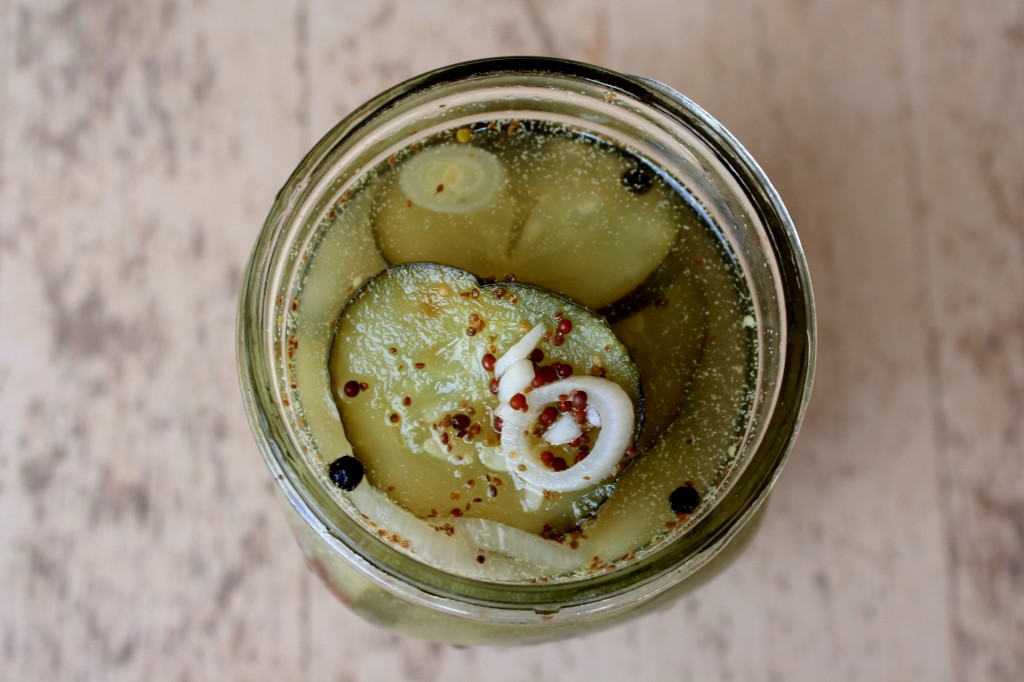
Don’t get me wrong, home-canning is probably one of the best ways to preserve excess fruits and veggies (not to mention rather necessary when you are trying to keep something in your cupboard through winter). However when it comes to pickles, it seems I always gobble them up within about a week of making them–rendering all that tedious canning effort a bit of a waste. I was simply amazed to discover a few years ago that you could make pickles in just a few hours with minimal effort and be eating them the next day. I actually prefer fermenting my pickles without vinegar…but sometimes your pickle craving just can’t wait! I wrestled up some recipes from Sherri Brooks Vinton’s book Put ’em Up! for two types of fridge pickles: bread-and-butter and classic dill.  They are prepared the same way except for the spices used at the end. The end product is very crunchy and both are just perfect for burgers or to eat right out of the jar!

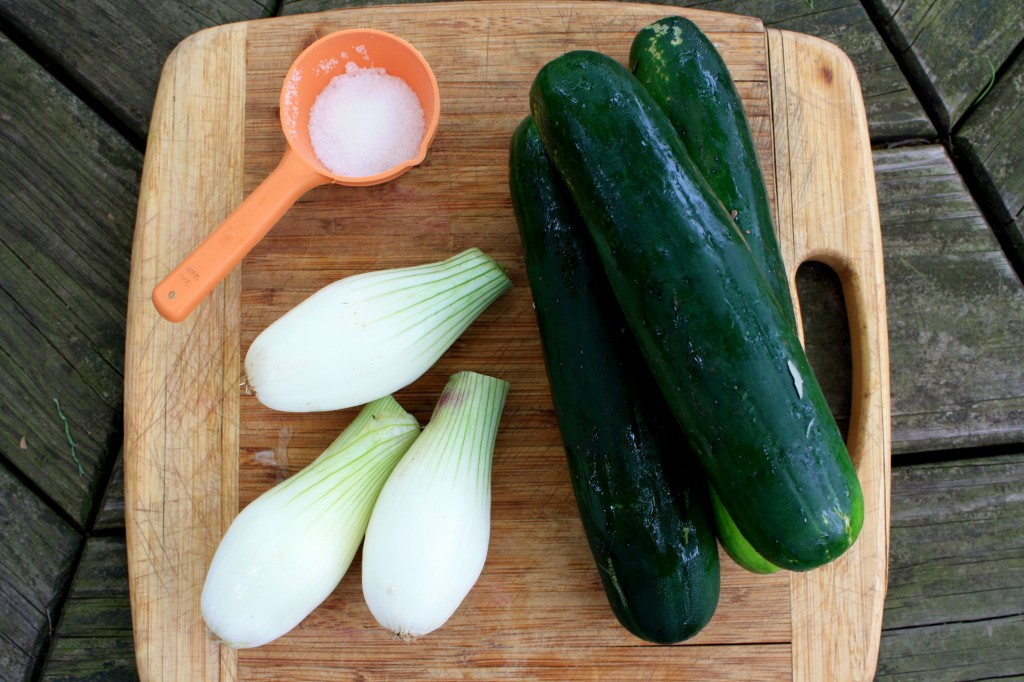
Just start with some salt, 3 cucumbers, and a bunch of sweet onions from your share.

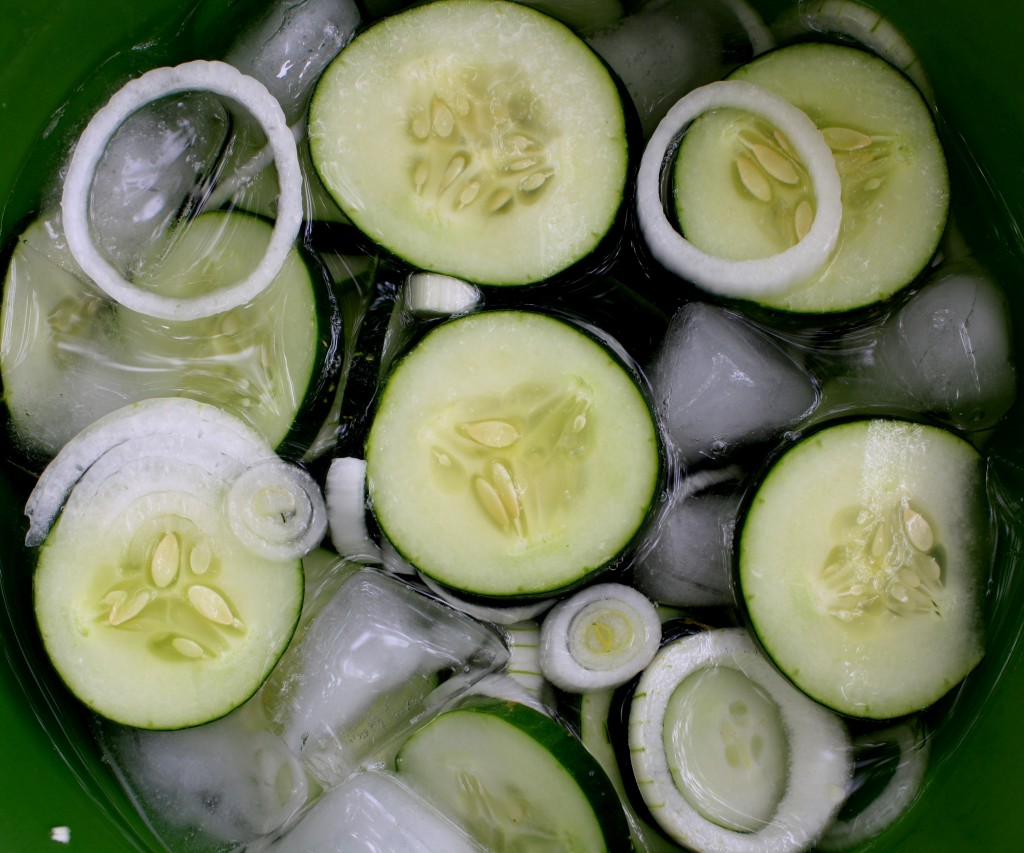
-Cut your cucumbers into 1/4 inch slices and your onions into rings. Place in large bowl.

-Prepare brine by dissolving 1 1/2 teaspoons of kosher salt into two cups of water.

-Pour brine over cucumbers and onions. Add a few cups of ice cubes and more water to cover the veggies. Let the bowl sit in your fridge for 2 hours to get crunchy and absorb some of the brine.

-Drain veggies in colander and rinse.

For Bread-and-Butter Pickles, combine in a non-reactive saucepan:

2 cups distilled white vinegar
1 cup water
1/2 cup sugar
1 tablespoon mustard seed
1 1/2 teaspoon black peppercorn
1 1/2 teaspoon celery seed
1 1/2 teaspoon turmeric
1 1/2 teaspoon kosher salt

For Classic Dill Pickles, combine in a non-reactive saucepan:

2 cups distilled white vinegar
1 cup water
1 tablespoon sugar
4 green garlic cloves, minced
1 teaspoon black peppercorn
1/2 teaspoon celery seed
1 tablespoon dill seed
1 1/2 teaspoon kosher salt
1 teaspoon red pepper flakes (optional)

-Bring to a boil. Add the drained vegetables and return to a boil, stirring to ensure that all of the veggies are heated through. Remove from heat. Ladle into bowls or jars (this recipe makes a quart and a pints worth). Cool, cover and refrigerate for up to three weeks.

Recipe and photos by Jana Smart- Blooming Glen Farm employee and frequent creator of creative recipes using farm fresh seasonal ingredients. Check out more of her recipes on her food blog http://www.agrarianeats.blogspot.com/