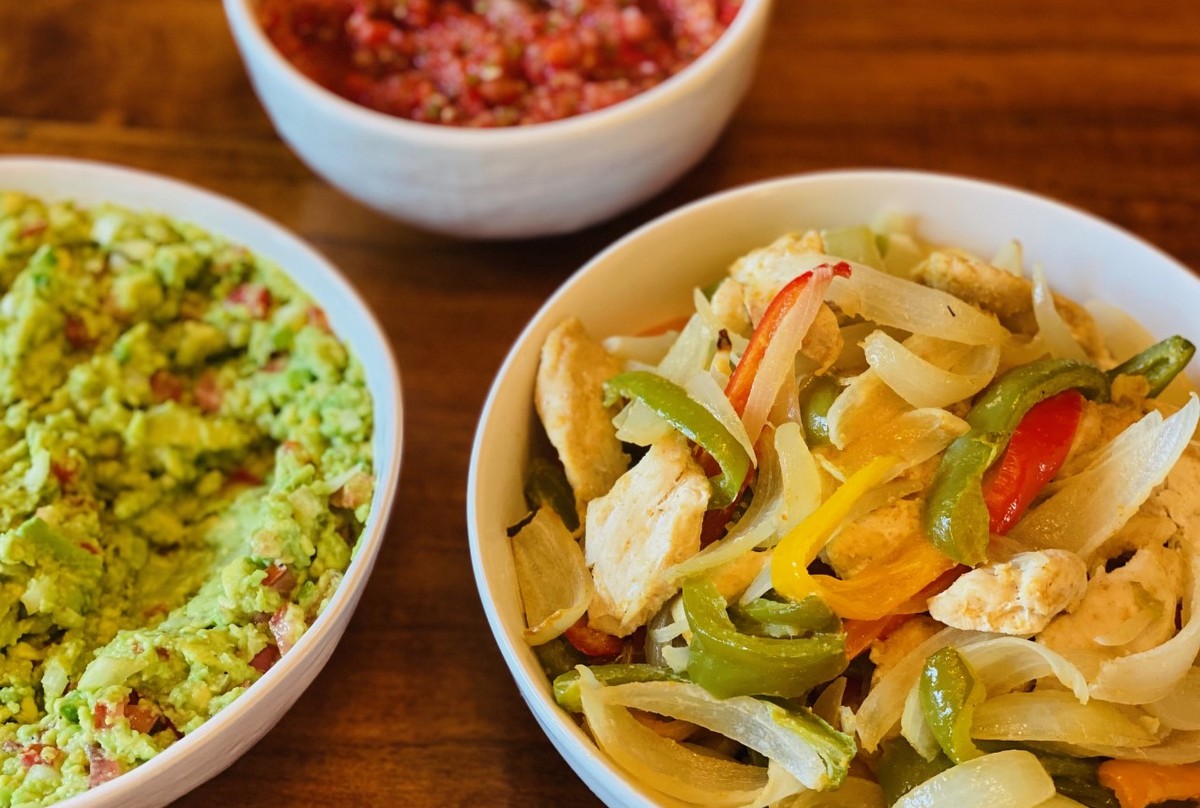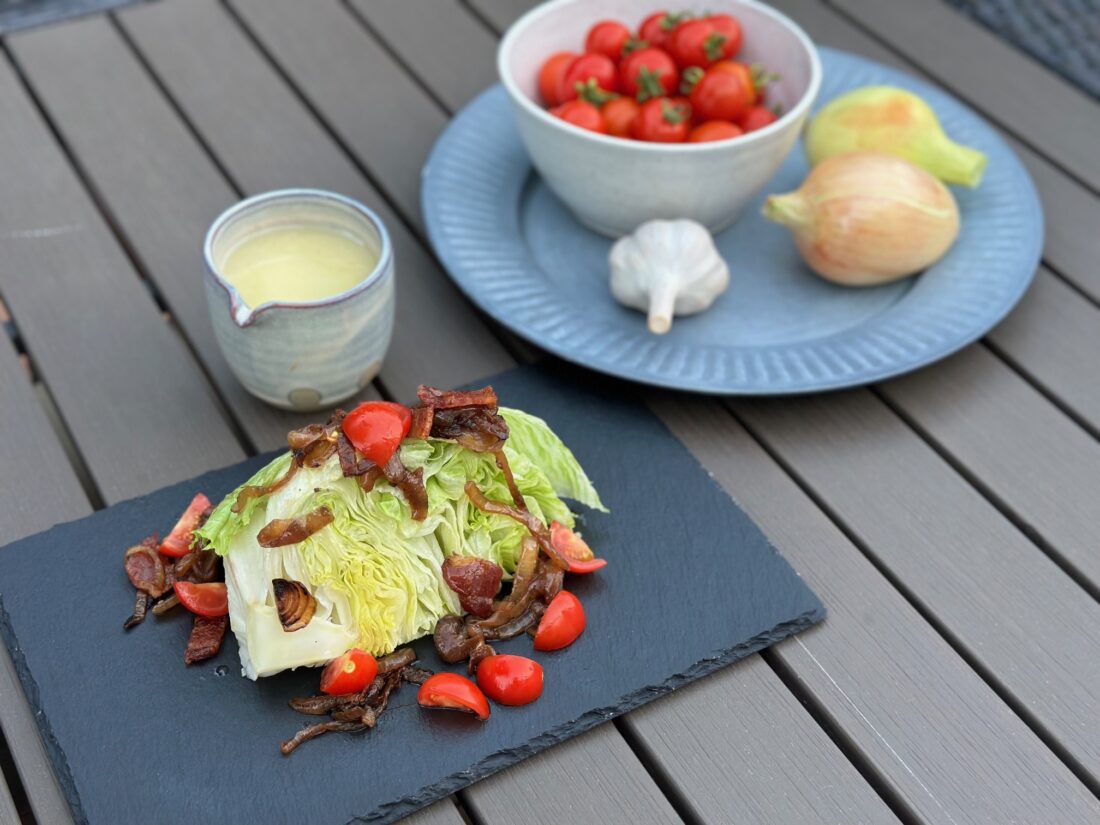
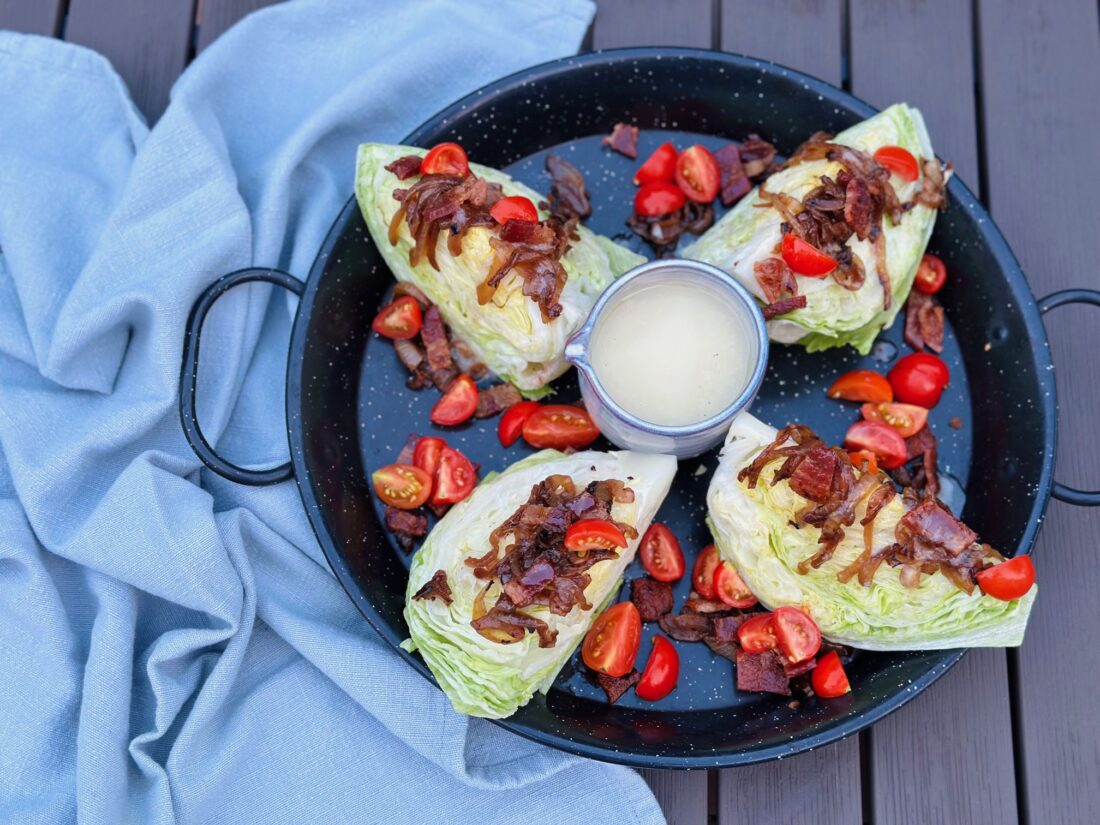
10 Aug Wedge Salad with Roasted Garlic Dressing
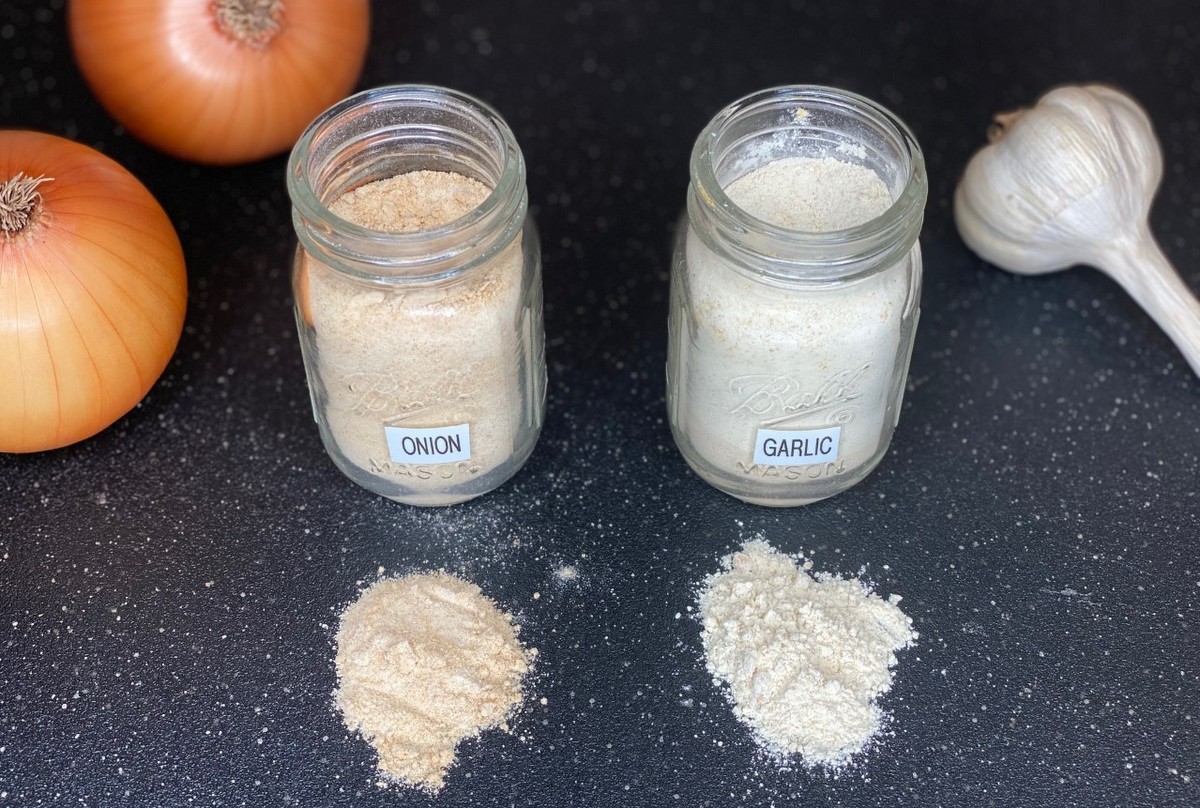
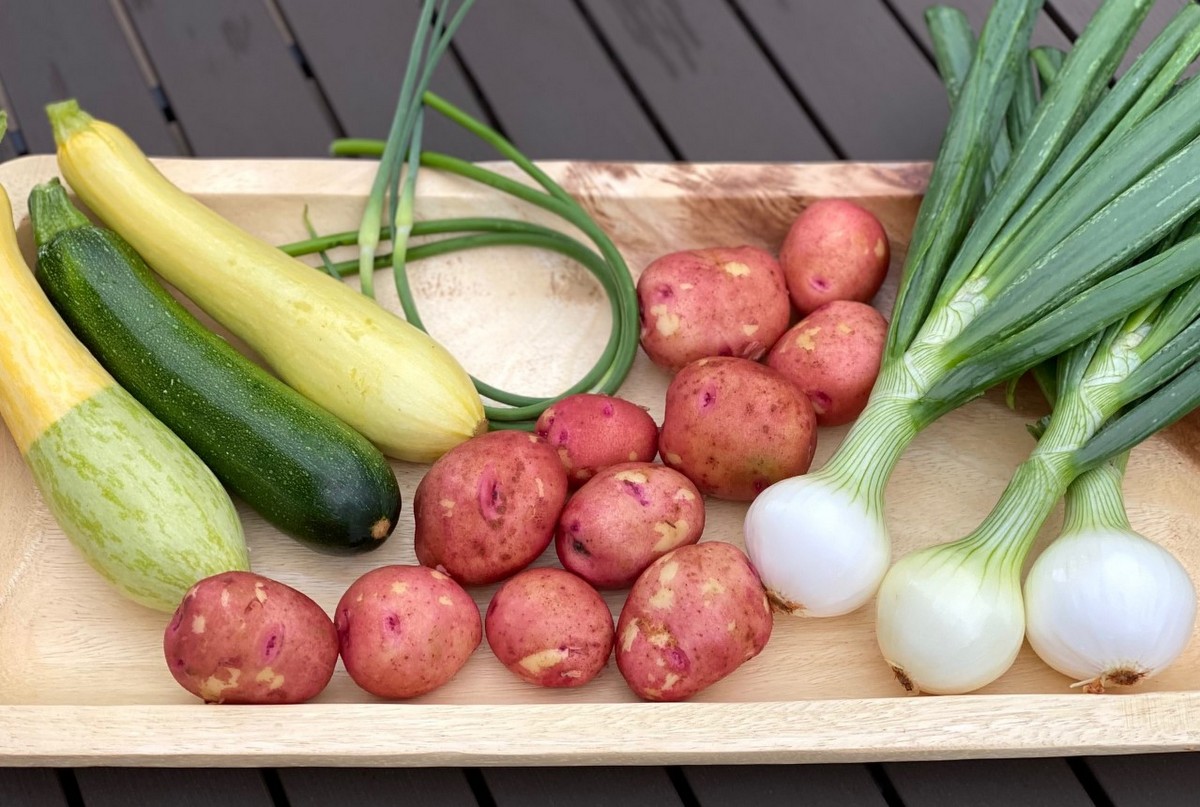
My family loves wedge salads but we have only ever had them when eating out. I have been dreaming of creating a farm version of this traditional restaurant favorite. This recipe showcases garlic as the key ingredient in the dressing, but also uses the sweet onions and cherry tomatoes from this week’s farm bounty.
Wedge Salad with Roasted Garlic Dressing
Ingredients:
1 head iceberg lettuce
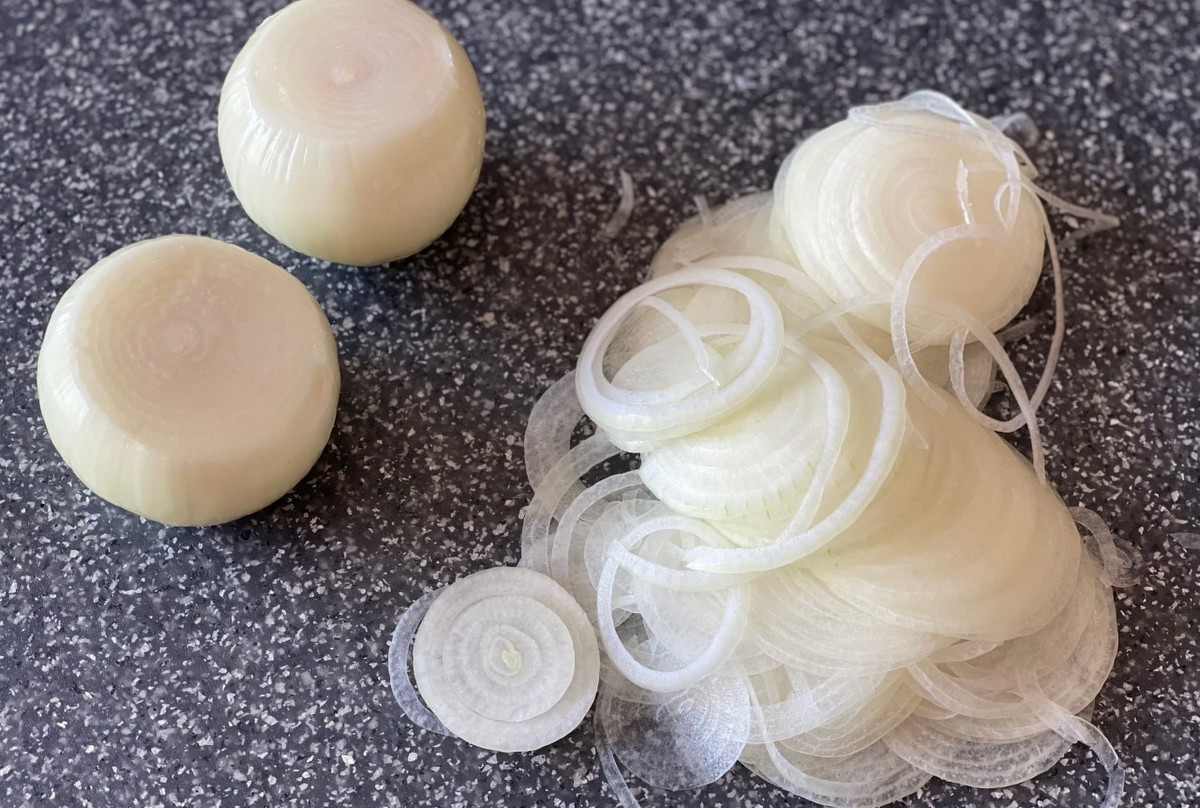
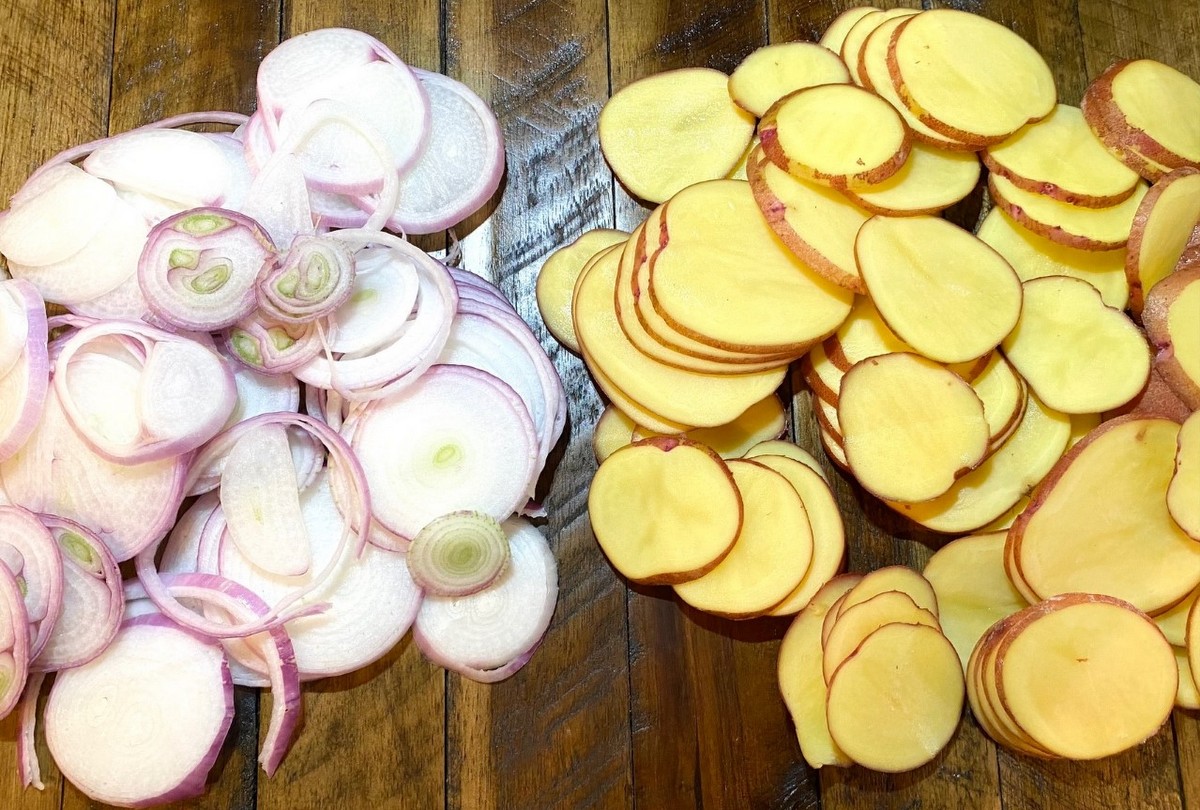
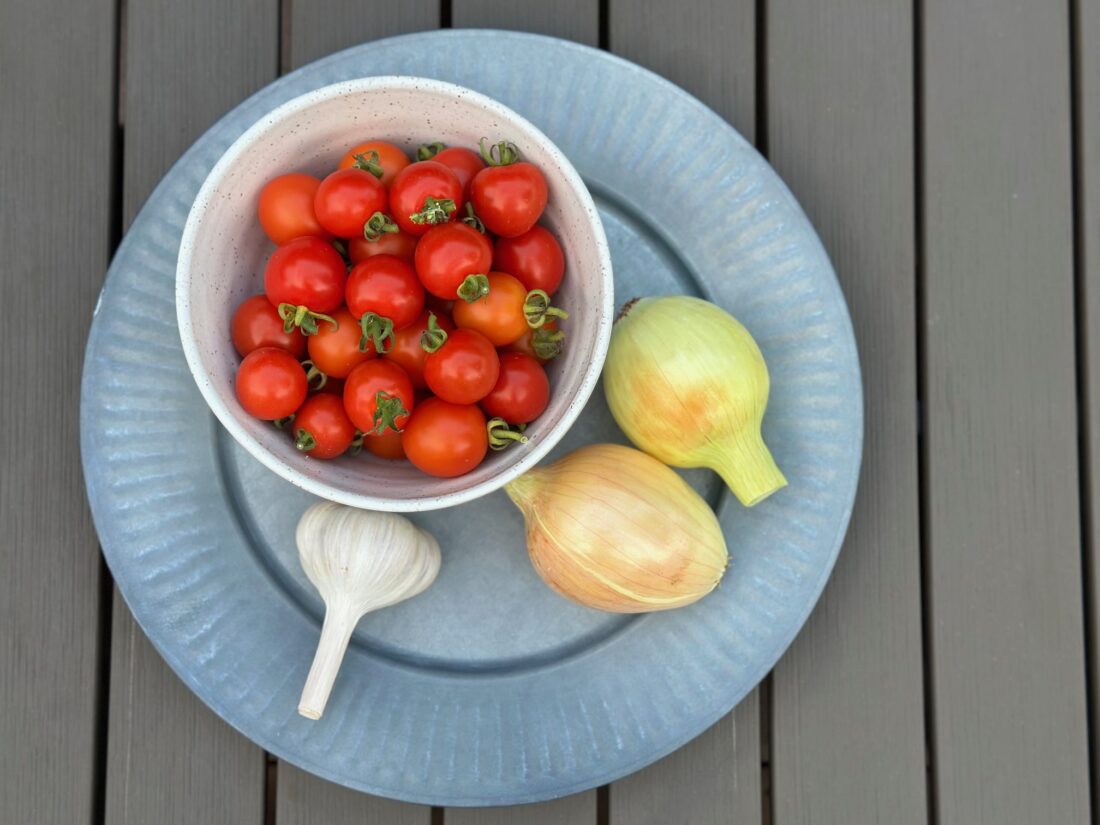
2 sweet onions, thinly sliced
2-3 Tbsp olive oil or avocado oil
1 ½ cups cherry tomatoes, quartered
Optional add ons- hard boiled eggs, bacon, cheese
Dressing Ingredients:
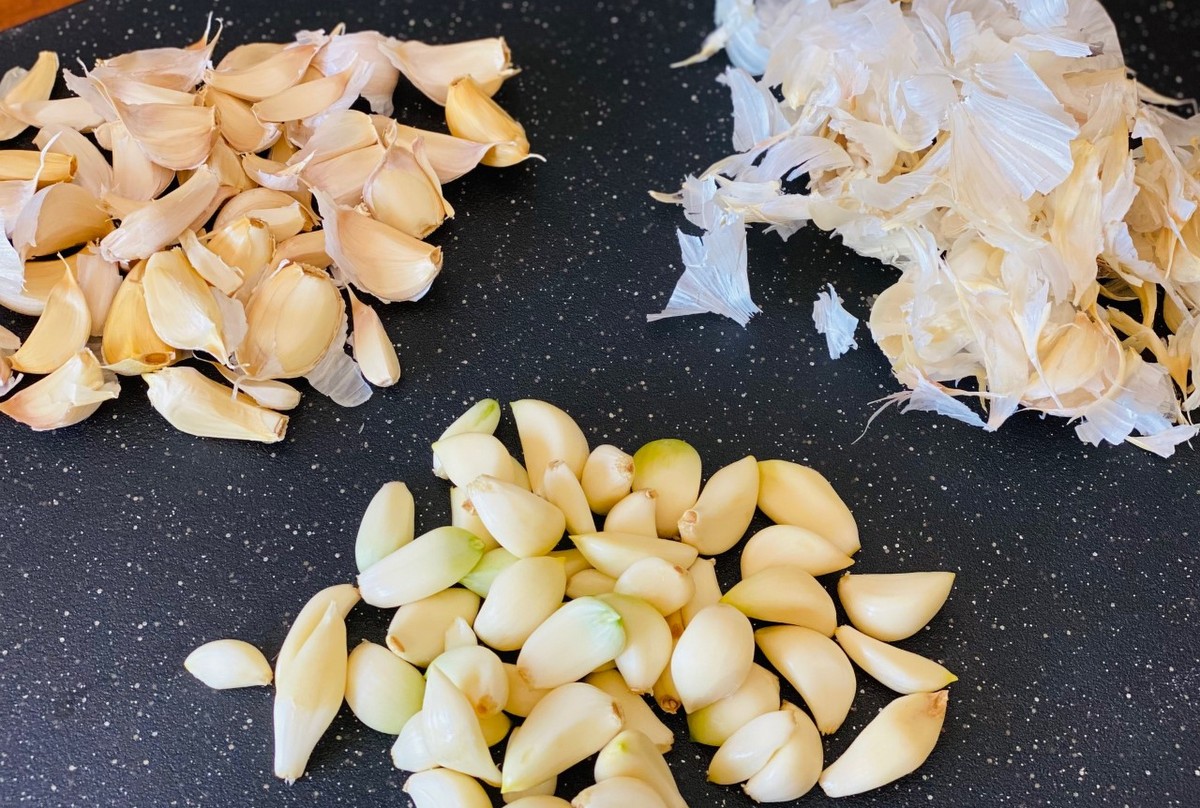
1 head garlic
1 tsp olive oil (for roasting the garlic)
½ cup olive oil or avocado oil
¼ cup white wine vinegar
1 tsp sea salt
¼ tsp black pepper
1 Tbsp honey
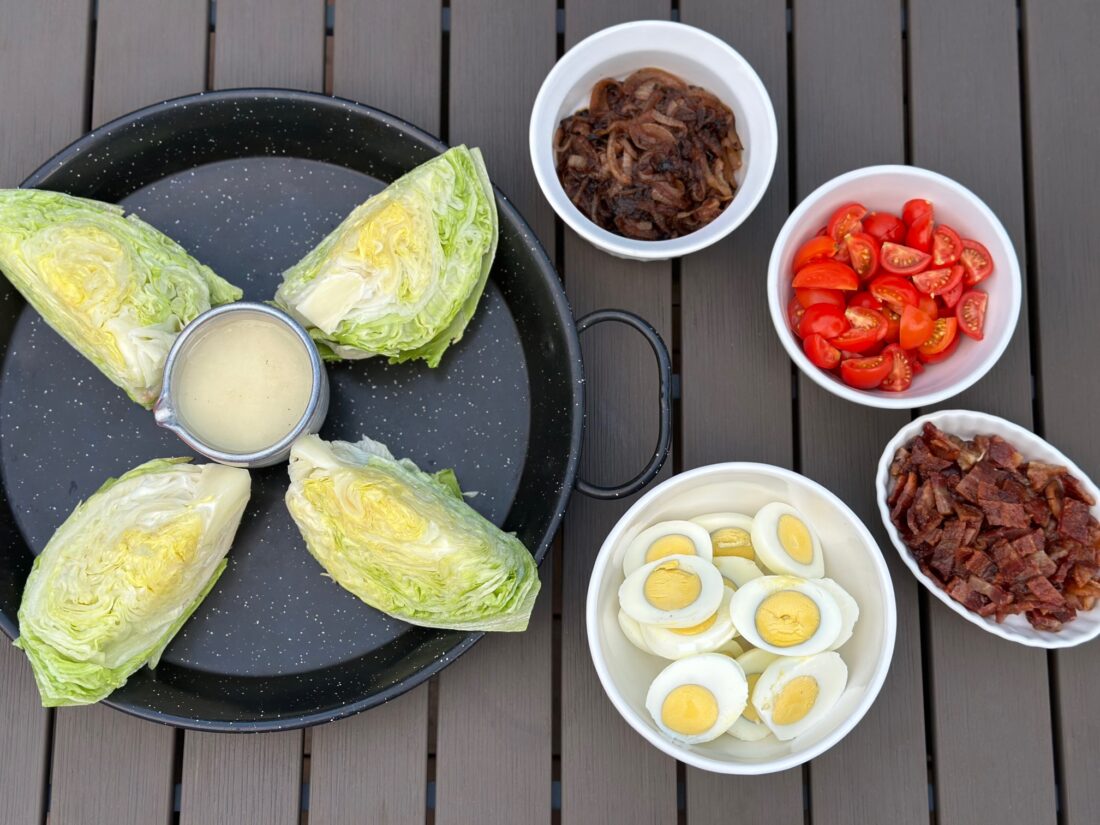
- Slice lettuce into fourths and place on individual plates or on a larger serving dish.
- Caramelize onions.
- Heat 2-3 Tbsp oil in pan on stovetop.
- Add onions and stir. Cook for 15-18 minutes on low heat.
- Stir occasionally to evenly caramelize the onions. Onions should be nice and golden when done.

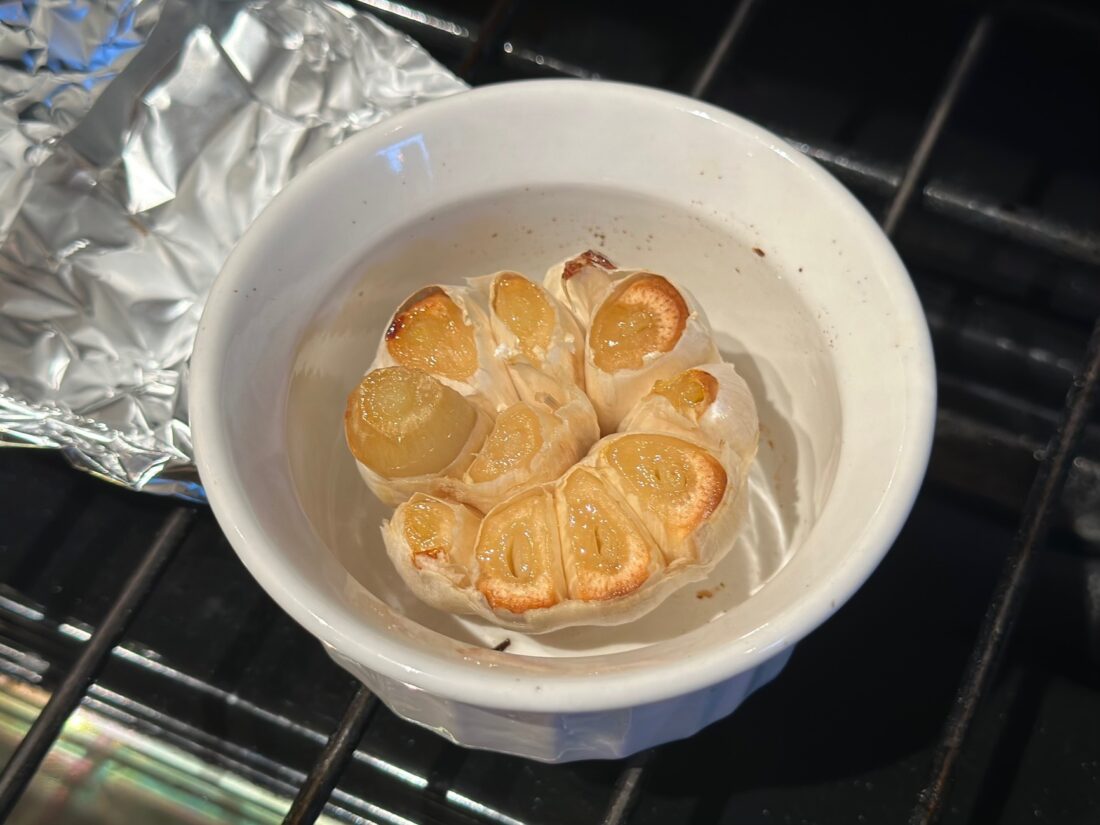
- Roast garlic.
- Preheat oven to 400°F.
- Remove a couple of the outer layers of garlic bulb to clean it up.
- Slice off the top of the bulb of garlic to expose the cloves.
- Place the garlic in an oven safe dish. Drizzle with 1 tsp olive oil and cover in foil.
- Roast in oven for 45 minutes.
- Remove and let cool for a few minutes until safe to handle.
- Squeeze out the roasted garlic cloves and place in a small bowl. Discard the garlic skins.
- Prepare dressing by combining the roasted garlic cloves, oil, vinegar, salt, pepper, and honey in a blender. Mix until creamy and smooth.
- Top lettuce wedges with tomatoes, caramelized onions, and any additional toppings you wish to add.
- Drizzle with the roasted garlic dressing and serve immediately.
- Enjoy!
*The dressing can be used on other green salads, pasta salads, as a marinade, on top of roasted veggies, or as a dipping sauce for bread. Store the dressing in an airtight container in the fridge for up to a week.
Recipe and photos by Stephanie Borzio. Stephanie is a mom of three active boys and is an autoimmune warrior. After battling her own health for several years, Stephanie found healing through food and lifestyle changes, including joining Blooming Glen Farm CSA of which she is a long time member. She is a Board Certified Integrative Nutrition Health Coach who is passionate about sharing healthy living tips and real food recipes. Instagram and Facebook: Tru You Essentials; Website: www.truyouessentials.com