tomatoes Tag

This time of year can be super busy as the kids go back to school and activities come back in full force.  It is always great to have recipes on hand that are quick and easy but full of flavor.  If they can be served as an after school snack, even better!  This recipe combines many of the share ingredients from this week- tomatoes, onions, garlic, sweet peppers, hot peppers, and shishito peppers.  Enjoy this end of summer blended salsa as a snack or as a topping for a Mexican inspired meal.

Easy End of Summer Salsa

Ingredients:
6 Roma tomatoes, quartered
2 yellow onions, peeled and quartered
1 hot pepper, halved
2 sweet peppers, seeded and roughly chopped
3-5 shishito peppers, stem removed
3 cloves garlic
3 Tbsp fresh herbs (cilantro, oregano, chives, etc.)
1 lime, juiced and zested
1 ½ tsp sea salt
¼ tsp black pepper
½ tsp cumin

  • Combine all ingredients in food processor. You can process in batches if your food processor is smaller.
  • Pulse to finely chop and mix well.
  • Serve with chips, with tacos or fajitas, on a breakfast wrap, etc.
  • Store in refrigerator for up to a week.

Recipe and photos by Stephanie Borzio.  Stephanie is a mom of three active boys and is an autoimmune warrior.  After battling her own health for several years, Stephanie found healing through food and lifestyle changes, including joining Blooming Glen Farm CSA of which she is a long time member.  She is a Board Certified Integrative Nutrition Health Coach who is passionate about sharing healthy living tips and real food recipes.  Instagram and Facebook: Tru You Essentials; Website: www.truyouessentials.com

Grilling during the summertime keeps the heat of cooking out the kitchen.  I have been wanting to create a grilled pizza recipe for a while and this one does not disappoint.  While it takes a little time to prepare all of the ingredients, it is a versatile recipe that can serve as a base for you to try all different kinds of pizzas!  Keep it simple with a roasted tomato sauce and freshly grated cheese from our cheese shares or top it with a homemade pesto and a little ricotta.  You can even slice up the peppers, onions, garlic, or other vegetables from our shares and create a veggie lover pizza.  Grilled pizza is amazing- cooking the crust directly on the grill grates gives it a fantastic texture and topping the pizzas with farm fresh ingredients creates an explosion of summertime flavors.

Grilled Pizza

*This recipe makes 4 personal size pizzas.

Ingredients:
2 lbs pizza dough**
3 Tbsp olive oil or avocado oil
1 tsp onion powder
1 tsp garlic powder
½ tsp sea salt
¼ tsp black pepper
½ tsp oregano

Pizza toppings of choice:

Prepare all pizza toppings first. Sauté or roast vegetables.  Make sauce or pesto.  Slice or grate cheese.  If using meat, make sure it is precooked.  Once you begin cooking, this goes very quickly, so you want to have everything prepared and ready to go.

  • Mix all spices together in a small bowl.
  • Preheat grill to medium heat- you want it about 400°F.
  • Split pizza dough into four equal balls. Roll each ball out onto a floured surface.  You can either create round pizzas (measuring about 8 inches in diameter) or oval pizzas (measuring about 10 inches long).

  • Lay your rolled dough on a flat surface- a cookie sheet or cutting board works great.
  • Brush each side with oil and sprinkle with the spice mix.
  • Place dough on the grill grates. Grill for 3-4 minutes or until you see nice grill marks on the underside of the dough.

  • Remove from grill.

  • With the grilled side up, add toppings of choice.

  • Place back on the grill and cook for an additional 4-5 minutes.
  • Remove from grill. Slice and serve.

**You can make your own homemade pizza dough or use your favorite store bought one.  For those that are gluten free, I was able to find a frozen gluten free dough that was wonderful at Kimberton Whole Foods!

Recipe and photos by Stephanie Borzio.  Stephanie is a mom of three active boys and is an autoimmune warrior.  After battling her own health for several years, Stephanie found healing through food and lifestyle changes, including joining Blooming Glen Farm CSA of which she is a long time member.  She is a Board Certified Integrative Nutrition Health Coach who is passionate about sharing healthy living tips and real food recipes.  Instagram and Facebook: Tru You Essentials; Website: www.truyouessentials.com

Charcuterie Board, Snack Board, Food Board, Grazing Board…. whatever you want to call it! … a board or platter filled with delicious food is great for breakfast, lunch, dinner or even just a snack or appetizer.  It works for a small family, a couple, or even a big party.  Snack boards are adjustable, easy to throw together, and appeal to all ages.  With all of the beautiful food we have available at the CSA this season, I thought it would be fun to dedicate a post to the presentation of these foods in the style of boards or platters.

Creating a board is a very easy way to showcase the fruits and vegetables we receive each week.   Do you get the cheese share?  If so, what a perfect addition that would be.  How about the mushrooms?  Marinate or roast them and add to the platter.  What about the egg share?  Hard boil a few and slice them up to add to a board.

Here are a few ideas of ways to incorporate grazing boards…

  • Create a board for an at home date night. Pair with your favorite cocktail or glass of wine.
  • Make a snack board to serve to your children during virtual schooling.
  • Are you celebrating something special- perhaps a birthday, anniversary, award, or work achievement? Do it with a snack board.
  • Watching a sporting event on television- create a board to graze on while enjoying the game with your family.
  • Are you having a family movie night or game night? Create a board that can be snacked on throughout the evening.
  • Make a food board to celebrate a milestone in your children’s lives and pair with fresh lemonade or sun tea.


Why should you make a snack board or food platter?

  • It’s a way to share, connect, and enjoy spectacular food together.
  • It’s a fun way to liven up our pandemic era eating experience with our family!
  • Boards are fun to create and look at.
  • They can totally be a work of art, a creative way to serve food- providing different colors, textures, shapes, and flavors.
  • Boards provide lots of different choices.
  • Generally they don’t require cooking or very minimal cooking.
  • It’s a different way to serve food. Experiment and see what happens when you display food on a board instead of the usual serving dishes.
  • They can be made in advance so that you can enjoy the snack or meal together.
  • Boards offer lots of variety so that it is appealing to everyone- no matter what their choice of diet is and no matter what their age is.


Steps to creating a great board:

1. SELECT BOARD

Select your board or platter.  Think about how many people you will be serving.  This will help determine the size of your board.   You can use all sorts of materials- wood, marble, slate, stone, etc.  You can use an old cutting board, a large serving dish, or an antique tray.  You don’t need anything special.  Just a flat surface that will hold everything and display it all.

2. GATHER INGREDIENTS

The great thing about this is you can use what you have on hand- in your pantry, refrigerator, or freezer- or you can shop for specific items.

  • Vegetables- fresh vegetables, marinated vegetables, fermented or pickled vegetables, roasted vegetables
  • Fruit- fresh fruit, dried fruits
  • Nuts and Seeds
  • Breads, Crackers, Pretzels, Chips
  • Cheeses- hard cheeses, soft cheeses, cheese spreads, vegan cheeses
  • Spreads, Dips, Jams/Chutneys, Honey, Nut Butters, Mustards
  • Meats- thinly sliced
  • Other options- olives, chocolate

3. ASSEMBLE BOARD

You can keep it simple or get fancy and creative. If you are using any spreads or items that need to go in a bowl, do that first.  Place those on the board and then slowly add other items.  It’s a good idea to start with your largest items first so that you can work through the space you have.  Generally try to keep items on the platter bite size.

4. ADD UTENSILS

If you are keeping cheeses whole, you will want a small knife.  For dips and jams, you will want a small spoon.  Provide a small knife/spreader for spreads.  Make sure you have a utensil for each item that will need it.  You don’t want to put out one spoon and use it for all the spreads and jams.  Provide one knife for each cheese and one spoon for each jam.

5. GARNISH

Add fresh herbs or edible flowers if you want, but this is totally optional.

6. RELAX AND ENJOY

Think of a board as a blank canvas for you to display a snack or even a meal.  Take the beautiful produce we receive from Blooming Glen Farm, the fruit from North Star Orchard, the cheese from Valley Milkhouse or Birchrun Hills Farm, the eggs from Deep Roots Valley Farm, the mushrooms from Primordia Mushroom Farm, the honey from Heirloom Acres Honey and combine it all on a platter that showcases the amazing food we receive each week.  Create a grazing board, take a photo, post, and tag us (@bloomingglenfarm and @truyouessentials).  We cannot wait to see all of the platters you make!

The following past recipe posts would make a great addition to any board:

Tomato Jam- https://www.bloomingglenfarm.com/tomato-jam/

Ground Cherry Jalapeno Jam- https://www.bloomingglenfarm.com/ground-cherries-3-ways-jam-marinade-chocolate-covered/

Fresh Dill Vegetable Dip- https://www.bloomingglenfarm.com/vegetable-crudite-with-fresh-dill-dip/

Roasted Eggplant Dip- https://www.bloomingglenfarm.com/roasted-eggplant-dip/

Refrigerator Pickles- https://www.bloomingglenfarm.com/cucumber-salad-refrigerator-pickles/

Veggie Chips- https://www.bloomingglenfarm.com/veggie-chips/

Roasted Vegetable Chutney- https://www.bloomingglenfarm.com/grilled-tomatillo-salsa-and-roasted-vegetable-chutney/

Lemon Dill Hummus- https://www.bloomingglenfarm.com/fresh-herb-ideas-lemon-dill-hummus-or-basil-salt/

Butternut Squash Hummus- https://www.bloomingglenfarm.com/butternut-squash-hummus/

Fresh Chopped Salsa- https://www.bloomingglenfarm.com/fresh-chopped-salsa/

Recipe and photos by Stephanie Borzio.  Stephanie is a mom of three active boys and is an autoimmune warrior.  After battling her own health for several years, Stephanie found healing through food and lifestyle changes, including joining Blooming Glen Farm CSA of which she is a long time member.  She is a Board Certified Integrative Nutrition Health Coach who is passionate about sharing healthy living tips and real food recipes.  Instagram and Facebook: Tru You Essentials

What a beautiful bounty we have this week in our CSA shares!  We certainly won’t have any trouble eating the rainbow as we incorporate all of the amazing produce from the farm.  This week’s recipe highlights the cubanelle and sweet peppers we received, but also incorporates the sweet onion, tomatoes, corn, and basil from our shares.  Enjoy!

Stuffed Peppers with Creamy Avocado Sauce

Ingredients:
6 cubanelle or sweet peppers (or add in a poblano for the heat lovers in your household)
1 Tbsp olive oil or avocado oil
½ sweet onion, chopped
2 cloves garlic, minced
1 lb ground turkey or ground beef**
1 cup chopped tomatoes (I used cherry tomatoes, but use whatever kind you have on hand)
2 ears corn
½ tsp sea salt
¼ tsp black pepper
Creamy avocado sauce (recipe below)

  • Preheat oven to 350°F.
  • Lay peppers lengthwise. Cut off the top third of the pepper and remove the seeds.  Dice the pepper pieces that you just removed and set aside.

  • Place oil in frying pan and heat. Sauté onion for 3 minutes on medium heat.  Add garlic and cook for another minute.
  • Add ground turkey or ground beef and cook through, about 6-8 minutes.
  • Remove corn kernels from the cobs.
  • When meat is cooked through, add corn and diced peppers. Cook for 2 minutes.
  • Puree half of the tomatoes.
  • Add chopped tomatoes, tomato puree, salt, and pepper to meat mixture. Mix to incorporate and remove from heat.
  • Place peppers in baking dish and fill with meat mixture.
  • Bake for 25 minutes.
  • Drizzle with creamy avocado sauce before serving.

**For a vegetarian or vegan option, eliminate ground turkey/beef and replace with 2 cups cooked quinoa.  Sauté the onions and garlic as noted above and then add the quinoa.  Then add the corn and diced peppers and follow the remainder of the steps.

Creamy Avocado Sauce

Ingredients:
1 avocado, peeled and seed removed
1 ½ Tbsp lemon juice
1 clove garlic
1 Tbsp olive oil
¼ tsp sea salt
1 Tbsp fresh basil
½ cup water
** optional- add a ¼ to ½ a jalapeno to taste for extra kick. Remove seeds and inner flesh for less heat.

  • Place all ingredients in blender. Blend until smooth.
  • If sauce is too thick, add a little bit more water.
  • Store in airtight container in the refrigerator.


Recipe and photos by Stephanie Borzio.  Stephanie is a mom of three active boys and is an autoimmune warrior.  After battling her own health for several years, Stephanie found healing through food and lifestyle changes, including joining Blooming Glen Farm CSA of which she is a long time member.  She is a Board Certified Integrative Nutrition Health Coach who is passionate about sharing healthy living tips and real food recipes. 
Instagram and Facebook: Tru You Essentials; Website: www.truyouessentials.com

Cherry tomatoes, plum tomatoes, heirloom tomatoes, and beefsteak tomatoes… oh my!  There are so many amazing things we can do with tomatoes.  They can be the star of a meal or a delicious side.  Eat them as is, add them to salads, can them, make sauce, or create this delicious soup.

Roasted Tomato Soup with Basil Oil and Fried Zucchini Noodles

Ingredients:
3.5- 4 lbs fresh tomatoes
2 medium onions, peeled and quartered
1 pepper (green bell or sweet cubanelle), halved and seeds removed
1 medium summer squash (zucchini or yellow squash), roughly chopped
6 cloves garlic, with skin on
3 Tbsp olive oil
1 tsp sea salt
½ tsp black pepper
6 basil leaves
Basil oil (recipe below)
Fried zucchini spirals (recipe below)

  • Preheat oven to 400°F.
  • Slice tomatoes into quarters or eighths if they are really big.
  • Place tomatoes, onions, pepper, summer squash and garlic in a large bowl. Add olive oil, salt, and pepper.  Toss to coat.
  • Place tomato mixture on baking sheet.

  • Roast for 25-30 minutes. Vegetables should be fork tender.
  • Allow to cool for a few minutes. Remove the skin from the garlic cloves.
  • Transfer mixture to blender, including juices on baking sheet. Add basil.  Process until smooth.  You may need to process in two batches.
  • Serve immediately or place in large saucepan and reheat later.
  • To serve, ladle soup into bowls. Drizzle on basil oil and top with fried zucchini spirals.
  • Soup can be stored in the refrigerator for up to a week. It also freezes well.

Basil Oil

Ingredients:
¼ cup basil leaves, packed
2 Tbsp olive oil
Pinch sea salt

  • Place boiling water in a bowl. Quickly blanch basil leaves (about 10 seconds) and then pat dry.
  • In food processor or blender, combine basil leaves, salt, and olive oil. Process well.

Fried Zucchini Spirals

Ingredients:
½ zucchini
½ cup avocado or coconut oil
Sea salt

  • Spiralize zucchini. If you don’t have a spiralizer, you can thinly slice strips of zucchini.  Place between paper towels to remove some of the water.
  • Heat oil in small saucepan.
  • When oil is hot, fry zucchini. Place one spiral in the oil to make sure it is hot enough.  Process the spirals in small batches for about 6 minutes each.  When done, the zucchini spirals should be crunchy.
  • Lay on paper towels and sprinkle with sea salt.

Recipe and photos by Stephanie Borzio.  Stephanie is a mom of three active boys and is an autoimmune warrior.  After battling her own health for several years, Stephanie found healing through food and lifestyle changes, including joining Blooming Glen Farm CSA of which she is a long time member.  She is a Board Certified Integrative Nutrition Health Coach who is passionate about sharing healthy living tips and real food recipes.  Instagram and Facebook: Tru You Essentials; Website: www.truyouessentials.com

Farro is an ancient grain, similar in appearance to rice, but with a more nutty nuanced flavor and a chewy texture. To prepare whole grain farro you need to think ahead and soak the grains overnight, but you can cheat and get the semi-pearled variety, which cooks in 15-25 minutes, and is available at most grocery stores and whole foods stores. Whole farro retains all the grain’s nutrients; with semipearled part of the bran has been removed but still contains some fiber.

I fell in love with farro after making this one-pan farro with tomato dish from Smitten Kitchen. If you aren’t familiar with the blog Smitten Kitchen, you should be! Her seasonal recipes that highlight the delicious flavors of farm fresh veggies always impress me- it is super easy to search her site by ingredient, and pull up lots of ideas. You can choose a simple recipe like the one pan farro and tomatoes, or get a little more ambitious, like this delicious zucchini galette I made with our zucchini and some farmers market ricotta from Fulper Farms (they have a stand at the Wrightstown Farmers Market on Saturday’s). And don’t get me started on Smitten Kitchen’s desserts!

So when I saw the first harvest of our giant green bell peppers, I knew I wanted to stuff them with some sort of farro mixture. I brought 3 cups of water to boil and threw in a cup of farro and simmered it until the grains were the texture I wanted (chewy but not mushy), about 30 minutes. Some people say to simmer covered, I did it uncovered but had to add water periodically as it cooked off, so covered is probably a better bet (or start with more water and simmer gently).

In a large saucepan I sautéed in olive oil 4 cloves of garlic and one thinly sliced onion (you could use a sweet onion or the red torpedo’s). Then I added in a chopped tomato (or two), about a cup of leftover cooked corn kernels from our dinner the night before (cut off the cob). I also diced up a chicken breast from Hershberger Heritage, also leftover from grilling the evening before, and threw in a handful of chopped basil. Then I added most, but not all of the cooked and drained farro.  I simmered everything until the juices from the tomato were running.

Meanwhile, I cut two bell peppers in half lengthwise, seeding and coring them, being careful not to pierce the walls of the pepper. I also cut the tops off of some poblano peppers. The peppers went into a steamer basket for 15 minutes. Let cool enough to handle and carefully lay out on a cookie tray. Preheat your oven to 400 degrees. Spoon the farro mixture into the pepper halves, and stuff into the poblanos. Sprinkle with grated parmesan and mozzarella (or whatever cheese you have on hand). Bake for 20-25 minutes until cheese is melting and peppers are slightly browned. You can really improvise with the ingredients and scale depending on how many peppers you are stuffing and what you have on hand. Removing the seeds of the poblanos does reduce their heat, but I noticed that the membrane that the seeds are attached to is very hot, so as we got closer to the tip of the pepper, we were in for some delicious heat. You can either try to remove this membrane better than I did, or save the poblanos for those in your family who like that smoky heat.

Serve with a tossed salad- chopped romaine, cucumbers, grated carrots (and a glass of white wine?). Delicious!

Post and photos by Tricia Borneman, Blooming Glen farmer and co-owner.  Tricia and her husband Tom have been farming together since 2000. Blooming Glen Farm is celebrating its 11th season bringing high quality certified organic vegetables, herbs, fruits and cut flowers to our local community.

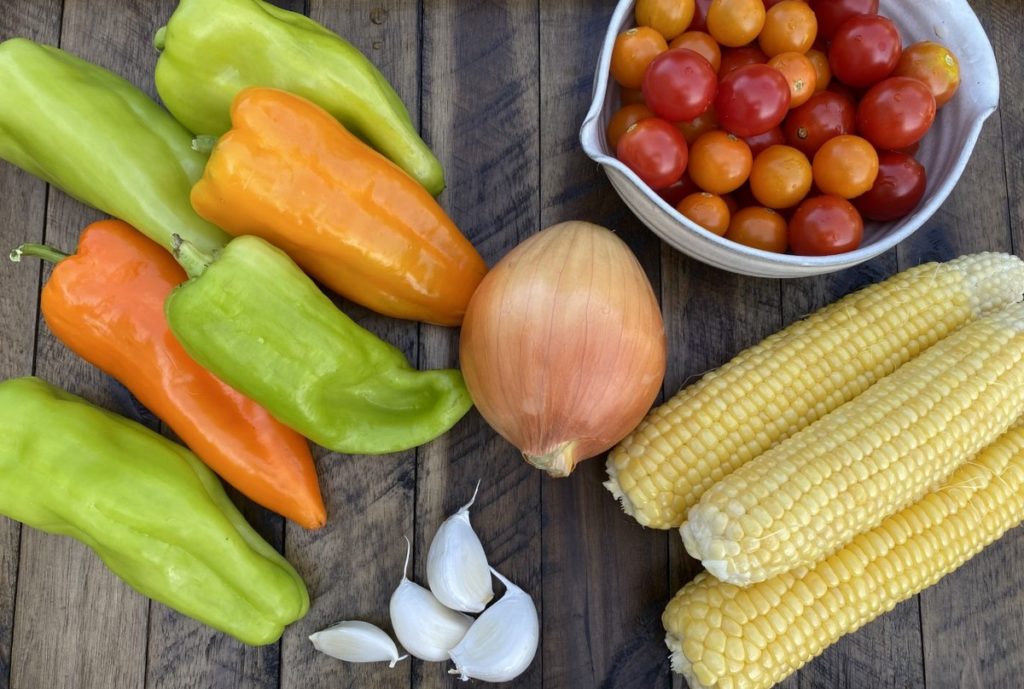
Over the years, I’ve discovered that one of the benefits of belonging to a CSA was an unexpected one: It puts me out of my comfort zone. When shopping at the super market for produce, I — like most of us, I’m sure — pretty much stuck to the same vegetables and fruit that I always ate. The standard peppers, carrots, broccoli, and spinach were tasty, and I honestly didn’t even realize there was so much I was missing out on until my first season at Blooming Glen.  A part of being out of my comfort zone was not only discovering new foods (French breakfast radishes, who knew we were destined to be together forever?), but also being faced with foods that I traditionally didn’t like.

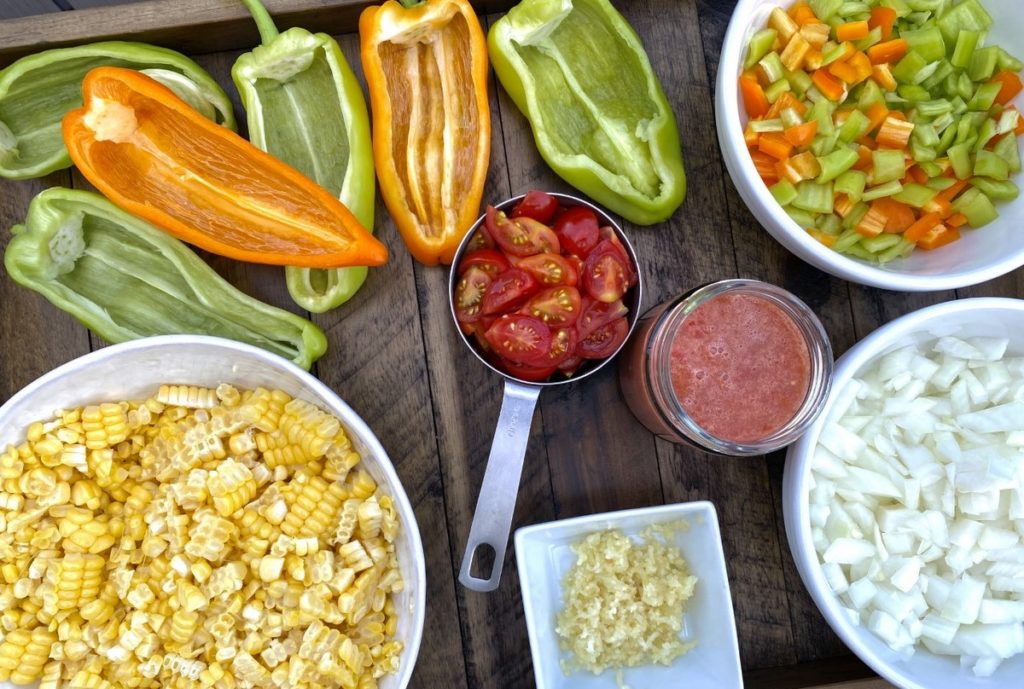
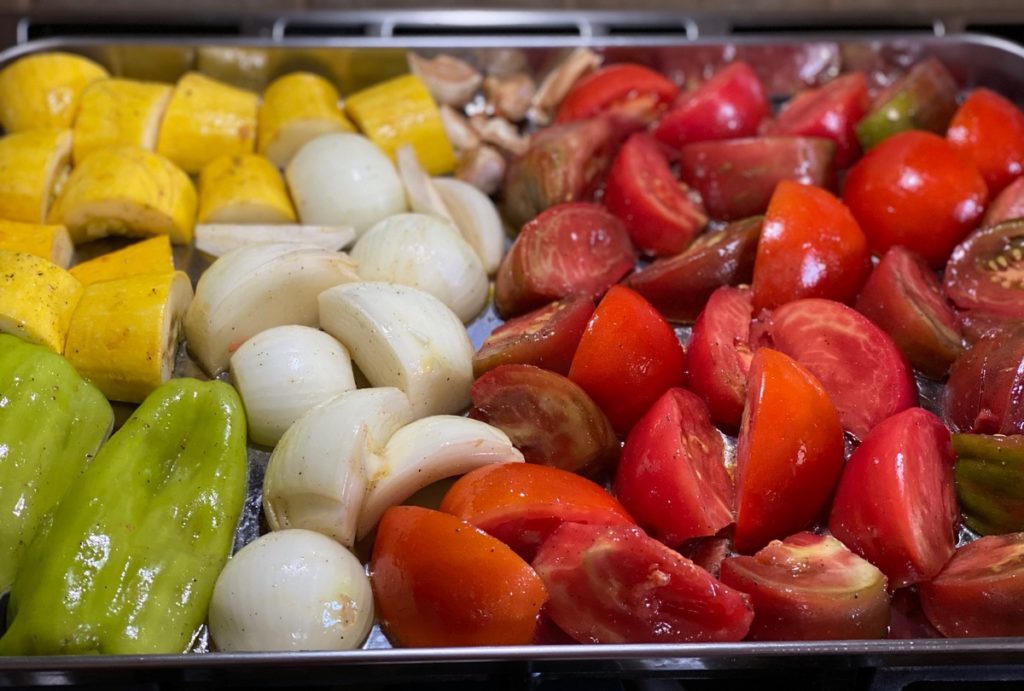
At the top of this list was eggplant: A vegetable that I tried to prepare at home once or twice, but in the end could only ever eat if it was restaurant prepared, breaded and fried and smothered in marinara sauce, á la Eggplant Parm.  At first, I simply gave away the eggplant from our share to family or neighbors — good riddance!  But, after seeing the array of different eggplant at the farm, noticing just how pretty they are, and knowing how important and beneficial variety in one’s diet is… I decided to challenge myself to find a way to make a relationship with me and eggplant work 🙂

In the end, after a little experimentation, with some failures and some successes, it turns out that grilling has been the easiest and tastiest way for me to incorporate this pretty purple veggie into meals. Once grilled, you can use the slices for sandwiches and wraps, chop them up to use with grain and vegetable sides, add them to omelets or salads — the possibilities are endless. I grill them as soon as I get them home, then store them in the fridge for easy use. The recipe below calls for using grilled eggplant; here’s a down-and-dirty grilling method:

1) Lightly spray a grill pan over medium-high heat. 2) Cut eggplant into thin disks, place on a grill pan, spray lightly with cooking oil, sprinkle with salt and pepper. 3) Cook until grill marks appear, about 3-4 minutes, toss, then cook for another couple minutes. The eggplant will significantly reduce as the moisture is cooked out.

Nutritionally speaking, eggplant is low in sodium and calories, and high in fiber. However, all of its disease-fighting and health-building phytonutrients, vitamins, and minerals reside in it’s skin. Most notably, eggplant skin contains nasunin, a phytonutrient found to protect the fats in brain cell membranes, and chlorogenic acid, which has been found to benefit anti-cancer, antimicrobial, anti-LDL (bad cholesterol) and antiviral activities. So, when preparing your eggplant, be sure to keep the skin on!  For more eggplant ideas and a recipe for Baba Ganoush, click here.

Eggplant & Summer Veggie White Bean Pasta


Ingredients
2 cups whole wheat pasta (bow-tie pictures)
2 eggplant, grilled, cut into bite-size pieces
1+ bunch broccoli rabe, large/thick stems removed*
4 cloves garlic, minced
1 torpedo onion, diced
1 cup cherry tomatoes, halved (quarter larger ones)
Kernels from 1 ear of corn
3/4 cup white beans
Crushed red pepper
Salt
Pepper
Nutritional yeast (or Parmesan cheese)
Balsamic vinegar (optional)

* Other hearty greens can be substituted, including kale, collards, or Swiss chard. If using more delicate greens, such as arugula, spinach, or dandelion greens, skip the blanching process below.

Method
Bring a medium pot of water to boil. Blanch raab for ~60 seconds, drain, reserving water to cook pasta. Set raab aside and cook pasta.

Heat a teaspoon of grapeseed oil in a medium pan over medium-high heat. Add garlic, sauté for a minute. Add onion, crushed red pepper, and a pinch of sea salt, sauté for a few minutes, until onions turn translucent and soft. Add tomatoes, stir well, and allow to cook down a bit, about 3-4 minutes, stirring occasionally. Chop raab, then stir into the pan, with corn kernels and pinch of sea salt, cook for a couple minutes. Add eggplant and beans, stir well to combine and let cook for a 5-6 minutes, until heated through. Salt and pepper to taste.

To cooked pasta, add 2 tablespoons olive oil, stirring to coat well. Add veggies to pasta, stirring gently to combine everything. Serve topped with nutritional yeast or Parmesan cheese. A light sprinkle of high quality balsamic vinegar is really yummy, too 🙂

Post and photos by Mikaela D. Martin: Blooming Glen CSA member since 2005, board-certified health counselor, and co-founder of Guidance for Growing, an integrative wellness practice in Souderton. Read more about healthy eating and living on her site, http://guidanceforgrowing.com!

sweet potatoesIt’s hard to find a person who can’t appreciate sweet potatoes. They’re often something I recommend to clients who need to add a little more color into their diets — both literally and figuratively — because their sweet flavor, beautiful color and ease of preparation make them a relatively safe new veggie to try.  I’ve found that sweet potatoes, specifically fresh ones, have the ability to impress even the most fastidious of palates 🙂

Nutritionally speaking, sweet potatoes are most noted for providing beta carotene, which helps increase the cancer-fighting antioxidant, vitamin A in our blood. They also provide a healthy shot of fiber, vitamin C and manganese, in a low calorie, low fat, low cholesterol package.  As is the case with many fruits and vegetables, it’s important to eat the skin since that’s where many of its nutritional benefits are stored.

Unfortunately, we have a tendency to add far too many sweeteners in sweet potato recipes — the most classic example being, of course, the marshmallow-topped Thanksgiving sweet potato casserole! There’s nothing wrong with adding a small drizzle of maple syrup to sweet potatoes, but having these potatoes fresh in our CSA shares each week offer a great opportunity to experiment a bit and try them prepared different ways. We can simply bake them and top with a small dollop of butter, or mash them adding a sprinkle orange zest and cinnamon. They also make a good addition to soups and chilis, as seen in the chili recipe below. This chili pairs the sweet potato with savory and smokey spices, and boosts nutrition with heart-healthy black beans and one one of my all-time favorite superfoods, kale. An added bonus: In total, it uses five veggies (potatoes, kale, onion, peppers, tomatoes) from our share!

Sweet Potato Black Bean Chili

sweet potato and black bean chili

Ingredients
2 small onions, diced
3 cloves garlic, minced
1-1/2 tbsp chili powder
1-1/2 tsp cumin
1 tsp oregano
1 tsp smoked paprika
1/2 tsp crushed red pepper
2 cups chopped kale
1 cup sweet peppers, diced
3 – 4 cups sweet potatoes, scrubbed clean and diced.  Leave the skin on, but cut out any gnarly spots.
2 15-ounce cans black beans
1 24-ounce can diced tomatoes or equal amount of fresh diced tomatoes
1 cup vegetable broth
salt and pepper

Method
In a large, heavy-bottomed pot (I used a Dutch oven), sauté onion and garlic with a sprinkle of salt over medium-high heat for a couple minutes until onion begins to soften.  Mix in spices and cook for another minute. Add potato, kale and peppers and a splash of the broth and stir well.  Cover and cook for ~5 minutes until veggies begin to soften.  Add tomatoes, beans and broth, stir well and bring to a boil.  Reduce heat, cover and simmer for 20-25 minutes, stirring occasionally.  Salt and pepper to taste, serve with vegan (or dairy) sour cream and fresh cilantro.

Post sources: Nutrition Data

Post and photos by Mikaela D. Martin: Blooming Glen CSA member since 2005, board-certified health counselor, and co-founder of Guidance for Growing, an integrative wellness practice in Souderton. Read more about healthy eating and living on her site, http://guidanceforgrowing.com!

With beautiful tomatoes, spicy peppers, pungent onions, and zesty cilantro all in one share, a batch of fresh salsa was calling my name last night.

There are several hot peppers to choose from this week. I used a serrano pepper, a variety of chili that originated in the mountainous regions of Mexico. It is the pepper traditionally used in making pico de gallo and salsa. It is hotter than a jalapeno and has a nice bright flavor for use in raw recipes.

This recipe makes a “medium” salsa, but can be adapted to be as spicy or mild as you like. Omit the hot pepper all together if you’ve got a sensitive mouth, or kick it up a notch by including the seeds or more than one hot pepper.

Salsa Fresca

In a food processor, pulse together: 1 pound red tomatoes (about 2 medium-sized tomatoes), cored and chopped; 1 torpedo onion, greens cut off and bulb chopped; 1 serrano pepper, stem and seeds removed; 1 handful cilantro; 1 garlic clove; juice of one lime; and a pinch of salt, to taste.

Voila! You’ve got salsa!

Now you can top these ultra-simple tostadas with a dollop of the salsa for a quick and fresh dinner. They are a great way to use up leftovers from a roasted Ledamete Grass chicken, and perfect for a summer night when the last thing you want to do is slave away over a hot stove.

Chicken Tostadas

Heat 2 tablespoons vegetable oil in a cast iron or non-stick pan. When the oil is sizzling hot, lightly fry 4 corn tortillas (one at a time) in the oil–about 50 seconds per side, until just golden brown and starting to puff up. Place fried tortillas on a paper towel or newspapers to absorb extra oil.

Top fried tortillas with 2 cups shredded cooked chicken, shredded or crumbled cheese (I like cotija, a mild Mexican cheese, but cheddar, jack, or chevre also work well), a big dollop of your salsa, and a squeeze of lime.

Text and photography by Kate Darlington – Blooming Glen Farm second year intern, fresh food enthusiast, and budding food blogger. She also writes for the Digging Deep Campaign, as well as for her personal blog, Growing Things.


Power Breakfast: Swiss Chard, Fresh Tomato and Egg If vegetables are lacking in the standard American diet, leafy greens are the scarcest of all. Given the incredible and unique nourishment these veggies offer, learning to cook and eat greens is essential for creating lasting health. Thankfully, adding these nutritional powerhouses to our diet is easy, especially if you’re a member of a CSA — greens grow from the beginning to the end of the season, with kale and collards bracketing the more tender Swiss chard.

Swiss chard is a unique leafy green in that it contains at least 13 different polyphenol antioxidants, which have been shown to aid our circulatory and respiratory systems by protecting us from atherosclerosis (clogged arteries), high blood pressure and air pollution damage. Polyphenols also contribute to cancer prevention and longevity.  Considering all of their health benefits, making sure we include them in our diet first thing in the morning will start us all off on a day fit for a superhero!

The addition of a local, free range, organic egg will add a “complete protein” that contains an adequate proportion of all nine essential amino acids necessary for our diet, healthy fats like omega-3s, and choline, which helps regulate the brain, nervous system, and cardiovascular system. In order to reap these benefits, you must be sure your eggs are from chickens raised in a natural environment. The ones sold at various local farms and markets are a great choice, like those from Deep Springs Farm in Harleysville, Purely Farm in Pipersville, or Happy Farm in Kintnersville.

Finally, the fresh tomatoes in this recipe are shown to prevent cancer, heart disease as well as high cholesterol — not to mention the fact that they taste great!

Superhero Breakfast: Swiss chard, Fresh tomato and Egg
Note: this dish can be made ovo vegetarian (dairy-free) using options below.

Sauté 1/4 cup chopped onion with a pinch of salt in 1/4 cup of water only (water sauté) over medium heat until onions are tender, about 3 minutes. Meanwhile, preheat small skillet with butter or grapeseed oil.  Add 1 1/2 to 2 cups of Swiss chard cut into thin strips to the onions and mix well, adding more water if necessary.  Cover and cook until tender and bright green, about 2-3 minutes.  Break one nature perfect egg and fry on the oiled skillet.

Add several splashes of vinegar to chard/onion mixture and stir well. Turn off heat and stir in 1 very small chopped tomato. Flip egg, cook for one minute and turn off heat.

Using a slotted spoon (to leave any remaining liquid in the pan), place the greens-onion-tomato mixture into shallow bowl and sprinkle generously with nutritional yeast flakes, romano cheese or parmesan cheese. Top with egg and serve immediately.

Recipe and photo by Mikaela D. Martin: Blooming Glen CSA member since 2005, board-certified health counselor, and co-founder and -owner of Guidance for Growing, an integrative wellness practice in Souderton. Read more about healthy eating and living on her site, http://guidanceforgrowing.com!