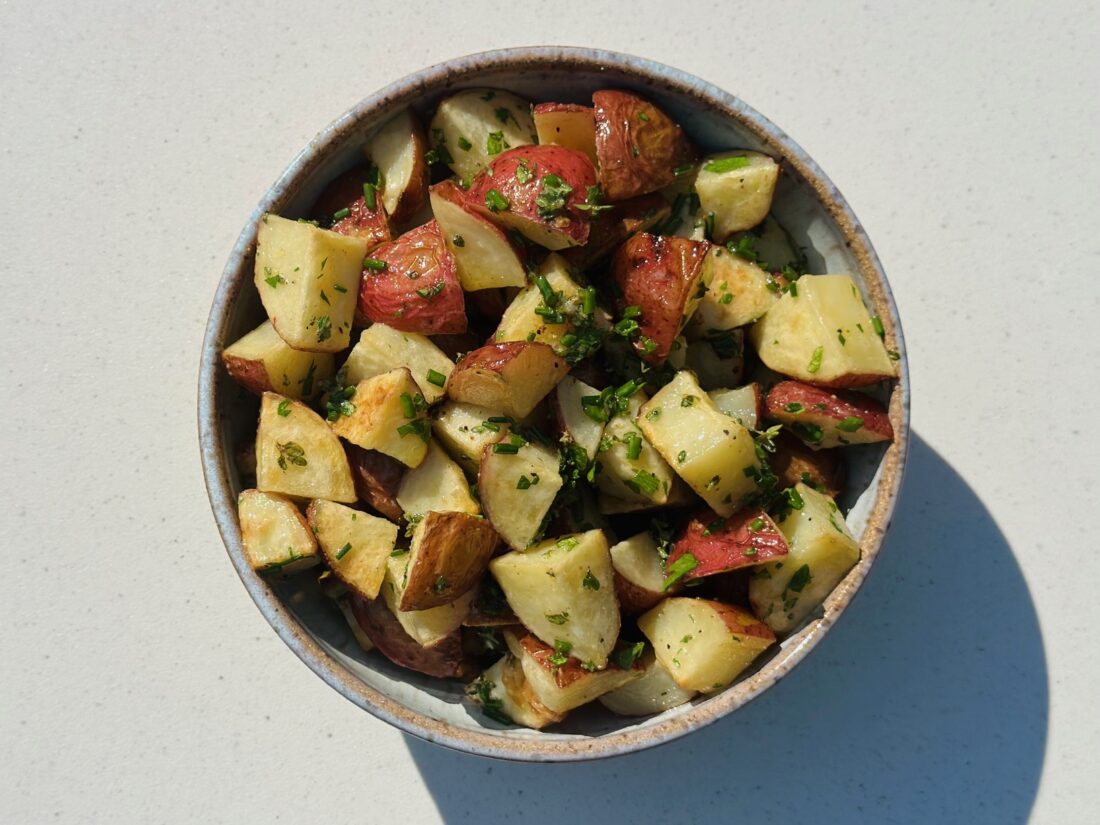
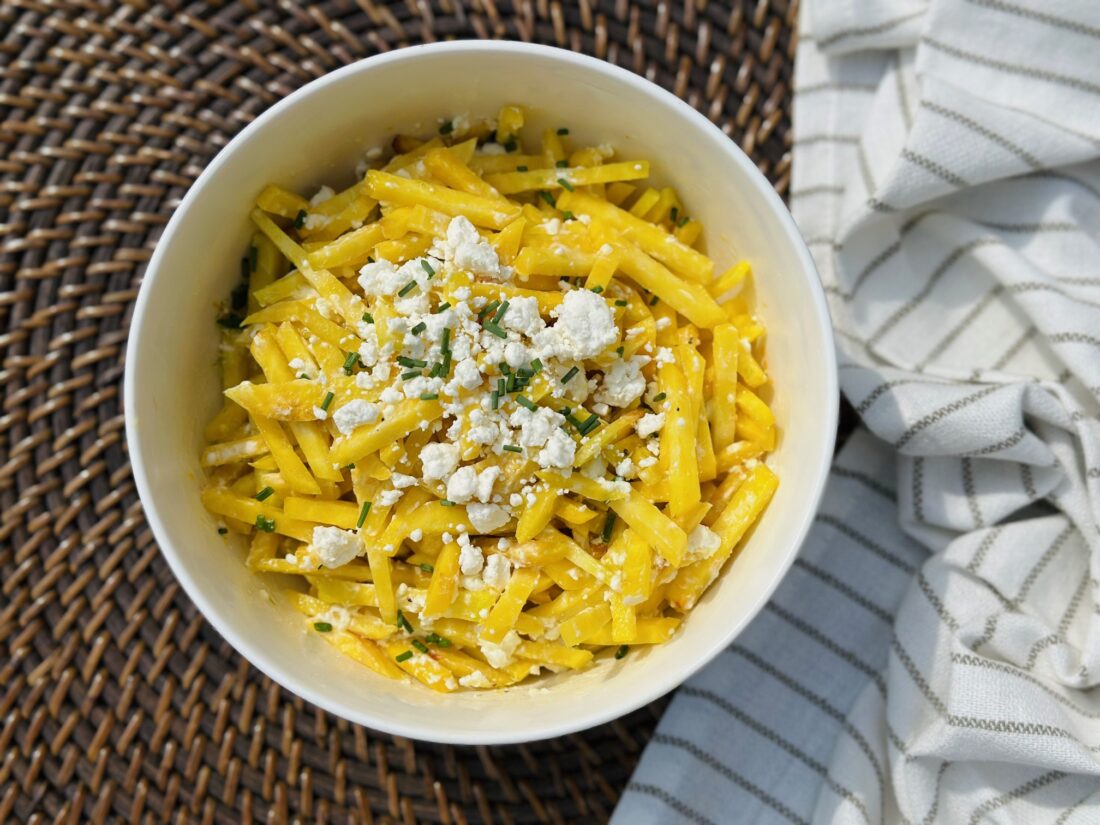
25 Jul Fresh Herb Potato Salad
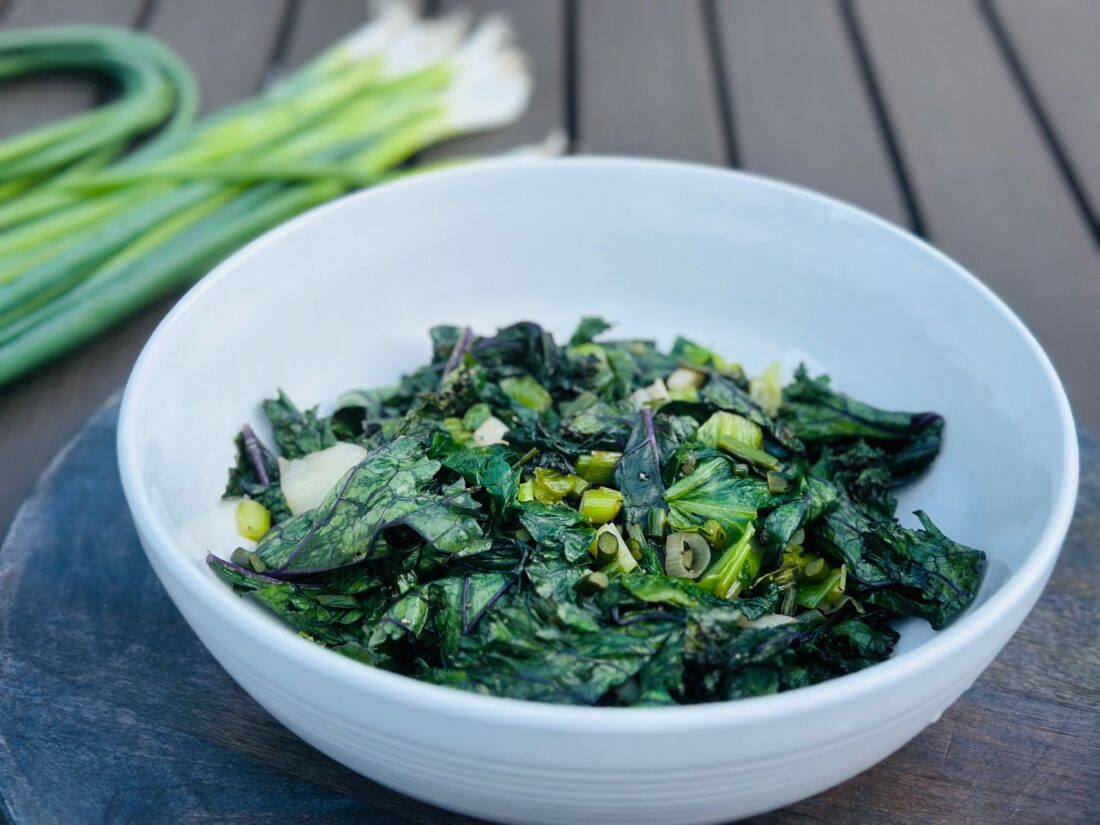
A light, refreshing potato salad pairs well with any protein. This salad requires roasting the potatoes instead of the typical boiling and then is dressed with a vinaigrette and fresh herbs. It can be served warm or cold.
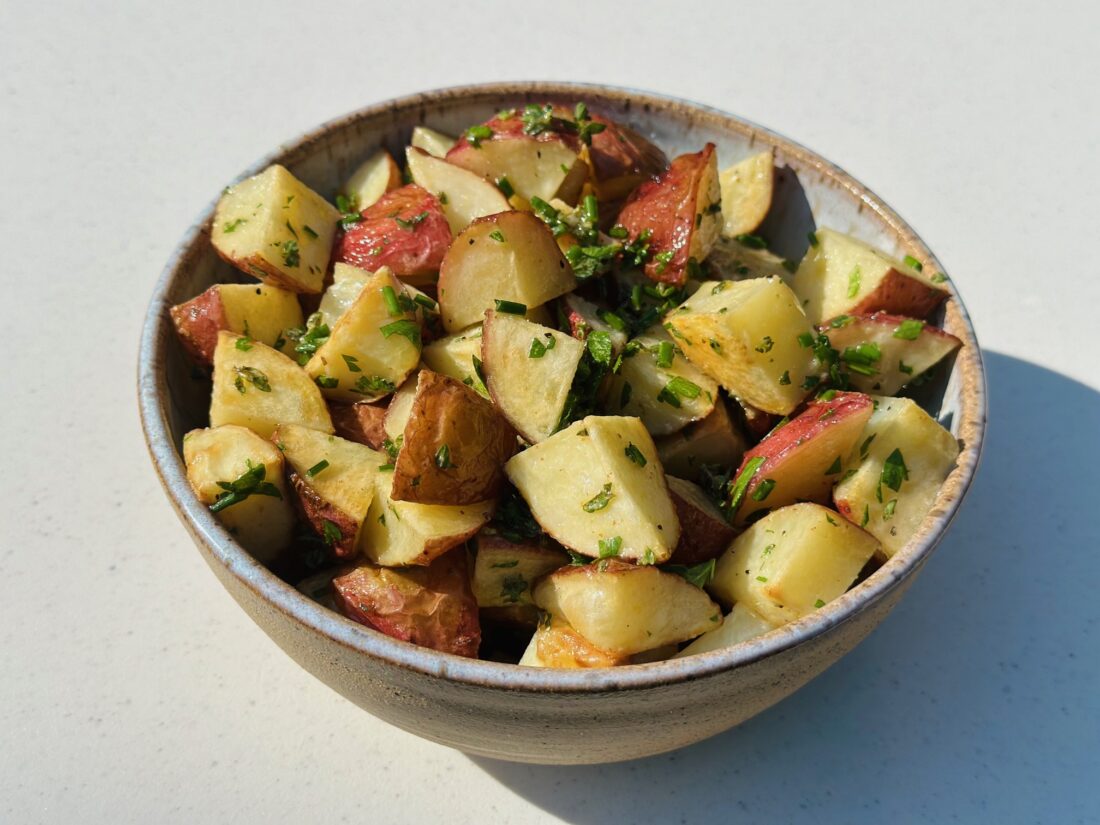
Fresh Herb Potato Salad
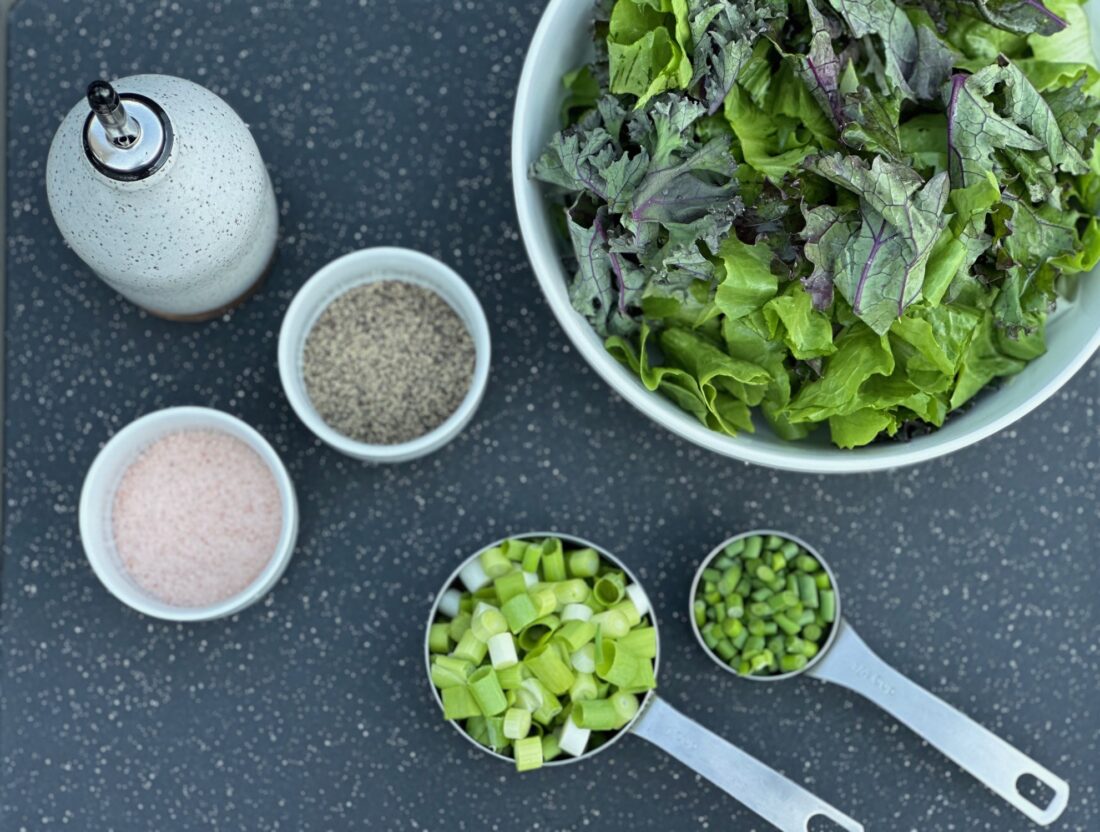
Ingredients:
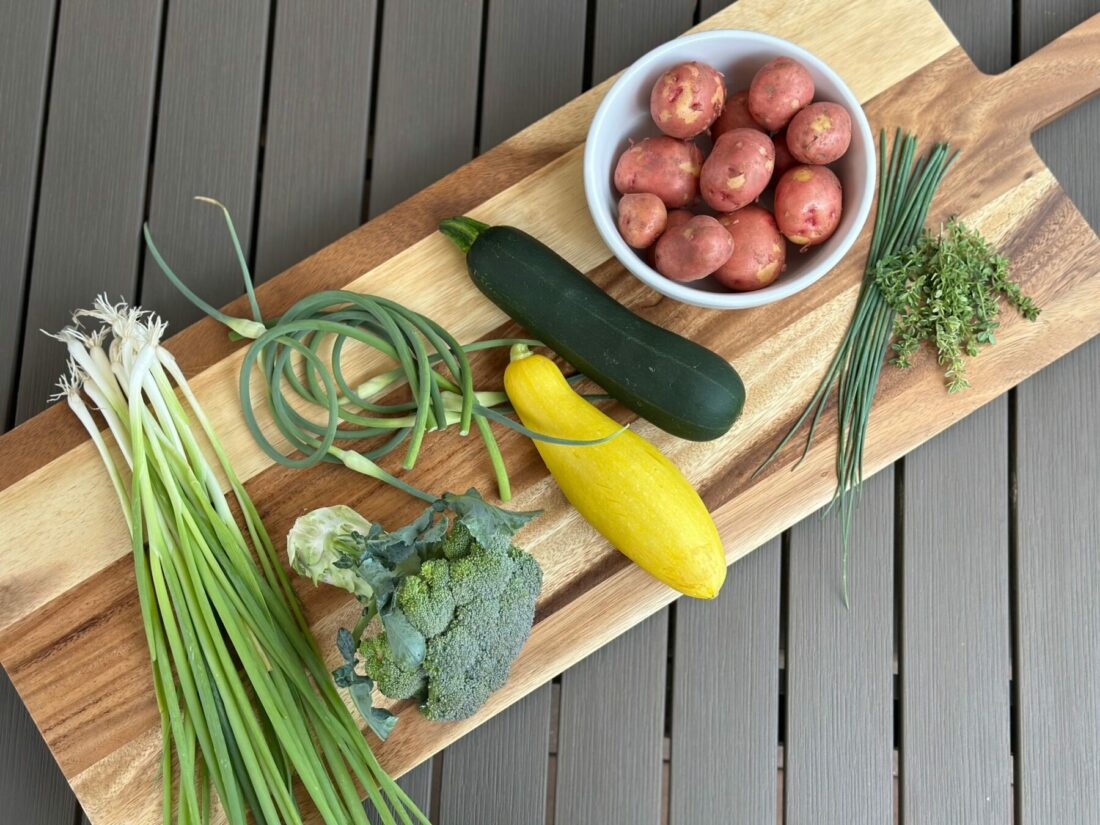
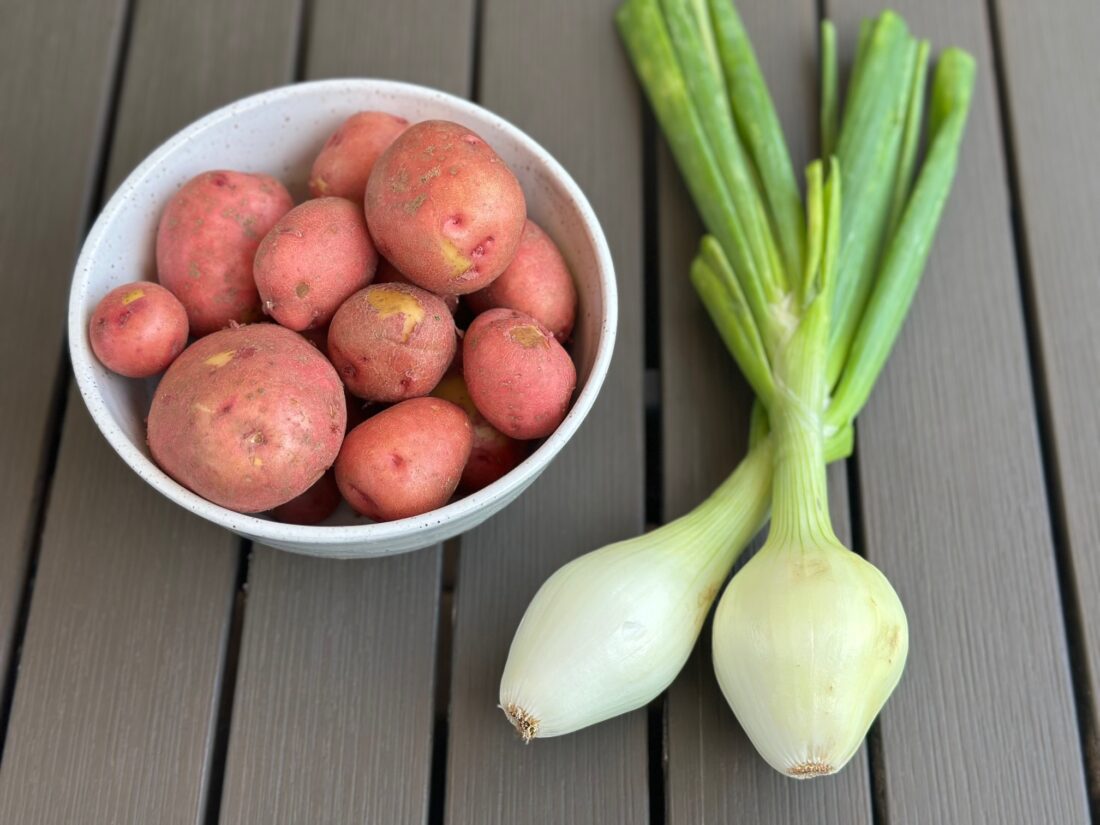
2 lbs new potatoes
¼ cup olive oil, plus 1 Tbsp (divided)
2 Tbsp white wine vinegar
1 tsp Dijon mustard
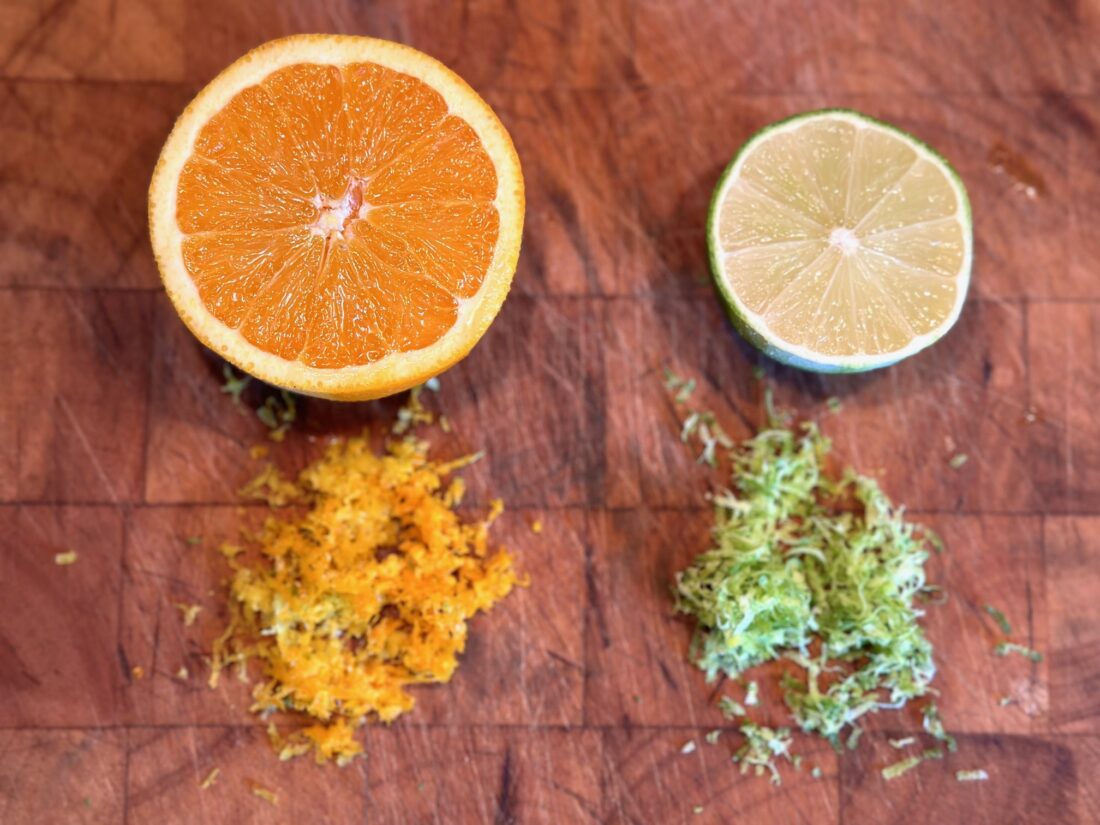
½ tsp lemon juice
½ tsp sea salt
1/8 tsp black pepper
¼ tsp onion powder
¼ tsp garlic powder
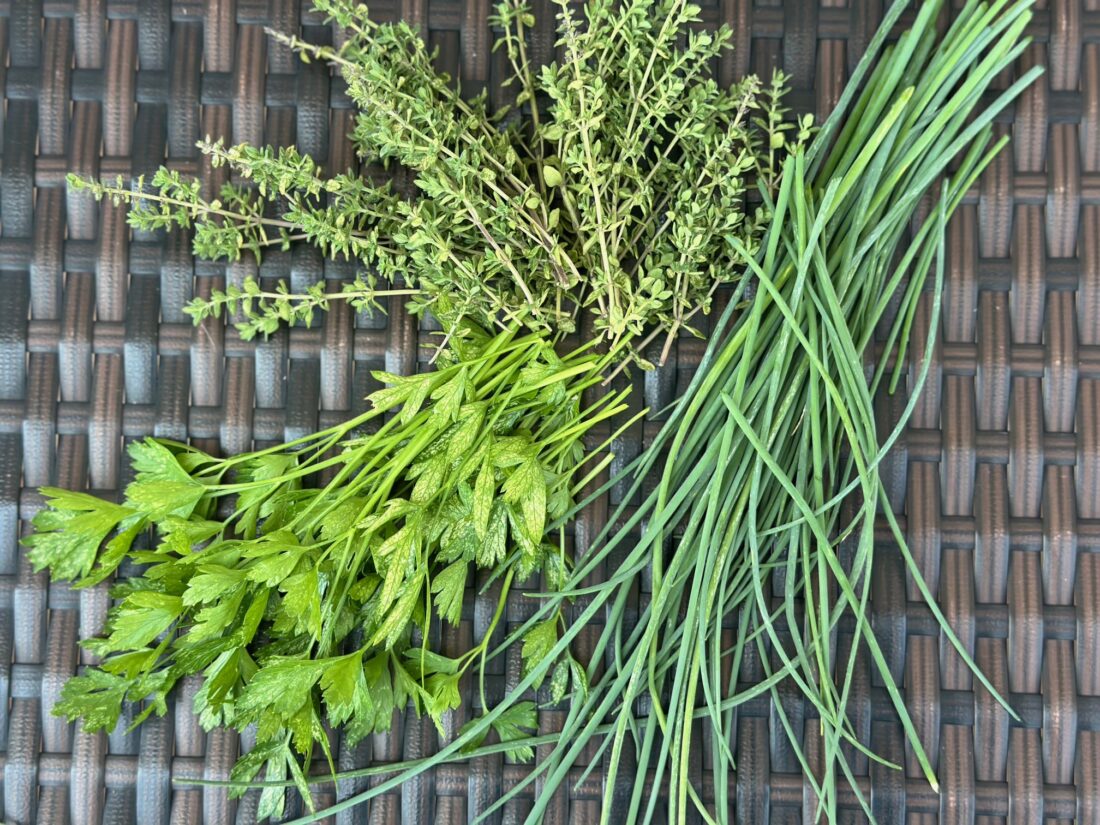
3-4 Tbsp fresh herbs of your choice, finely chopped (chives, parsley, thyme, basil, dill, marjoram, etc)
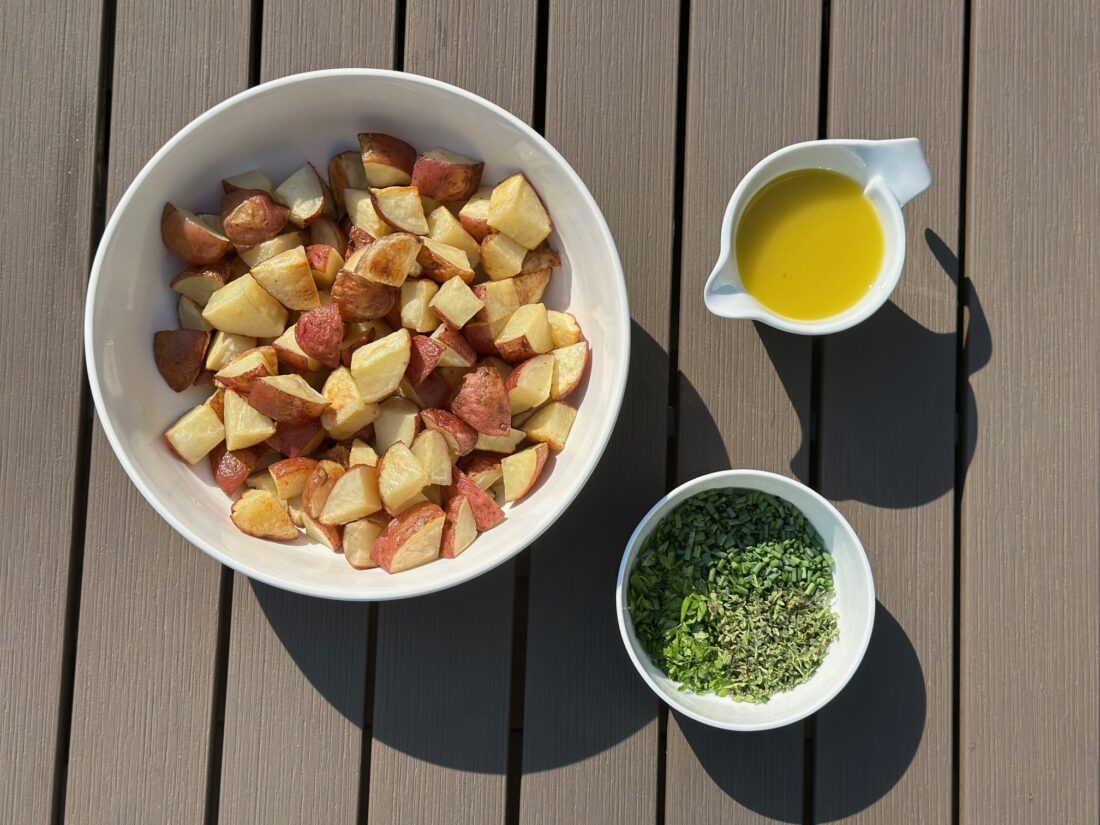
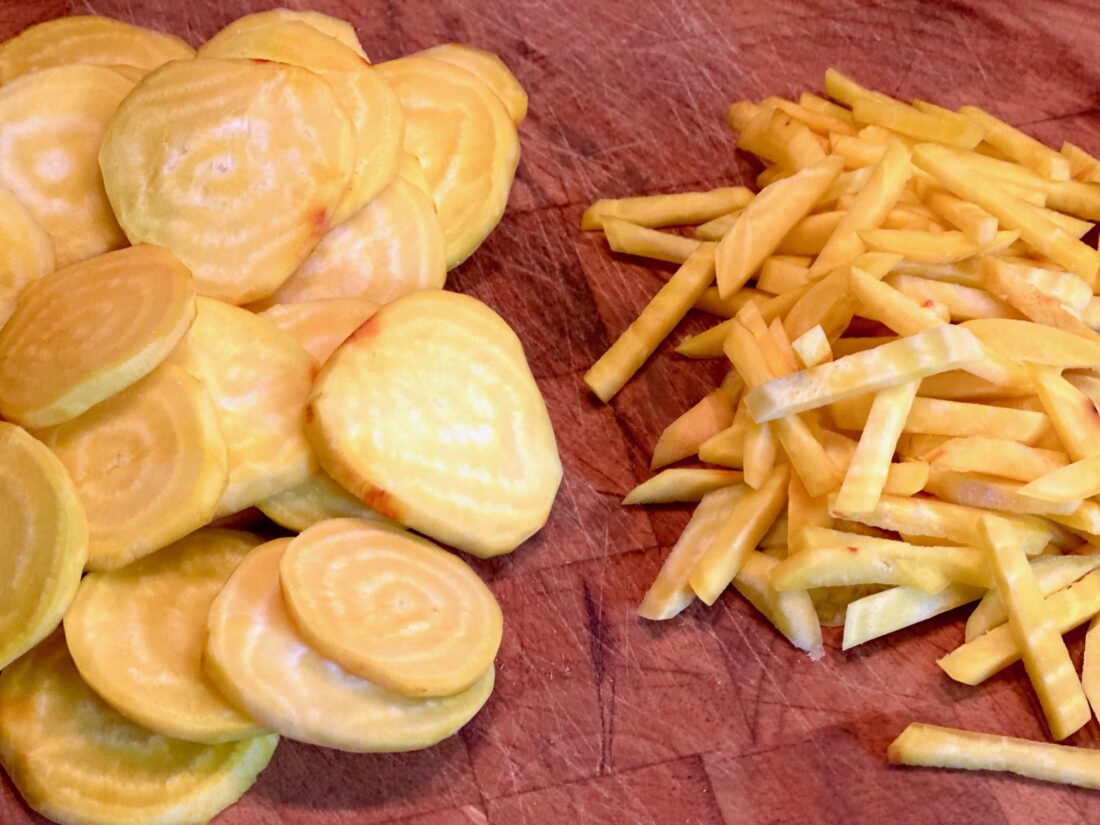
- Wash and cut the potatoes into ½- ¾ inch pieces (if using fingerling potatoes, slice larger potatoes lengthwise than cut again into your ½-inch pieces). Place the cut potatoes into a bowl and toss with 1 Tbsp of olive oil.
- Preheat oven to 400° Move the potatoes to a parchment lined baking sheet.
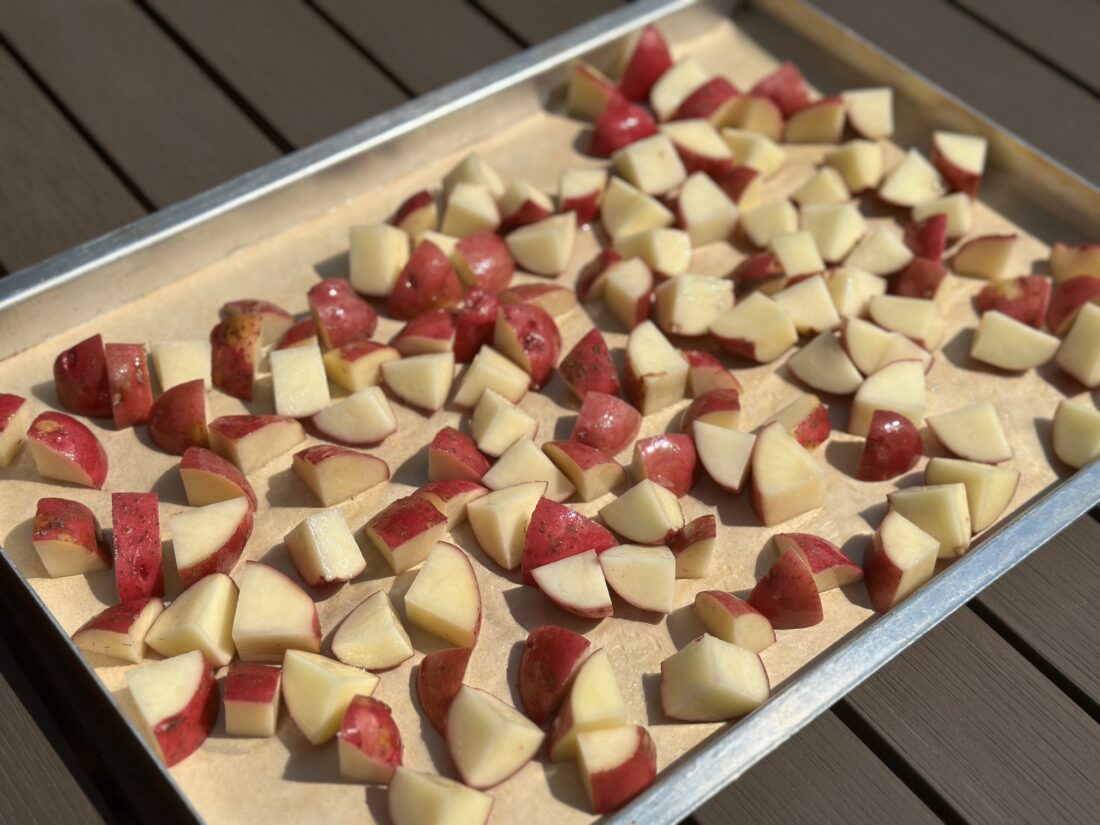
- Bake for 40 minutes. Stir halfway through baking time.
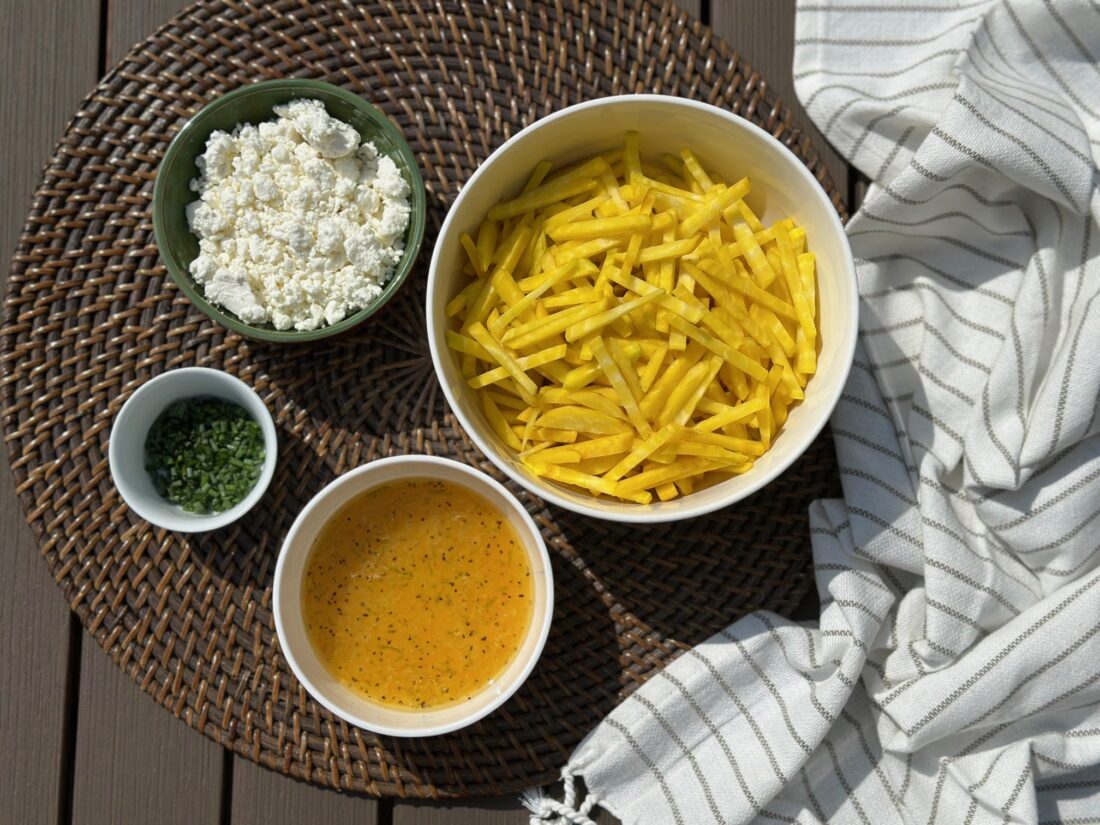
- In a small bowl, mix ¼ cup olive oil, vinegar, mustard, lemon juice, and spices. Whisk well to combine and set aside.
- Chop the fresh herbs and set aside.
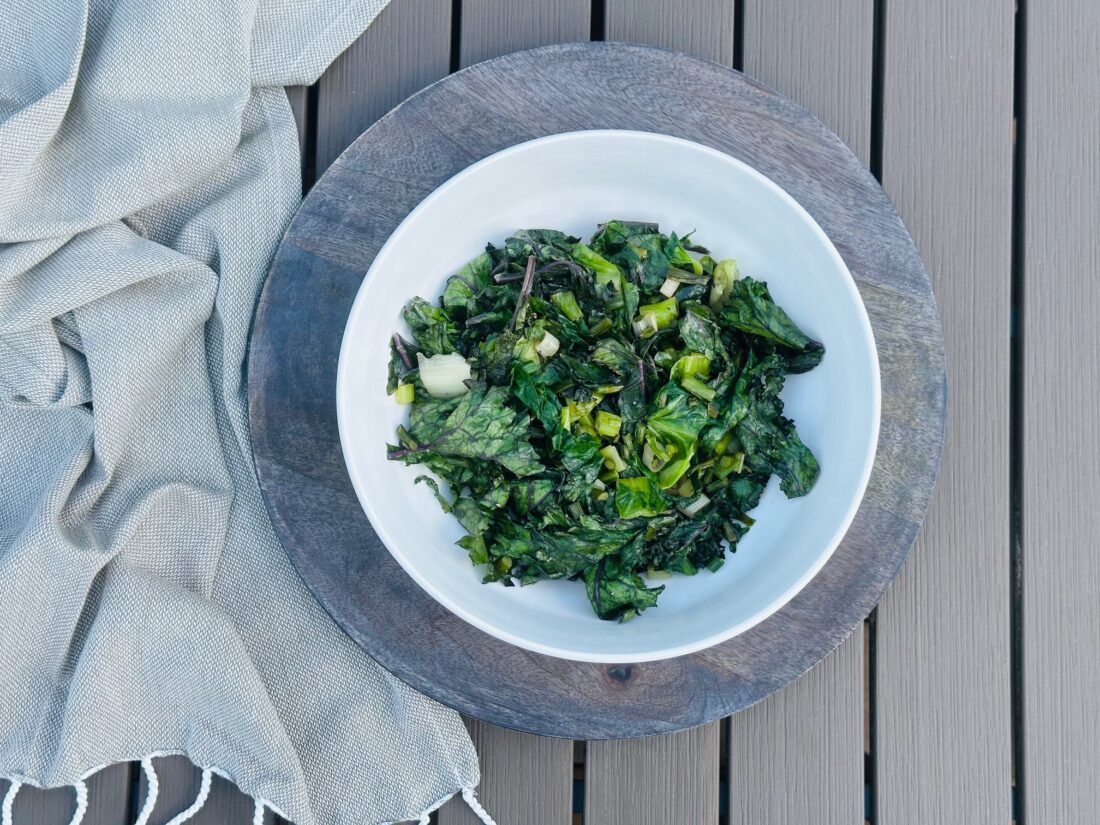
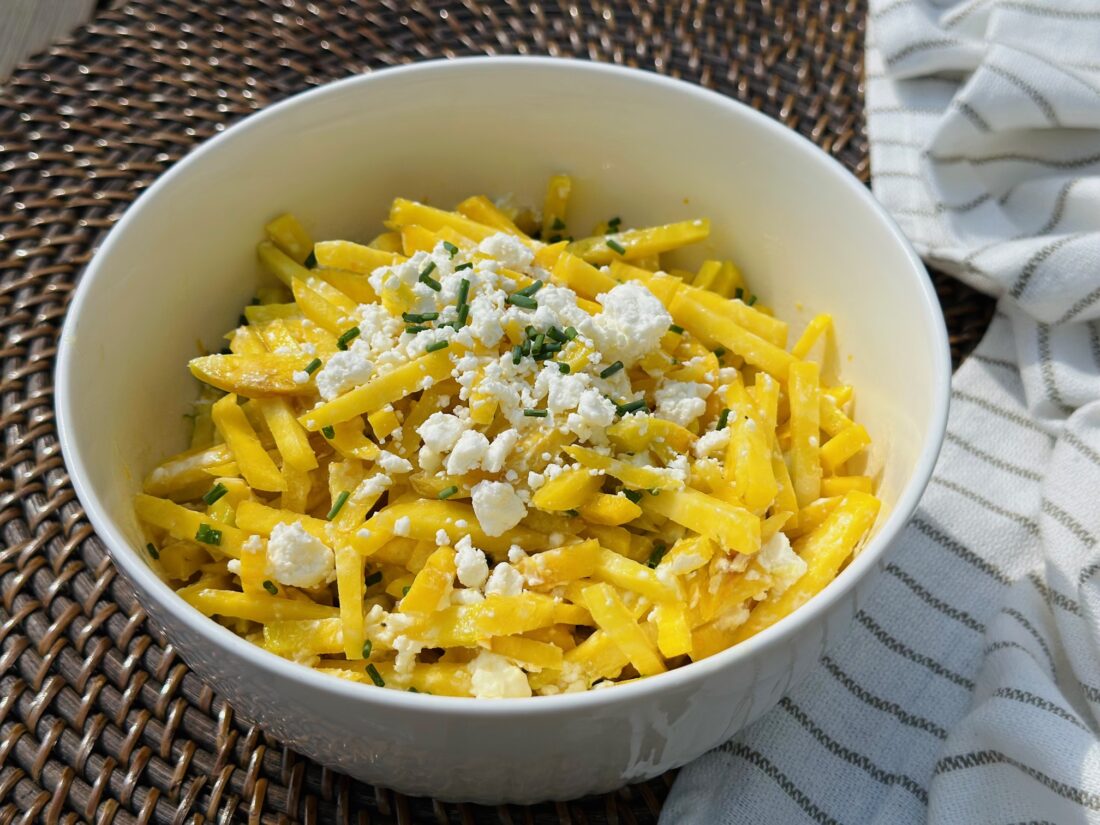
- Once the potatoes are done roasting, remove from oven and transfer to a bowl. Add the vinaigrette and chopped fresh herbs. Mix well.
- Serve warm or refrigerate and enjoy chilled.
Recipe and photos by Stephanie Borzio. Stephanie is a mom of three active boys and is an autoimmune warrior. After battling her own health for several years, Stephanie found healing through food and lifestyle changes, including joining Blooming Glen Farm CSA of which she is a long time member. She is a Board Certified Integrative Nutrition Health Coach who is passionate about sharing healthy living tips and real food recipes. Instagram and Facebook: Tru You Essentials; Website: www.truyouessentials.com

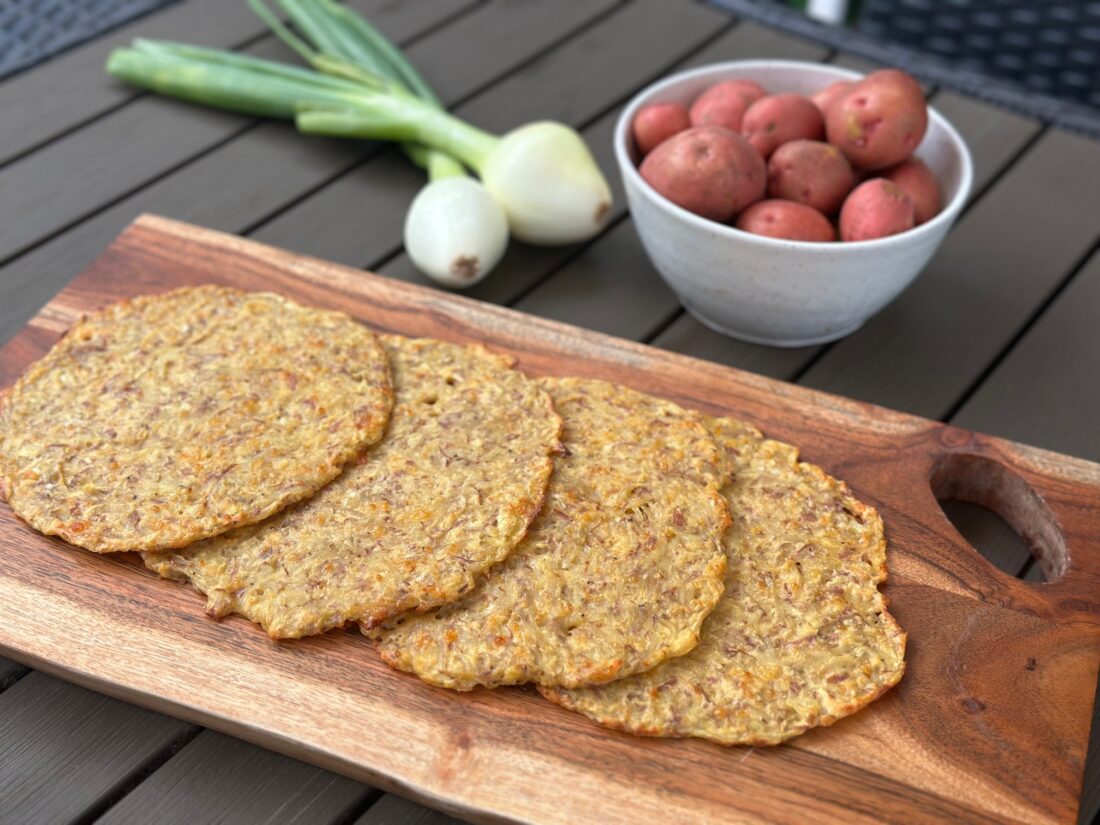

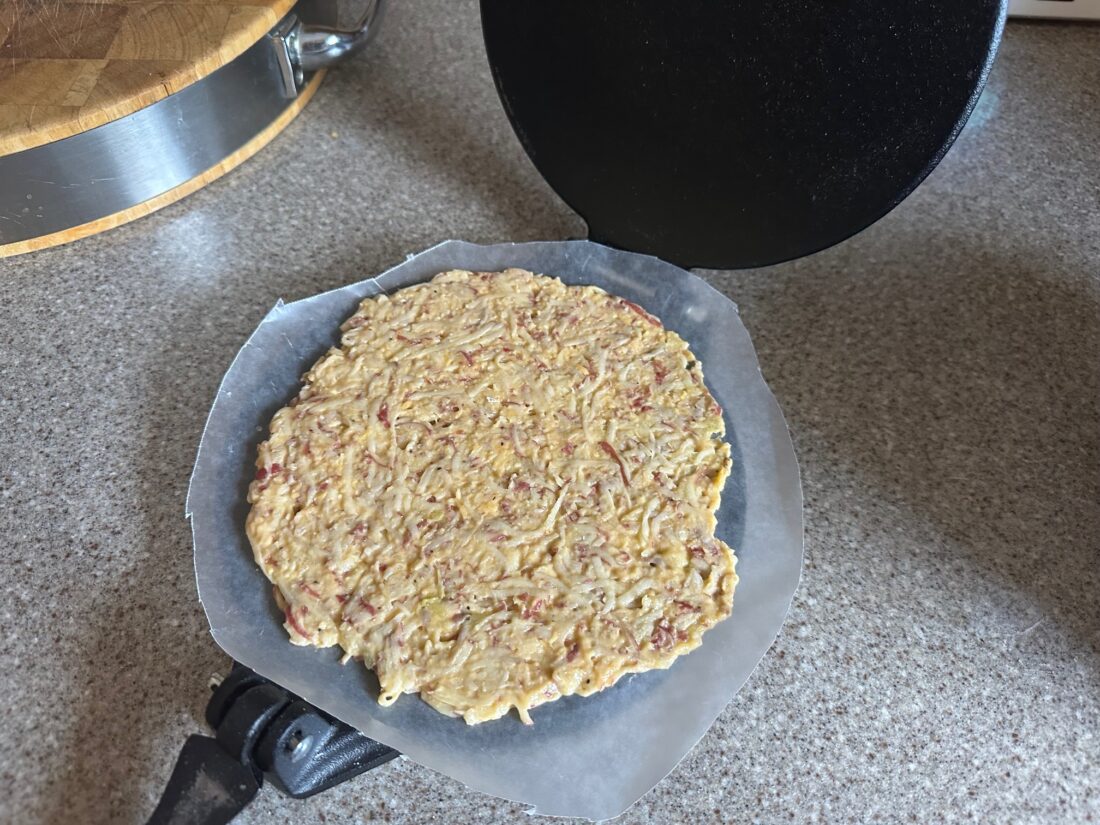


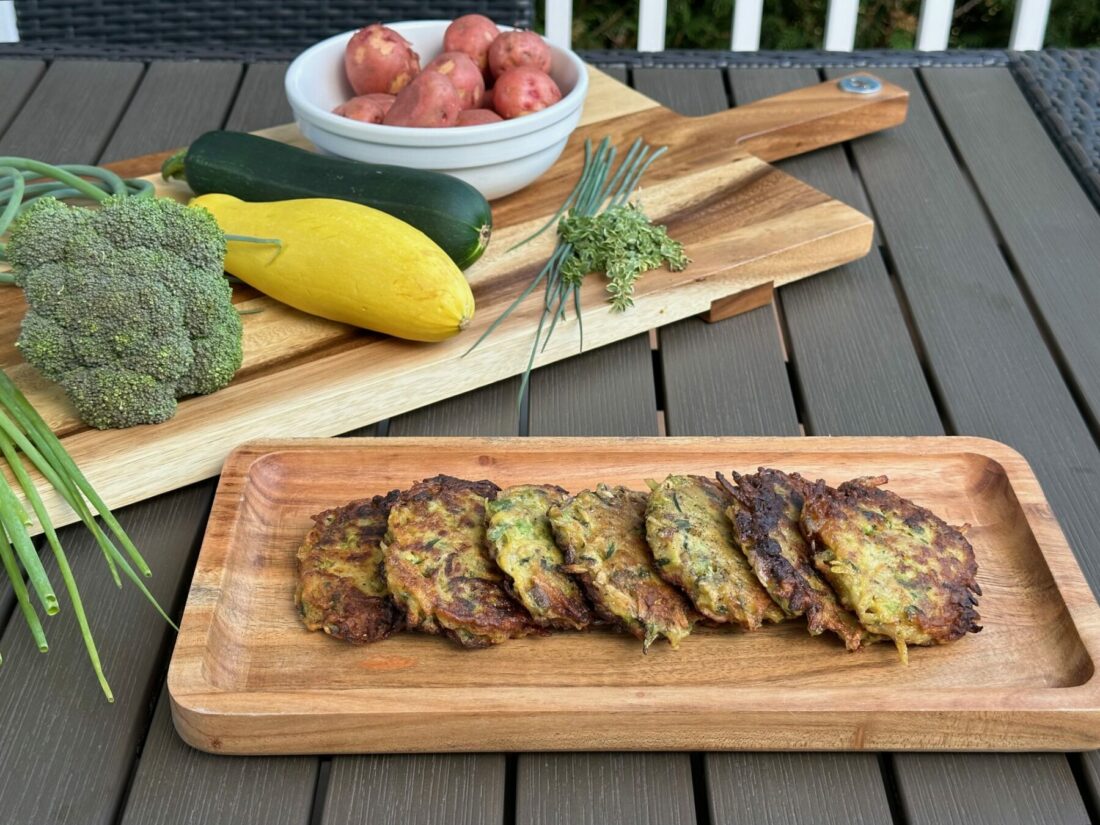
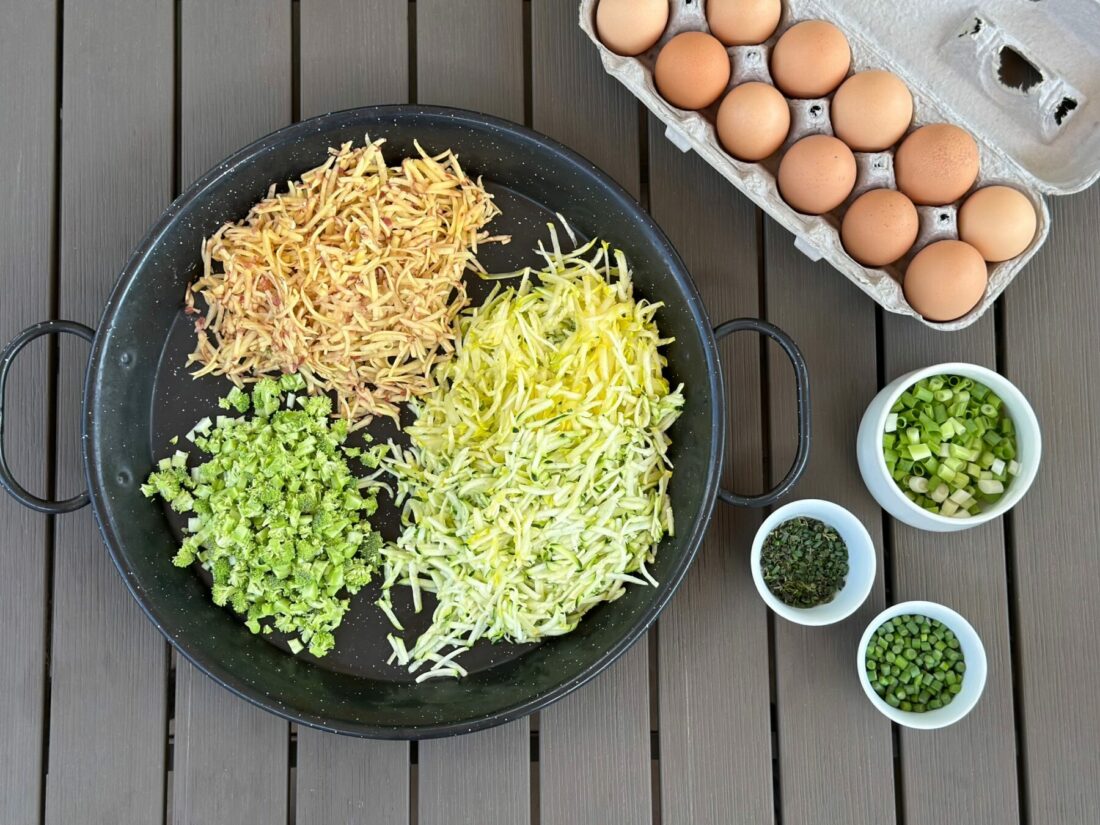
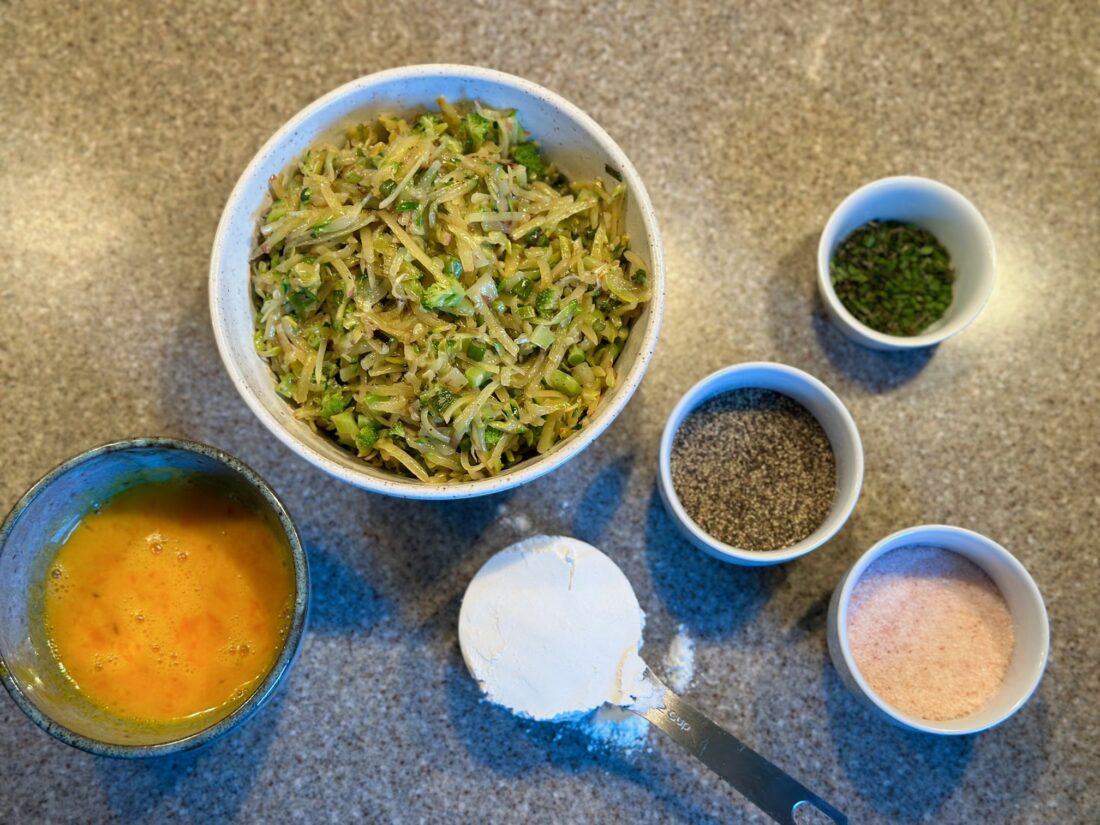
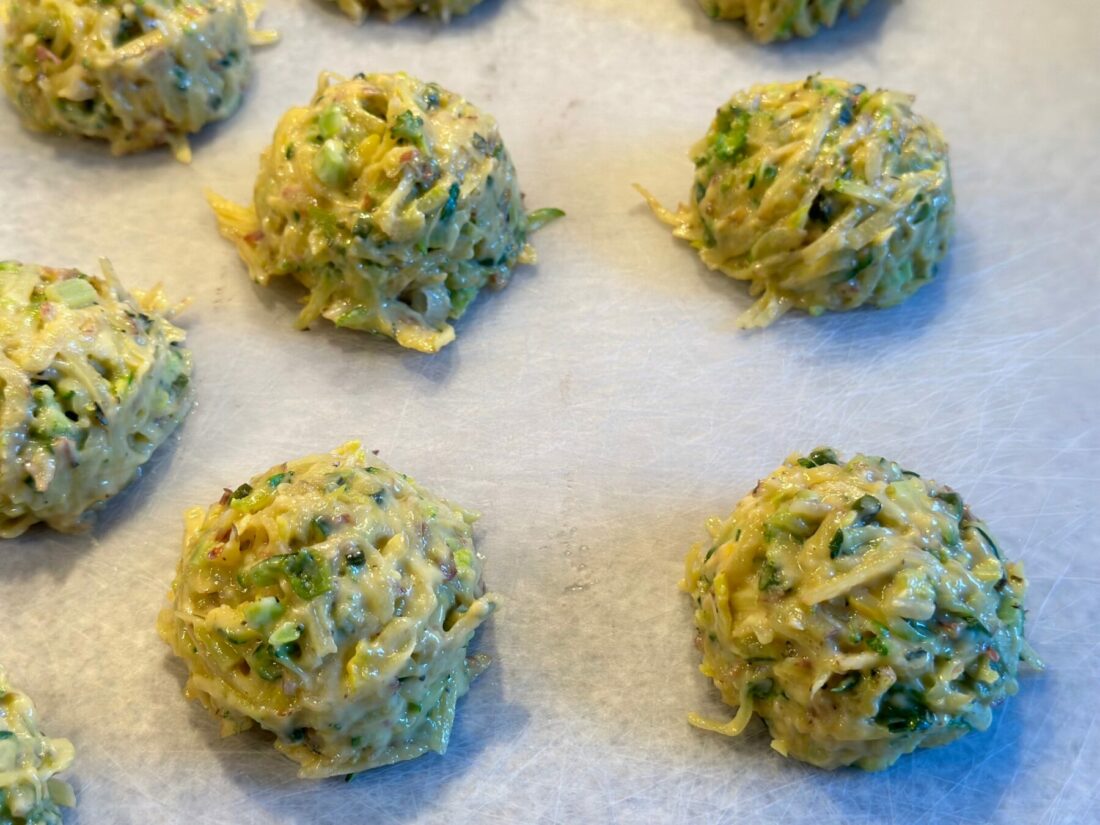
 Veggie Fritters