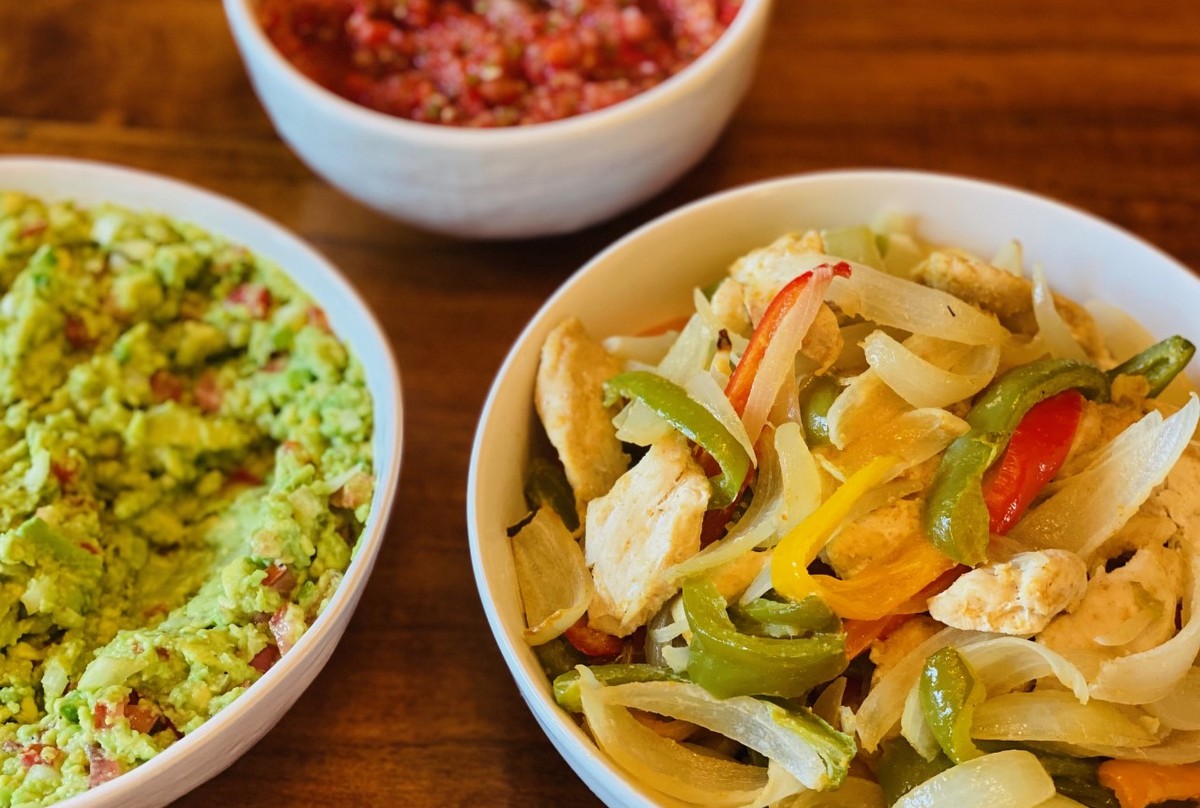
22 Sep Sheet Pan Fajitas
The fall is typically a time where we shift into new routines. We juggle school, work, children’s activities, and sporting events. As a family of 5, we often find ourselves moving in different directions, but still enjoy eating together at least a couple of times a week. This meal is full of flavor and is fast and easy, so it’s perfect for a quick, but healthy dinner. I actually like to double the recipe so that we have leftovers throughout the week for lunches.
Sheet Pan Fajitas
Ingredients:
1 ½ lbs boneless chicken breasts, thinly sliced
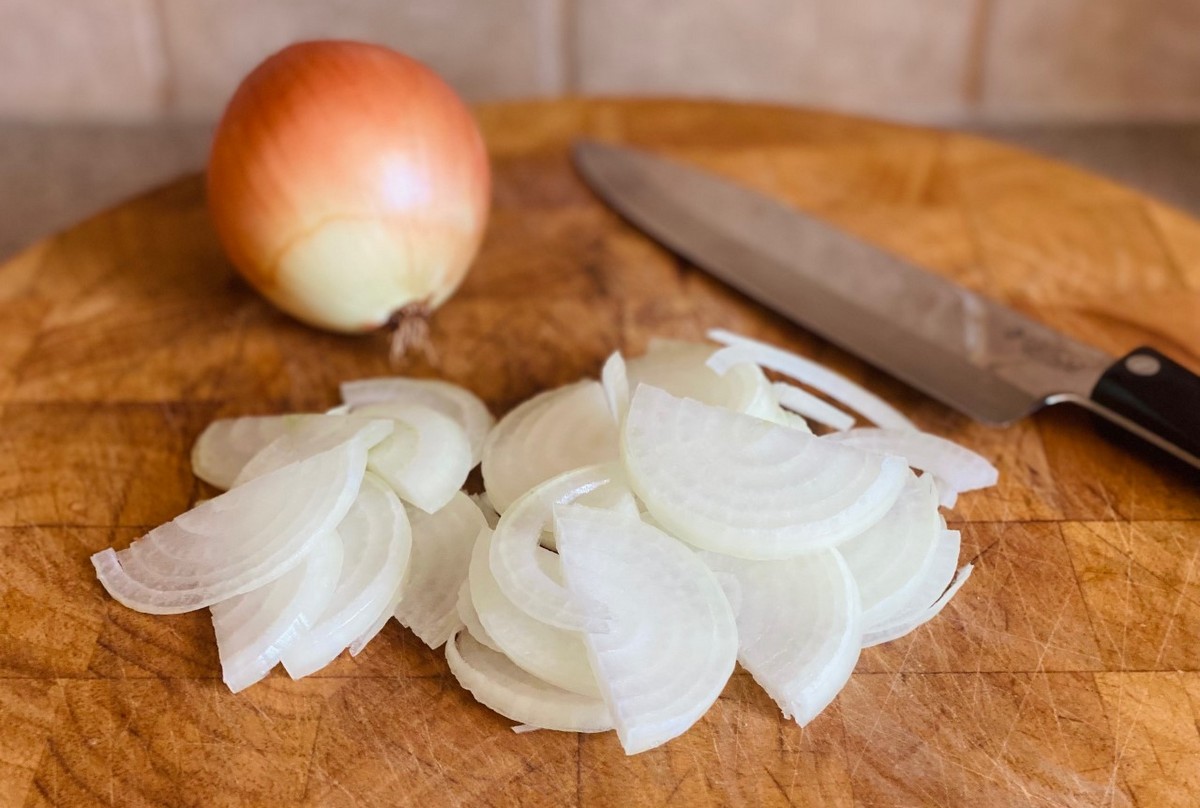
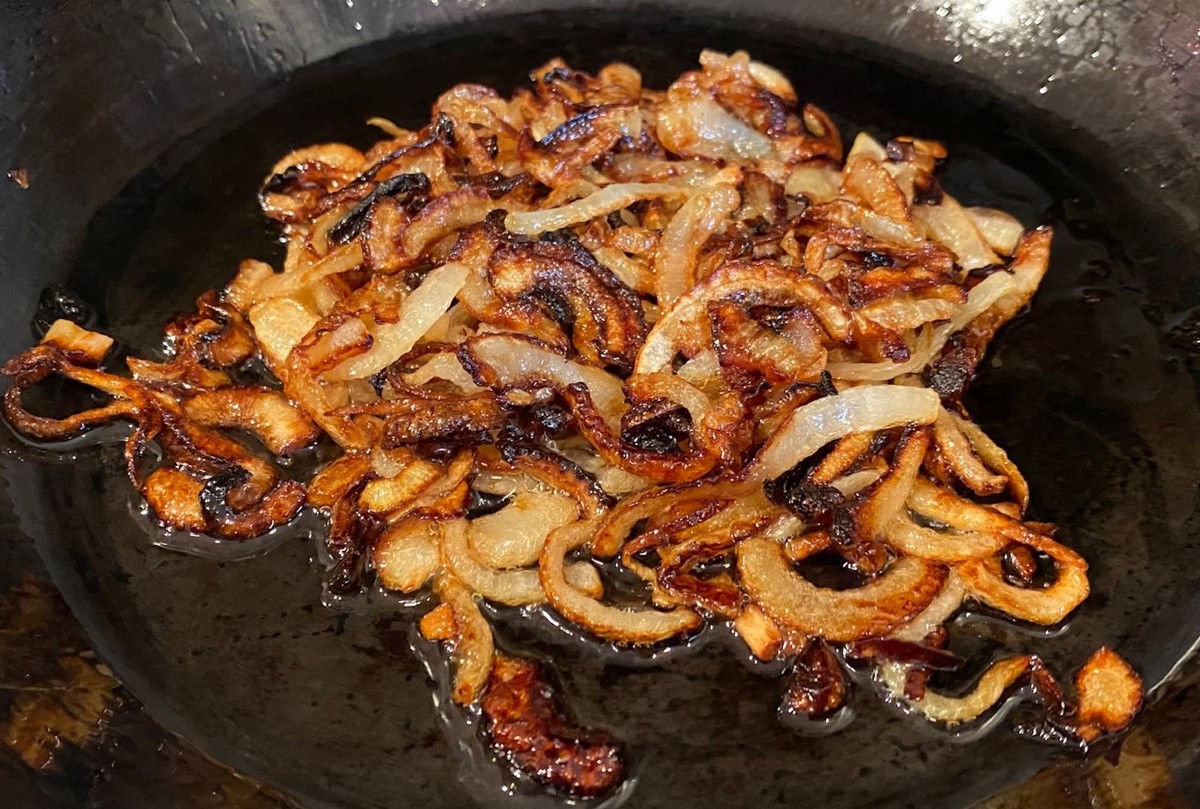
2 onions, sliced
4 peppers (green bell peppers or sweet peppers), stem/seeds removed and sliced
3 Tbsp olive or avocado oil
2 tsp chili powder
1 tsp onion powder
1 tsp garlic powder
1 tsp sea salt
¼ tsp ground cumin
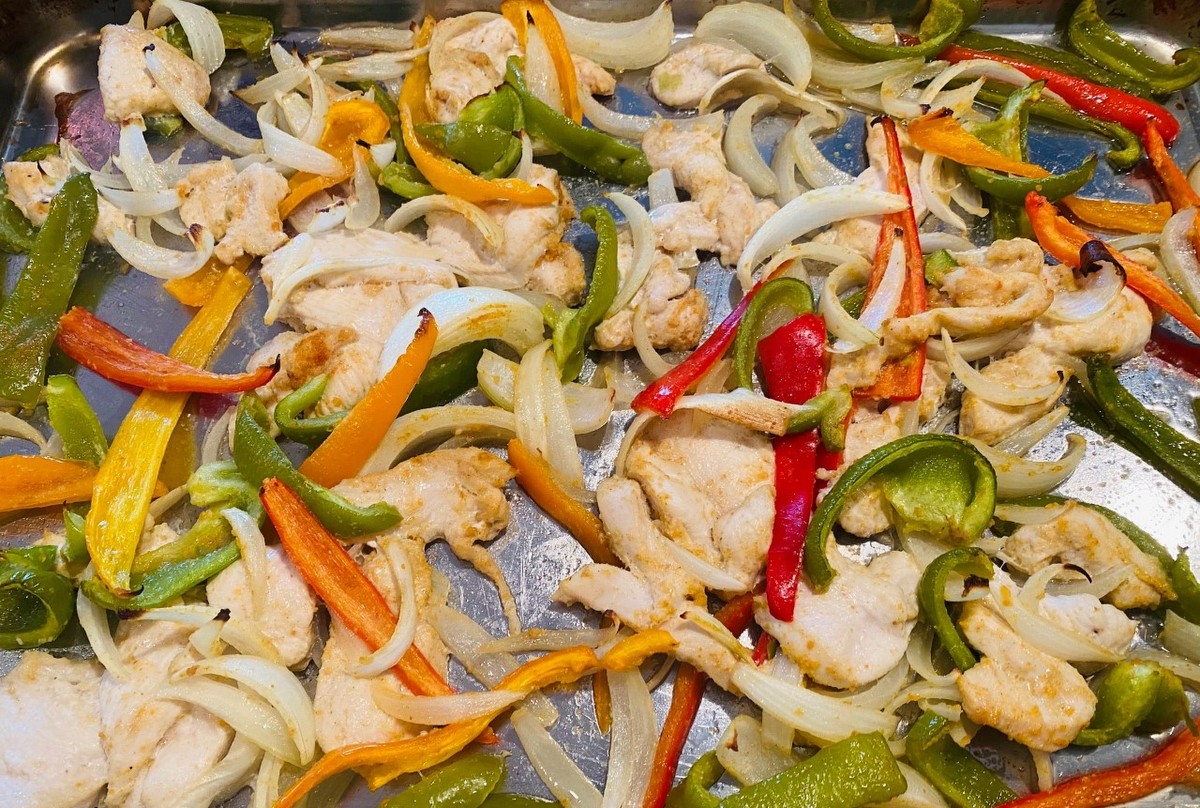
- Preheat oven to 375°F.
- Place sliced chicken, onions, and peppers in large bowl. Add oil and toss to coat.
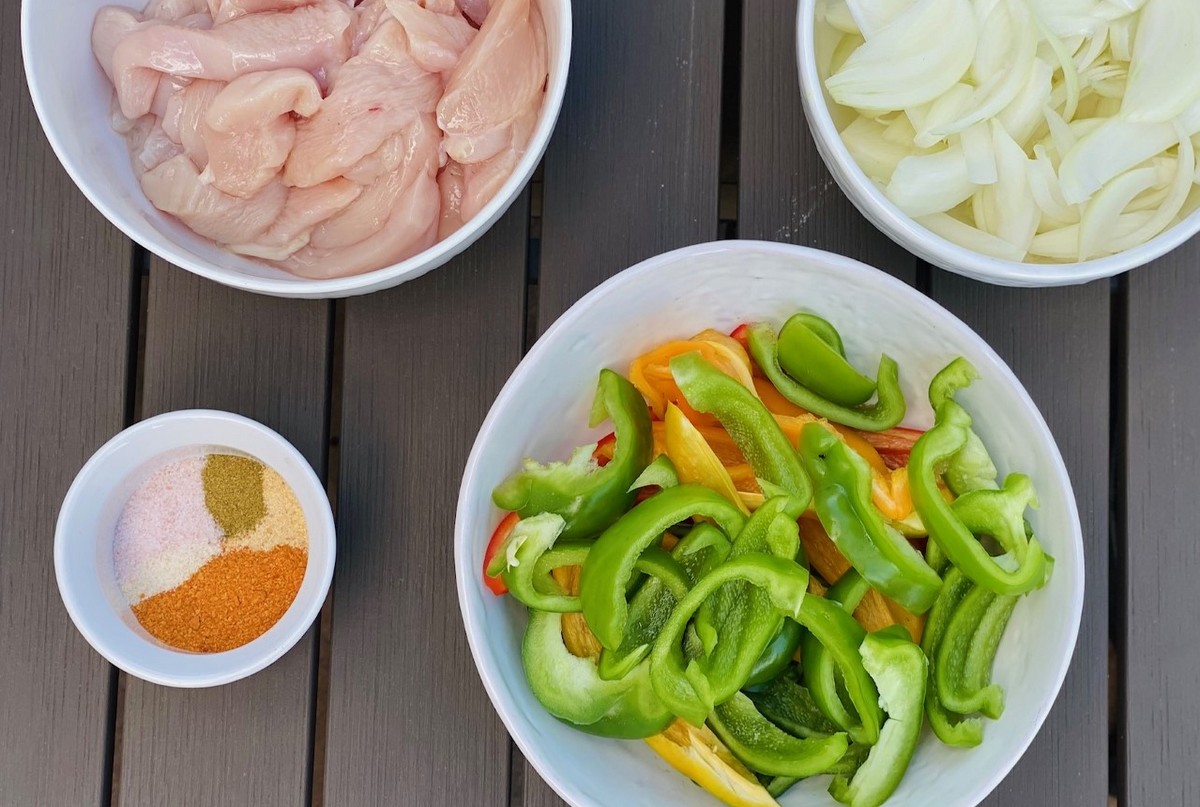
- In small bowl, mix all of the spices. Sprinkle over chicken and vegetables. Mix well to evenly distribute.
- Place on large baking sheet.
- Bake for 25 minutes.
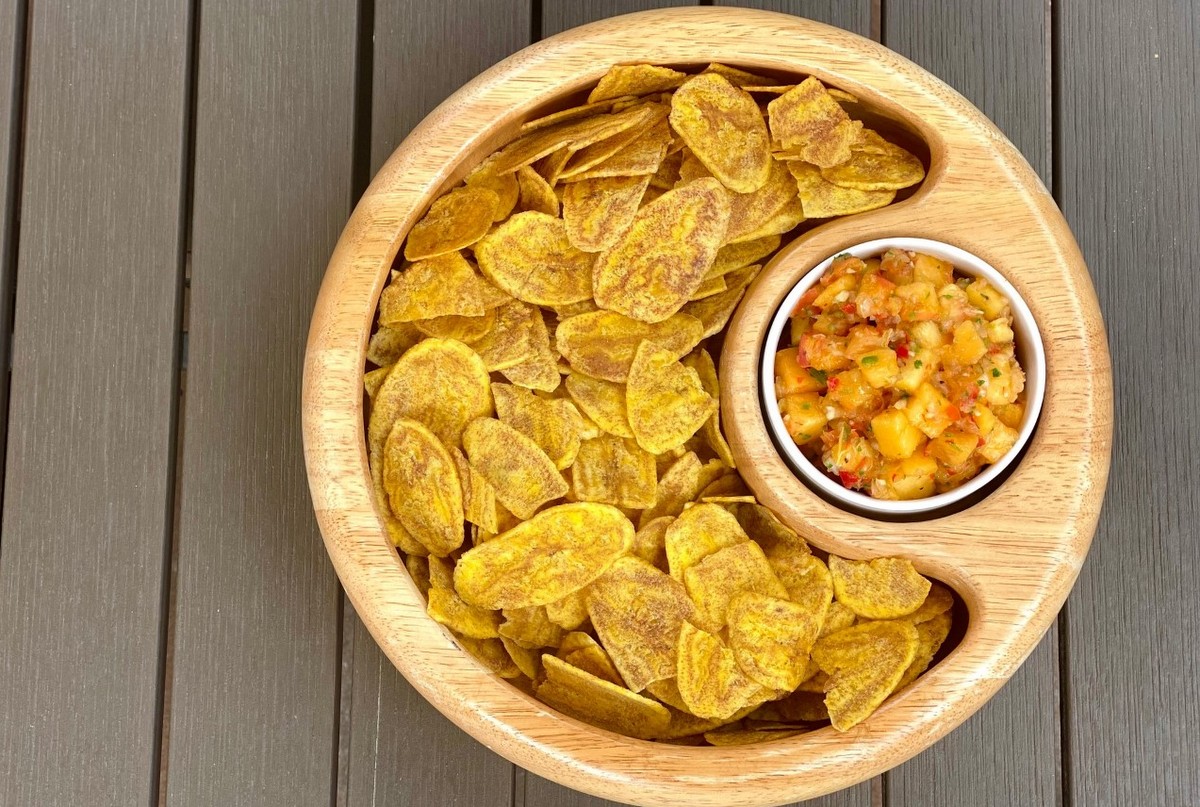
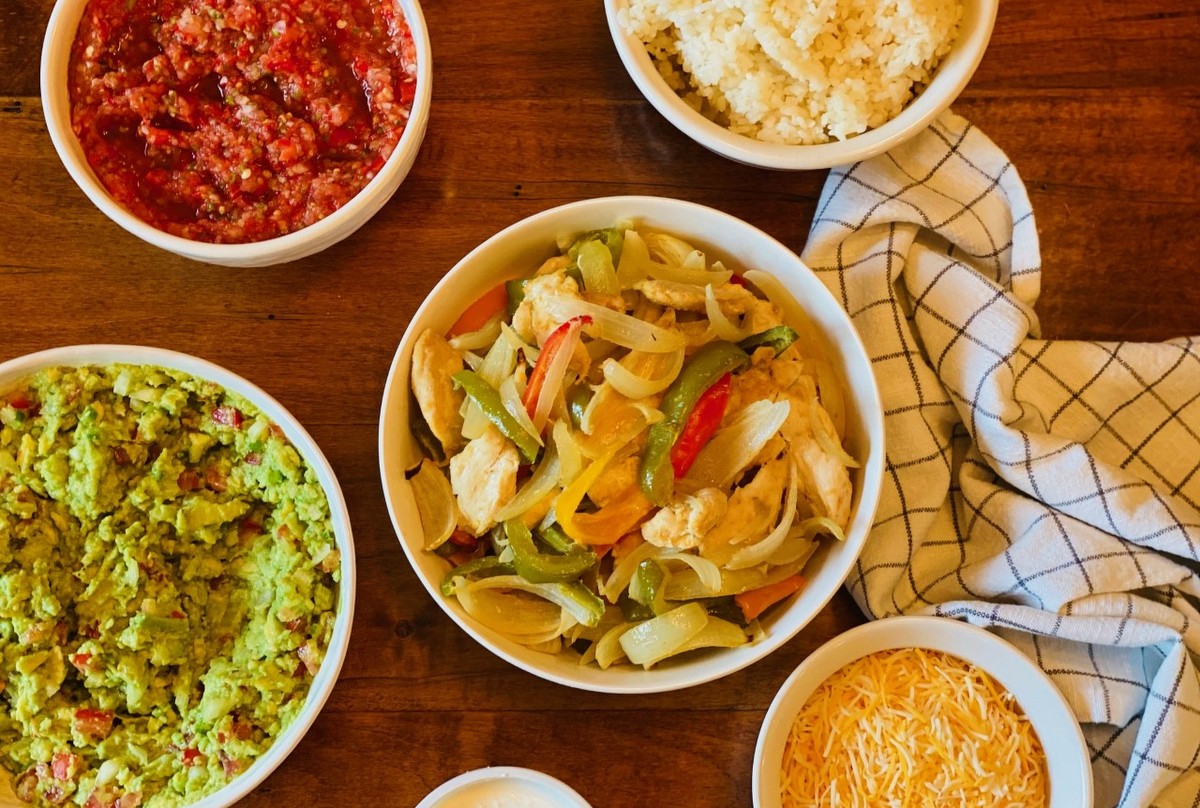
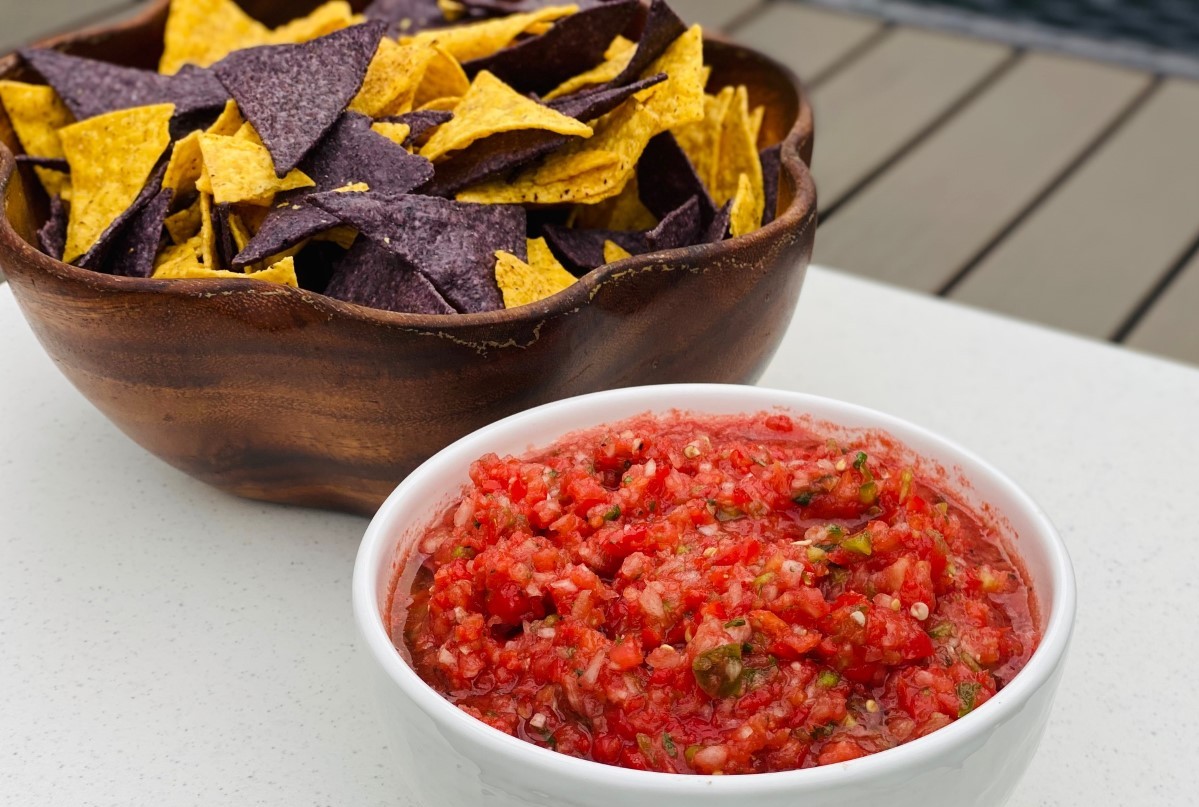
- Serve in wraps or on top of rice. Top with homemade salsa (see recipe for End of Summer Salsa), guacamole (see recipe below), sour cream, and shredded cheese.
- Store leftovers in the refrigerator for up a week.
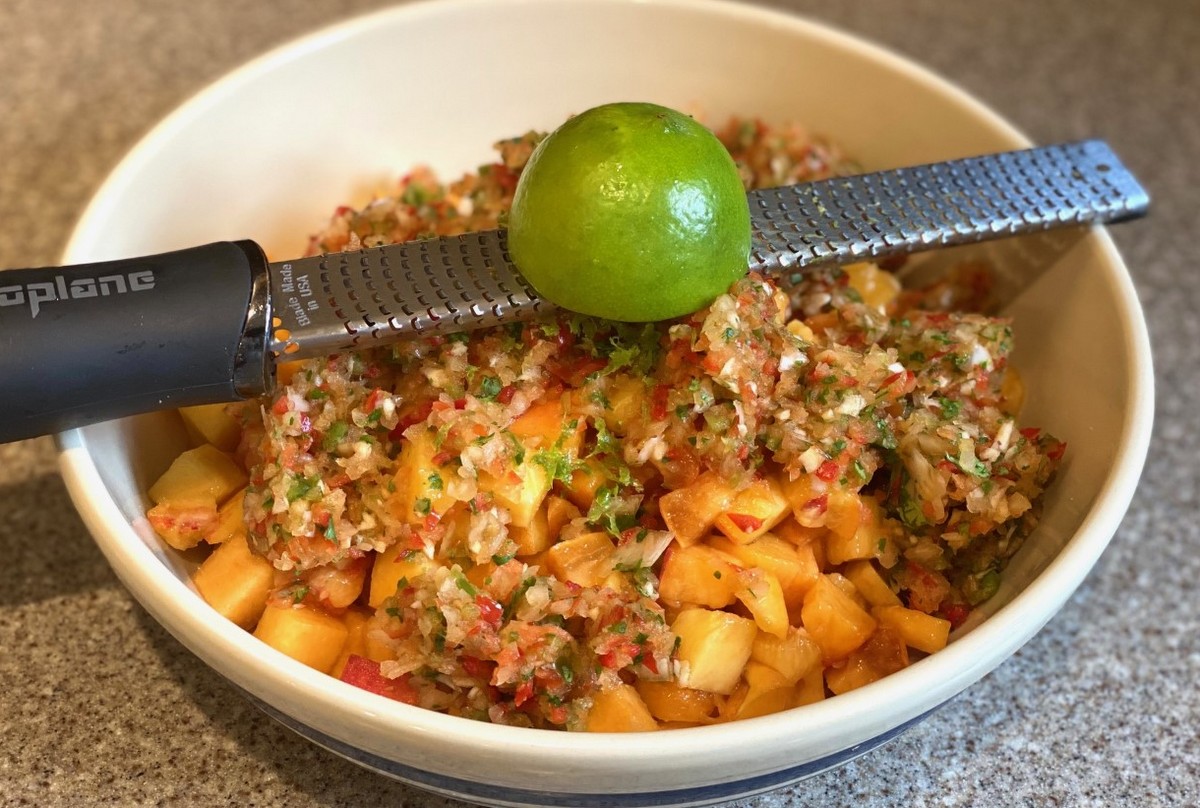
Guacamole–
4 ripe avocados
1 lime, juiced + 1 tsp zest
1 tsp salt
½ tsp black pepper
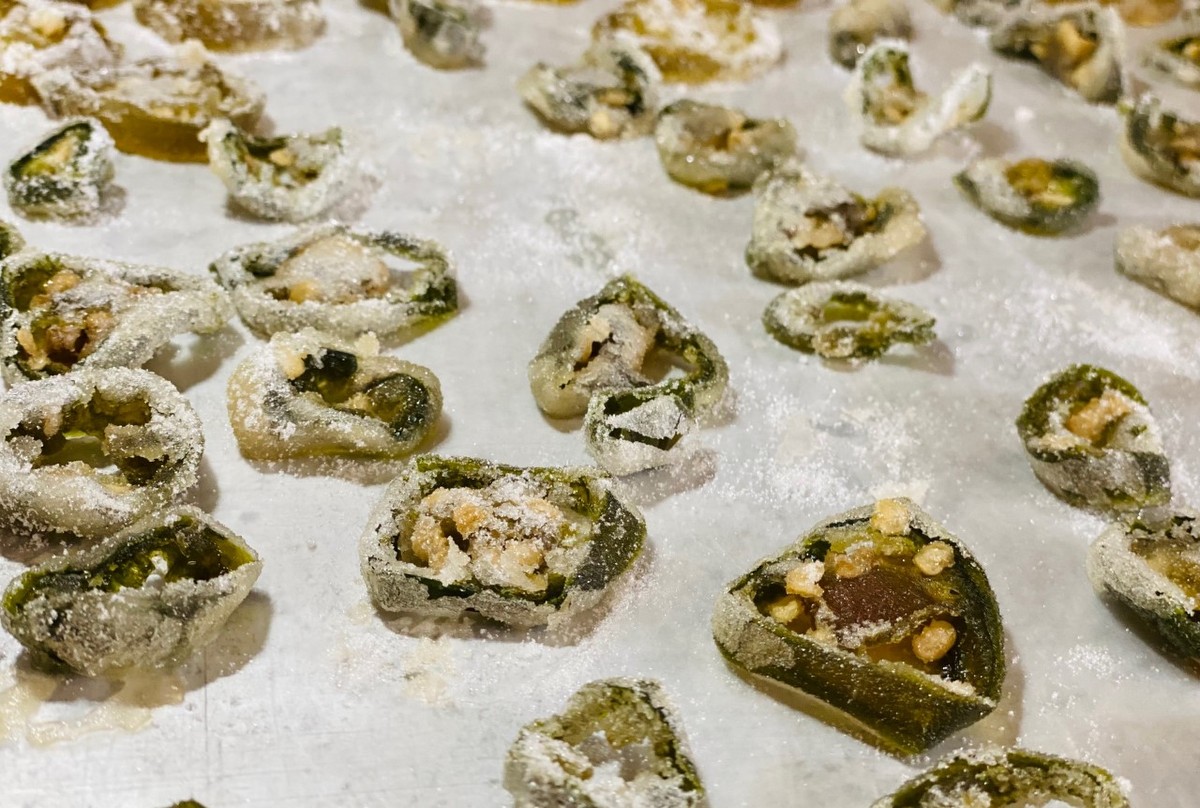
½ jalapeno, seeds/membranes removed and finely chopped
½ medium onion, finely chopped
2 cloves garlic, crushed
1 medium tomato, seeds removed and finely chopped
1 Tbsp fresh cilantro, finely chopped (optional)
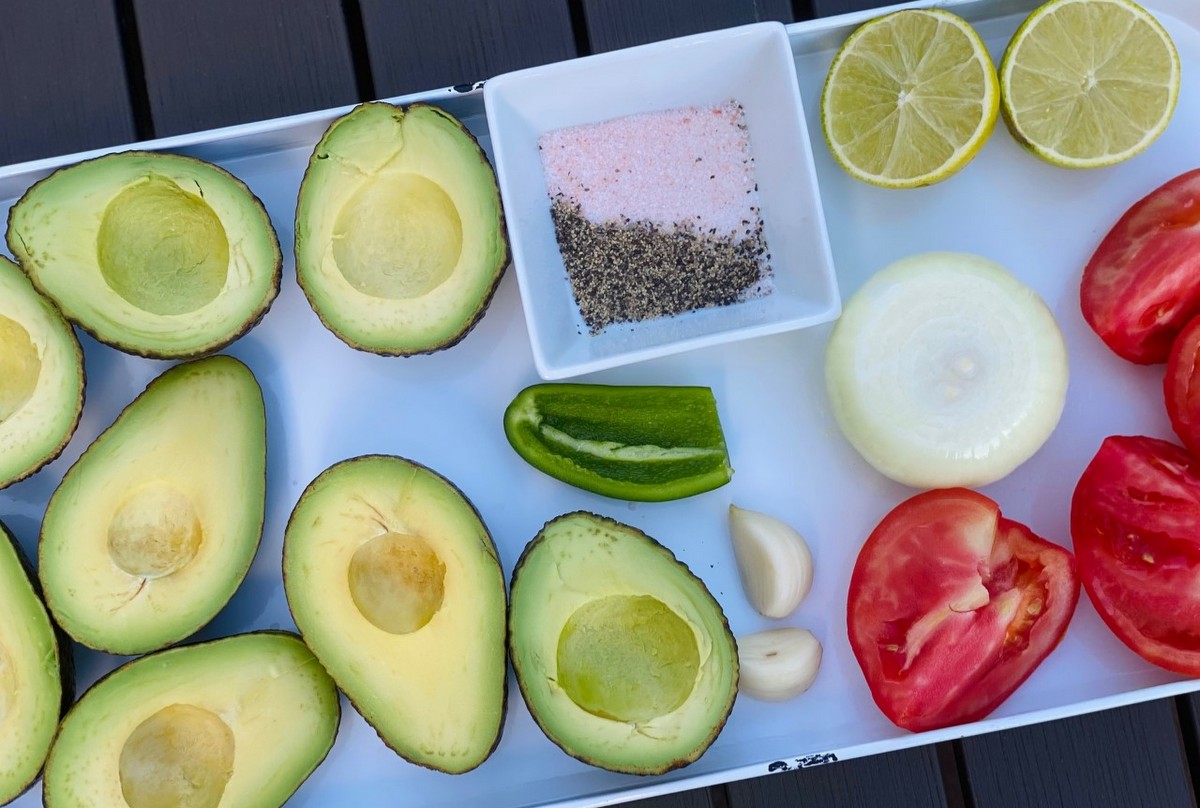
Scoop the avocado pulp into a large bowl. Mash with a fork. Add lime juice, lime zest, salt, and pepper. Mix well. In a small bowl, combine jalapeno, onion, garlic, tomatoes, and cilantro (if using). Add to avocado mixture and fold in. Serve with fajitas, tacos, nachos, or just with chips or veggies.
Recipe and photos by Stephanie Borzio. Stephanie is a mom of three active boys and is an autoimmune warrior. After battling her own health for several years, Stephanie found healing through food and lifestyle changes, including joining Blooming Glen Farm CSA of which she is a long time member. She is a Board Certified Integrative Nutrition Health Coach who is passionate about sharing healthy living tips and real food recipes. Instagram and Facebook: Tru You Essentials; Website: www.truyouessentials.com

 Recipe and photos by Stephanie Borzio. Stephanie is a mom of three active boys and is an autoimmune warrior. After battling her own health for several years, Stephanie found healing through food and lifestyle changes, including joining Blooming Glen Farm CSA of which she is a long time member. She is a Board Certified Integrative Nutrition Health Coach who is passionate about sharing healthy living tips and real food recipes. Instagram and Facebook: Tru You Essentials; Website: www.truyouessentials.com