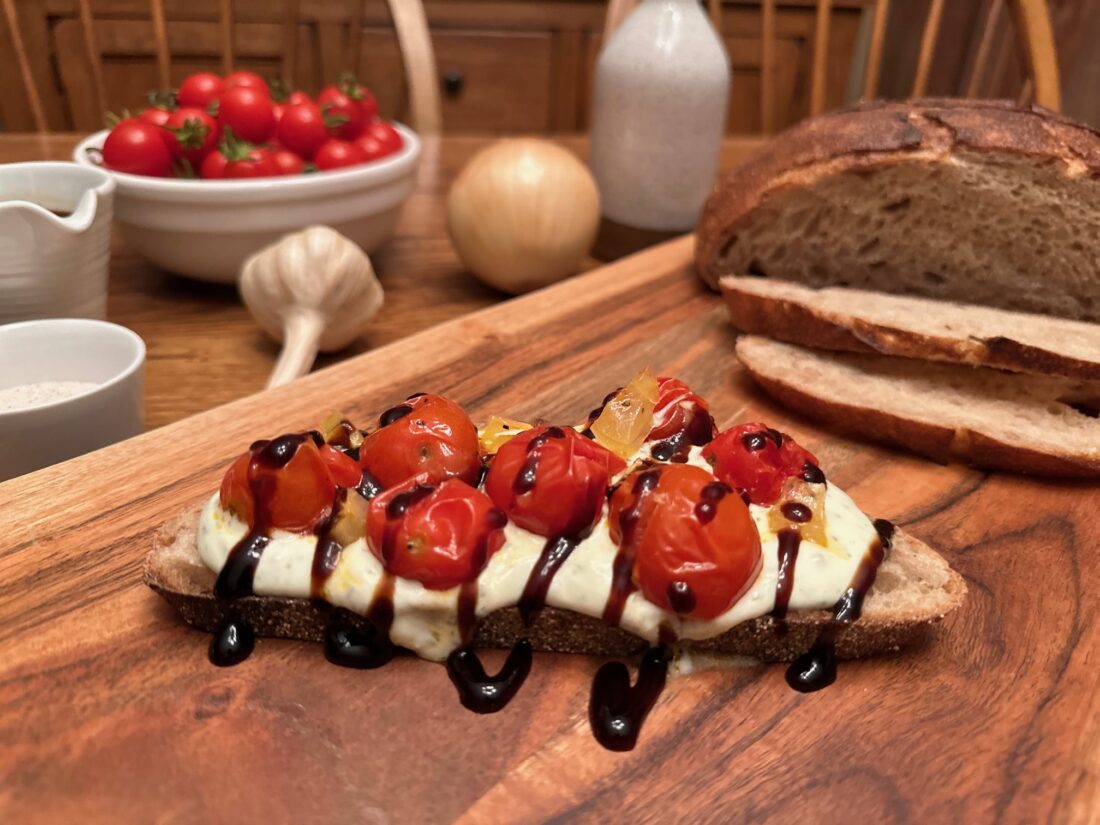
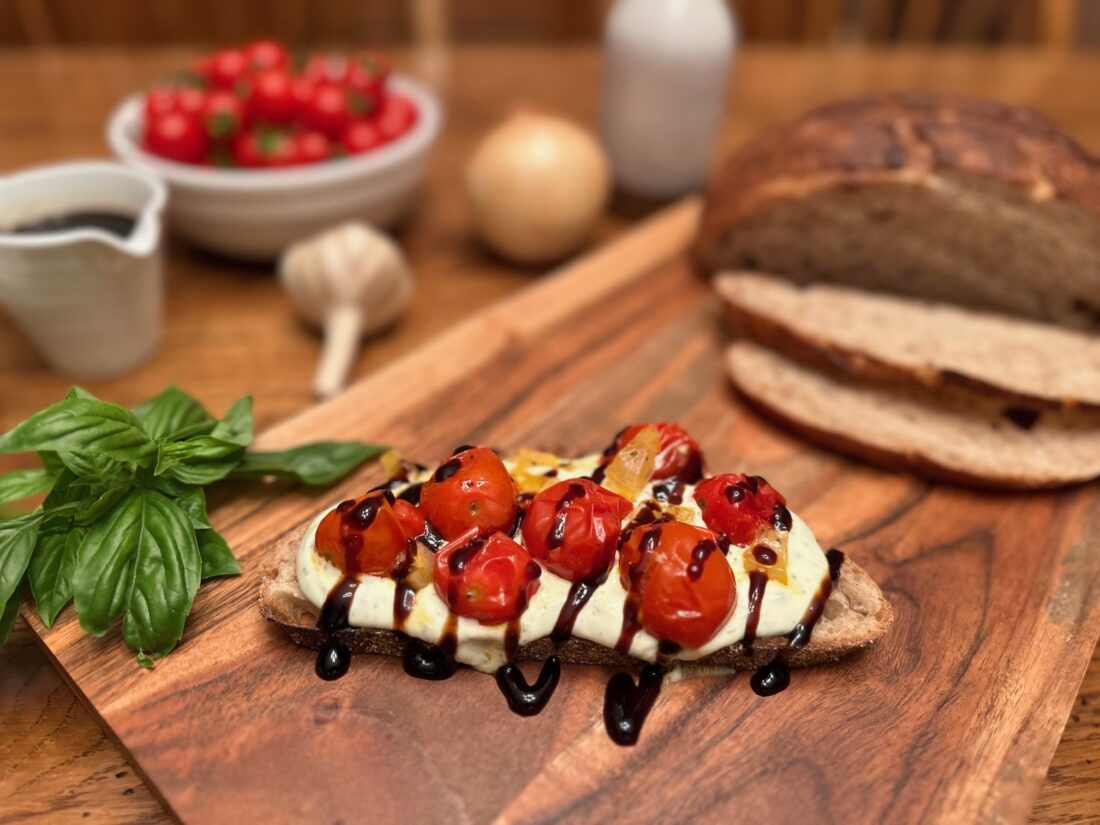
24 Aug Roasted Cherry Tomatoes and Whipped Ricotta Toast
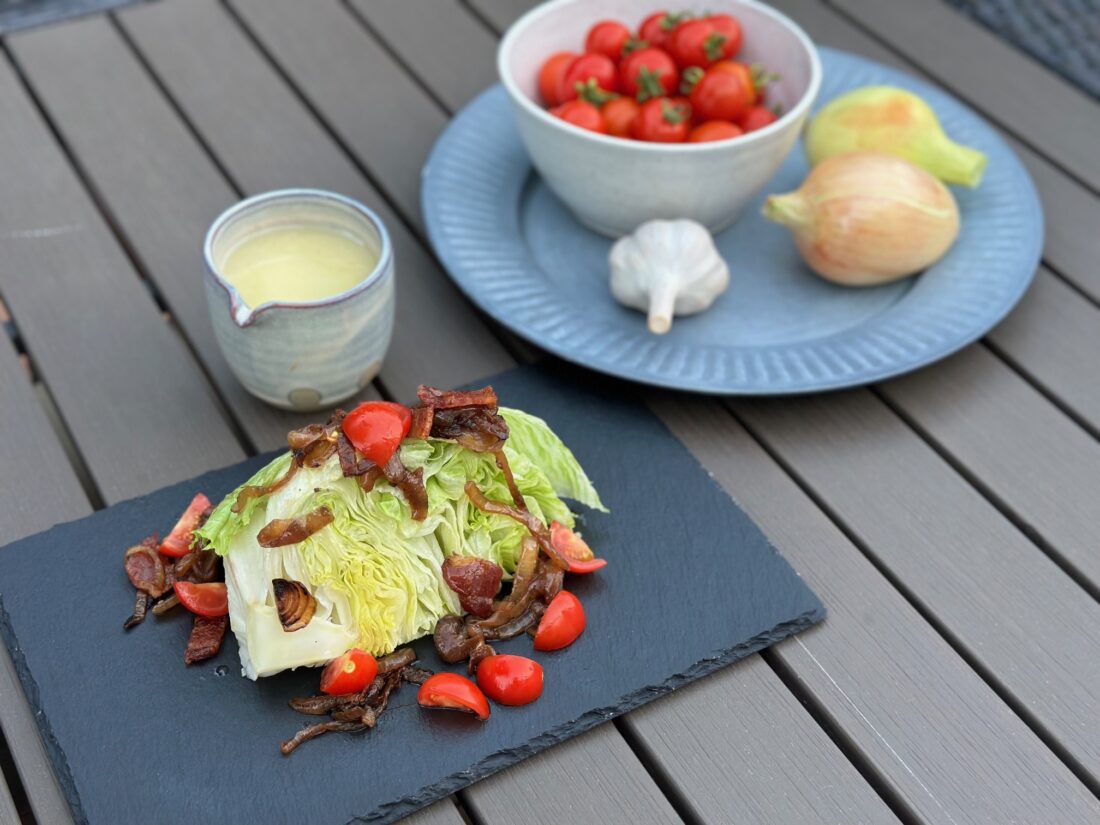
It’s tomato season and these tasty fruits are abundant, whether it’s heirlooms, beefsteaks, plum tomatoes or the sweetest little cherry tomatoes! For this dish, cherry tomatoes are the star. Roasting and then adding them to the top of a sourdough toast with some basil-flavored whipped ricotta creates an amazing dish that is full of flavor.
Roasted Cherry Tomatoes and Whipped Ricotta Toast
Ingredients:
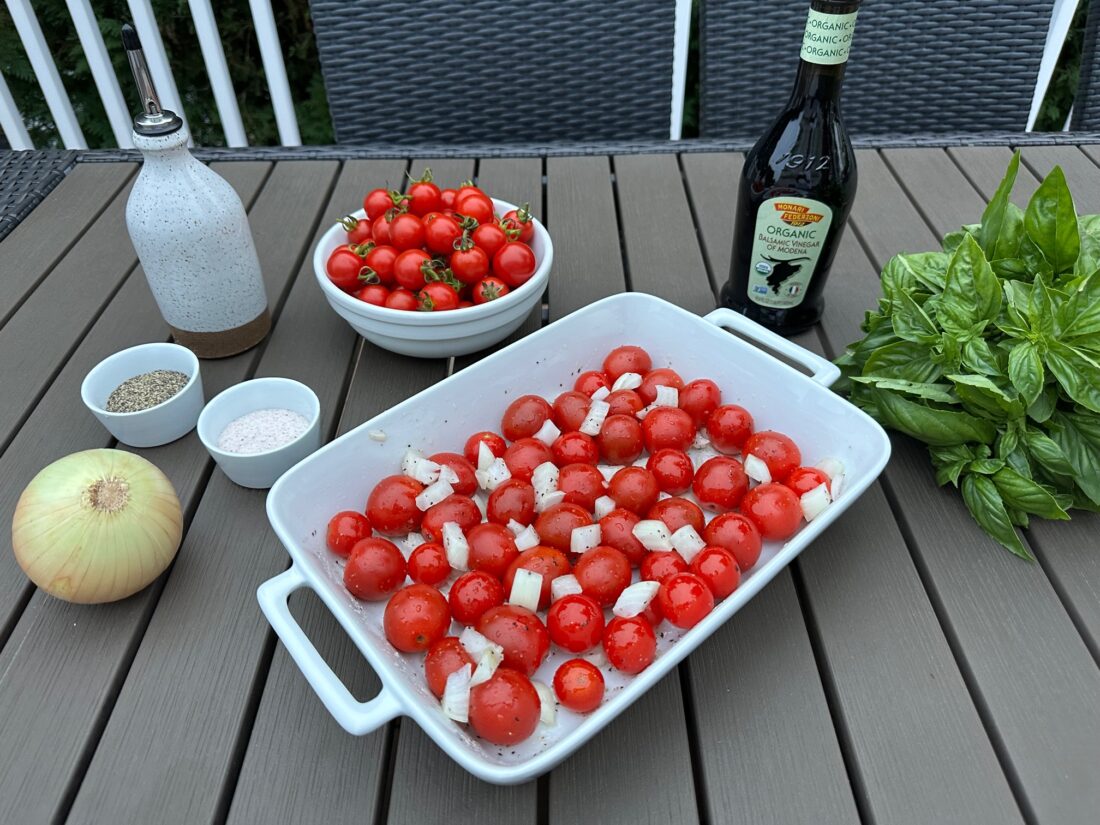
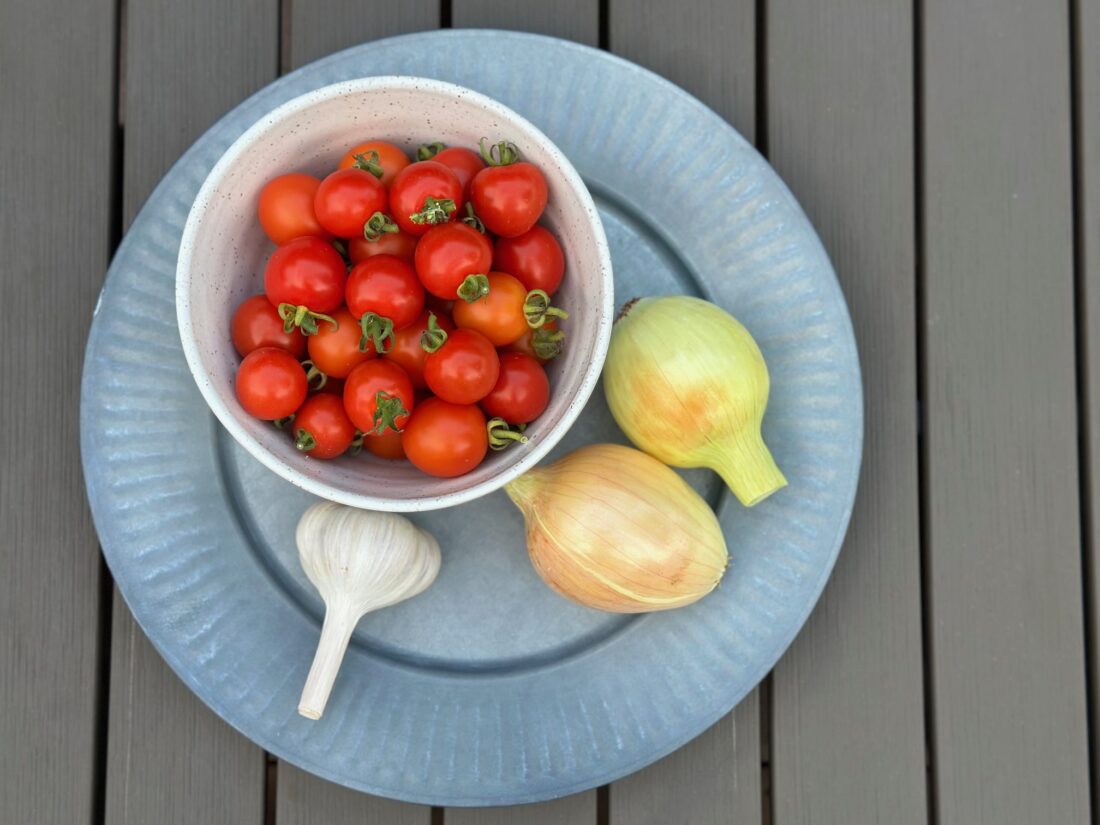
1 quart cherry tomatoes
½ medium onion (sweet, red, or yellow), chopped
2 Tbsp olive oil
½ tsp sea salt
¼ tsp black pepper
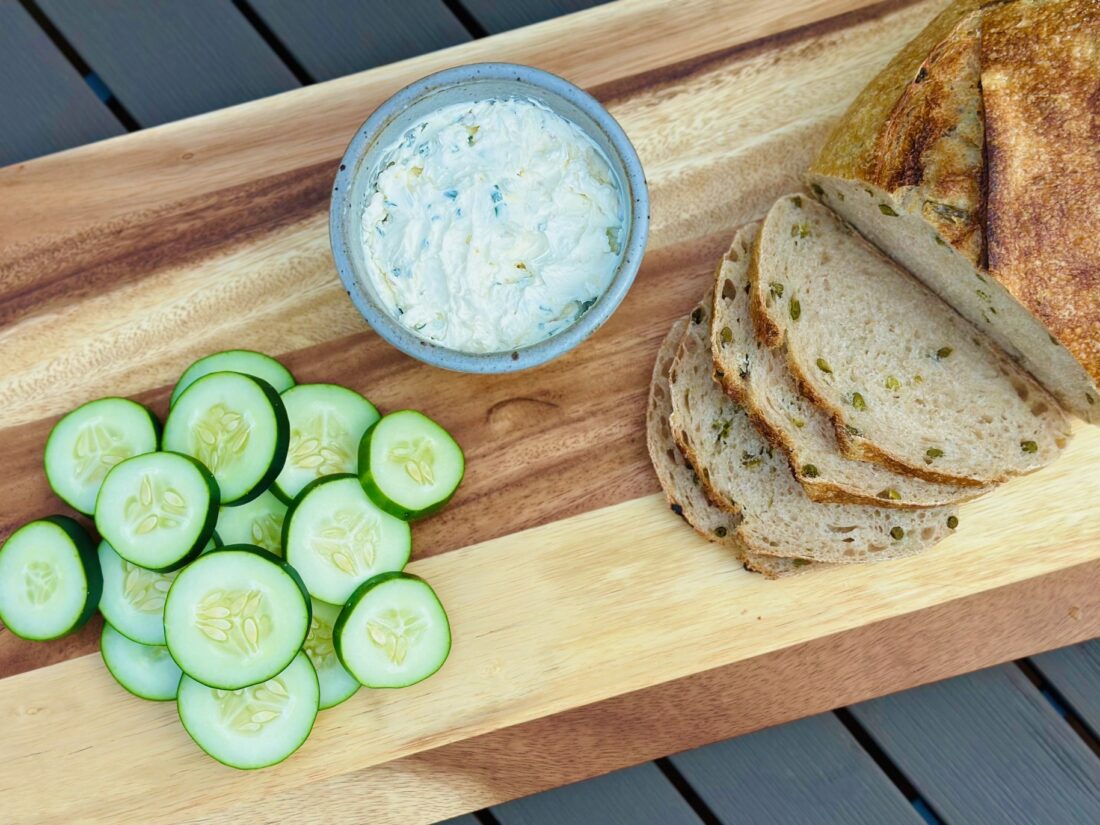
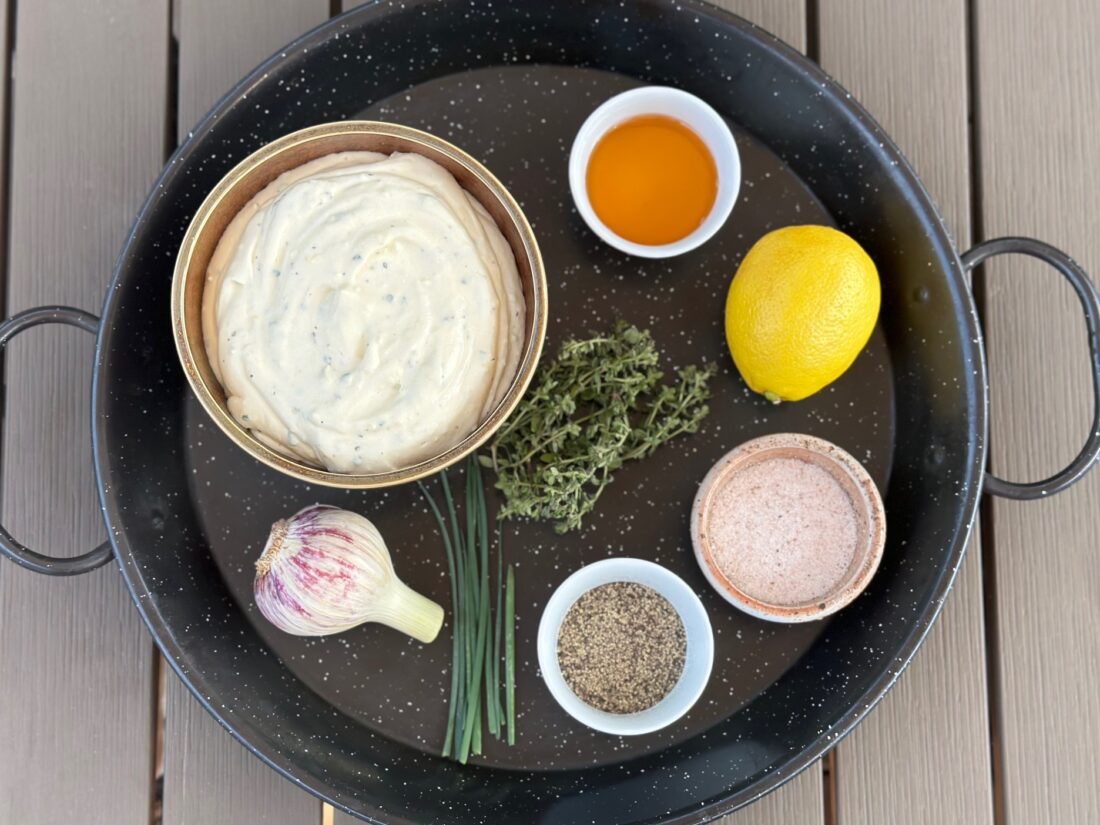
1 batch whipped ricotta (Whipped Ricotta with Grilled Vegetables – Blooming Glen Farm)
1 batch balsamic glaze (Grilled Eggplant with Balsamic Glaze – Blooming Glen Farm)
A few slices of NORD bread, toasted
- Preheat oven to 400°F.
- Place tomatoes and onion in baking dish.
- Drizzle on oil and add salt and pepper. Toss to combine.
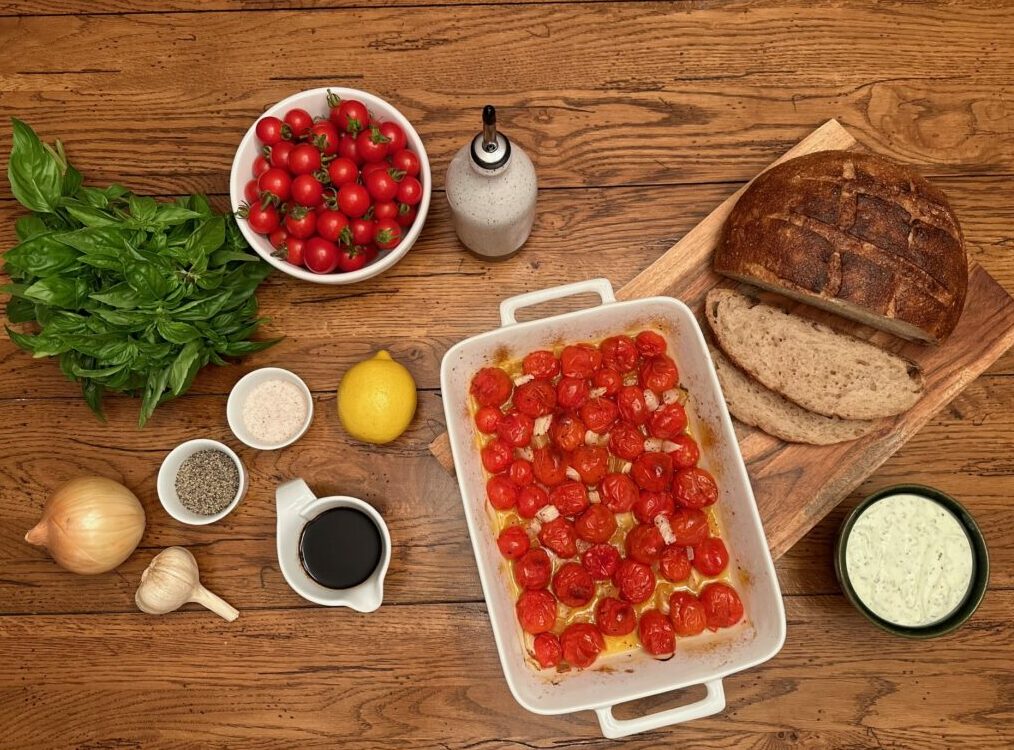
- Bake for 35-40 minutes.
- While the tomatoes are roasting, make a batch of whipped ricotta using basil as the fresh herb. You can also make a batch of balsamic glaze or use your favorite store-bought brand.
- Assemble the toasts. Top each slice of toast with a layer of whipped ricotta. Then scoop on some of the roasted tomato mixture. Drizzle on the balsamic glaze.
- Enjoy!
*You can also use the roasted tomato mixture on top of spiralized summer squash or your favorite protein.
Recipe and photos by Stephanie Borzio. Stephanie is a mom of three active boys and is an autoimmune warrior. After battling her own health for several years, Stephanie found healing through food and lifestyle changes, including joining Blooming Glen Farm CSA of which she is a long time member. She is a Board Certified Integrative Nutrition Health Coach who is passionate about sharing healthy living tips and real food recipes. Instagram and Facebook: Tru You Essentials; Website: www.truyouessentials.com


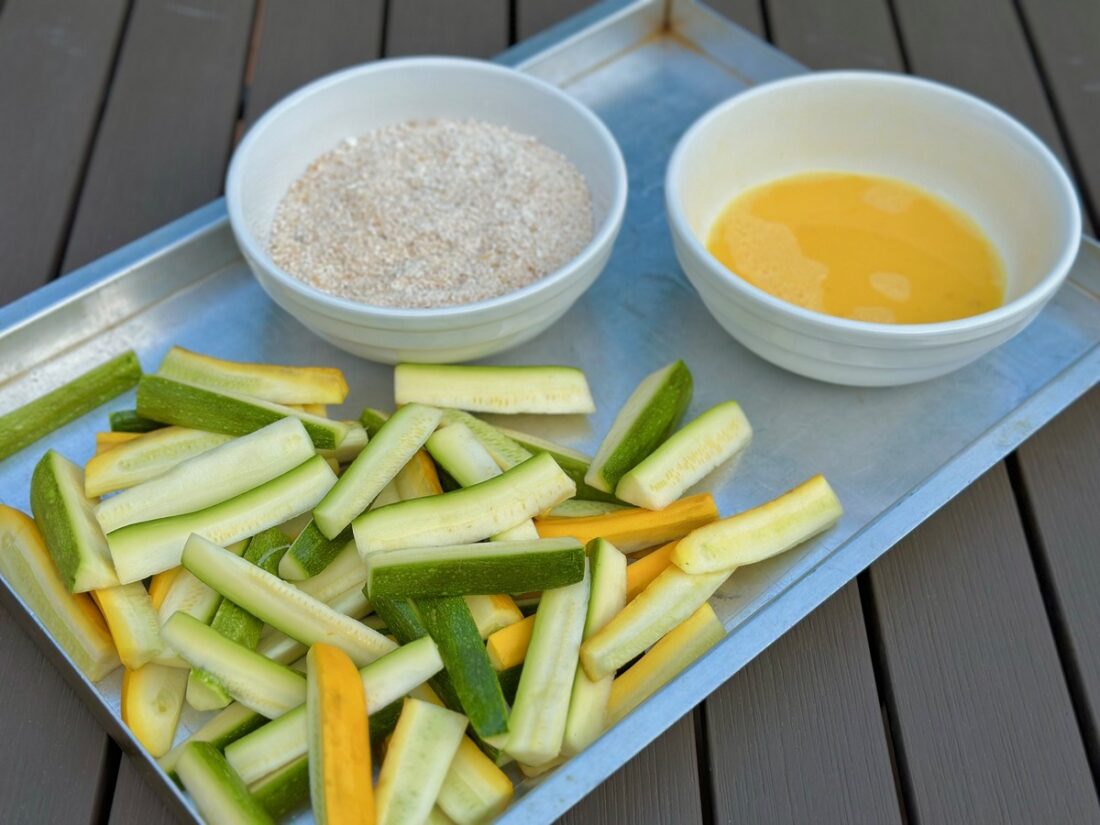
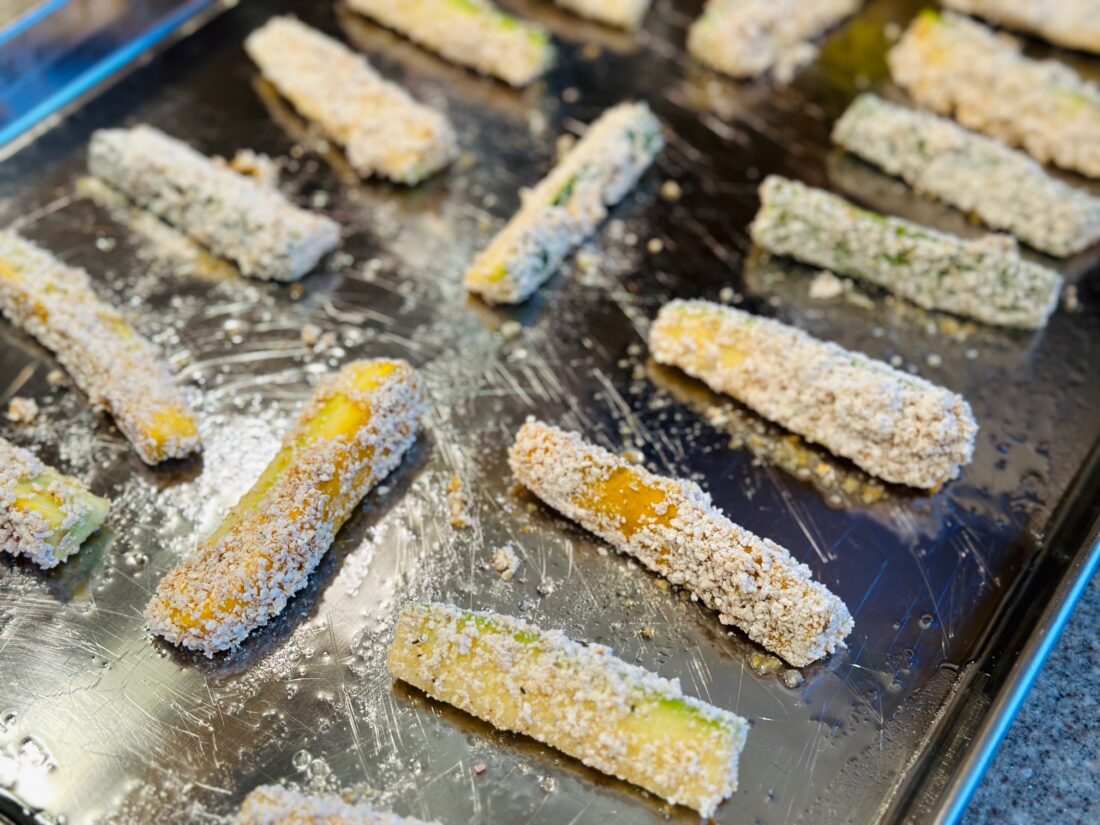
 Summer Squash Fries