Posted at 11:18h
in
Recipes
by bloomingglenfarm
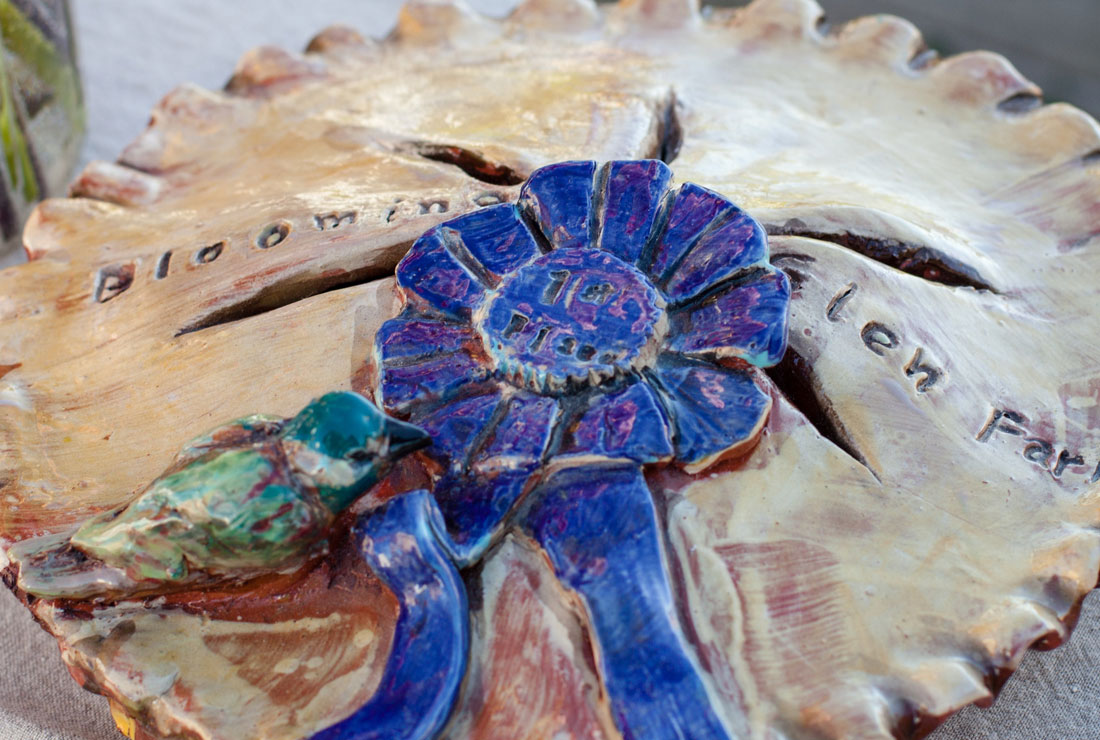
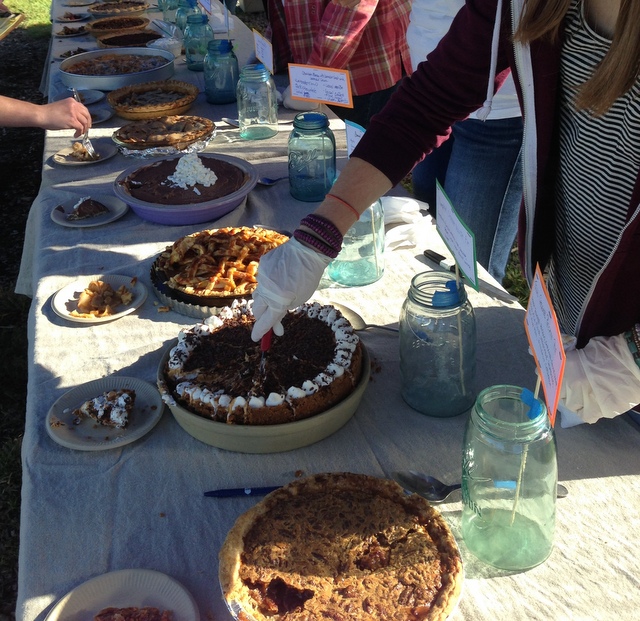
Our sixth annual pie bake-off contest brought in 24 pie entries. Over 100 votes were cast for the people’s choice award, and our panel of three judges deliberated at length to come to a consensus on the top three winners for the judges vote. We were clearly all winners for tasting such an incredible array of beautifully crafted pies, from Maple Walnut, Cherry Berry and Caramel Apple, to Snickerdoodle, Apple Crumb, Peach Ginger, Maple Cream and Harvest Berry to name just a few. This year there was no overlap between the judges and the people’s votes, though clearly rich chocolaty pies (with a few pecans and fruits thrown in for good measure) rose to the top. This year, three of our six winners were under the age of 18. A common theme- have fun baking and don’t be afraid to experiment!
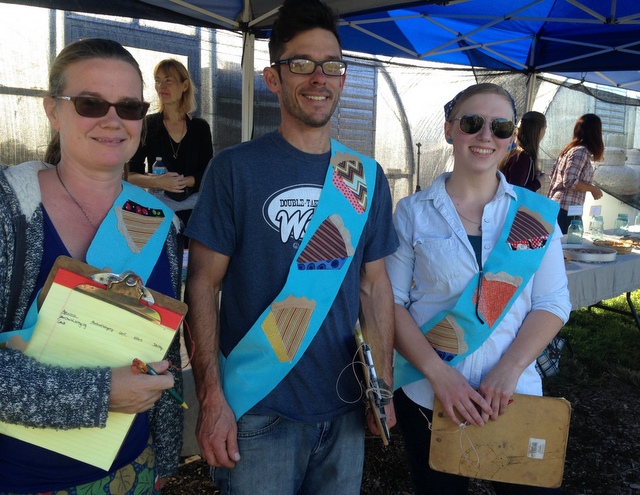
Pie judges (left to right): Julia Thomas, Buck Hazzard and Rose Vaeth
Leading this year’s judging panel was Rosemary Vaeth, “veteran of the pastry world, long-time member of the food service industry, and deeply opinionated individual.” Rose is still thrilled that she managed to score a spot on the judging panel two years running.
Julia Thomas, a CSA member and former pie bake-off winner with her Banoffi Pie Recipe, joined us for the first time as a judge. She brings a background as a private chef to famous rock bands, having travelled extensively over the years cooking and baking for the likes of ZZ Top, Queen, Aerosmith and Elton John. Julia remembers one particularly daunting task in the early 90s of arriving in a communist Russia and bartering for food and buying provisions on the black market to feed 400 band and crew that same day. “It was quite the challenge! Forget menu planning! Arriving in Rome at 5am and being met by 16 scooters to take me grocery shopping was also another fond memory. I love the unexpected, that’s why I always enjoy the unusual veg we get at Blooming Glen!”
Buck Hazzard, baker at Crossroads Bakery in Doylestown for the past 8 years, just returned from a motorcycle road trip out west that included a stop over in Pie Town, New Mexico. Reflecting on the pie bake-off experience, Buck says “having community support for our local farmers is the tie that keeps us grounded, and holding a pie contest allows us to celebrate together the love of the simplest things in life: food and friends.”
S’mores Pie
by Emily Williams
Judges Votes: First Place
Emily Williams- “My name is Emily and I am 10 years old. I have been baking pies for 2 years now, but I have been baking for 4 years. I decided to make a s’mores pie because I love making (and eating) s’mores. I was signed up for the contest at first just because my friend signed me up. My quote is, “Thank you Dakota for signing me up. You’re a great friend.”
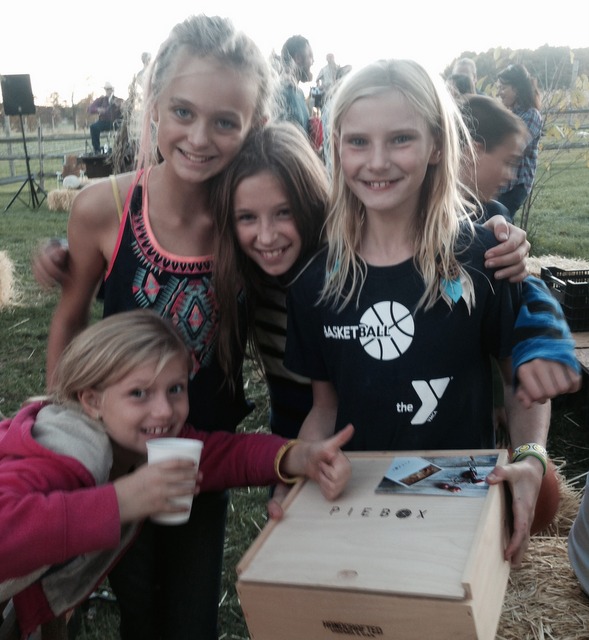
Emily Williams, and friends, with her award for winning Judges first place.
Ingredients
1 stick of butter
1/2 cups white sugar
1 whole egg
1 teaspoon vanilla
1 cup of flour
1 cup graham cracker crumbs
1 teaspoon baking powder
7 ounces, weight container of marshmallow crème
8 whole (1.55 Oz bars) Hershey chocolate bars, unwrapped
1 cup mini marshmallows
1/4 cup chocolate chips
Preheat the oven to 350 and spray a 9″ pie pan with baking spray. In a large bowl beat the butter and sugar together until they are well combined, then add the egg and vanilla and stir them in. Stir in the flour, graham cracker crumbs, and baking powder.
Divide the dough in half. Press half the dough in the bottom and up the sides of the pie pan. Then spread the marshmallow creme over the bottom crust. Separate the chocolate bars into rectangles and place them over the creme. Then put the marshmallows on top.
With the remaining crust pat sections of the dough onto the top and around the marshmallows. Make sure some of the marshmallows are showing. Sprinkle the top with chocolate chips. Bake your pie 20 minutes until lightly brown.
Remove the pan from the oven and set on a wire rack. Cool the pie completely before cutting.
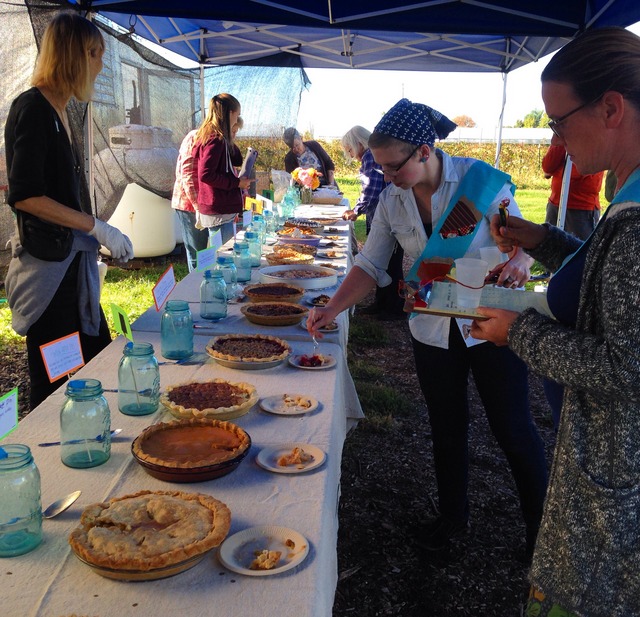
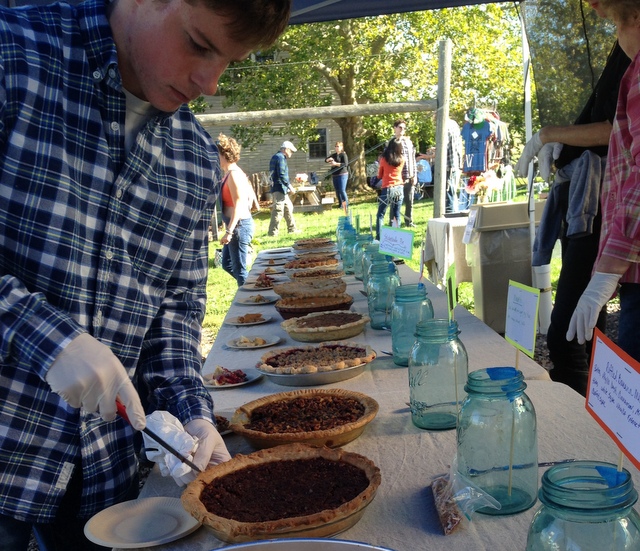
The judges tasted first. Scott Brown’s award winning Ground Cherry Pie is the first pie in the foreground.
Ground Cherry Pie
by Scott Brown
Judges Vote: Second Place
Scott has been baking as a hobby for over 25 years. He started out making cookies and in the past few years he has been making amazing muffins and breads for the gang at the office (his wife owns local business, Harmony Clean). At the holidays, he and his wife Vicki make 15 different cookies for family members. Vicki Brown- “I think it is the best part of the holidays! Scott loves to find new recipes and we are hoping when he retires from his job as a union concrete guy that he starts a bakery!”
Crust Ingredients
2 teaspoons sugar
1 teaspoon salt
2 ½ cups flour
1 stick of butter cold
1/4 cup oil (veggie)
1/2 cup milk
In a food processor mix sugar, salt, flour. Add butter and oil until crumbly, drizzle milk in processor until combined. Divide into two 1-inch round discs and refrigerate at least 30 minutes.
Pie Filling Ingredients
4 cups ground cherries (Bakers Note: we bought these at Bolton’s Farm market-you have to peel away the outer layer)
2 cups sugar
2 tablespoons lemon juice
2 tablespoons melted butter
1 teaspoon cinnamon
Mix all together and add to pie crust, place top crust on, bake at 350 until top is golden brown and juices are bubbling.
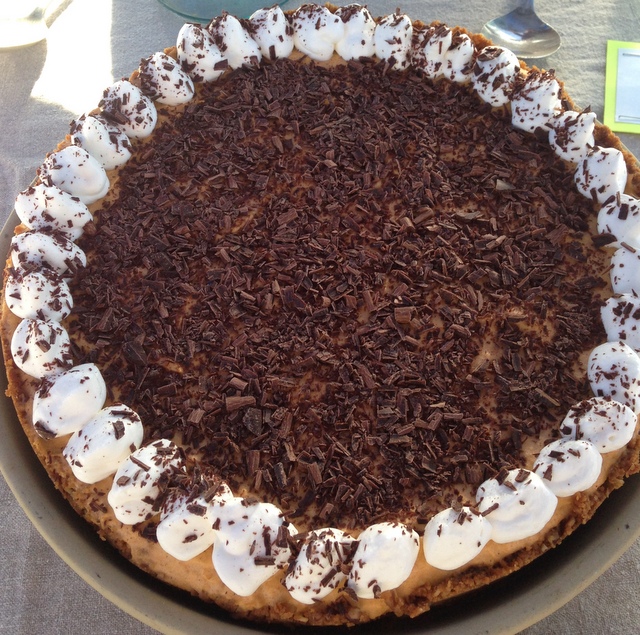
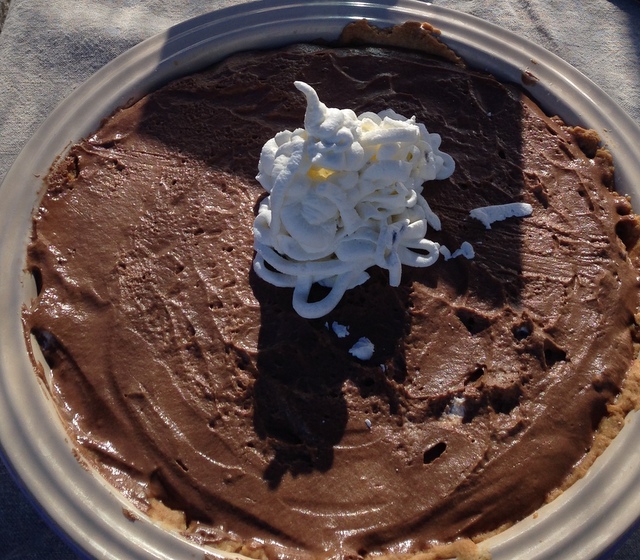
Pumpkin Chocolate Mousse Pie
By Josie Gilmore
Judge’s Vote: Third Place
Josie, last season’s winner of the people’s choice award with her Chocolate Caramel Pie, is a senior at Council Rock H.S. You’ll see her every Saturday slinging veggies behind the Blooming Glen Farm booth at the Wrightstown Farmers Market. Josie was inspired by her famous chocolate mousse recipe to find a pie that would pair chocolate mousse with the seasonally appropriate pumpkin. Josie is currently applying to colleges where she can pursue her love for science. “I love chemistry and baking is similar to it in a lot of ways. Maybe that’s why I’m good at baking!”
Ingredients
1 (8.8-ounce) pkg. Biscoff cookies, crushed
5 tablespoons butter, melted
½ cup chopped pecans (optional)
4 egg yolks (well beaten)
2 heaping tablespoons flour
½ cup granulated sugar
½ cup firmly packed light brown sugar
2 cups milk, divided
1 teaspoon vanilla
pinch salt
3 ounces semi-sweet chocolate, chopped
1½ cups canned pumpkin
1 teaspoon pumpkin pie spice
3 teaspoons unflavored gelatin
6 tablespoons water
1½ cups cold whipping cream
8 ounces cream cheese, softened
1¼ cups powdered sugar
sweetened whipped cream and chocolate shavings for garnish
Instructions to Make Crust: Preheat oven to 325 F. Butter a 9-inch diameter springform pan with 2¾-inch sides. Mix cookie crumbs, melted butter and nuts in a medium bowl until crumbs are evenly moistened. Press crumb mixture firmly onto bottom and up 1 inch of the sides of the pan. Bake at 325 F for 15 minutes. Cool completely.
To Make Filling: Make a paste of the egg yolks, flour, sugars and small amount of the milk in a heavy medium saucepan. In a microwave-safe bowl, heat remaining milk 1 minute. Slowly add milk to the egg mixture and, stirring constantly, cook over medium low heat 7-10 minutes or until thickened (mixture will thicken more as it cools). Remove from heat and stir in vanilla and salt.
Measure out 1 cup of the filling and put into a separate bowl. Add chocolate to the remaining filling and stir to melt. In reserved bowl, add pumpkin and pumpkin pie spice. Pour chocolate filling into a medium bowl, then press plastic wrap onto the surface of both of the fillings, to eliminate a skin. Refrigerate about 30 minutes. Soften the gelatin in the water for about 5 minutes in a microwave-safe dish.
In a medium chilled bowl, whip cream until stiff peaks form. Microwave gelatin until it dissolves and starts to bubble around the edges, around 30 seconds. In a small bowl, cream together cream cheese and powdered sugar. Stir in 1/3 of the dissolved gelatin into each of the 3 filling bowls (about 2½ tablespoons each–however, I only used 1 Tbsp) and combine well. Fold in 1/3 of the whipped cream into each of the 3 fillings.
Spread chocolate pudding onto cooled crust. Place in freezer for 10 minutes to become firmer. Layer with the cream cheese filling, then place into the freezer for another 10 minutes. Top with the pumpkin layer.
Cover and refrigerate for 4 hours or overnight. Garnish with sweetened whipped cream and chocolate shavings before serving.
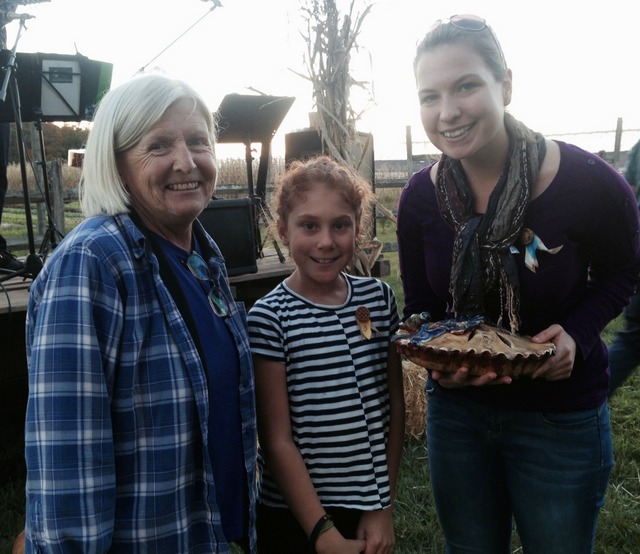
People’s Choice winners, left to right: Lori Guerin, Chloe Nazemi and Allison Seelaus with the trophy.
Maple Brown Butter Rum Peach Pie
by Allison Seelaus
People’s Choice: First Place
Allison Seelaus- “A little bit about myself, baking is my passion. I graduated from The Culinary Institute of America in New York City and hold a Baking and Pastry degree. Ever since I was two years old, mixing cookie dough with my family, I knew I was going to be a Baker/Pastry Chef. Baking is my life. Currently, I am a Pastry Chef at Normandy Farm Estates producing desserts and bread for over 400 residents daily.
Why I chose this pie: I love everything about this pie from the bubbly caramel filling to the crispy crunchy streusel. Having ripe peaches is key because it makes the pie so sweet and just perfect! I knew this pie would please many taste buds because it includes flavors like cinnamon, allspice, spiced rum and maple syrup which are known flavors of fall.”
Pie Filling Ingredients
3 pounds ripe peaches (about 6 peaches)
2 tablespoons cornstarch
1 ½ tablespoons flour
½ teaspoon cinnamon
¼ teaspoon salt
Pinch of allspice
½ cup sugar
¼ cup maple syrup
3 tablespoons spiced rum
1 tablespoon water
3 tablespoons butter
Streusel Ingredients
1/3 cup pecans
½ cup (1 stick) butter
1 cup plus 2 tablespoons flour
½ cup granulated sugar
3 tablespoons dark brown sugar
¼ teaspoon salt
Pinch cinnamon
Crust Ingredients (from Smitten Kitchen):
2½ cups flour
1 tablespoon sugar
1 teaspoon salt
1 cup (2 sticks) unsalted butter, very cold
Vanilla Bean Ice Cream, to serve
If making homemade crust (you can also use frozen or refrigerated pie crust), start with that. Pour one cup of cold water into a bowl and add in a few ice cubes. Set aside. In a large bowl, whisk 2½ cups flour, 1 tablespoon sugar, and 1 teaspoon salt until well-combined. Take out your butter. It needs to be very cold, so you may want to put it in the freezer for a few minutes to really get it solid. Cut the 2 sticks of butter into ½” pieces Use a pastry blender or food processor to combine the flour mixture and butter pieces until the butter is broken up into pea-sized pieces. DO NOT OVERMIX.
Drizzle half of the ice cold water over the mixture (making sure not to accidentally pour in any ice cubes). Using a rubber spatula, mix together the dough until large lumps form. Use your hands to knead it all into one smooth ball. Divide the dough in half, shape into disks (balls first, then flatten a bit), and wrap in plastic wrap. Let chill in the fridge for at least an hour and a half before rolling out. Stays good in fridge for one week, longer in freezer.
When your dough is ready, flour everything. Your counter, your rolling pin, the dough itself. You want a lot of flour. Press your rolling pin down in the center of the dough disk and push outward. Roll in that direction a few times, then lift and do a quarter turn and roll that direction a few times. Continue rolling, turning the dough, and rolling again until the entire crust is rolled out into a 12″ circle. Work quickly, you don’t want the dough to warm up.
Place the pie crust in your pie pan and fold the excess, overhanging dough underneath, so the pie is now the size of the pan. Crimp the pie crust by making a “V” or pinching shape with your thumb and forefinger on the outside of the crust. Then, using your other pointer finger, push the crust from the inside to fit in between the V-shaped fingers. Continue all around the crust. Refrigerate for another 30 minutes.
As you wait for your crust to cool, make the filling. Peel and slice the peaches, and then toss in a large bowl with the cornstarch, flour, cinnamon, salt, and allspice. Preheat oven to 350 degrees F.
In a small, heavy-bottomed saucepan over medium-high heat, combine the sugar, maple syrup, rum, and water. Stir JUST UNTIL the sugar dissolves and then let come to a boil. Resist the urge to stir while it boils. Swirl the pan occasionally to make sure the caramel is browning evenly, but DO NOT STIR. Once the caramel turns a deep amber brown, remove from heat and add in the butter, swirling the pan until the butter completely melts.
Pour the caramel over the peaches and mix well. Pour the peach-caramel filling into the prepared pie shell and place in the refrigerator once more.
Sprinkle the pecans on a baking sheet and toast for 5 minutes. Remove and set aside until cool enough to handle, then chop.
In the same small, heavy-bottomed saucepan you used for the caramel, melt a stick of butter over medium heat, stirring frequently. Cook until the butter turns golden-brown. Set aside.
Whisk together the 1 cup plus 2 tablespoons flour, ½ cup sugar, 3 tablespoons dark brown sugar, ¼ teaspoon salt, and pinch of cinnamon. Mix in the pecans. Drizzle over the browned butter (which now should be slightly cooled) and mix until crumbs form. Crumble the streusel mixture on top of a rimmed baking sheet and place in the refrigerator for 15 minutes. Preheat the oven to 425 degrees F.
Remove the filled pie pan and the streusel from the refrigerator. Sprinkle and crumble the streusel over the pie filling until the pie filling is completely covered. Cover the pie crust with foil and put in the oven for 15 minutes. Make sure to put a baking sheet or pie drip catcher underneath, as it WILL bubble over and make a mess! Remove the foil, reduce heat to 350 degrees F, and cook for an additional 30-40 minutes. The crust should be golden brown and the caramel should bubble when the pie is ready.
Lori Guerin’s winning Texas Caramel Pecan Pie is the first pie in the foreground.
Texas Caramel Pecan Pie
Lori Guerin
People’s Choice: Second Place
When she heard about the Blooming Glen Pie Bake-off returning for another year, Lori decided to do something she hadn’t since she moved back to Pennsylvania from Texas more than twenty years ago: bake a pecan pie. Although a former Houston resident, the inspiration for her submission came from much closer to her Pennsylvania home. “When I was an undergrad at La Salle, I would meet my friend Doreen after a long week to share coffee, stories, and a slice of pecan pie at the Howard Johnson on the Boulevard; I enjoyed recreating that.”
Crust Ingredients
1 1/3 cup flour
1 teaspoon salt
2/3 cup shortening
3 tablespoons cold water
Mix the flour and the salt together, add shortening and cut into flour mixture. Add water and mix gently with a fork. Gather pastry into a ball and spread along the bottom and sides of pie tin.
Optional: add 2 teaspoons (about) flaxseed meal, pinch each of cardamom and nutmeg to the flour and salt before adding the shortening. Bakers Note: “I am an Irish cook…so I tweak every recipe, every time. In this case a bit of flax meal, cardamom and nutmeg mixed in the flour for a little pop for the crust.”
Pie Filling Ingredients
1 ½ cup dark brown sugar, packed
½ cup sugar
¼ cup water
½ teaspoon salt
2 eggs
½ cup evaporated milk
1 ½ cup pecan pieces
¾ teaspoon vanilla
Combine first five ingredients and mix well. Beat in eggs one at a time. Stir in milk, pecans and vanilla and mix very well. Pour into pie shell.
Bake 10 minutes at 400, reduce heat to 350 and bake 35-40 minutes, until center barely jiggles. Cool completely before slicing and serving.
Chocolate Mousse Pie
by Chloe Nazemi
People’s Choice: Third Place
Chloe Nazemi, age 9- “I picked the recipe because I thought it would be different because not a lot of people probably make a mousse pie with lavender crust and lavender whip cream. I’ve always loved experimenting with baking without recipes. Sometimes the baked goods turn out great, sometimes terrible. I used a recipe for the mousse pie because I’ve never made one before and I had no idea how to do it.” What do you enjoy most about baking? “I think it’s fun because I get to use different ingredients to make new things. I like it because the end result is always a surprise!”
Crust
Make your crust (any recipe will do, or a frozen dough store bought one also works). Lay crust into pie plate. Sprinkle a large pinch of culinary lavender over the surface and press into the crust. Bake according to recipe, set aside.
Chocolate mousse Ingredients (Ina Garten recipe)
1 cup semi-sweet chocolate morsels
1 ounce unsweetened chocolate (chopped)
1/4 cup brewed coffee (freshly)
1 teaspoon pure vanilla extract
12 tablespoons unsalted butter (diced, at room temperature)
8 extra large eggs (separated, at room temperature)
1/2 cup sugar (plus)
2 tablespoons sugar (divided)
kosher salt
1/2 cup heavy cream (cold
In a heat-proof bowl set over a pan of simmering water, melt the two chocolates, coffee, and vanilla extract. Cool to room temperature. Beat in the softened butter.
Meanwhile, place the egg yolks and the 1/2 cup of sugar in the bowl of an electric mixer fitted with the paddle attachment. Beat on high speed for about 5 minutes, until pale yellow; when you lift the beater, the mixture will fall back on itself in a ribbon. With the mixer on low speed, blend in the chocolate mixture. Transfer to a larger mixing bowl.
Measure 1 cup of egg whites and freeze or discard the rest. Combine the cup of egg whites with a pinch of salt and 1 tablespoon of the remaining sugar in the bowl of an electric mixer fitted with the whisk attachment. Whisk on high speed until stiff but not dry. Mix half of the egg whites into the chocolate mixture; then fold the rest in carefully with a rubber spatula.
In the same bowl of the electric mixer fitted with the whisk attachment, whisk the heavy cream and the remaining 1 tablespoon of sugar until firm. Carefully fold the whipped cream into the chocolate mixture. Pour the mousse into the pie crust plate and spread out evenly. Cover with plastic wrap and chill for a few hours or overnight and up to a week.
Chloe’s addition to the recipe: Make lavender whipped cream to decorate just before serving. Make this whipped cream as stated above and ADD a good pinch of culinary lavender before whipping. Watch as the whip turns lavender in color. It’s delicious!
Post and photos by Tricia Borneman, Blooming Glen farmer and co-owner. Tricia and her husband Tom have been farming together since 2000. Blooming Glen Farm is celebrating its 10th season bringing high quality certified organic vegetables, herbs, fruits and cut flowers to our local community.


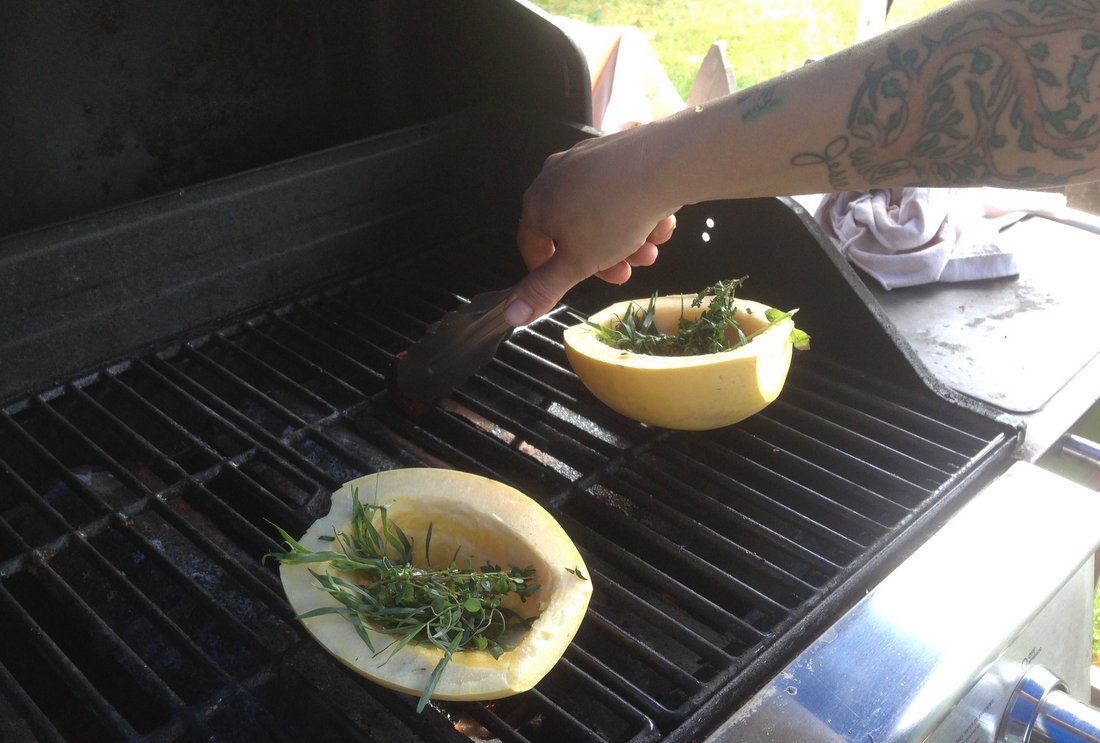
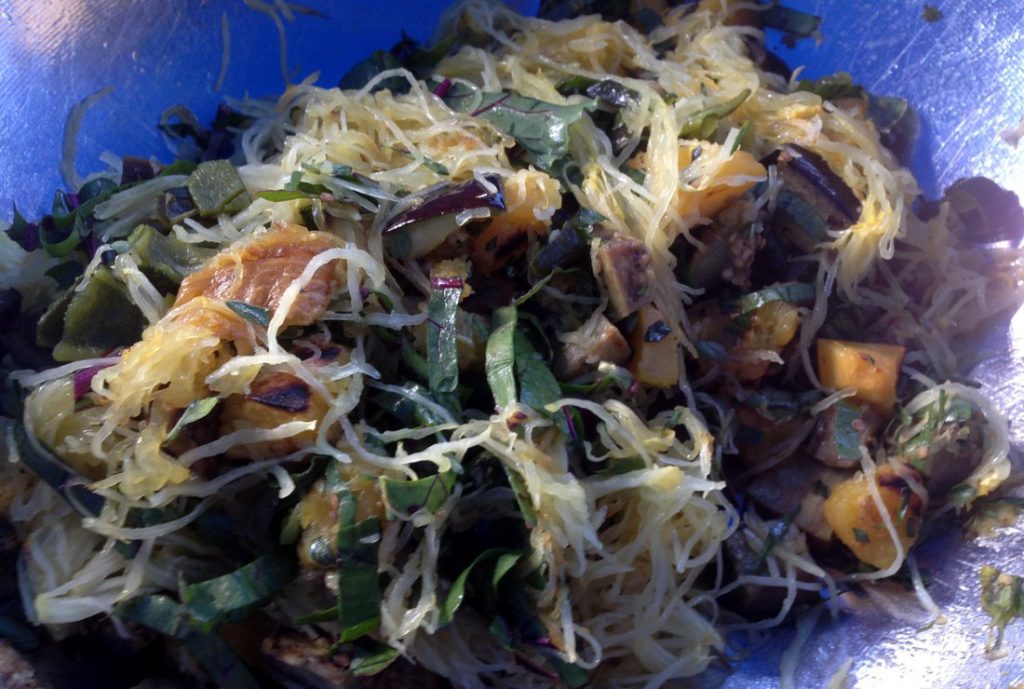
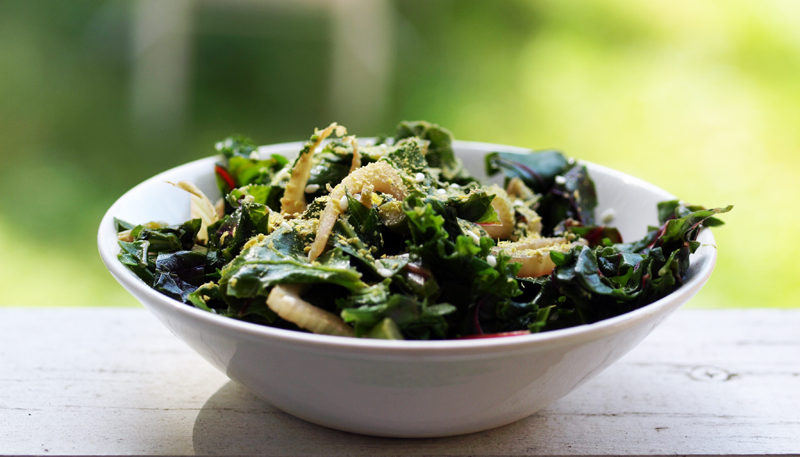
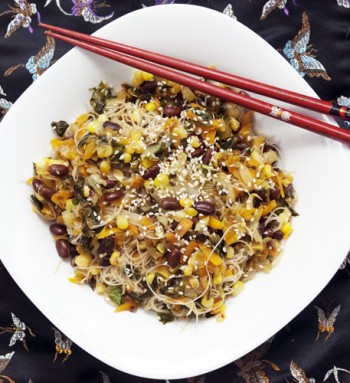
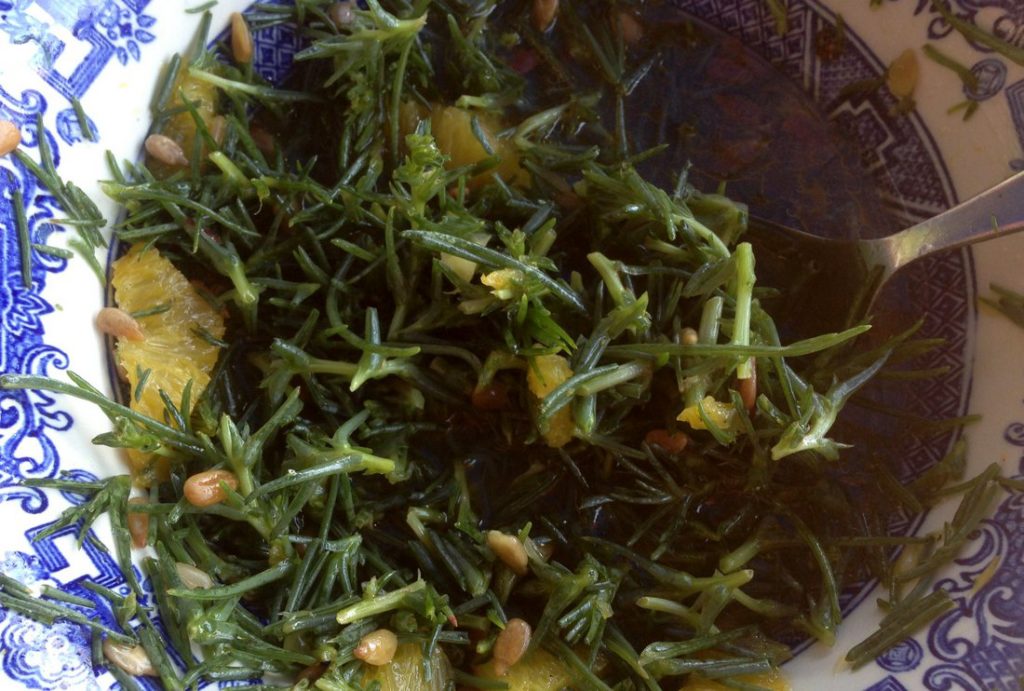 Agretti Salad
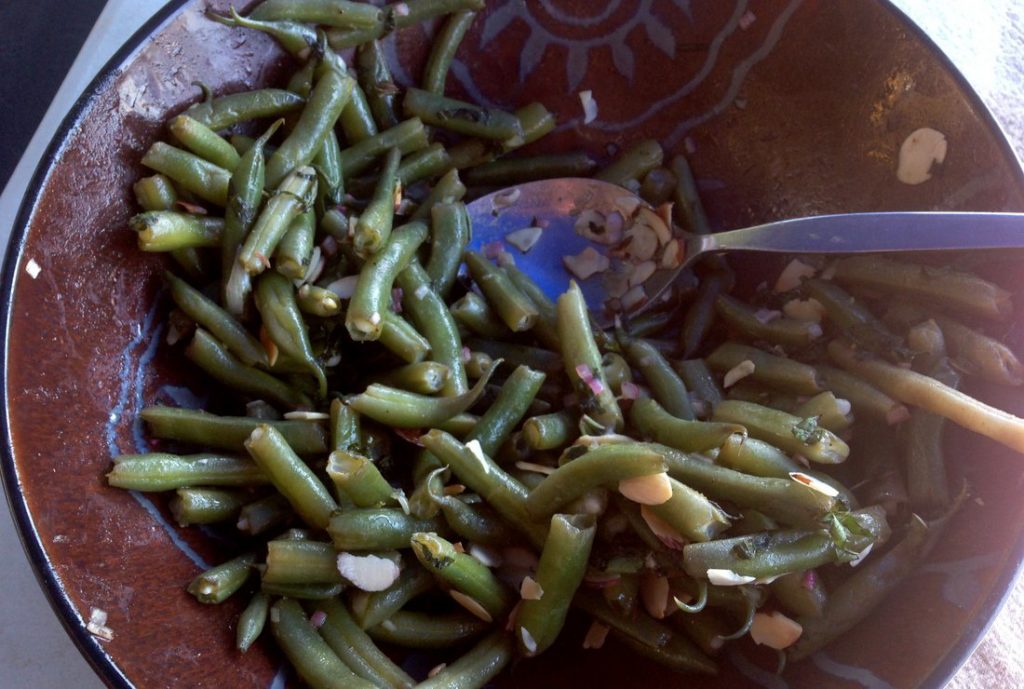 Green Bean Salad (adapted from Cook’s Country)
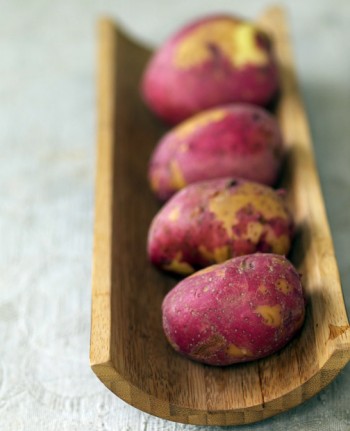
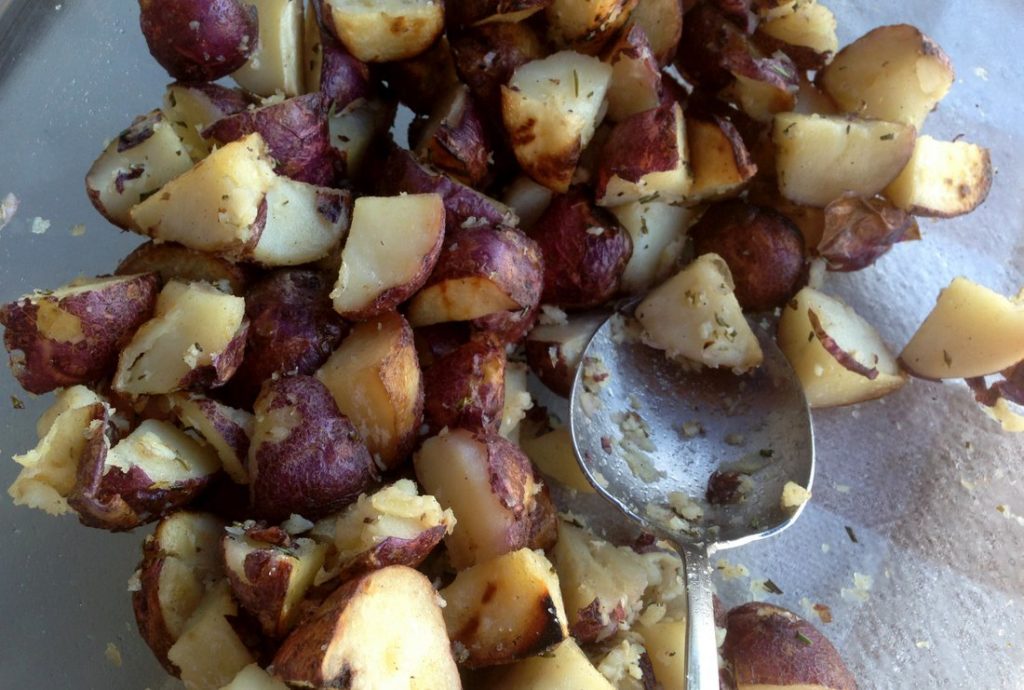 Grilled Potatoes with Garlic and Rosemary (for gas grill) (from Cook’s Illustrated)
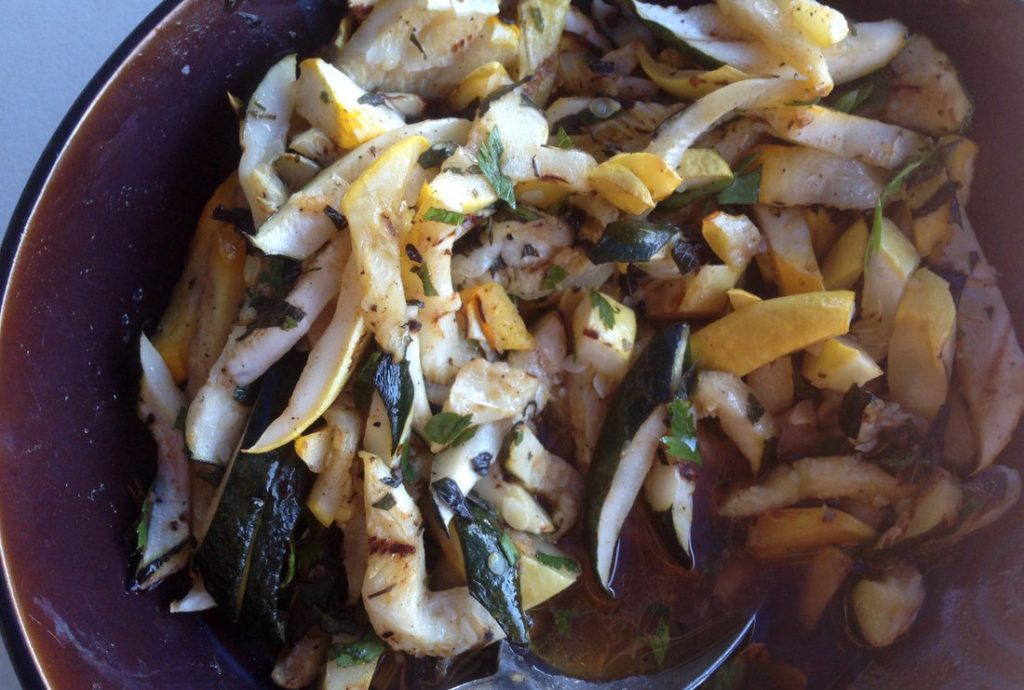 Grilled Zucchini Salad (from The Barbecue Bible)
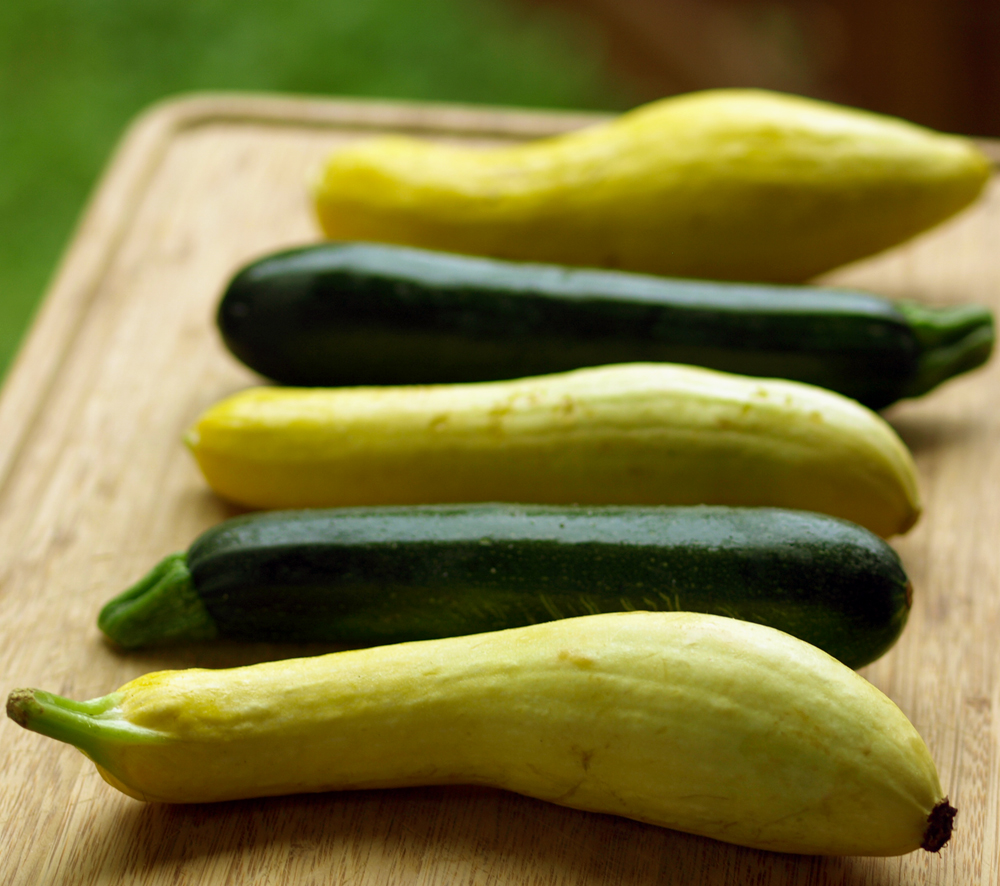
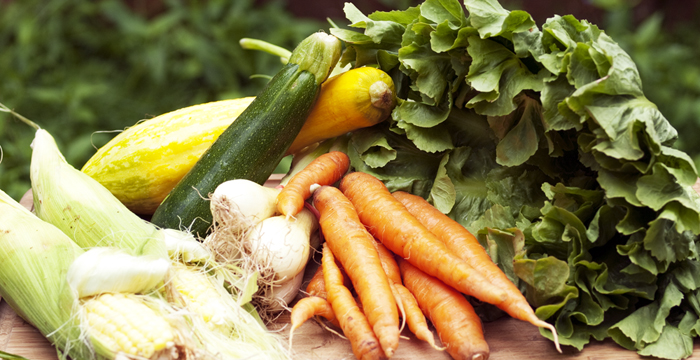
 Greens are probably the best food to add to our diets to improve nutrition.