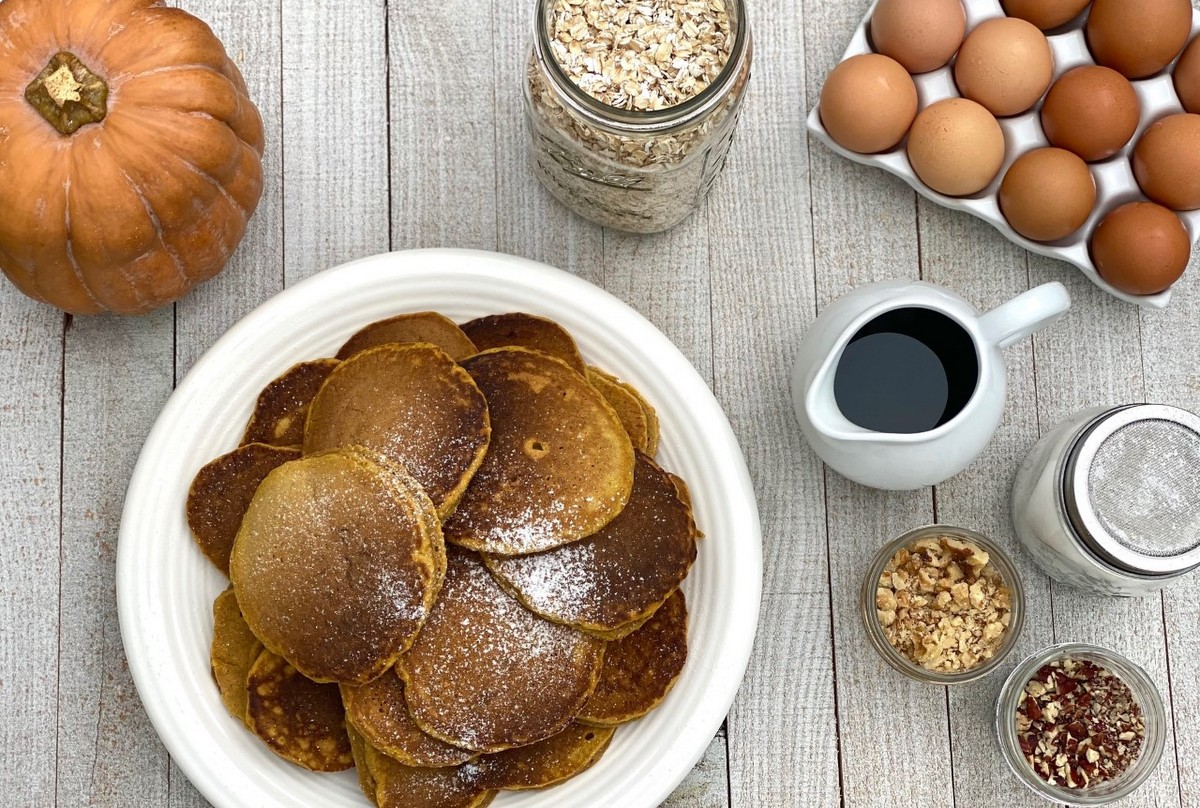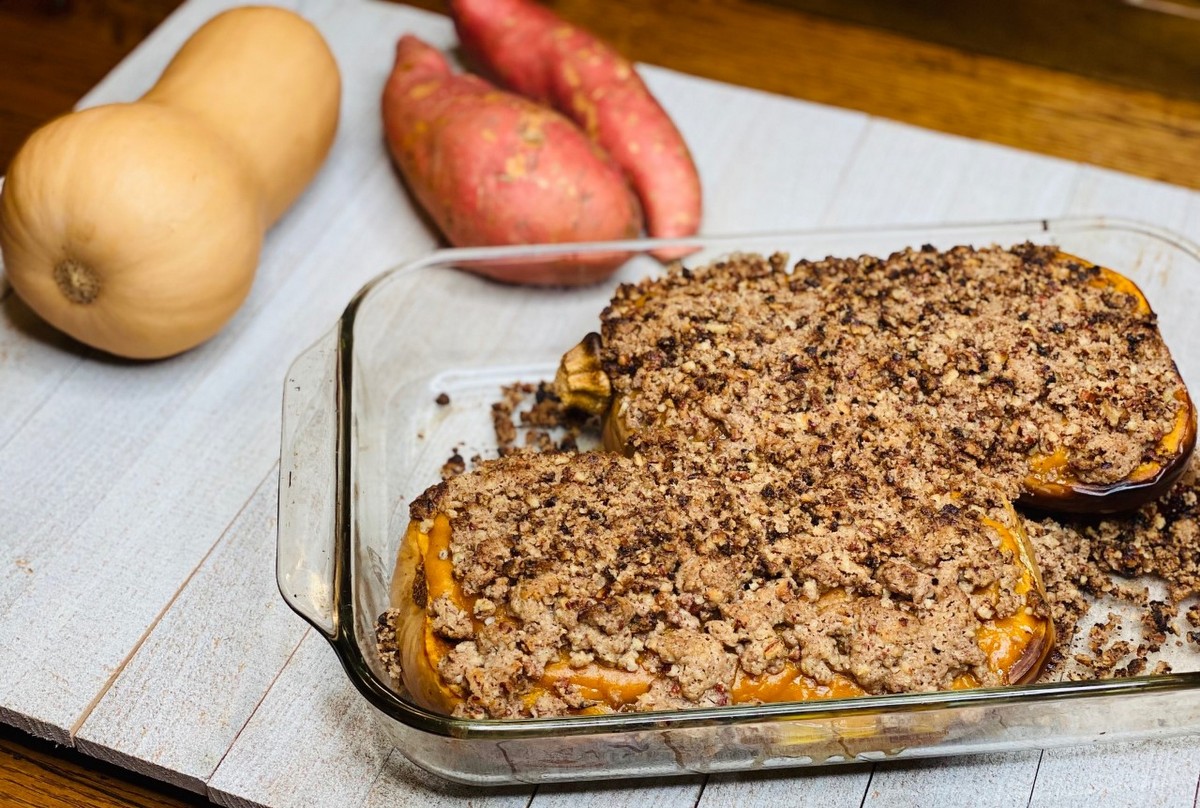
28 Oct Twice Baked Butternut Squash Streusel
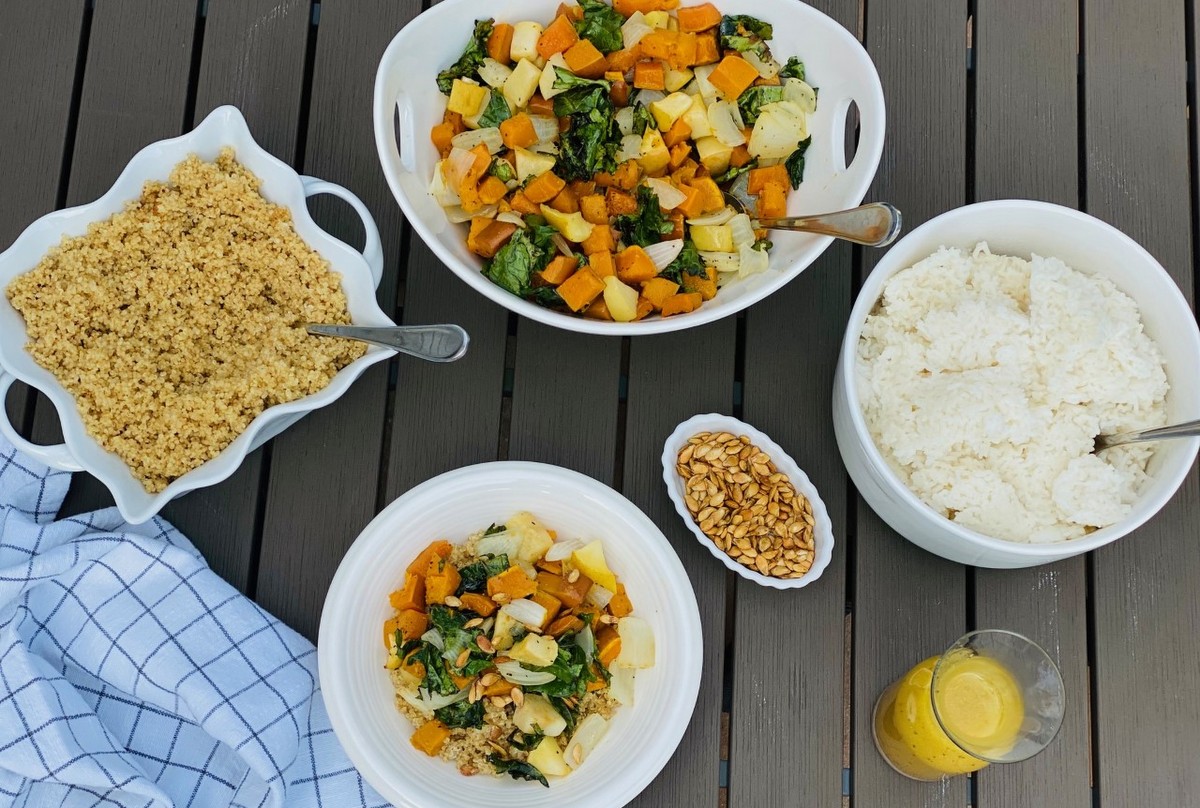
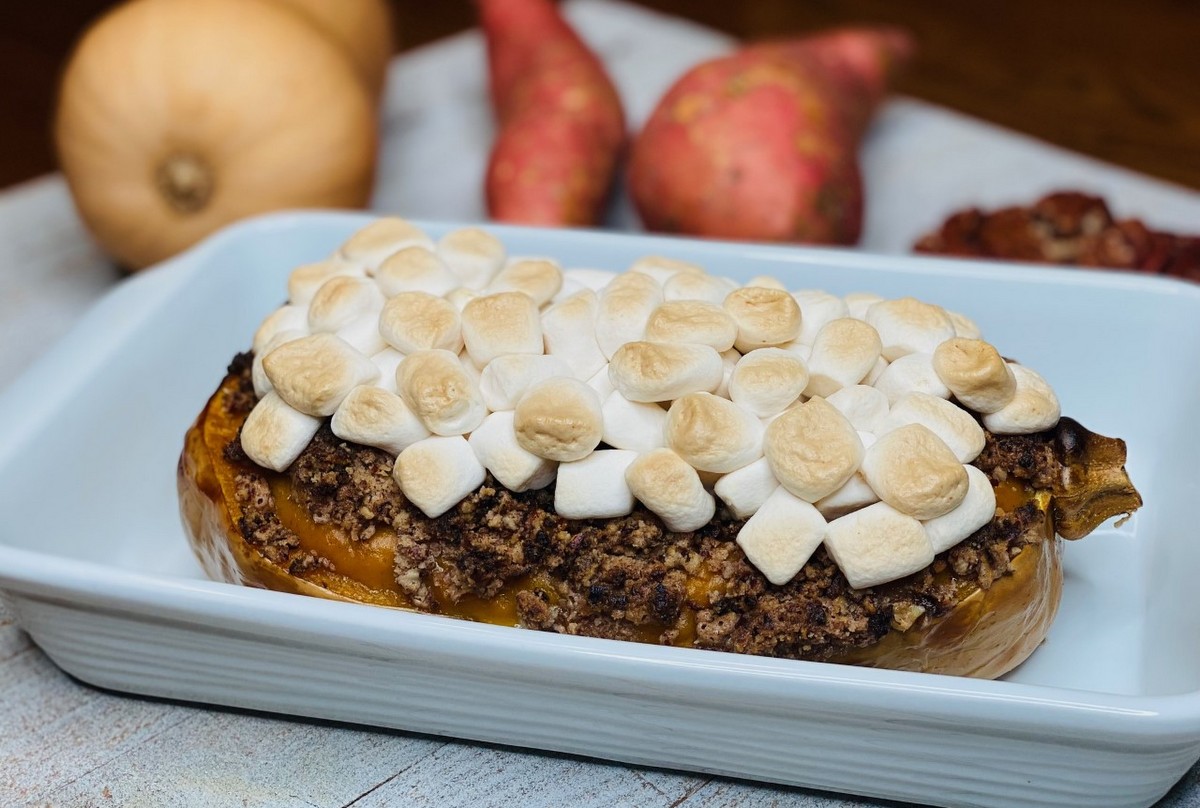
A twist on the traditional sweet potato casserole, this recipe is full of flavor and combines butternut squash and sweet potatoes with a nutty streusel topping. Stop there and and let the sweetness of the squash and sweet potato shine, or keep going and give a nod to tradition with the addition of some mini marshmallows. Either way this is a delicious fall recipe, perfect for a sweet treat or a holiday side.
Twice Baked Butternut Squash Streusel
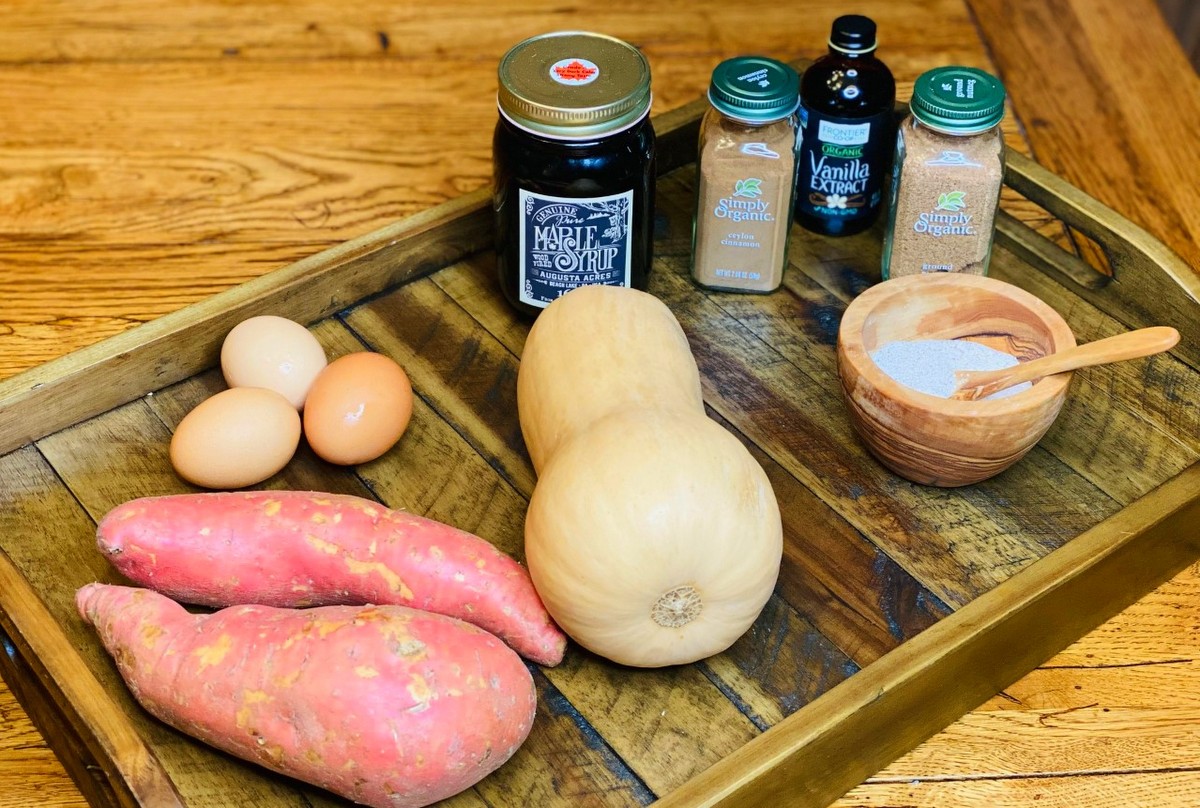
Ingredients:
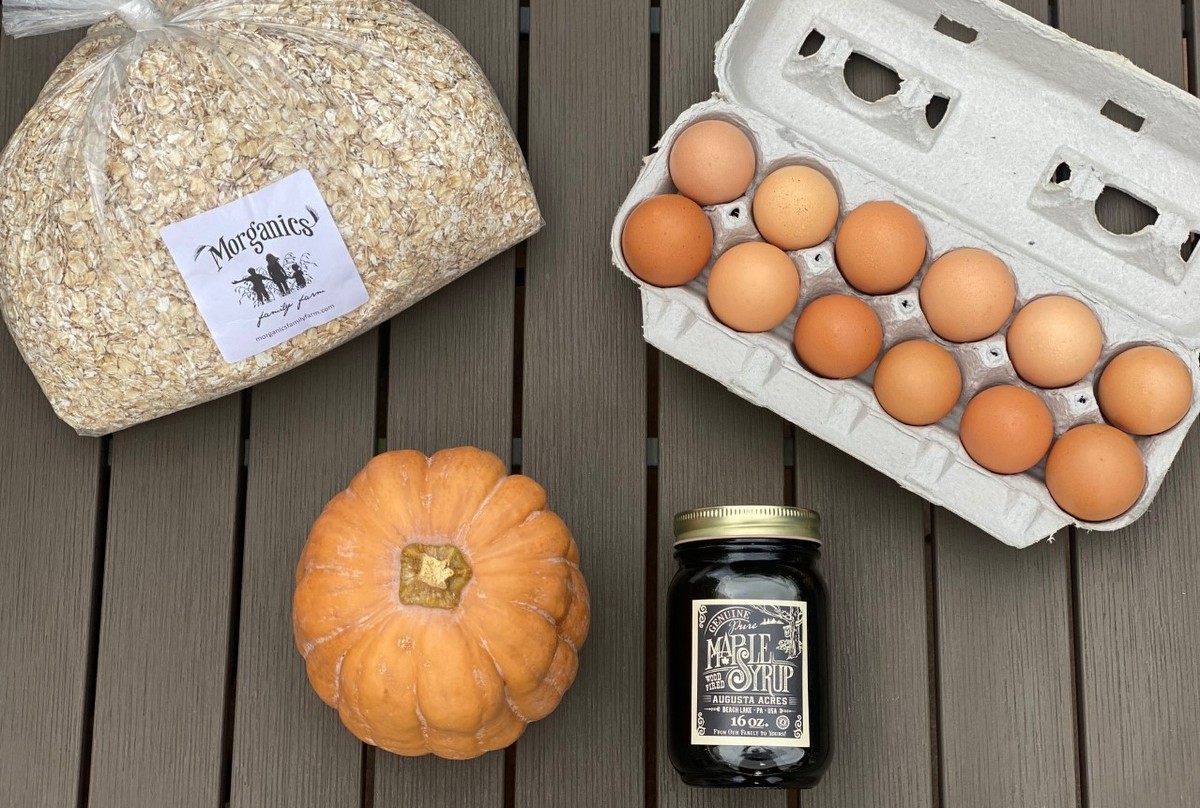
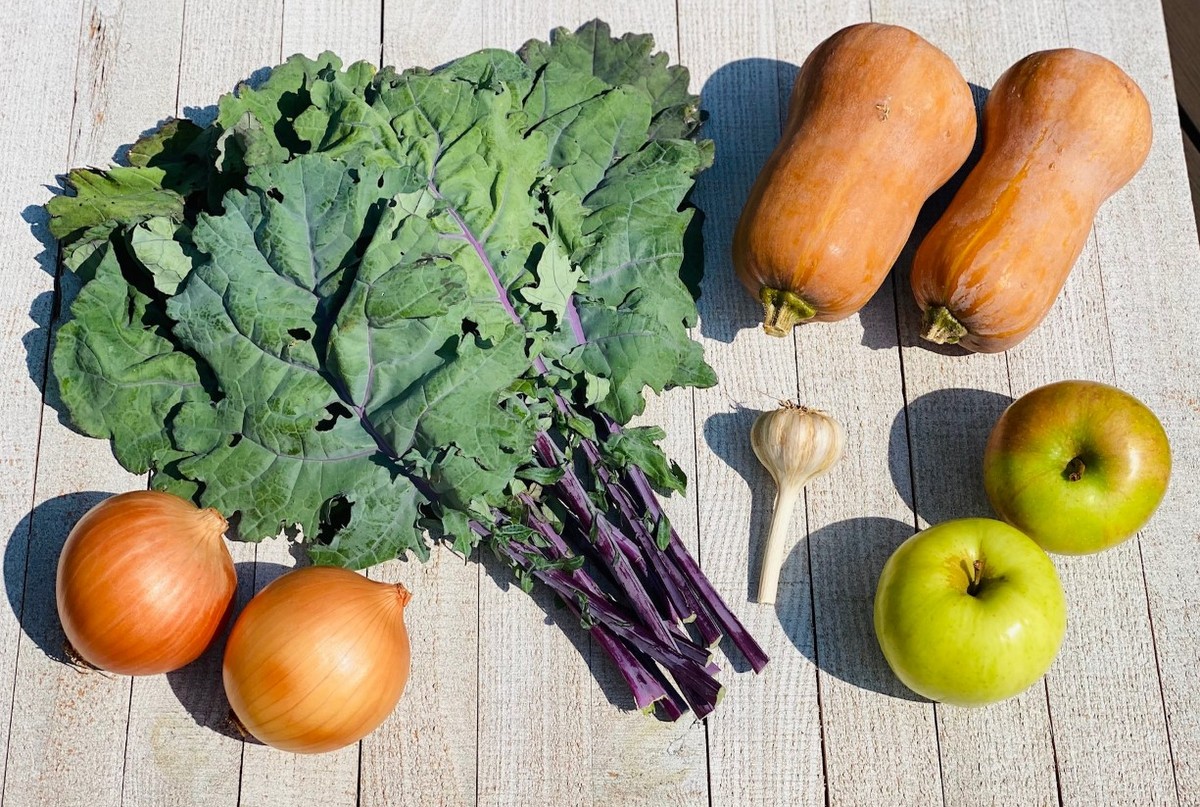
1 butternut squash
4 Tbsp coconut oil or butter, melted
2 medium sweet potatoes
3 Tbsp maple syrup
1 tsp vanilla extract
1 tsp cinnamon
1 tsp sea salt
½ tsp nutmeg
3 eggs
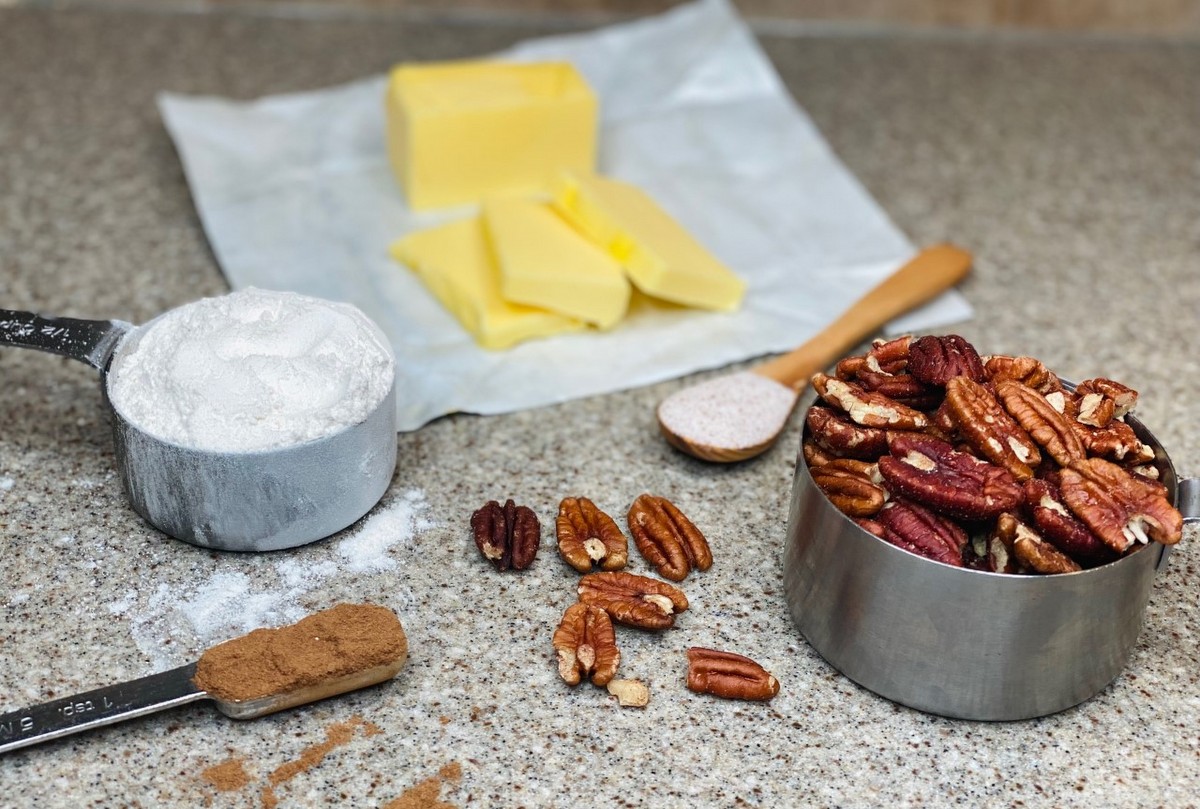
Streusel Ingredients:
1 cup pecans
1 tsp cinnamon
1/8 tsp sea salt
½ cup flour (can sub with gluten free option)
6 Tbsp salted butter, cold
Optional- add up to 2 cups mini marshmallows
Directions:
- Preheat oven to 400°F.
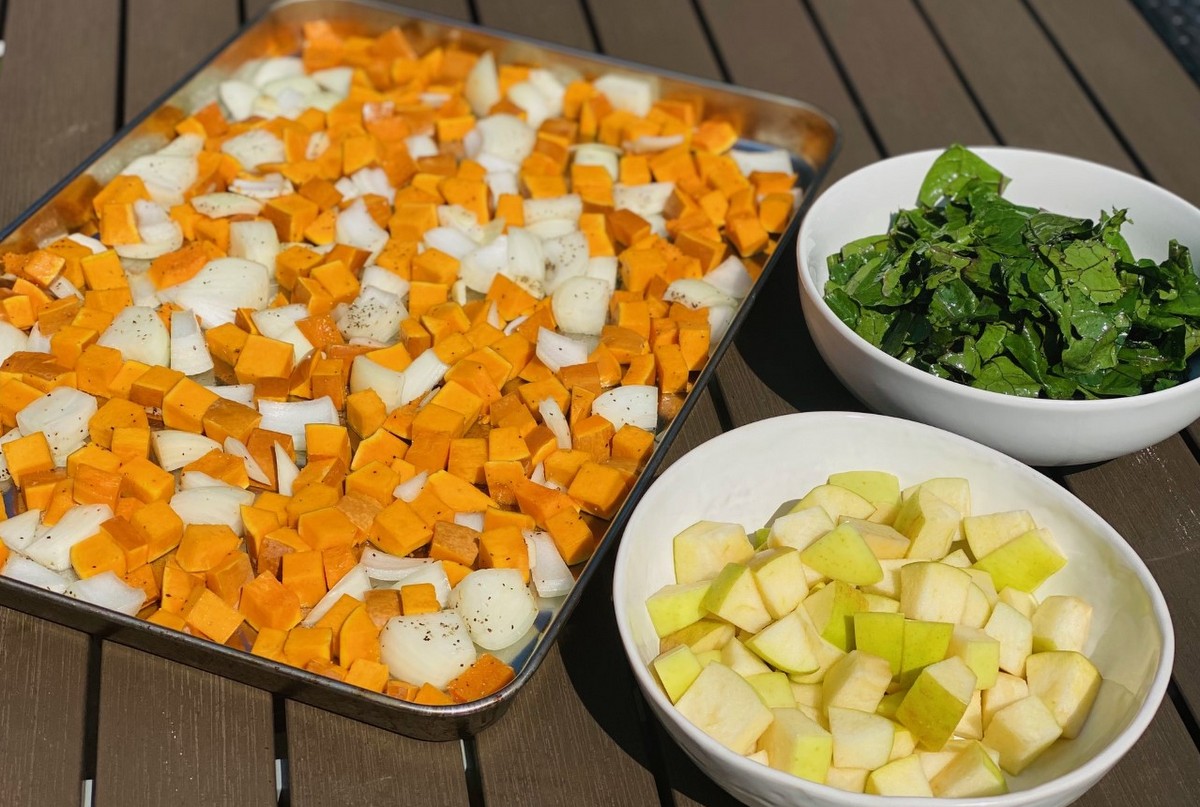
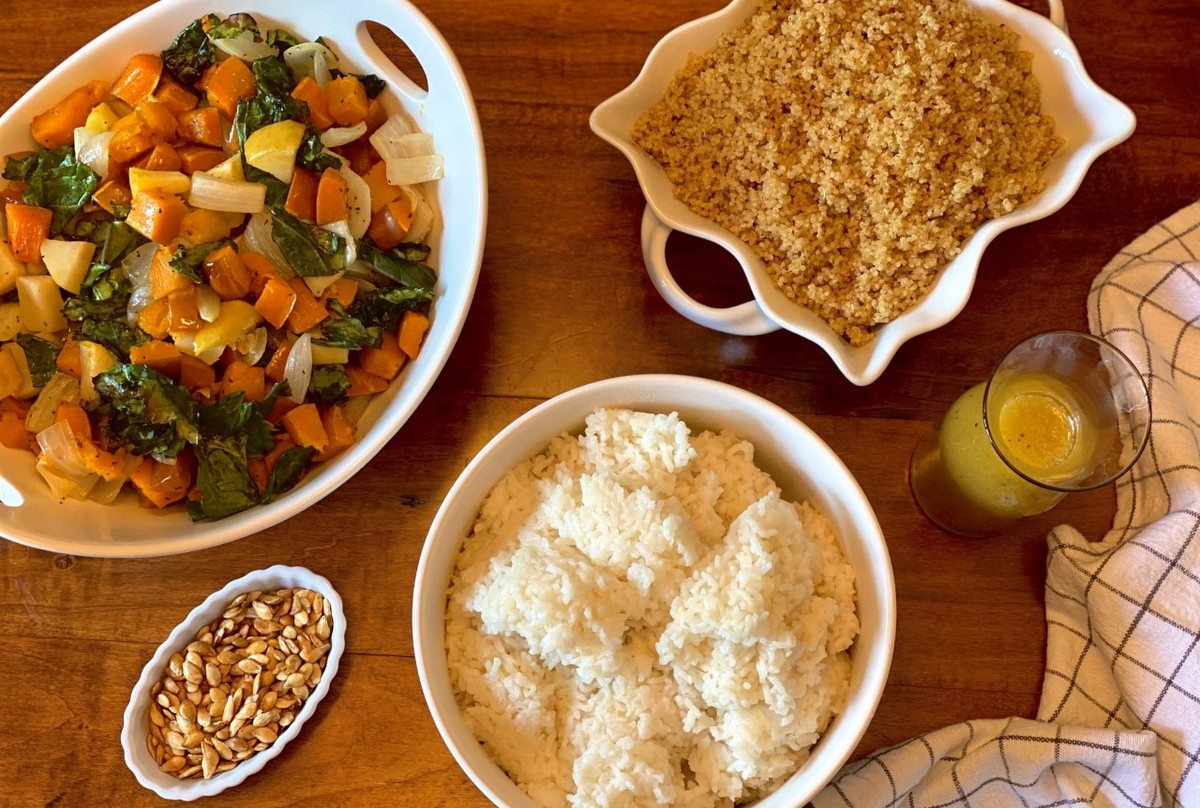
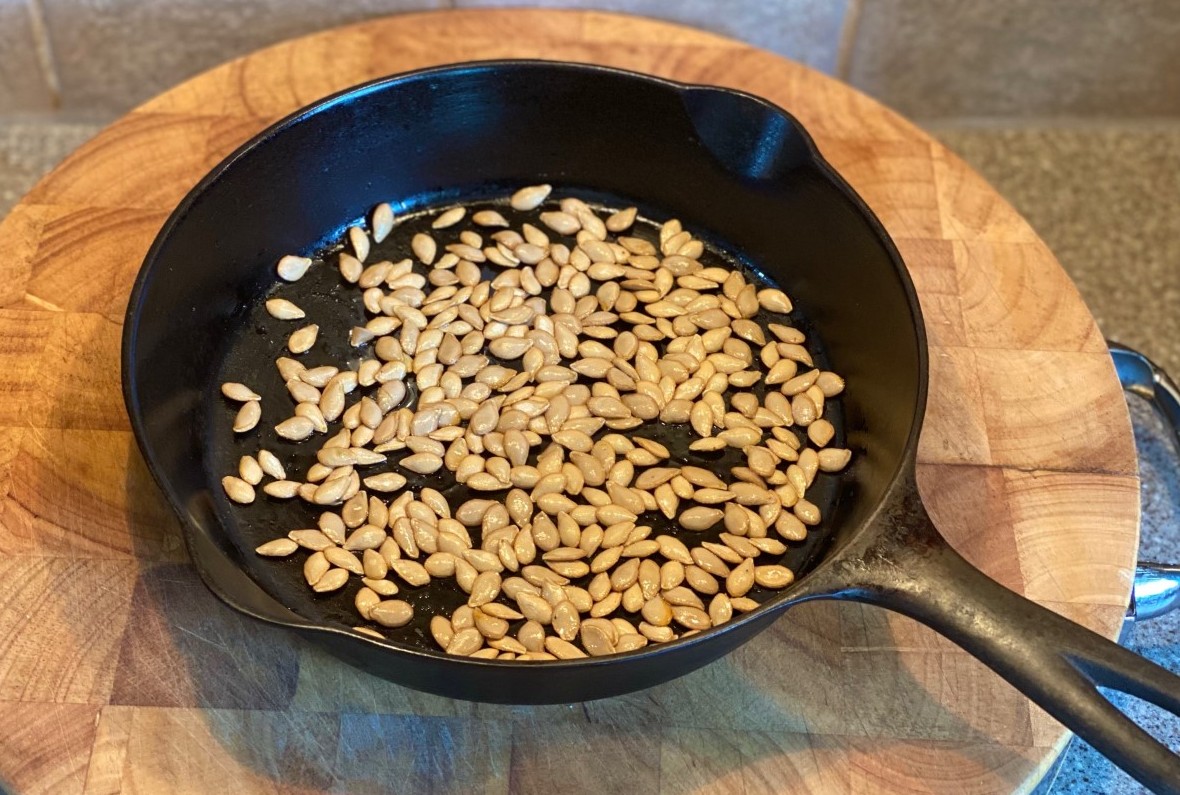
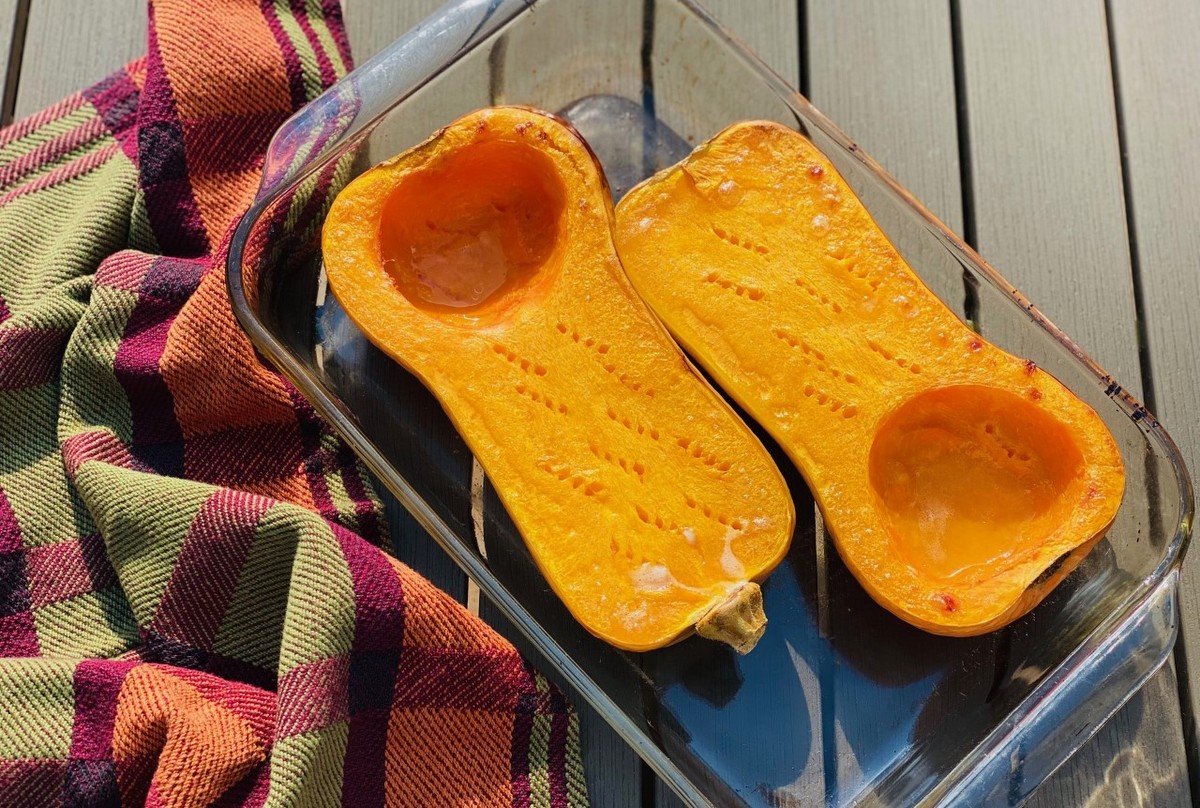
- Slice butternut squash in half and remove the seeds. Discard seeds or save to roast.
- Place the squash halves in a baking dish cut side up. Poke holes in the squash with a fork.
- Brush on 1 Tbsp oil or butter.
- Clean sweet potatoes. Poke with a fork or knife and wrap in foil.
- Place squash and sweet potatoes in oven. Bake for 45 minutes to 1 hour.
- When squash and sweet potatoes are done, they will be fork tender.
- Remove and let cool a little bit.
- Scoop out the flesh of the squash leaving ½ inch border on the skins. Be careful not to break the outer shell. Place flesh in food processor.
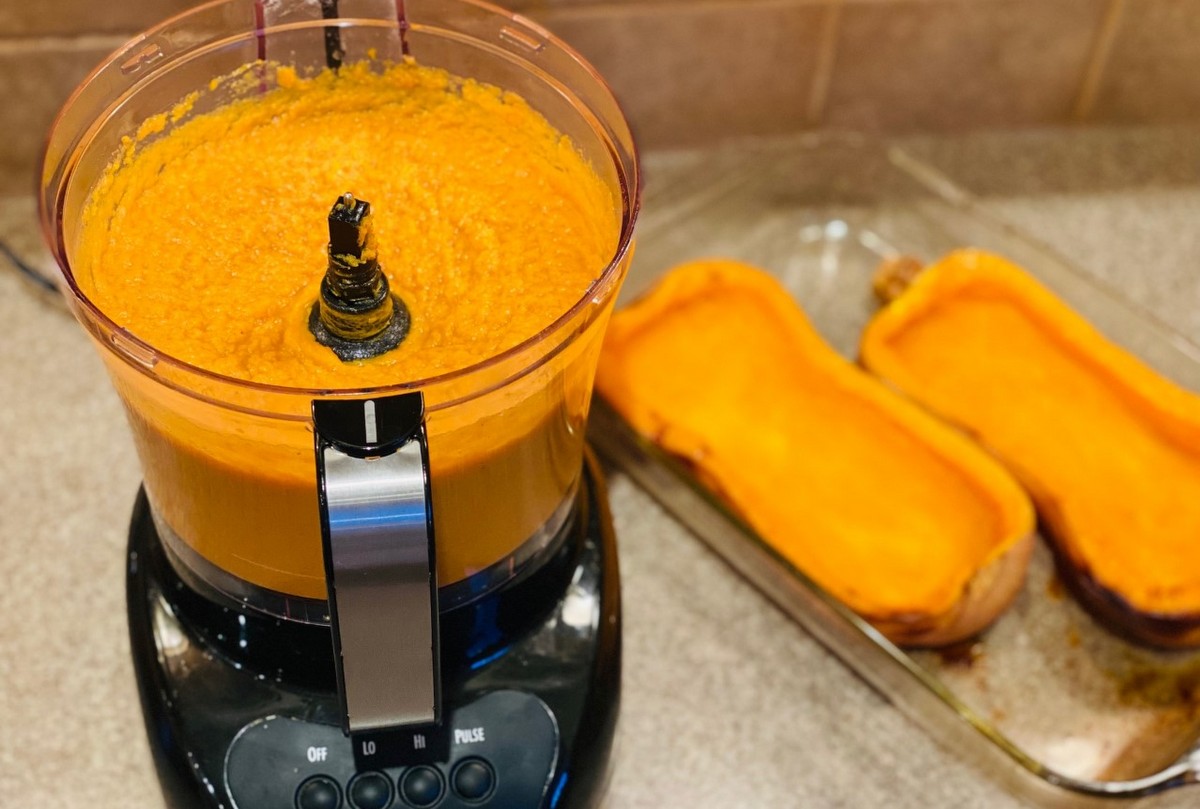
- Remove the skins from the sweet potatoes and discard. Place the flesh in the food processor with the squash.
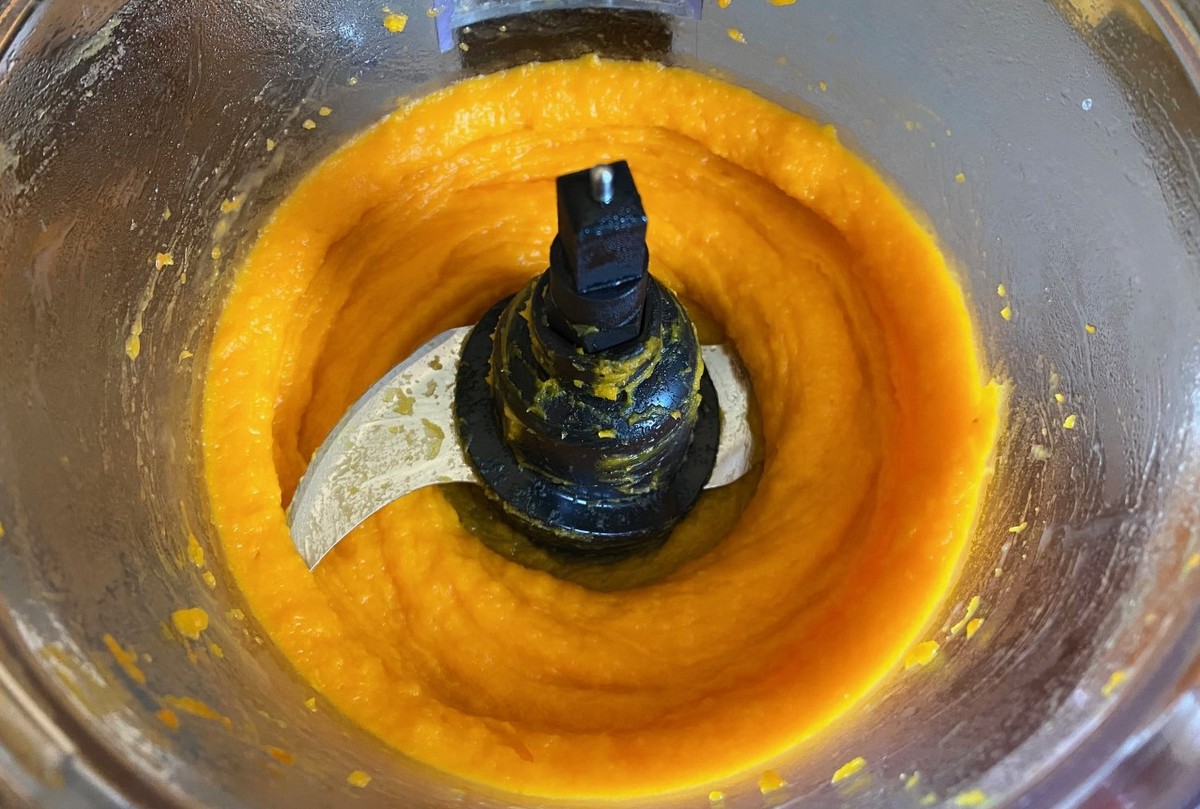
- Add oil/butter, maple syrup, vanilla, cinnamon, sea salt, nutmeg, and eggs to food processor.
- Process on high until all ingredients are well combined and mixture is smooth.
- Spoon mixture back into squash shells.
- Return to oven and cook for 10 minutes.
- While squash is cooking, make streusel. Combine pecans, cinnamon, sea salt, and flour in food processor. Pulse to chop the nuts.
- Add cold butter and pulse to combine. Your mixture should be crumbly. Do not over mix.
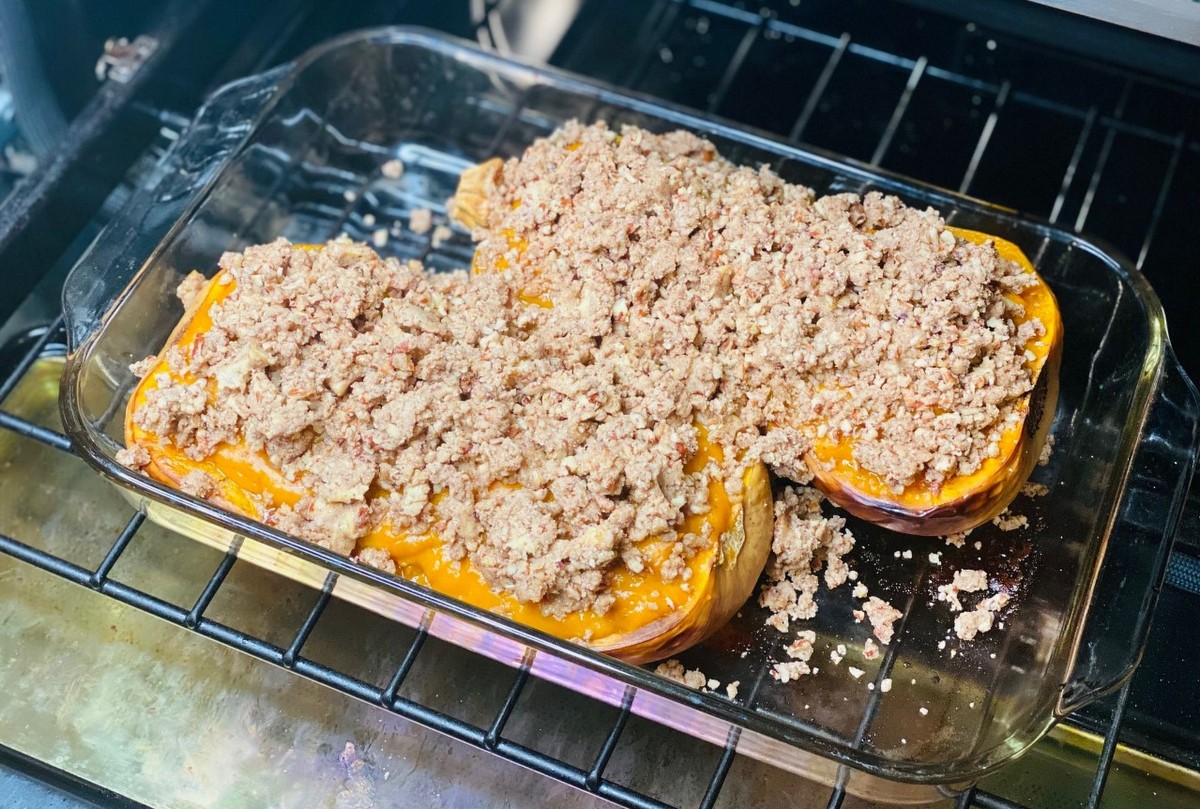
- Remove squash from oven and top with streusel topping.
- Bake for an additional 10 minutes. If adding marshmallows, remove after 5 minutes, top with marshmallows, and then cook remaining 5 minutes.
- Allow to cool for a few minutes before serving.
Recipe and photos by Stephanie Borzio. Stephanie is a mom of three active boys and is an autoimmune warrior. After battling her own health for several years, Stephanie found healing through food and lifestyle changes, including joining Blooming Glen Farm CSA of which she is a long time member, and CSA Cooking Coach. She is a Board Certified Integrative Nutrition Health Coach who is passionate about sharing healthy living tips and real food recipes. Instagram and Facebook: Tru You Essentials; Website: www.truyouessentials.com