Posted at 14:12h
in
Recipes
by bloomingglenfarm
Here’s a true story. Today was my second official day of summer. The kids spent the day in their allotted camps and I walked in circles at home and pondered this recipe. I think I’m still in a little bit of shock that winter is finally over and my long sought after days off with the kids is upon me. So, basically I had all the time in the world to plan and prep for this one bi-weekly recipe I write. Trouble is, despite my love of eating and cooking, I abhor shopping. I will often times drive into the parking lot and pull right back out because there are entirely too many people. This was, however, not the case today. I went to one store, just not the right one. I’d be lying if I said that it wasn’t mostly because of discombobulated brain-fog brought about by my new found freedom.
Earlier I decided on making stir-fry noodles with these fun “Longevity Noodles” I purchased at an Asian grocery store in the city. It’s a full-blown, clean out the fridge, freezer, and pantry week here…”rent week” as it has been coined in the fun recipe blog by Bon Appetit. You get the point: cook and eat what you got. Luckily, CSA day is here and now we have veggies.
The recipe in my mind looked like a farm to table version of Lo Mein with egg and possibly organic pork sausage. The only thing that I didn’t have here at home was fresh ginger. I made a quick stop at the farm market hoping to find some. To no avail. I bought instead, a bottle of Braggs sesame ginger dressing. Home I came, veggies in tow, to develop the recipe. Against my better judgement I dumped that bottle of pre-made sauce directly into the almost finished product. Turns out, YUCK, that dressing is definitely not the right sauce for the dish and in the trash it went.
Round 2 with the same ingredients minus the Braggs left me with a dry bland bowl of “stuff” that didn’t really scream symbiotic culinary adventure for the taste buds. It needed heat and acidity and a funky tang to pull it all together. It also needed some creaminess and body.
The finished product was a blend of creative inspiration, lethargy, and frustration, but in the end it really tastes good. My only suggestion would be that it does not require noodles. Ironically, it’s a noodle dish but the noodle plays a supporting role to the rest of the ingredients. This would be wonderful with root veggies instead of pasta for a paleo friendly version, or make zoodles aka zucchini noodles with your squash. I suggest Ghee or some good salted butter as the fat. I tried with coconut oil and it was not good.
Funny how one ingredient and an unwillingness to go to the right store can really mess with dinner. Had I followed my gut, I would have made something different once I started to feel the anxiety of bright lights and checkout lines creep in. Like all of my recipes, I will make suggestions throughout. Feel the freedom to follow your own gut and create a dish that leaves you feeling satisfied and pleased.
Ingredients
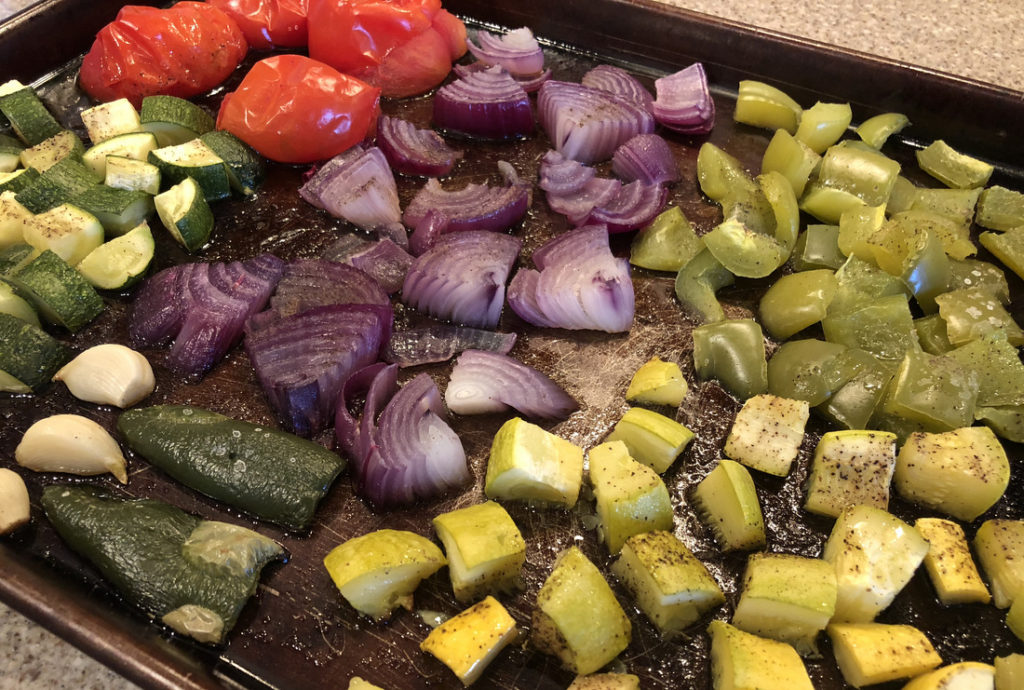
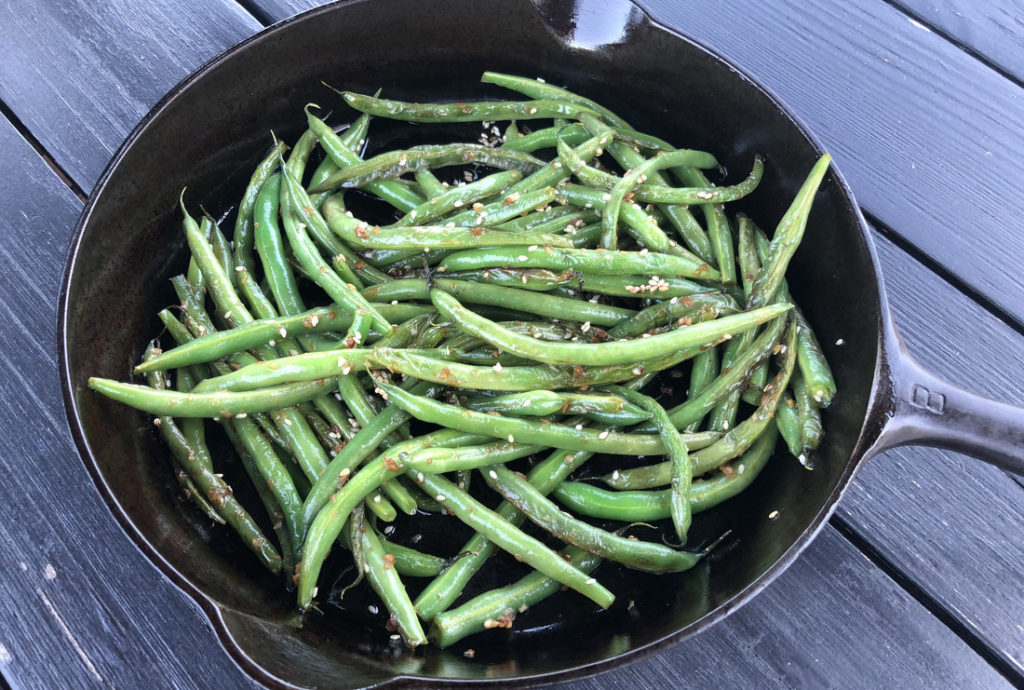
2 summer squash – cut to your liking
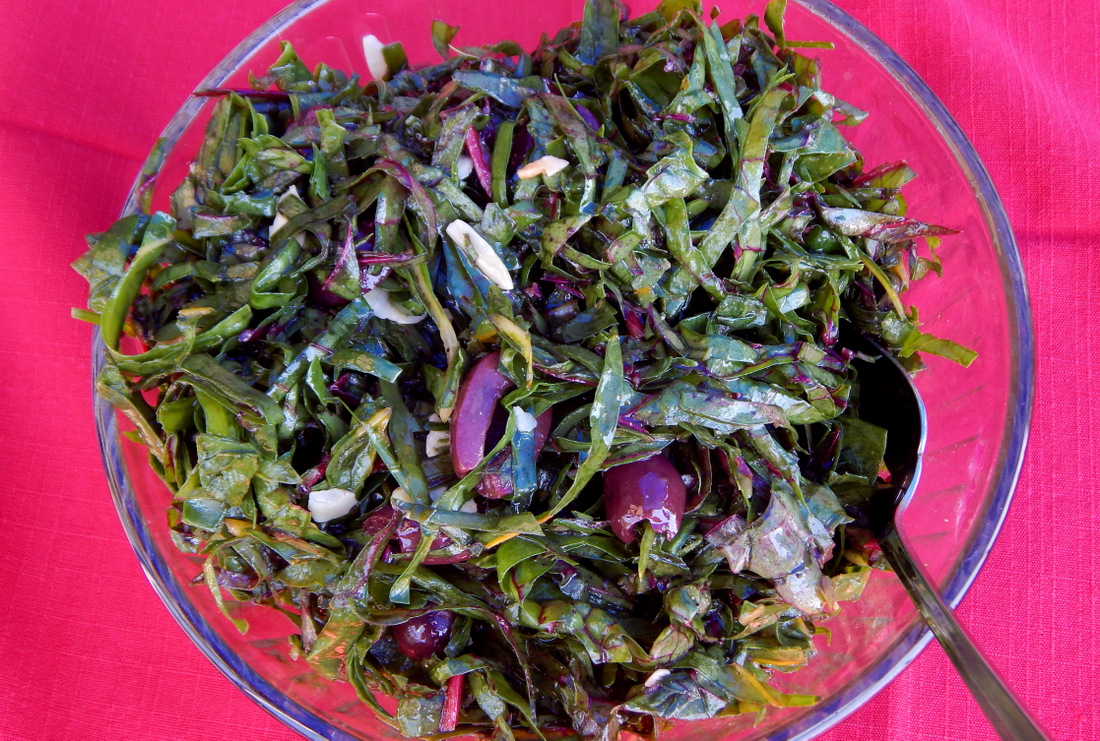
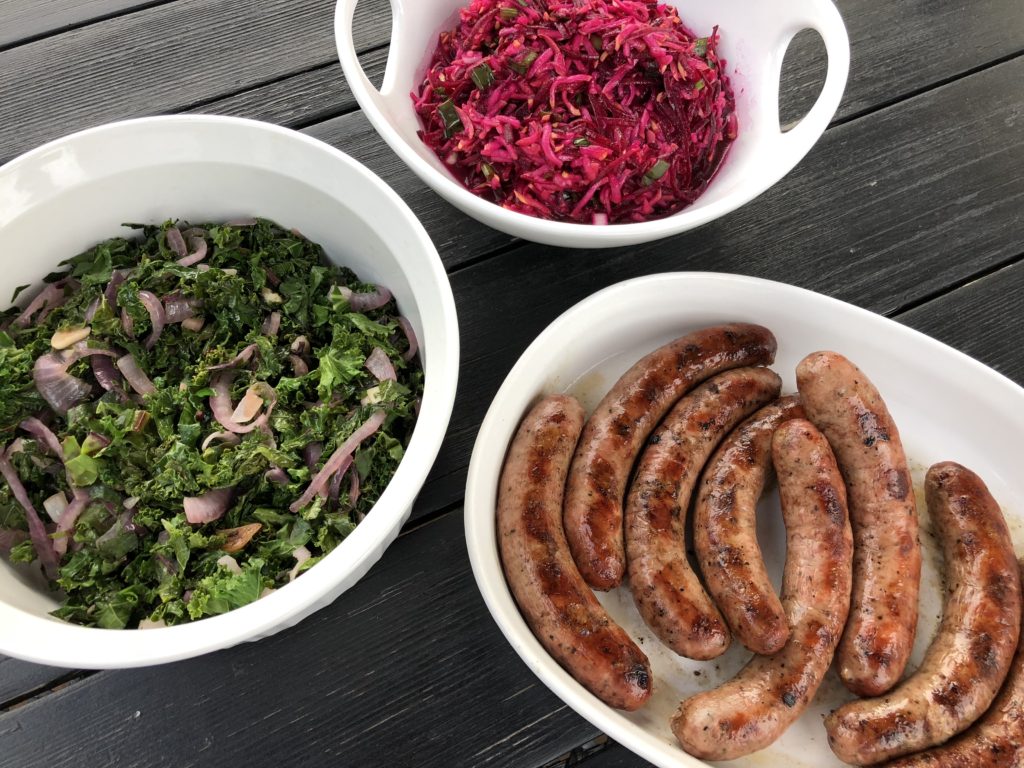
4 stalks kale – chopped
half bunch dandelion greens – chopped
half bunch scallions – chopped
half bunch garlic scapes – chopped
10 brussel sprouts – chopped (or for a more seasonal selection, sub in 4 stalks of your CSA chard)
chopped cilantro, parsley, pineapple sage, to your taste
2 cups cooked pasta of your preference
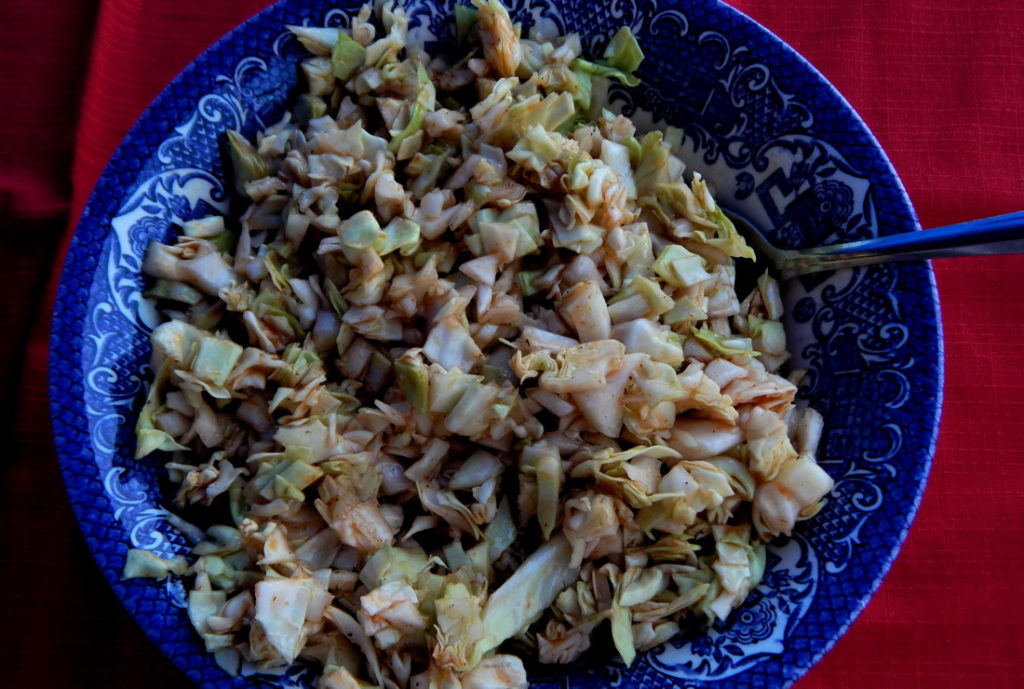
1 cup packed sauerkraut plus 2 Tbs of the juice (or use kimchi for super funky noodles)
1 Tbs whole grain or Chinese hot mustard
1 Tbs hot sauce
2 eggs – scrambled or over easy
2 sausages or bacon – sliced
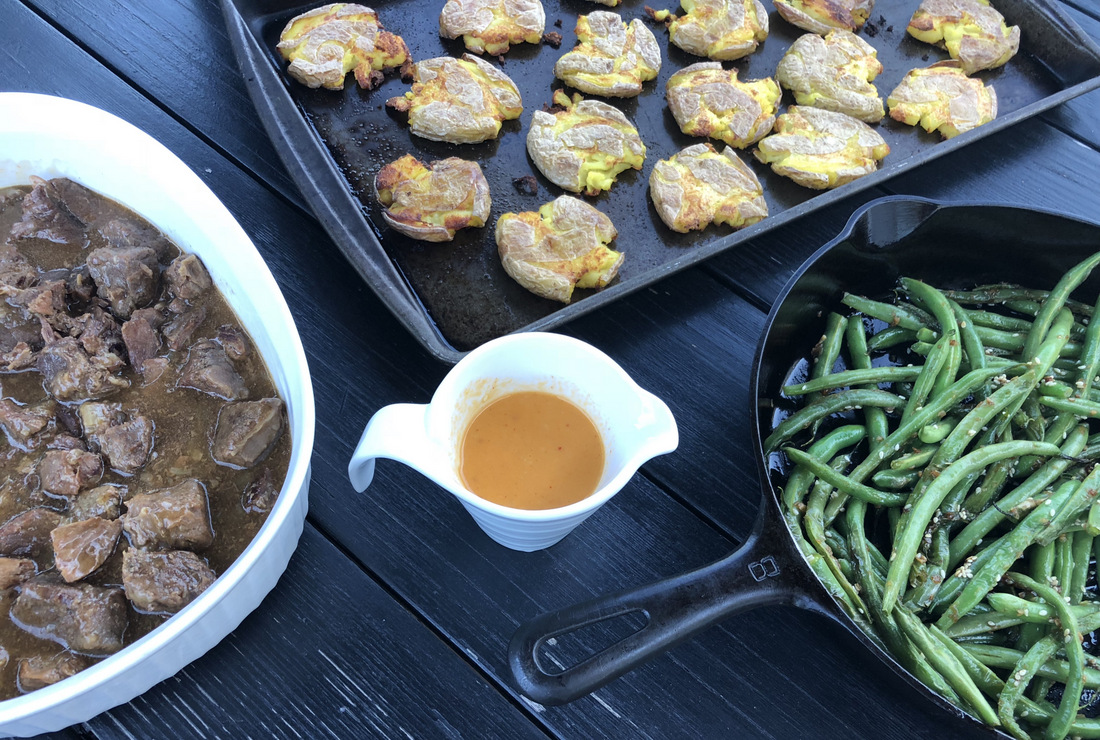
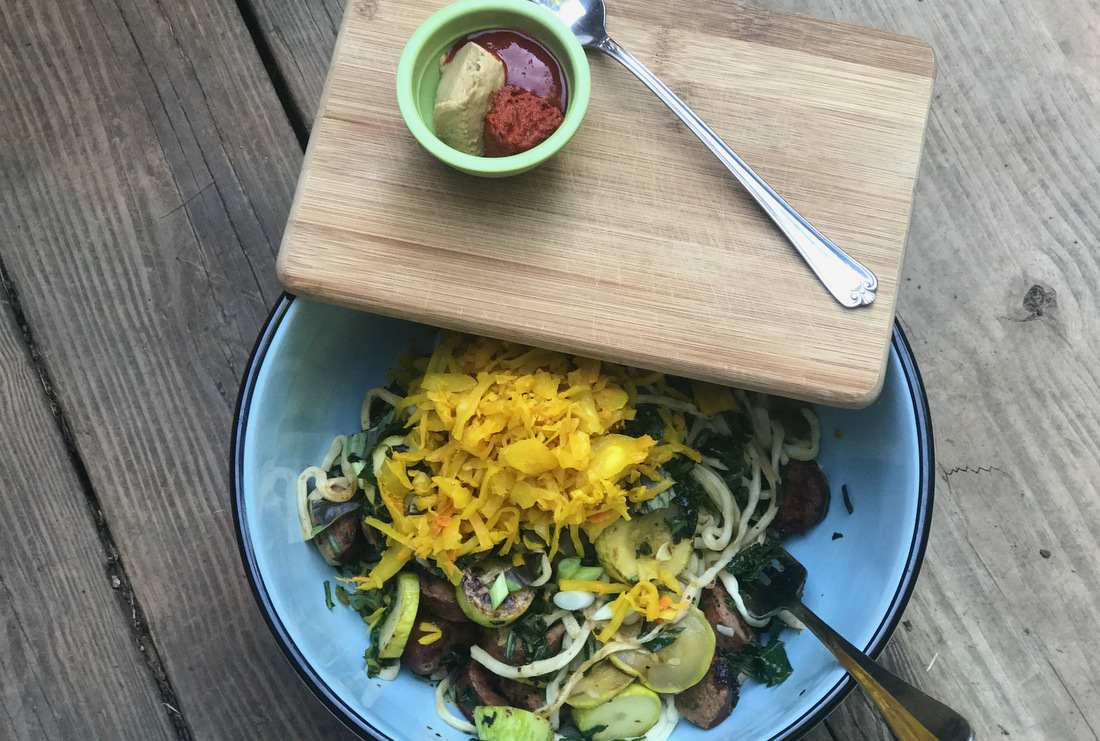
To assemble: over medium heat, saute the sausage or bacon until golden. Add the veggies and lightly brown in the meat dripping. Toss in the pasta and kraut juice along with 2 Tbs of butter to Ghee. Stir everything together until fully mixed. In a separate pan either scramble or fry over easy your eggs. Arrange the noodles in a nice big bowl, top with the kraut and egg and some chopped scallions and cilantro leaves. Serve the mustard and hot sauce in a small bowl as accompanying sauces and loosen with a little soy or aminos. Serves 4
This is one funky dish. Probably good for a hangover! I love the blend of creamy egg yolk, acidic kraut funk, salty meat bits and the velvety veggies. Like I said, noodles are optional here. Rent week eating can be fun and adventurous and best of all, a reason to avoid shopping!! Nom Nom.
Recipe, post and photos by Kristin Moyer, a local mom and chef who loves to eat, write and play with her food.
Post editing by Tricia Borneman, Blooming Glen farmer and co-owner. Tricia and her husband Tom have been farming together since 2000. Blooming Glen Farm is celebrating its 13th season bringing high quality certified organic vegetables, herbs, fruits and cut flowers to the local community.