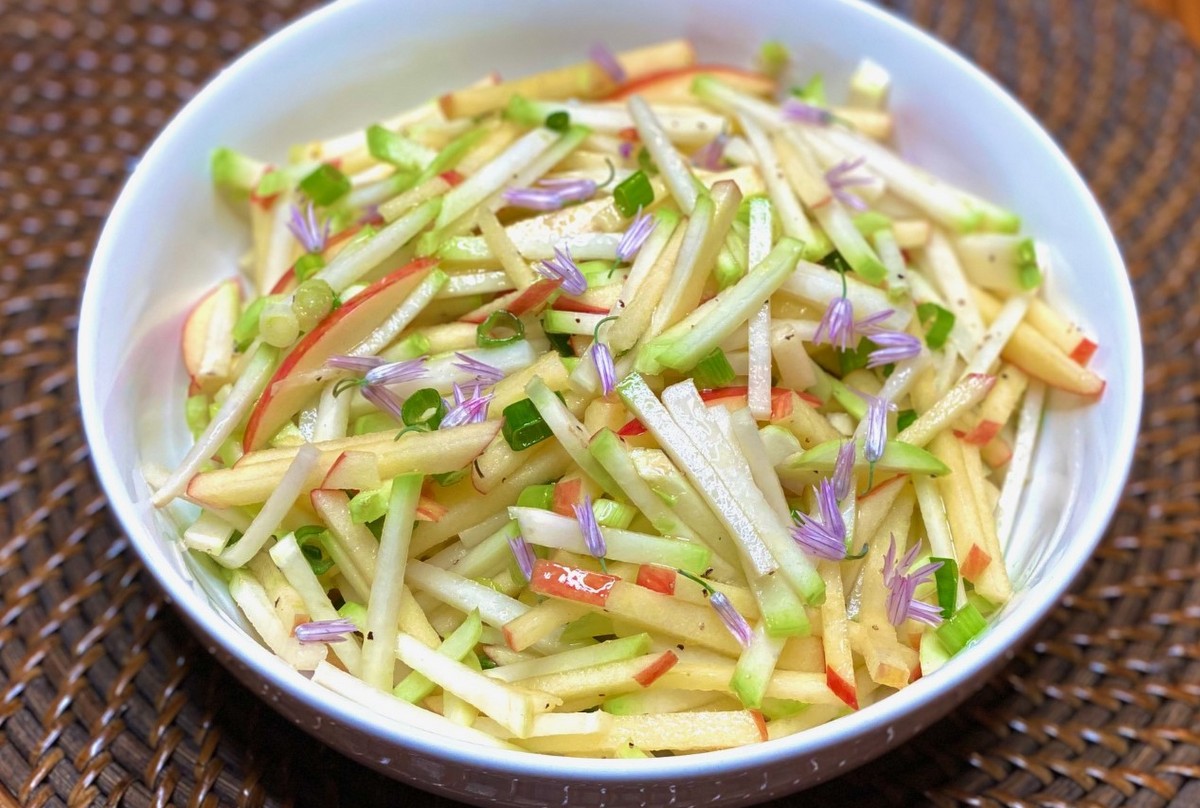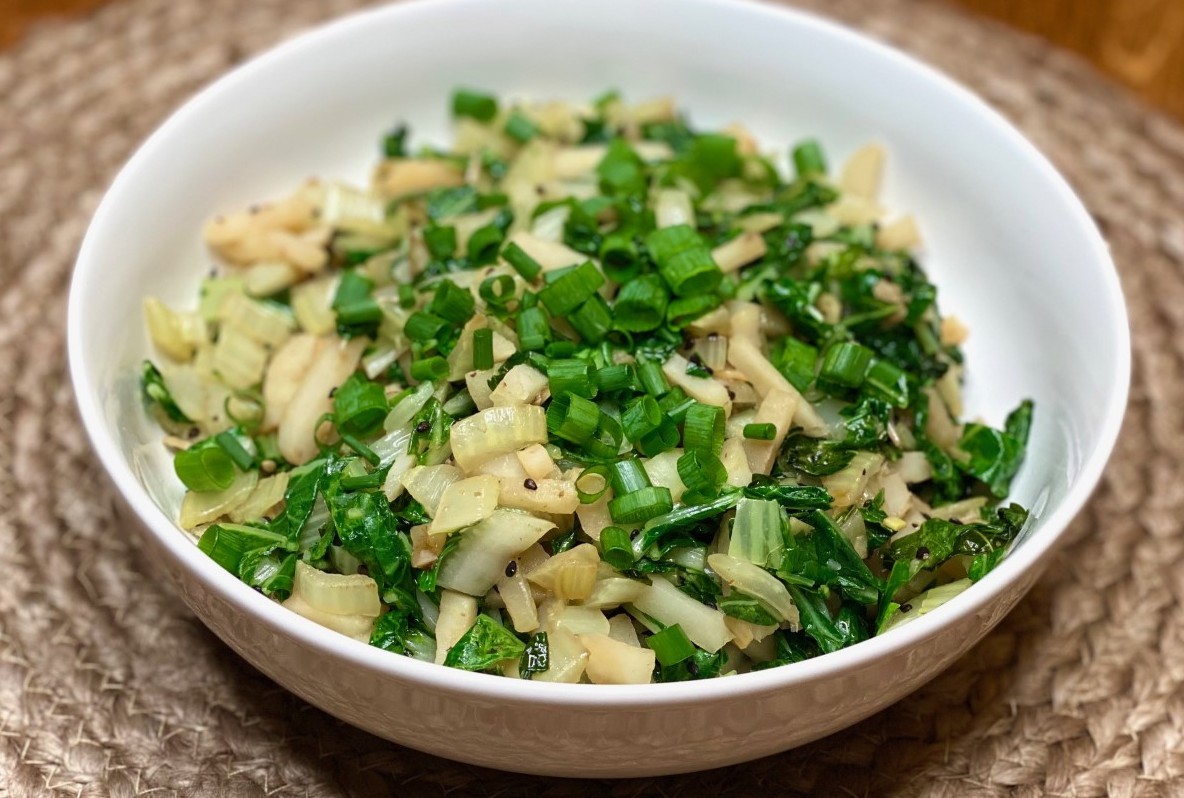
10 Jun Sesame Bok Choy
Bok Choy is a nutritious leafy green vegetable that is a member of the Brassica family (like kale and broccoli). It is high in Vitamin C, K, and A. It also contains many other beneficial minerals and vitamins. This recipe showcases this tasty, nutritious vegetable. Enjoy on top of a bowl of rice or as a side
Sesame Bok Choy
Ingredients:
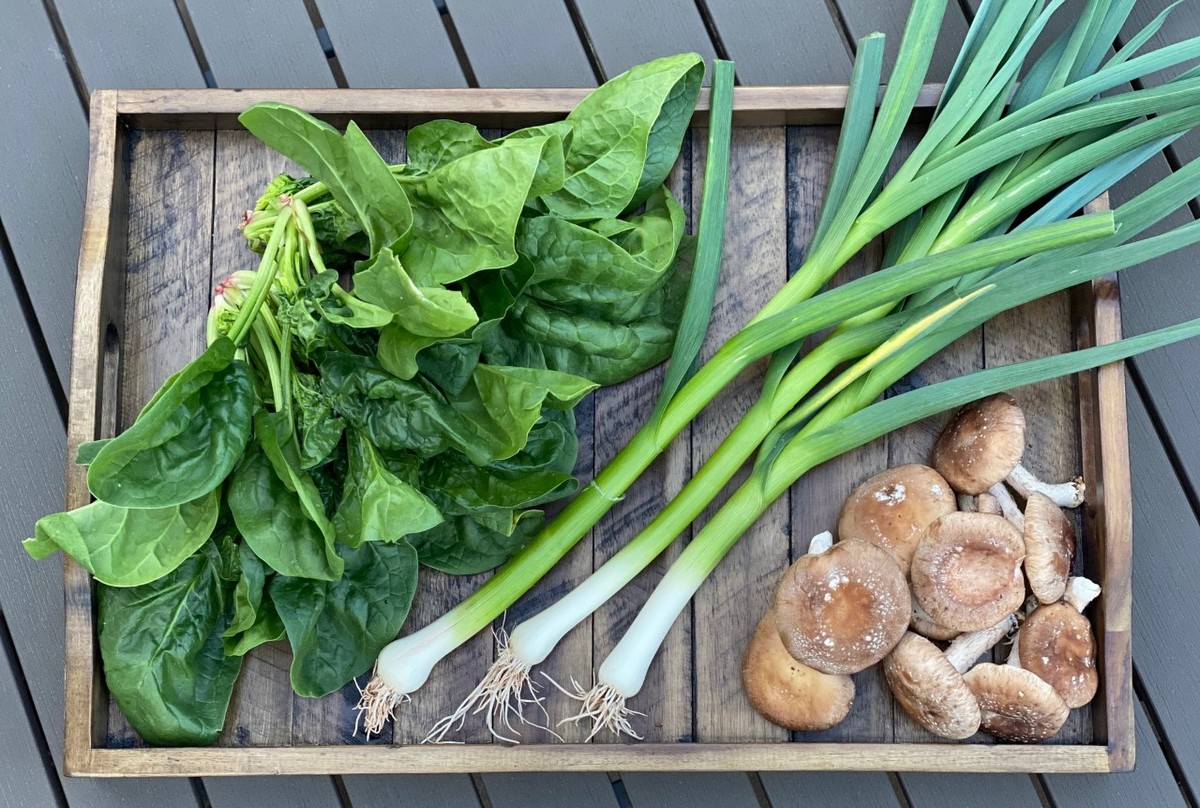
1 head bok choy, washed
3-4 large cloves garlic (or sub in green garlic or garlic scapes)
1 can (8 oz) sliced water chestnuts
2 Tbsp olive or avocado oil
½ tsp sea salt
¼ tsp black pepper
2 tsp toasted sesame oil
1 ½ tsp sesame seeds (black or white)
2 Tbsp chopped scallions for garnish
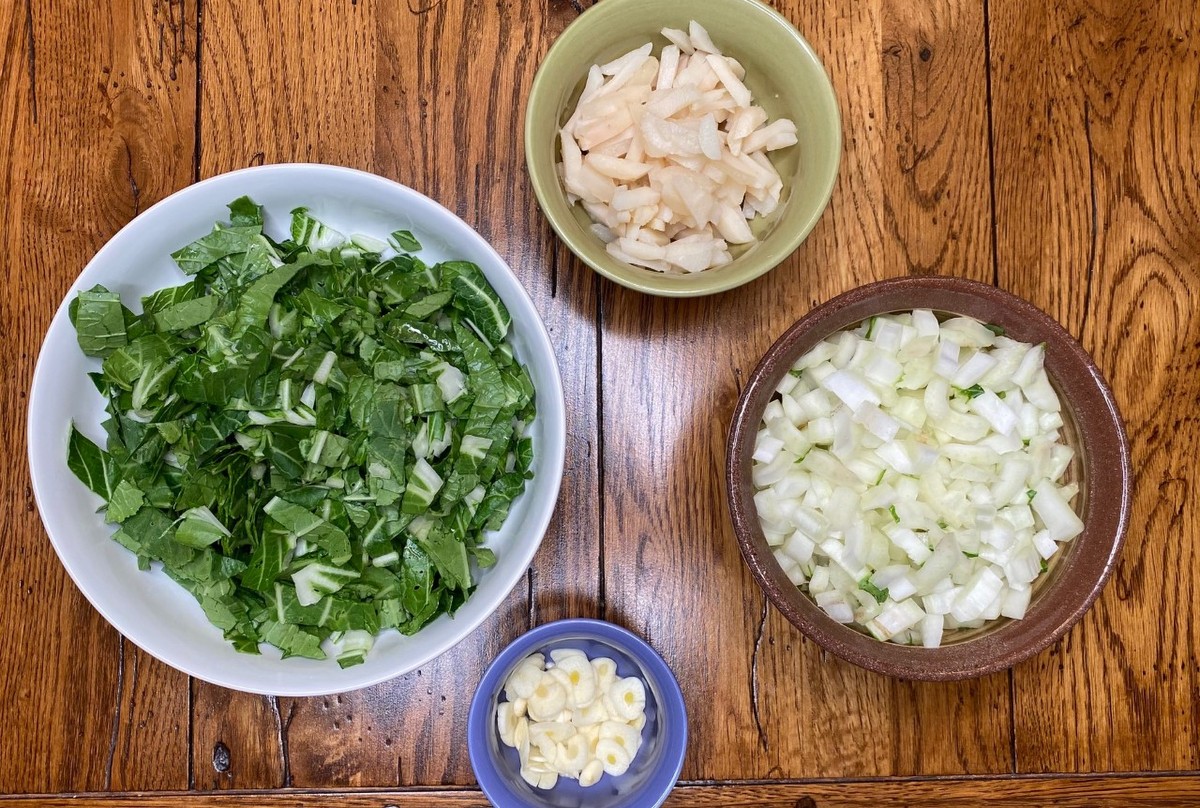
- Separate bok choy stems from leaves. Chop both and keep separate.
- Thinly slice garlic cloves and set aside.
- Chop water chestnuts and also set aside.
- Heat olive or avocado oil in pan on stovetop.
- Add garlic and bok choy stems. Sauté on medium low for 5 minutes, stirring to cook through.
- Add water chestnuts and cook 2 more minutes.
- Add chopped leaves. Cover and cook about 3 more minutes or until leaves are wilted.
- Add salt, pepper, sesame oil, and sesame seeds. Mix to combine.
- Garnish with fresh chopped scallions and enjoy!
Recipe and photos by Stephanie Borzio. Stephanie is a mom of three active boys and is an autoimmune warrior. After battling her own health for several years, Stephanie found healing through food and lifestyle changes, including joining Blooming Glen Farm CSA of which she is a long time member. She is a Board Certified Integrative Nutrition Health Coach who is passionate about sharing healthy living tips and real food recipes. Instagram and Facebook: Tru You Essentials; Website: www.truyouessentials.com