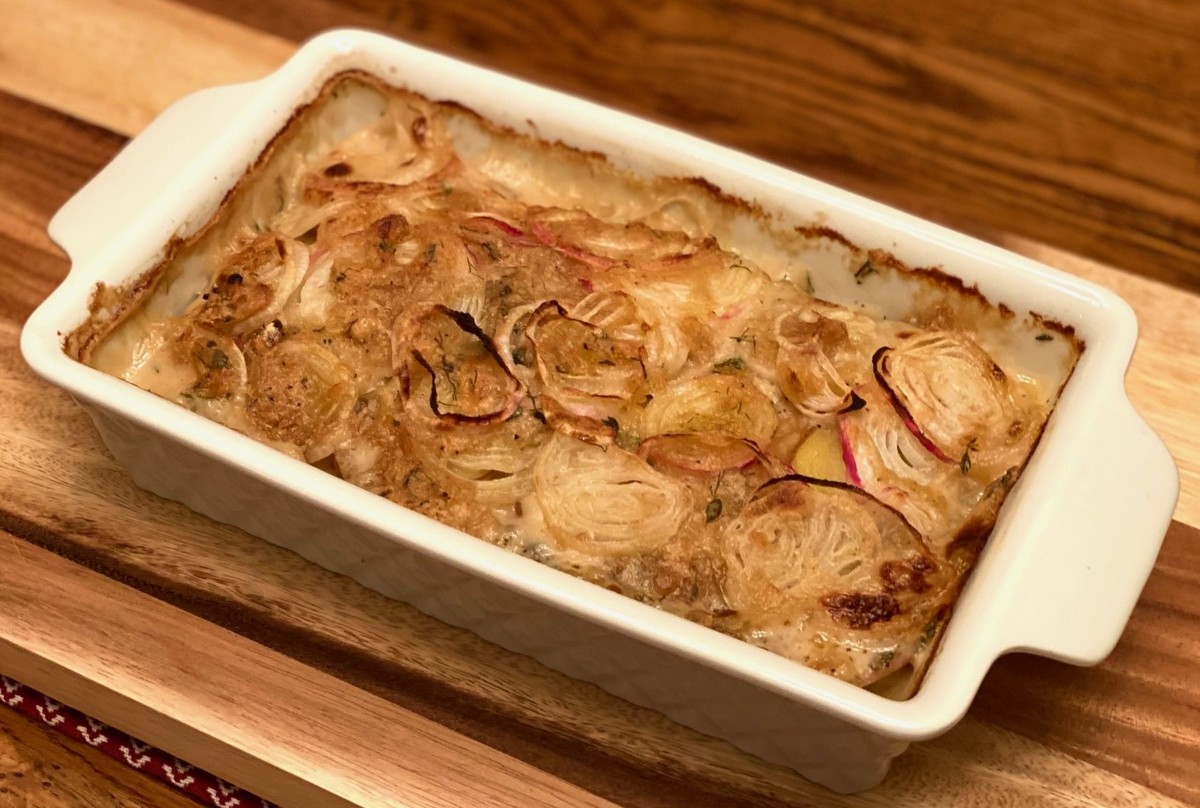
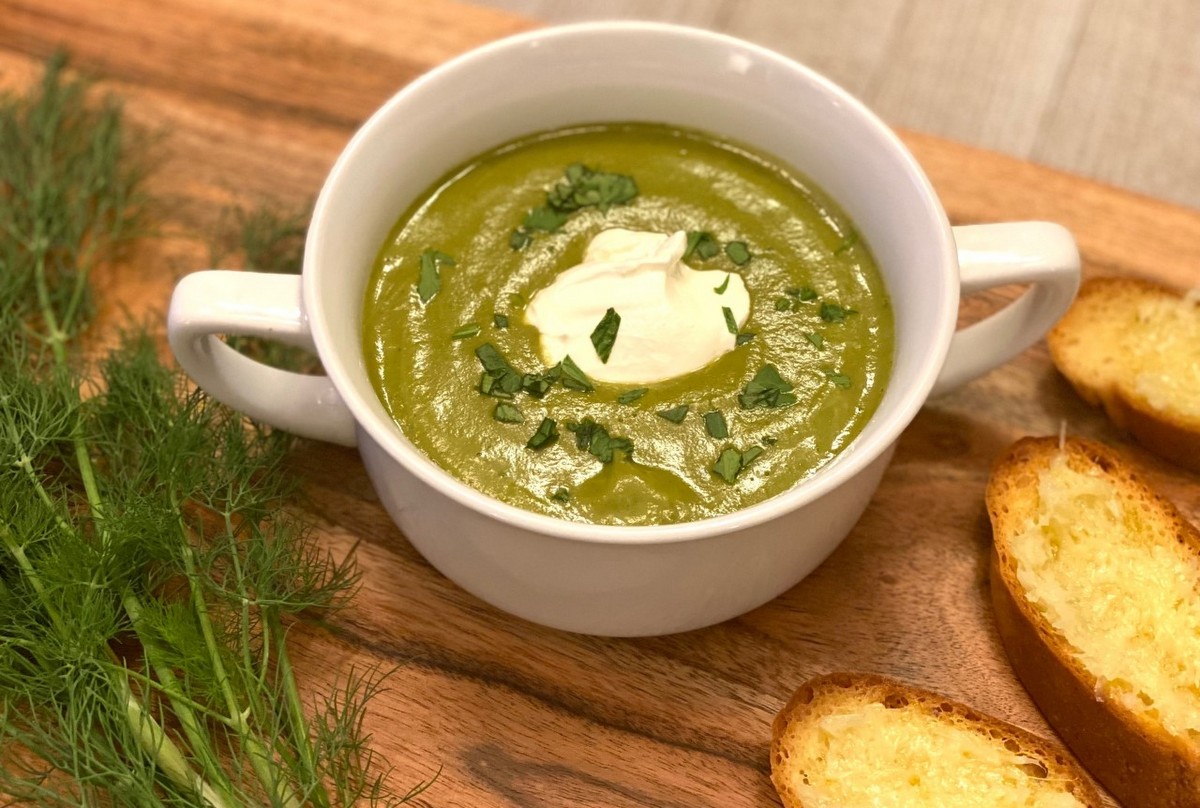
19 Aug Caramelized Onion Dip with Air Fried Potato Chips
When sweet onions made an appearance in our shares last week, I knew that I wanted to showcase them in a new recipe. This snack is well worth the time it takes to caramelize these delicious onions and I highly recommend making homemade chips if you have the time. This onion dip is sure to be a crowd pleaser!
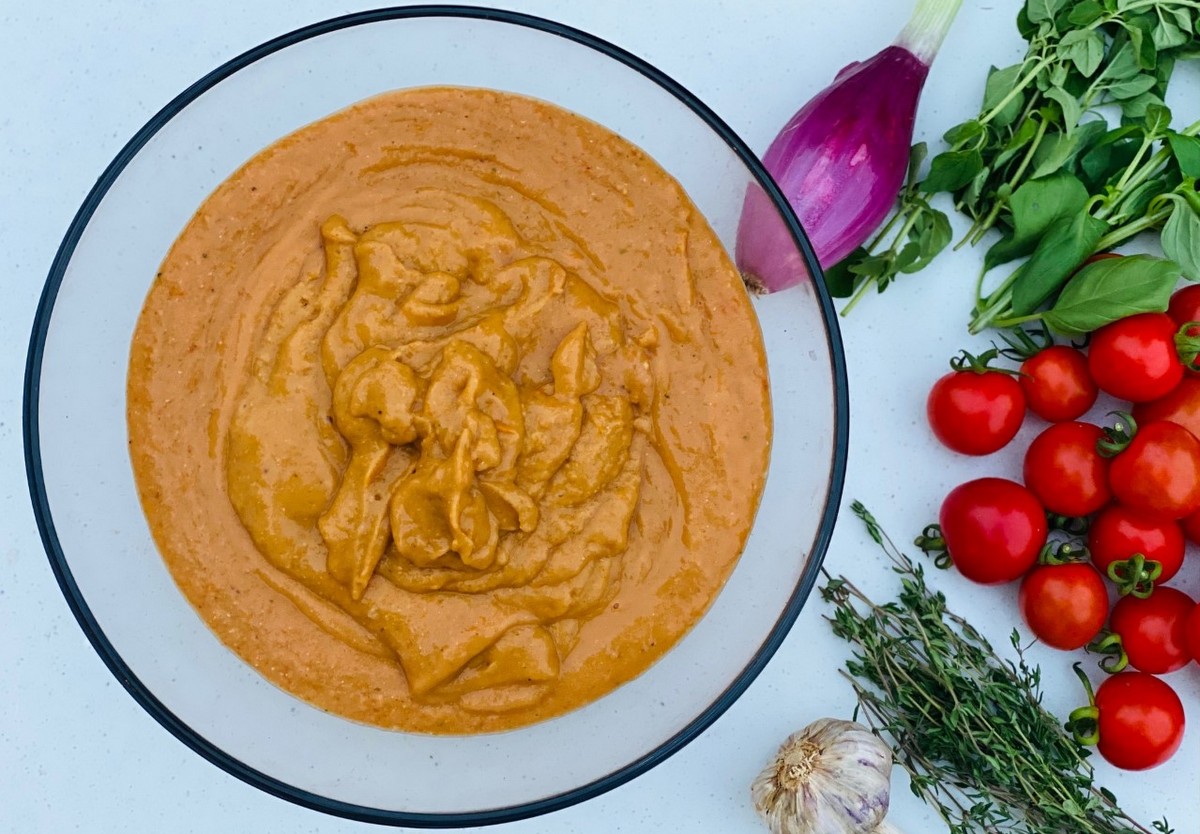
Caramelized Onion Dip
Ingredients:
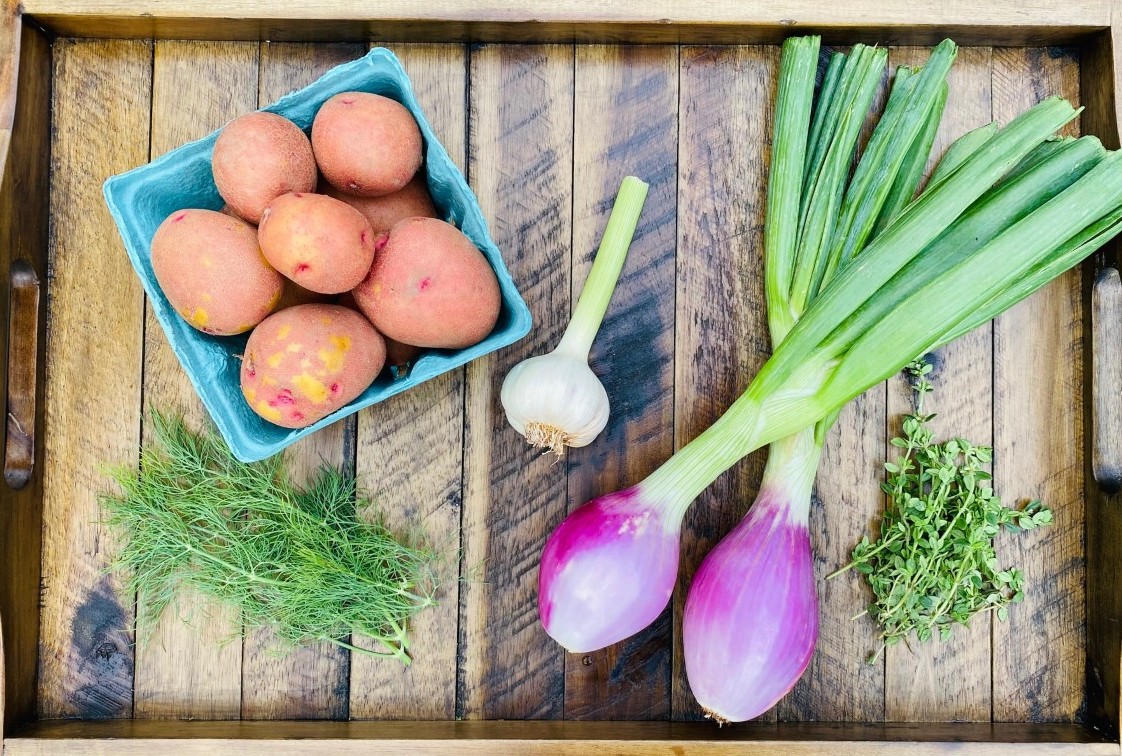
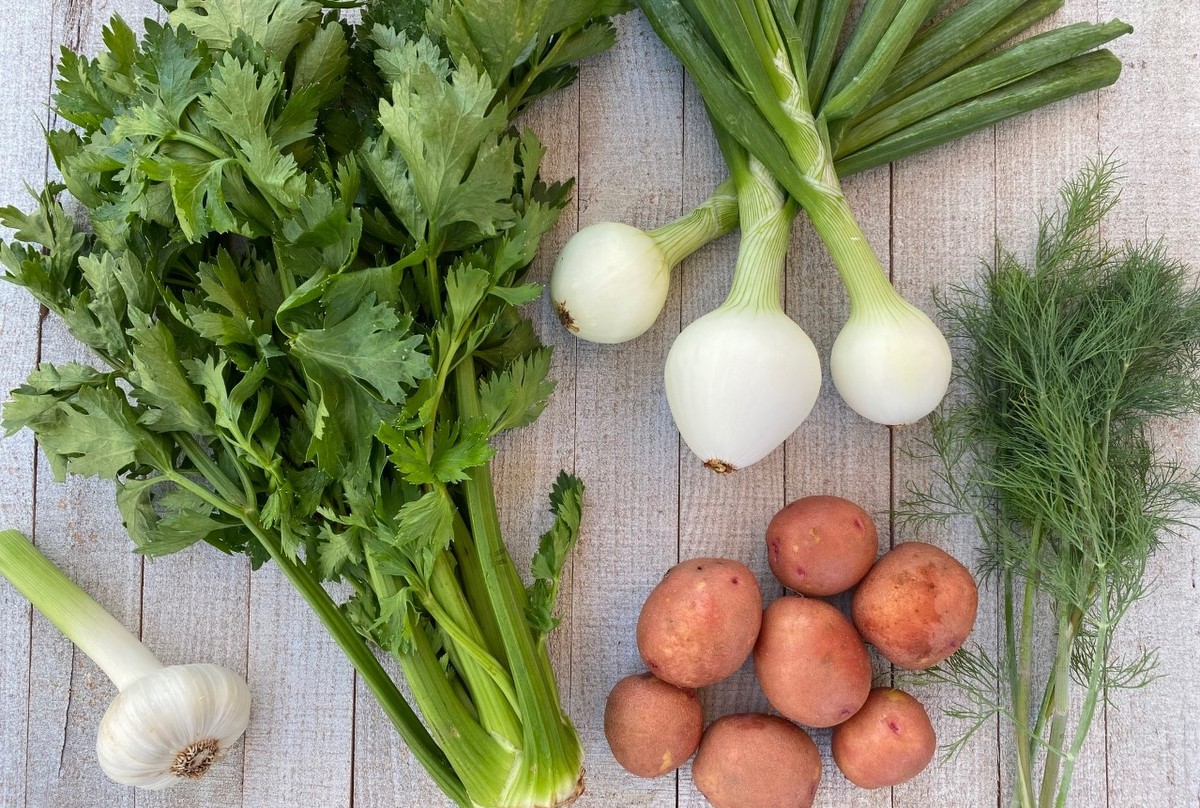
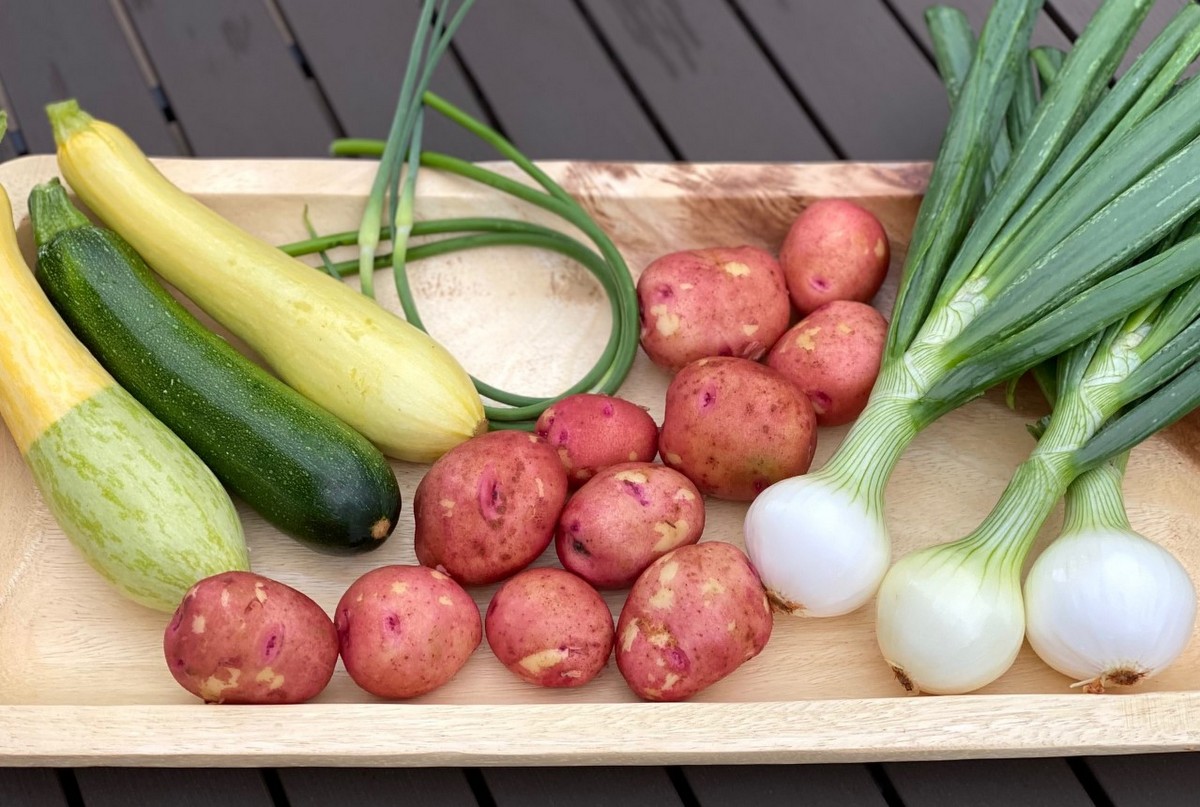
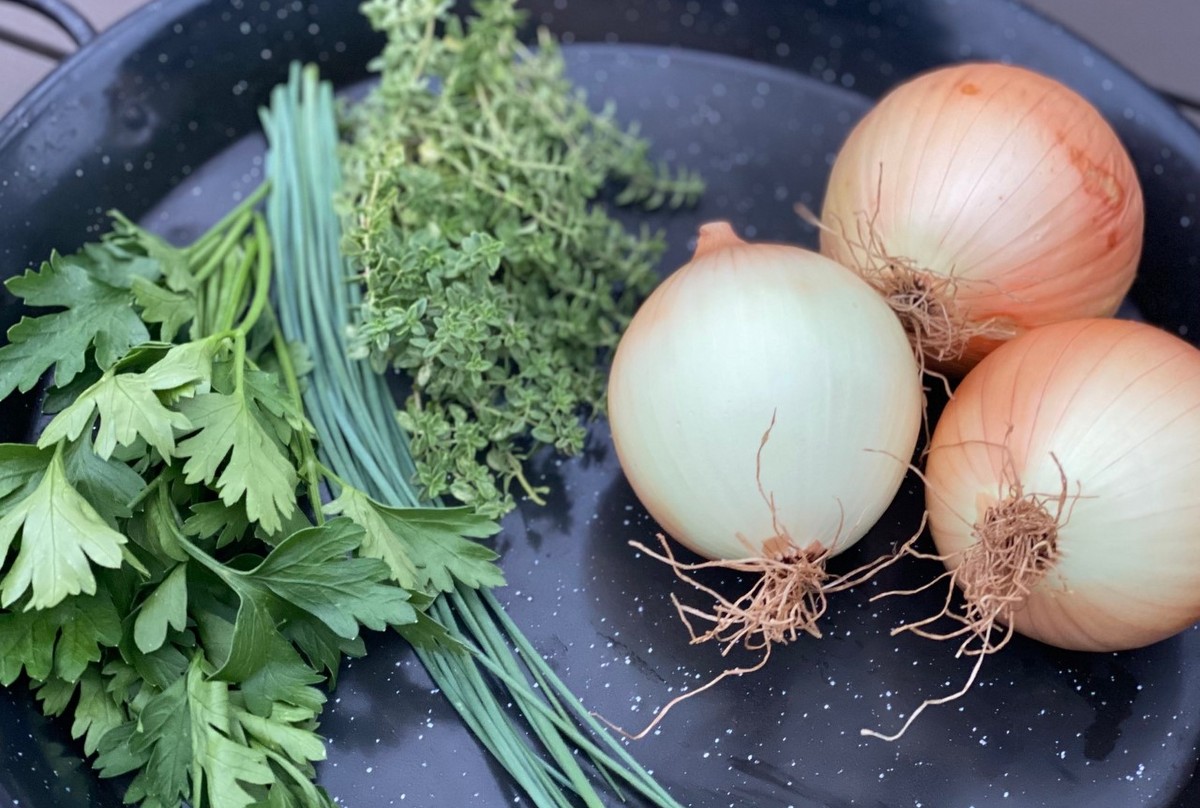
3 sweet onions
3 Tbsp butter (can sub avocado or olive oil)
2 cups (16 oz) sour cream (can sub plain yogurt)
¾ tsp sea salt
¼ tsp black pepper
½ tsp garlic powder
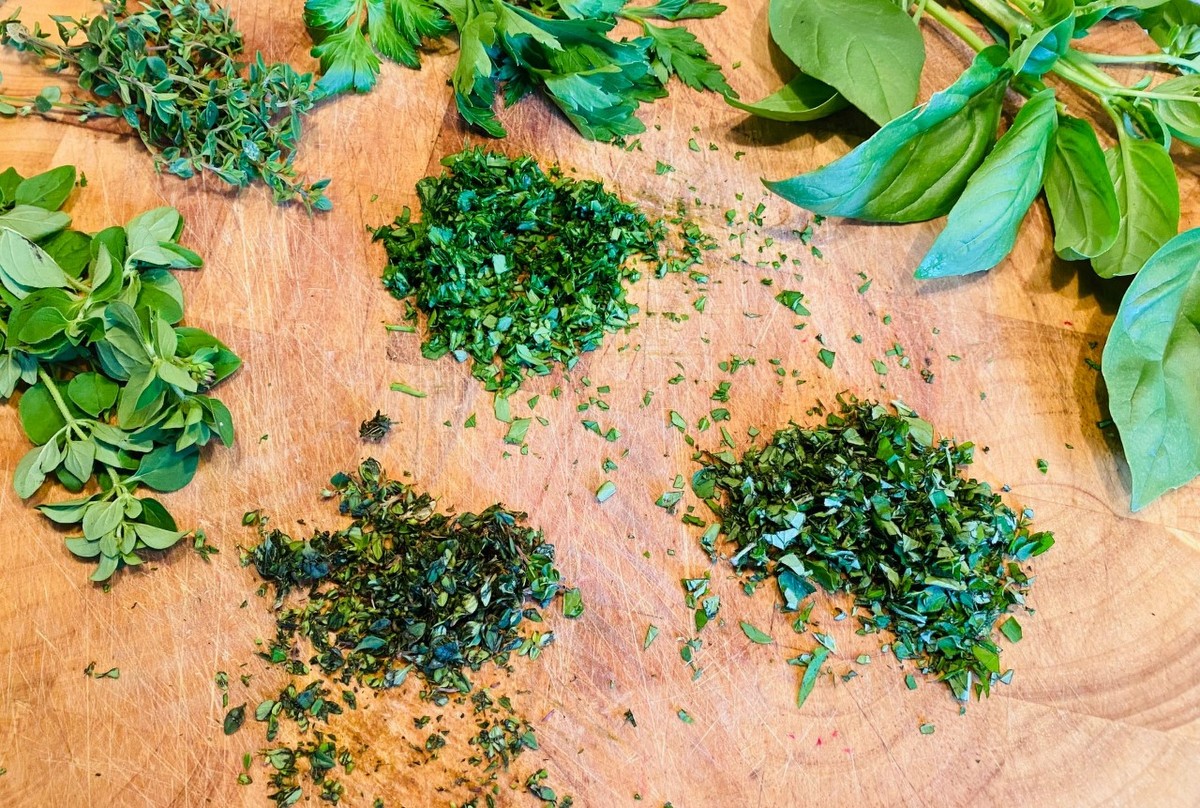
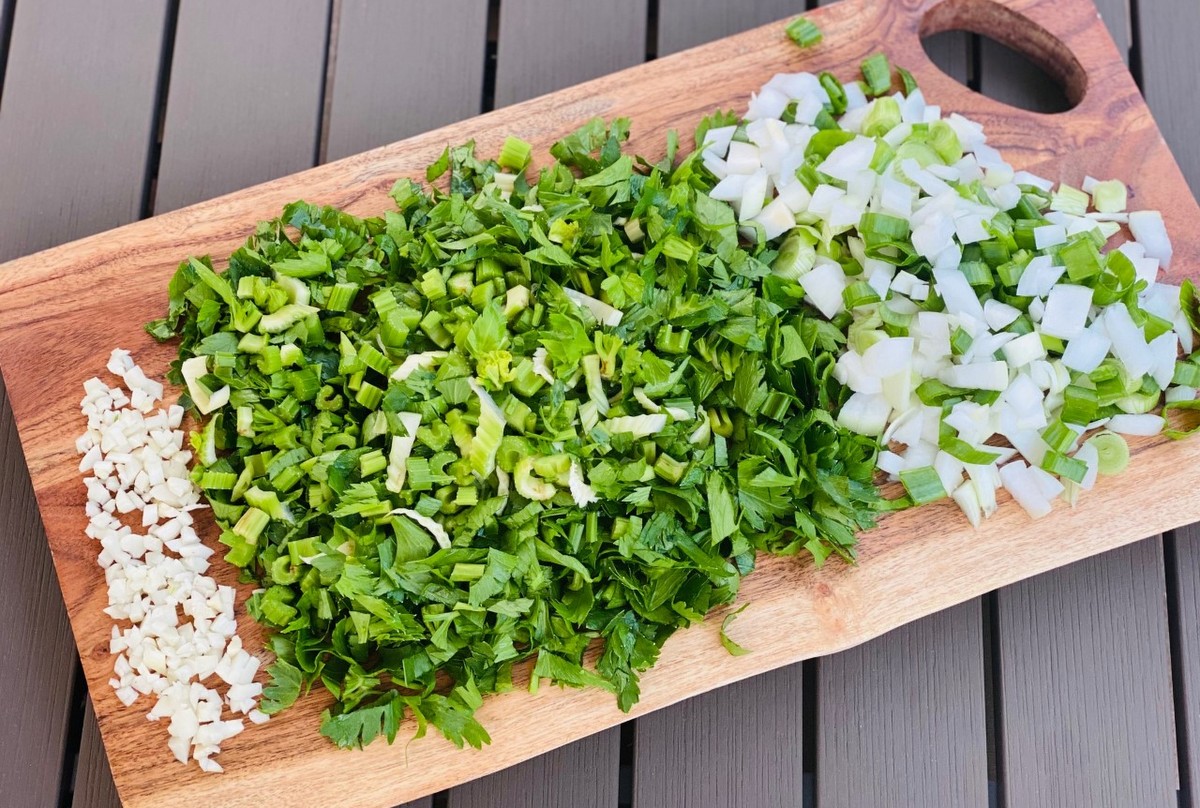
2 Tbsp fresh herbs, finely chopped (parsley, chives, thyme, etc.)
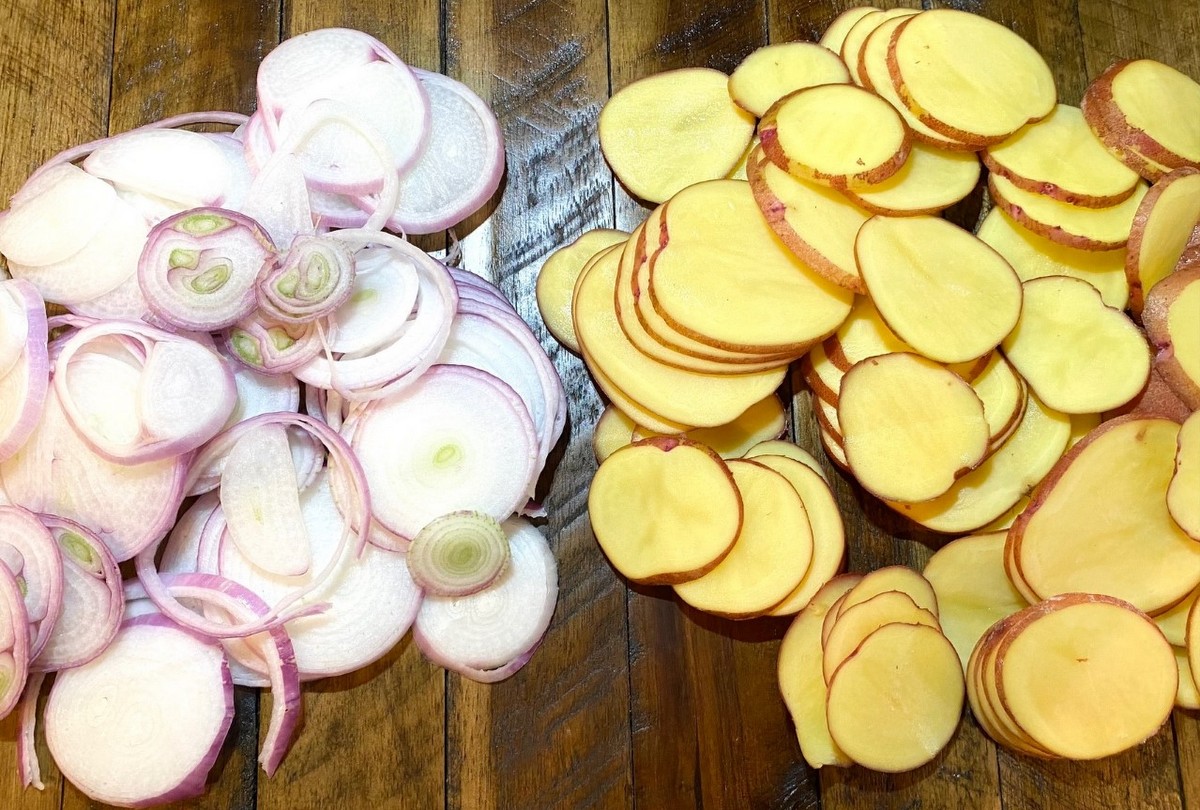
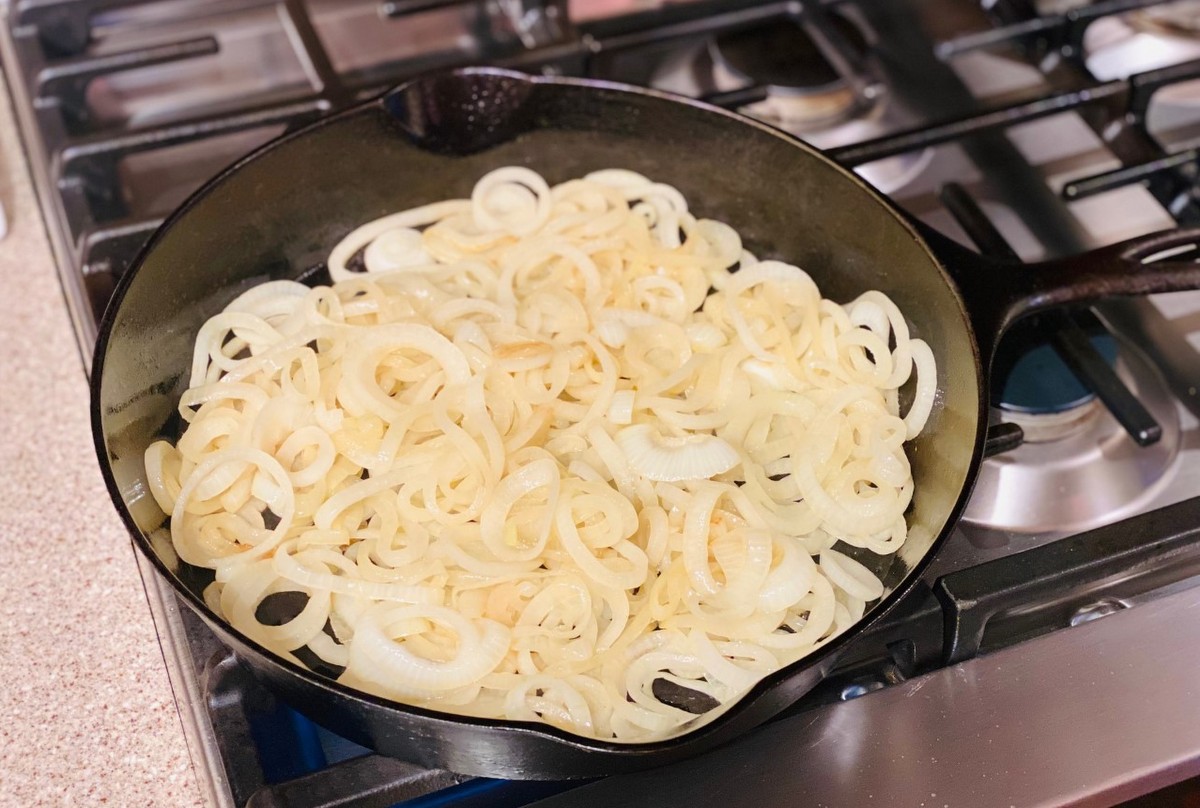
- Peel skins of onion and thinly slice into rounds. I used a mandolin for this (set on 3/16 inch setting).
- Heat butter in large skillet on medium heat.
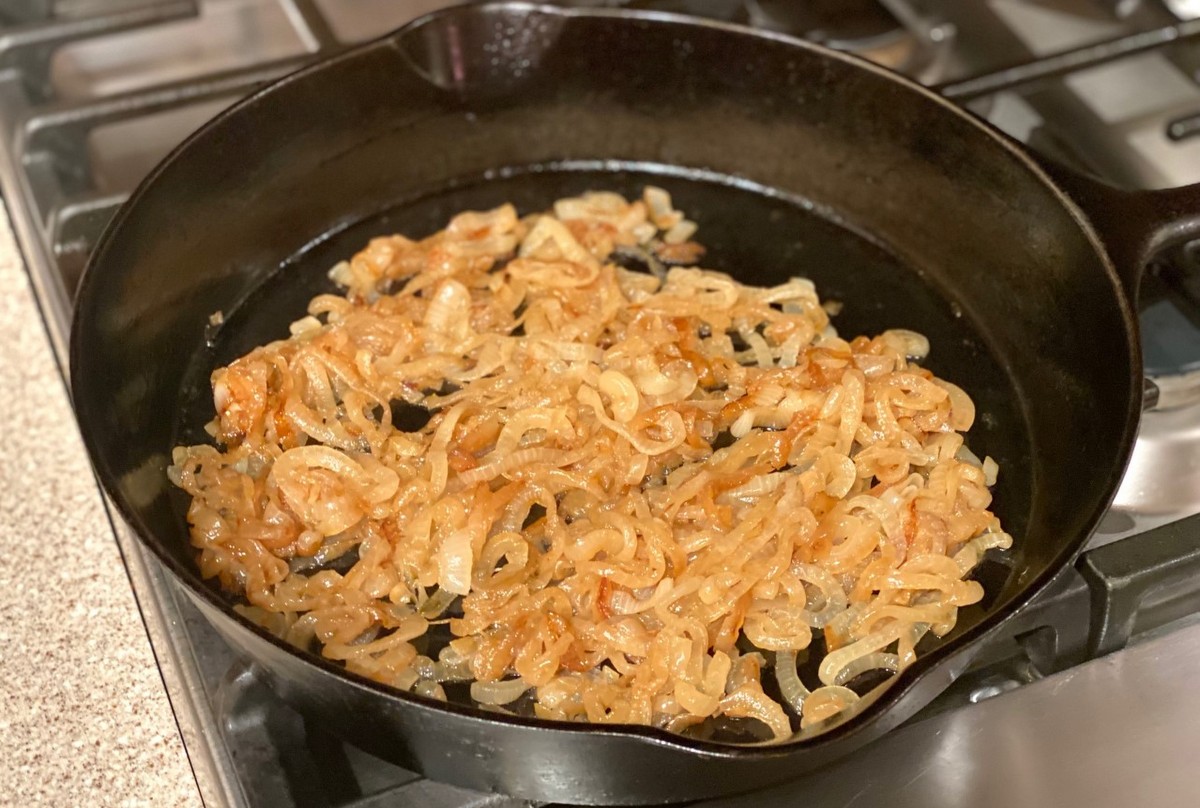
- Once butter is melted, add sliced onions. Cook for 3-5 minutes until onions are softened. You will need to continually mix throughout these few minutes so that the onions evenly cook.
- Turn the heat to low and cook for 40 minutes. Stir every 5 minutes.
- After 40 minutes, the onions should be brown and caramelized.
- Remove from heat and allow to cool a little bit. Then chop into small pieces.
- In a medium bowl, combine sour cream, salt, pepper, garlic powder and fresh herbs. Mix to combine.
- Fold chopped, caramelized onions into sour cream mixture until evenly combined.
- Serve with chips, crackers, or raw vegetables (snap peas, cherry tomatoes, peppers, carrots, etc.). You can also make your own chips. See recipe below for air fried potato chips.
- Store leftover dip in refrigerator.
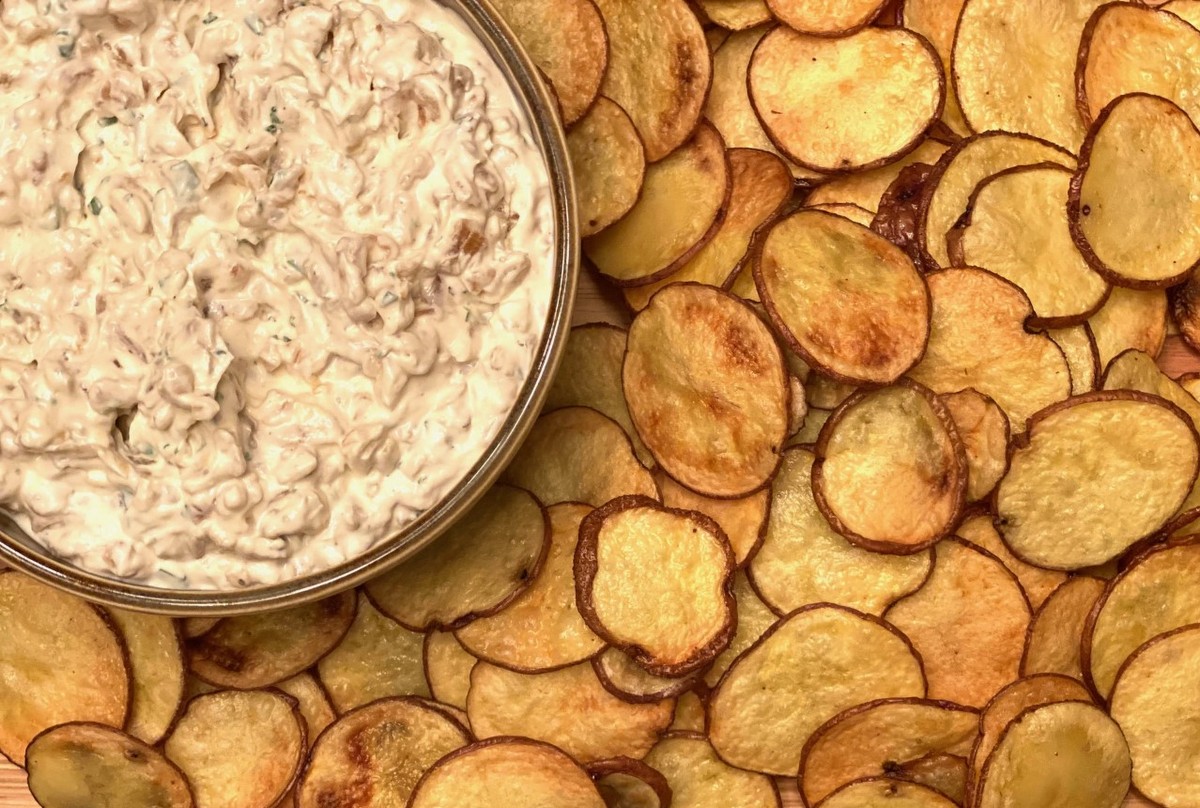
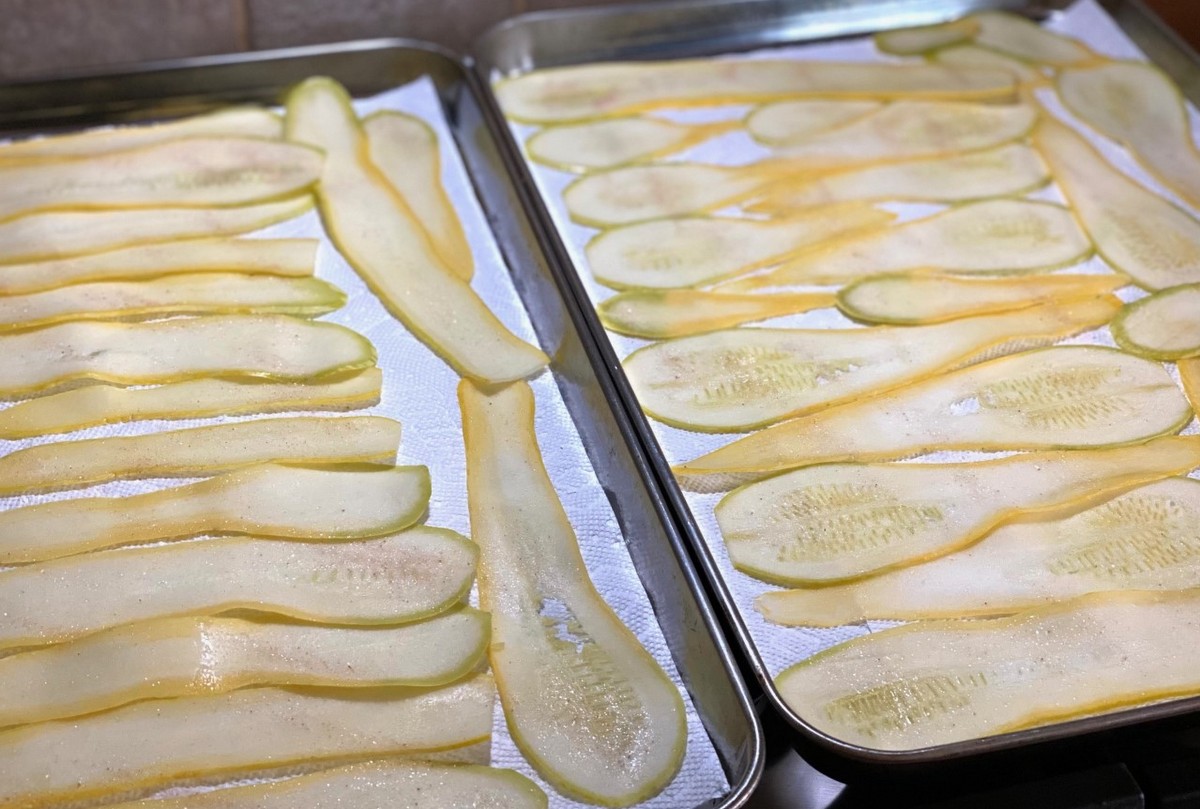
Air Fried Potato Chips:
Scrub potatoes. Leave skins on and use mandolin to thinly slice. I recommend slicing to about 1/8 inch thick. Soak potato slices in cold water for 15-20 minutes. Drain in colander and dry slices on paper towels. Spray the slices with either avocado or olive oil and sprinkle with sea salt. Lay in a single layer in your air fryer. Set air fryer to 370°F and cook for 15 minutes, flipping halfway through cook time. Chips should be crispy and slightly browned when done. Cool on a paper towel lined plate.
Recipe and photos by Stephanie Borzio. Stephanie is a mom of three active boys and is an autoimmune warrior. After battling her own health for several years, Stephanie found healing through food and lifestyle changes, including joining Blooming Glen Farm CSA of which she is a long time member. She is a Board Certified Integrative Nutrition Health Coach who is passionate about sharing healthy living tips and real food recipes. Instagram and Facebook: Tru You Essentials; Website: www.truyouessentials.com