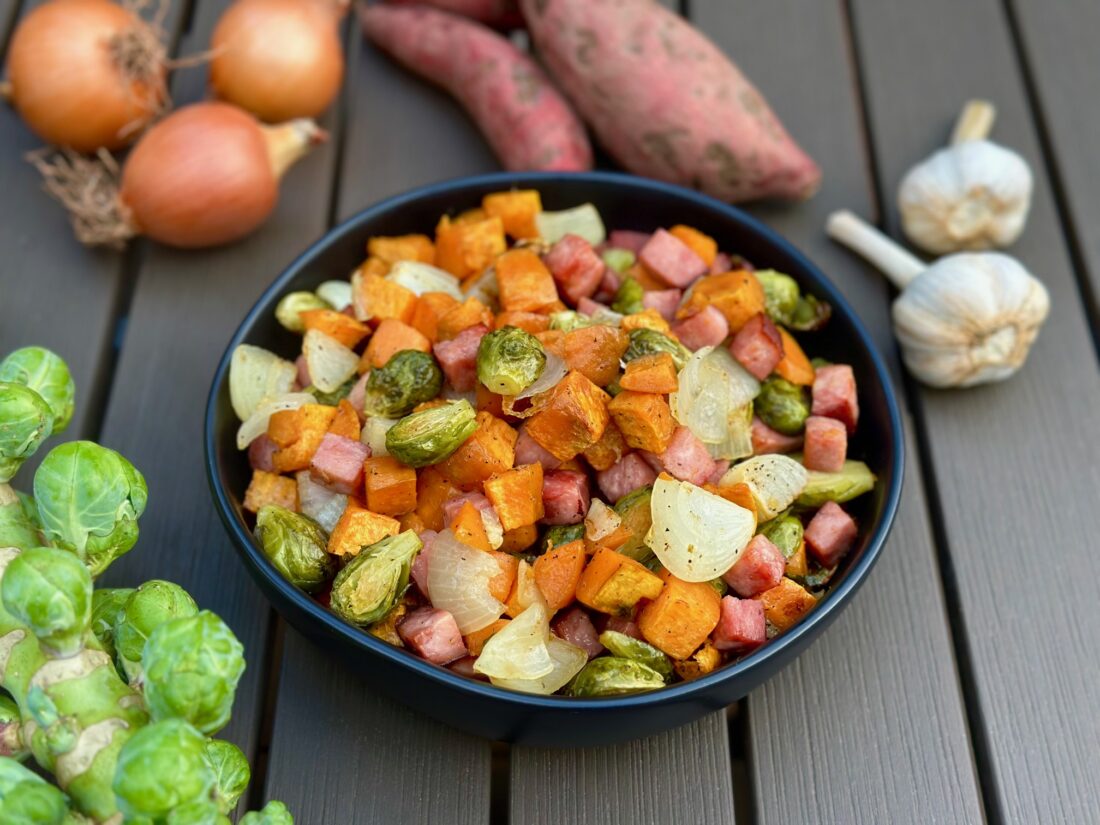
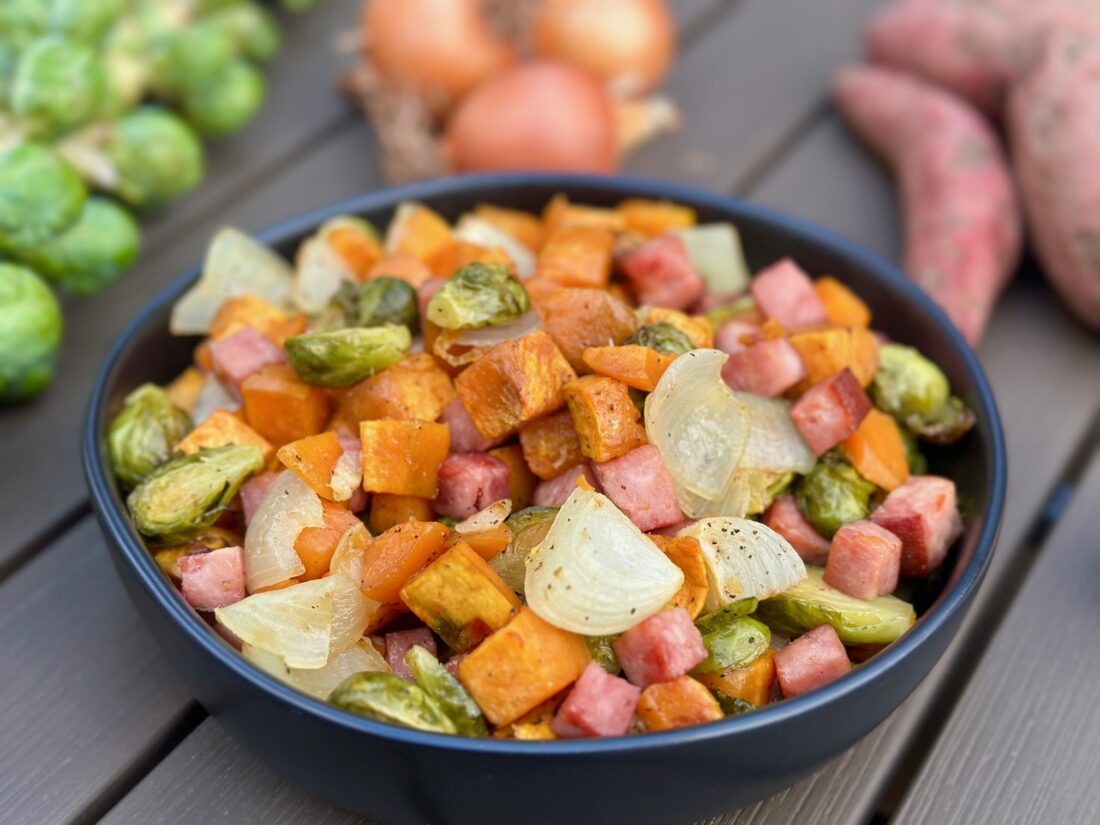
Recipes

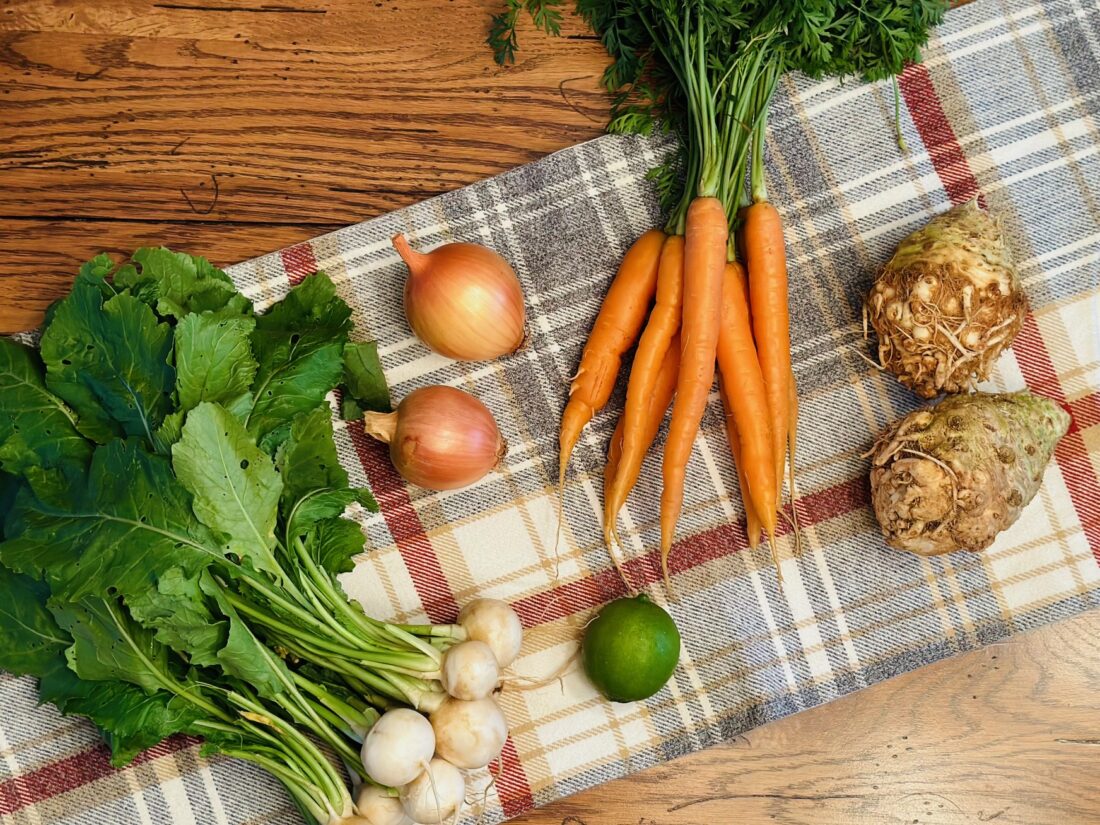
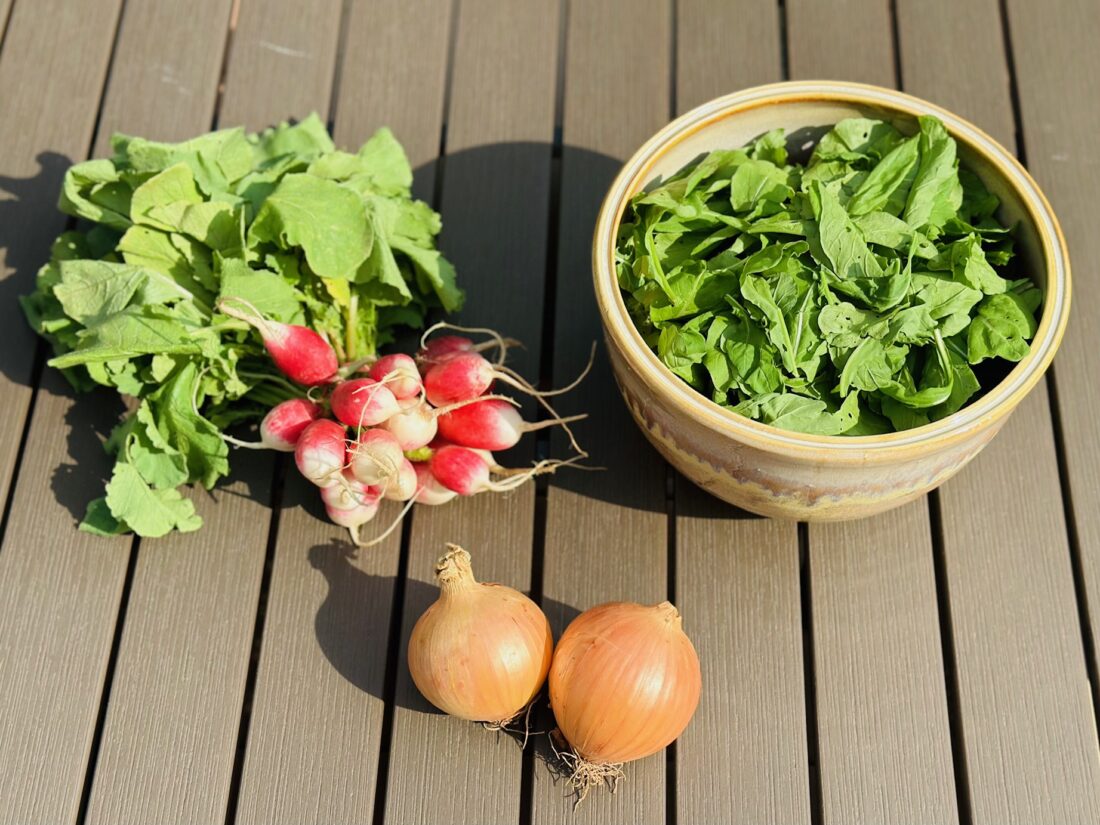
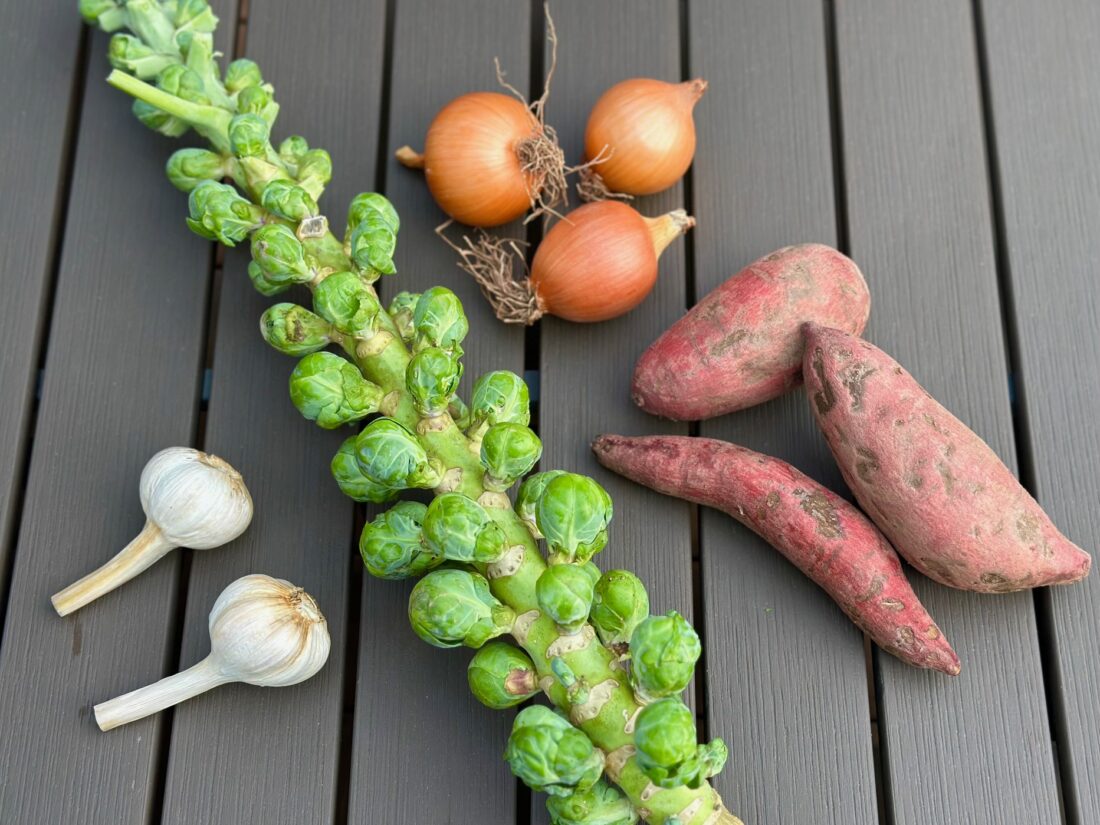
This week’s farm bounty is full of the perfect ingredients for a “hash”.  Combine the tender brussels sprouts with the farm fresh sweet potatoes, onions, and garlic for a side dish that is perfect for any time of day- breakfast, lunch, or dinner.

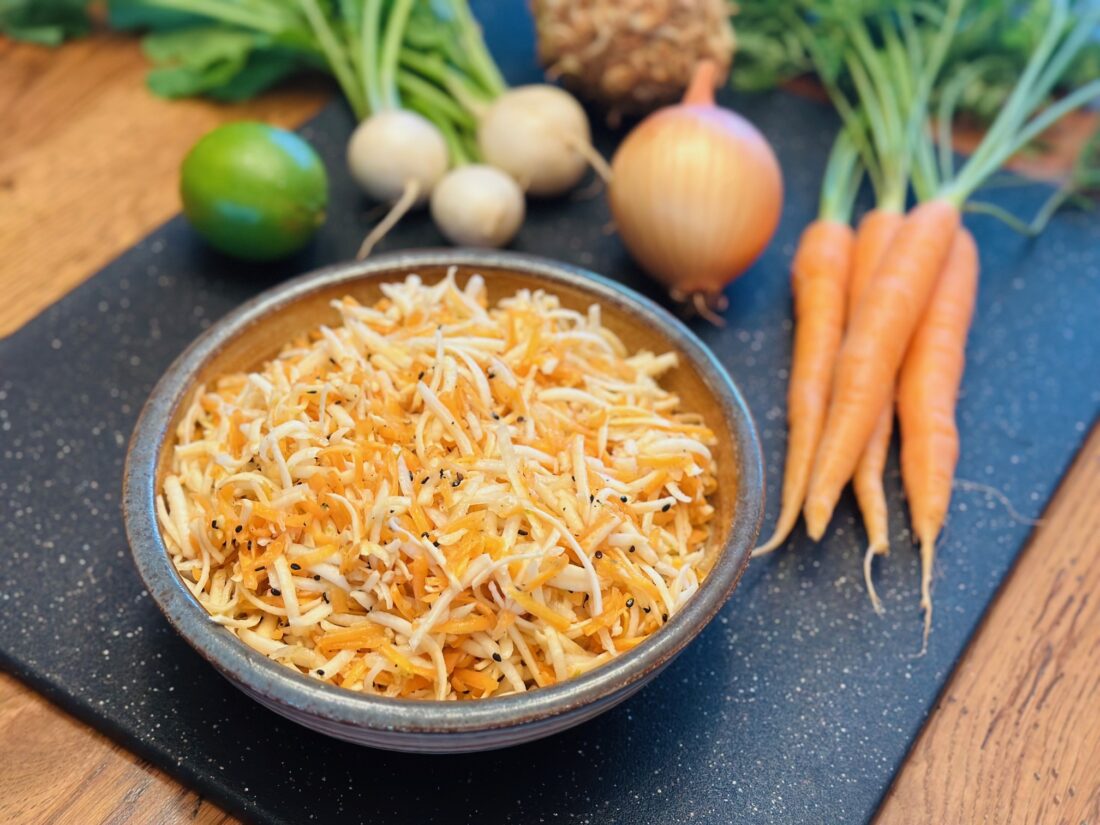
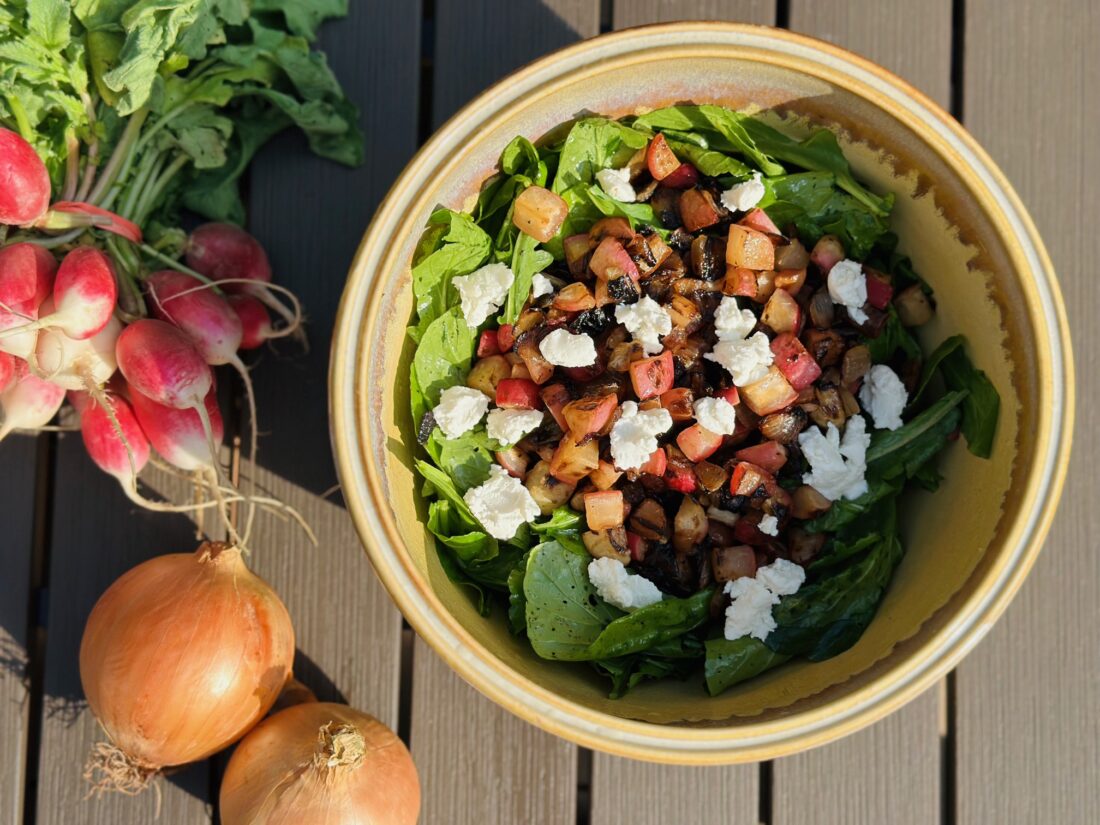
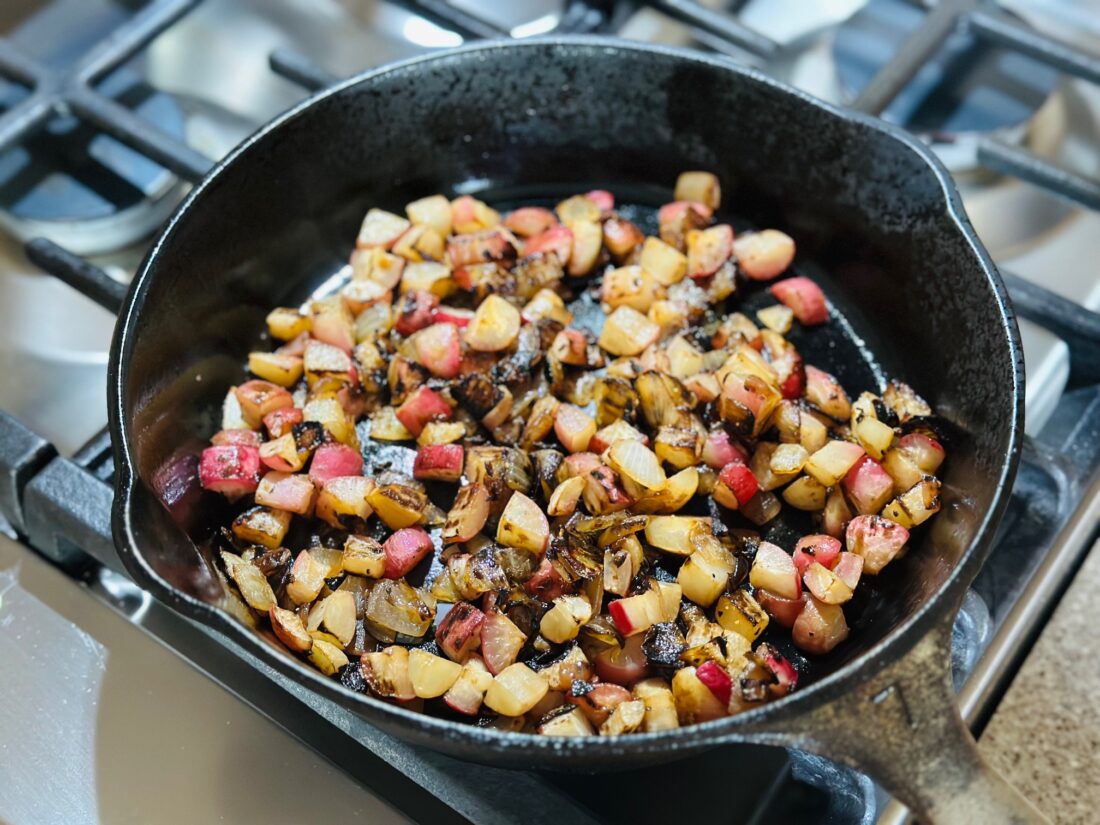
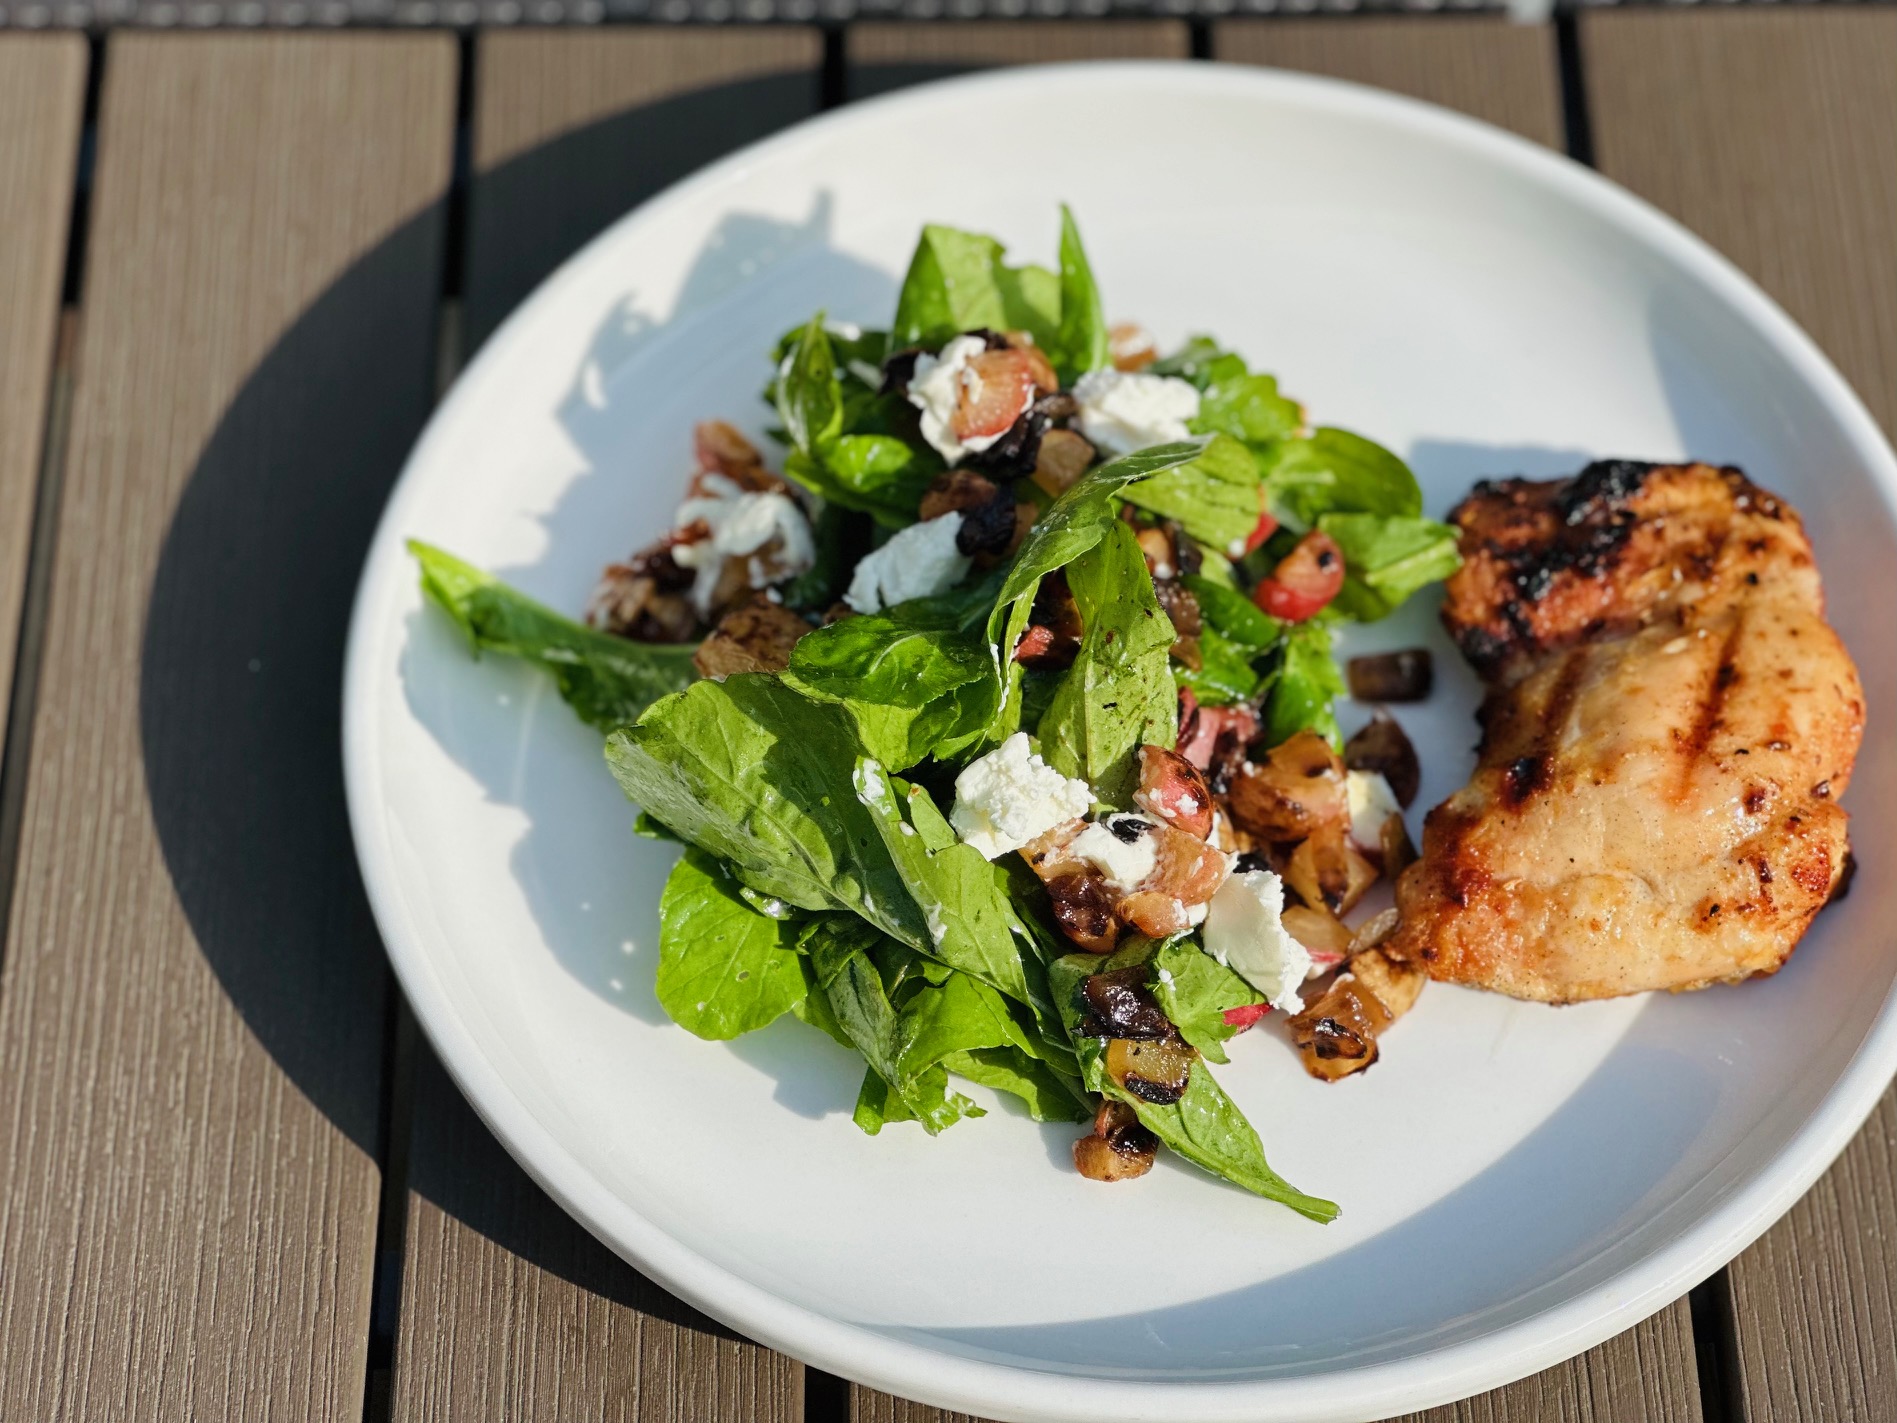
Brussels Sprout Sweet Potato Hash

Ingredients:
½ lb brussels sprouts (about 2 cups)
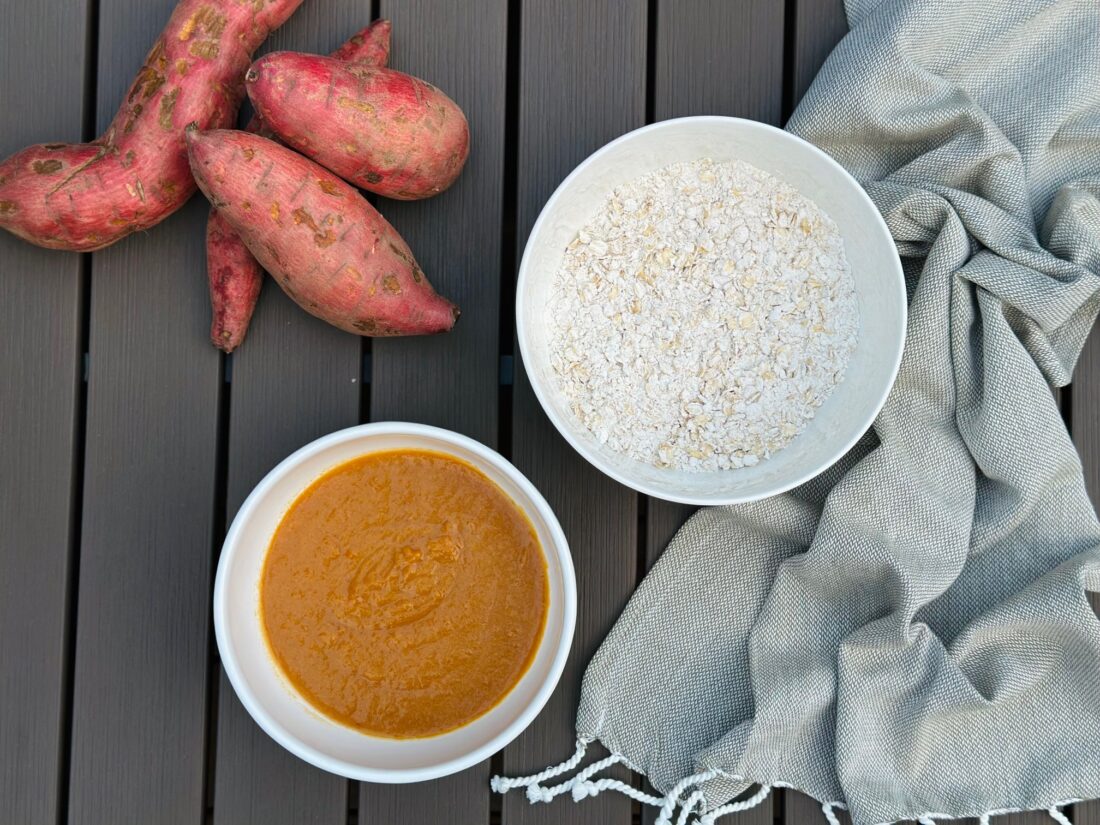
1 large sweet potato (about 2 cups)
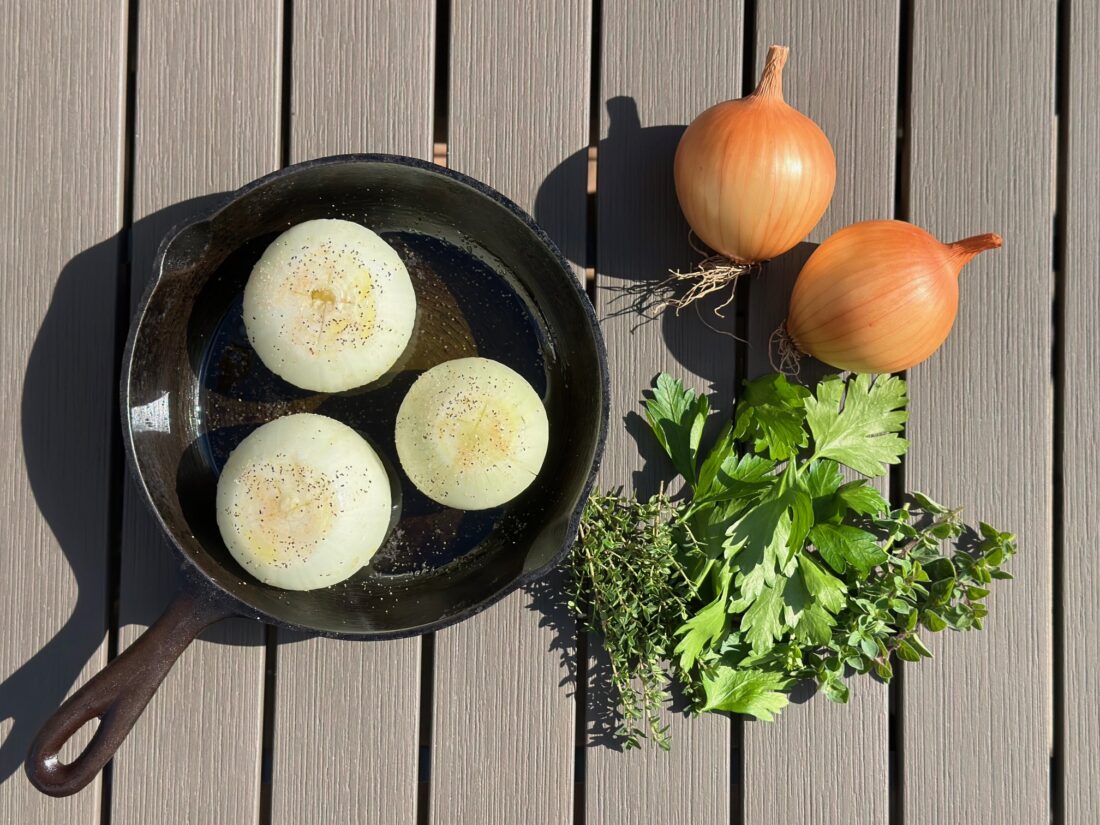
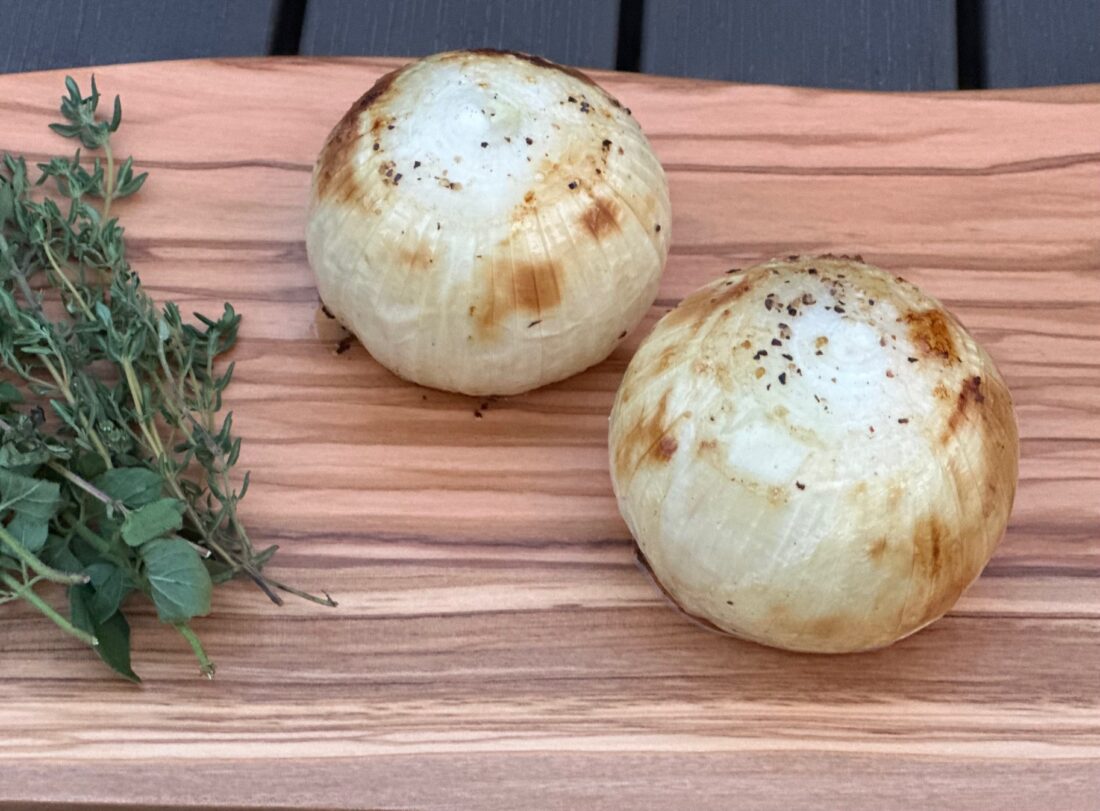
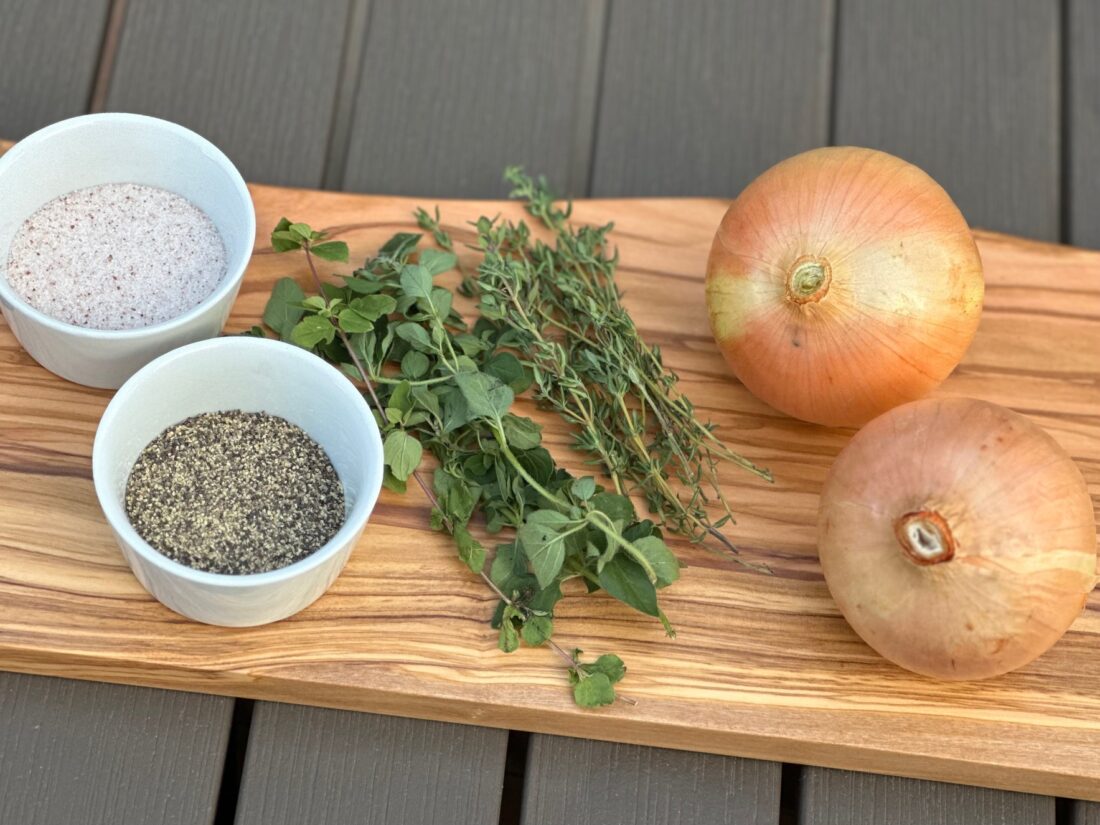
3 small sweet onions
3 cloves garlic
3 Tbsp olive oil
1 Tbsp maple syrup
1 tsp sea salt
½ tsp black pepper
½ lb fully cooked ham, cut into ½ inch pieces*
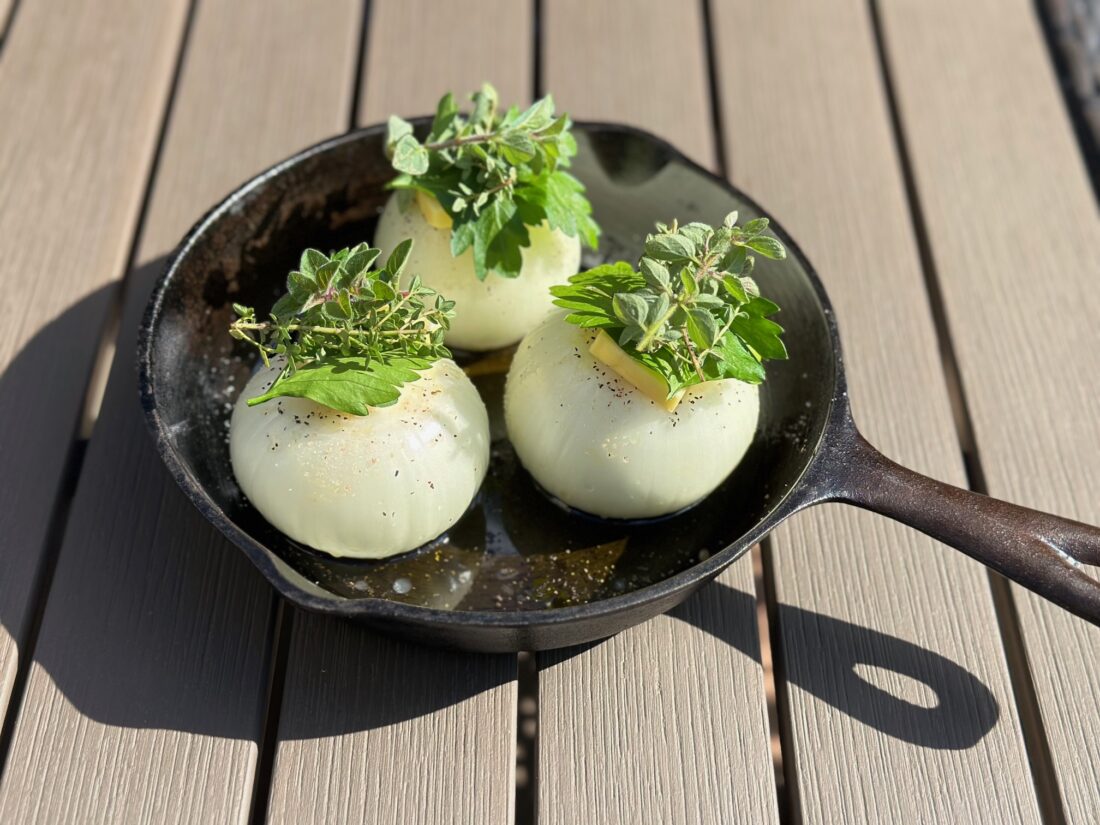
Optional garnish- fresh herbs, finely chopped
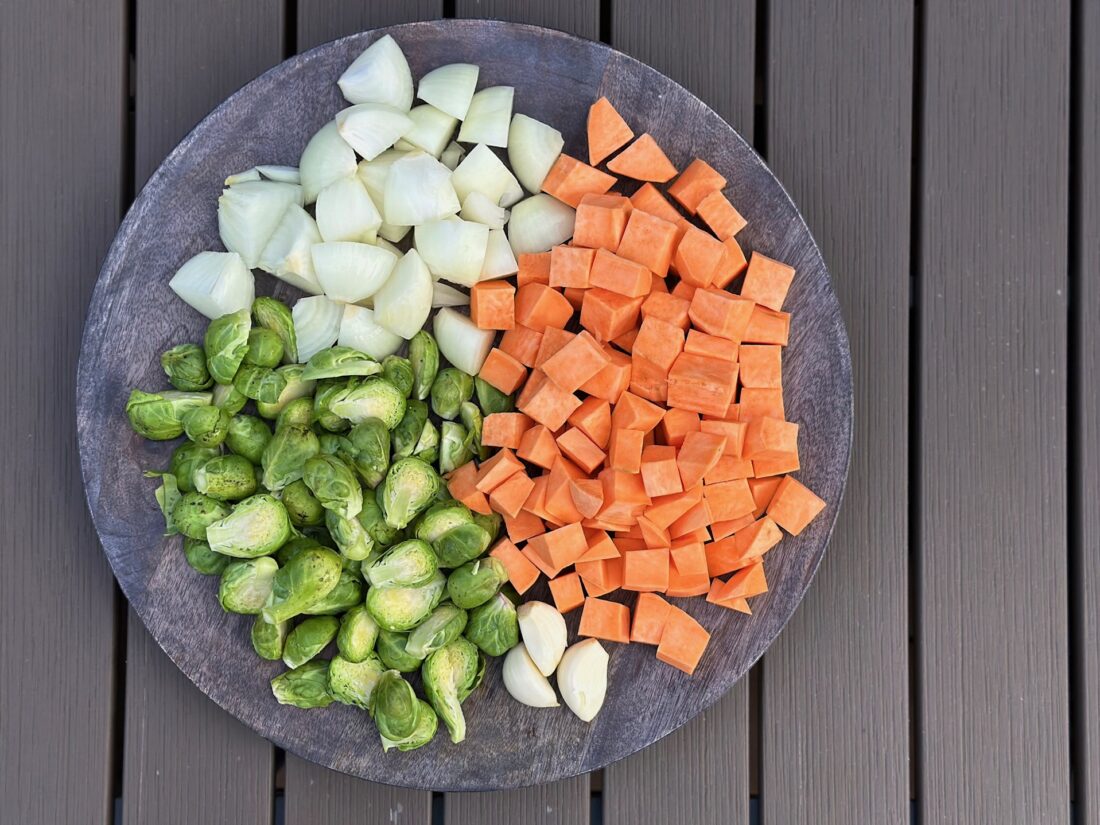
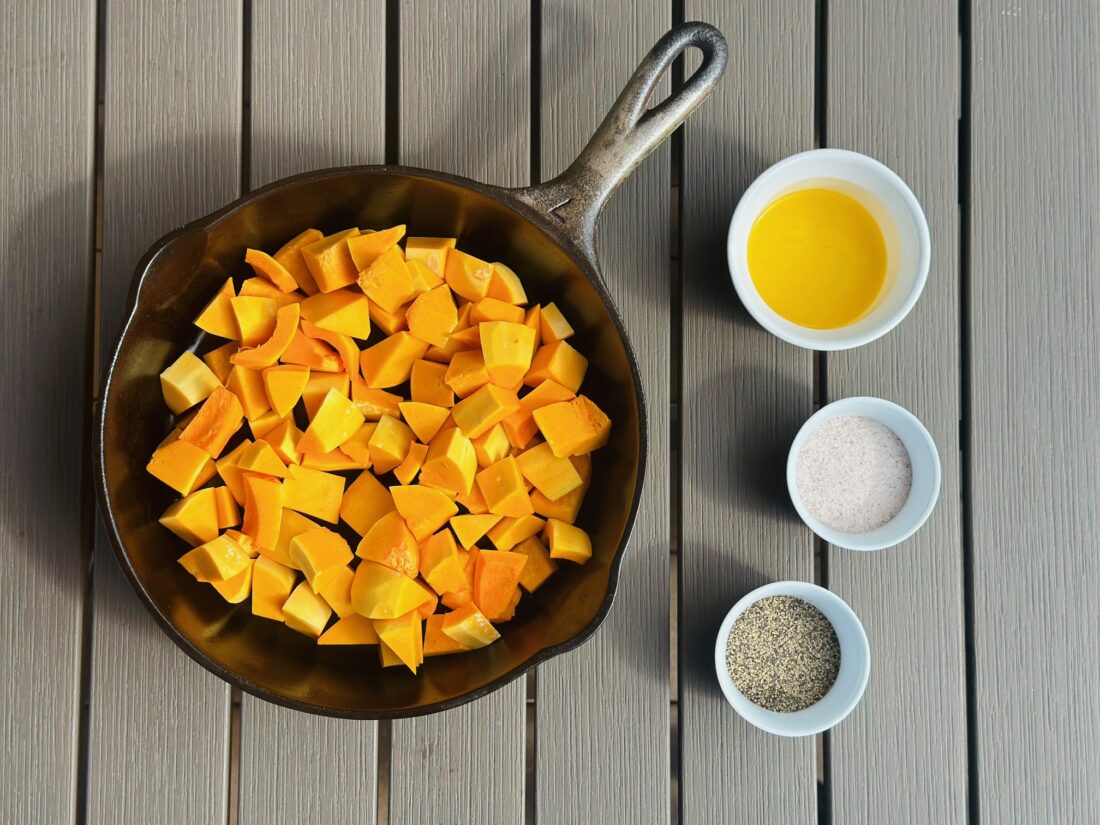
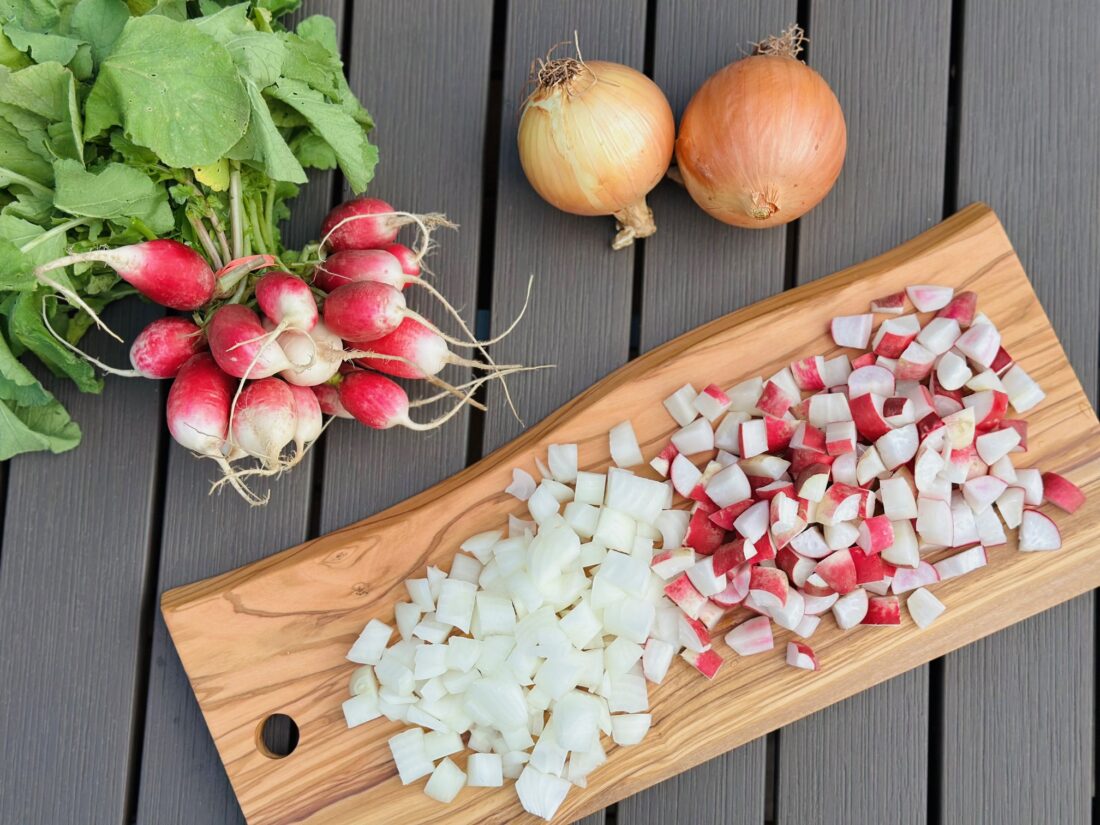
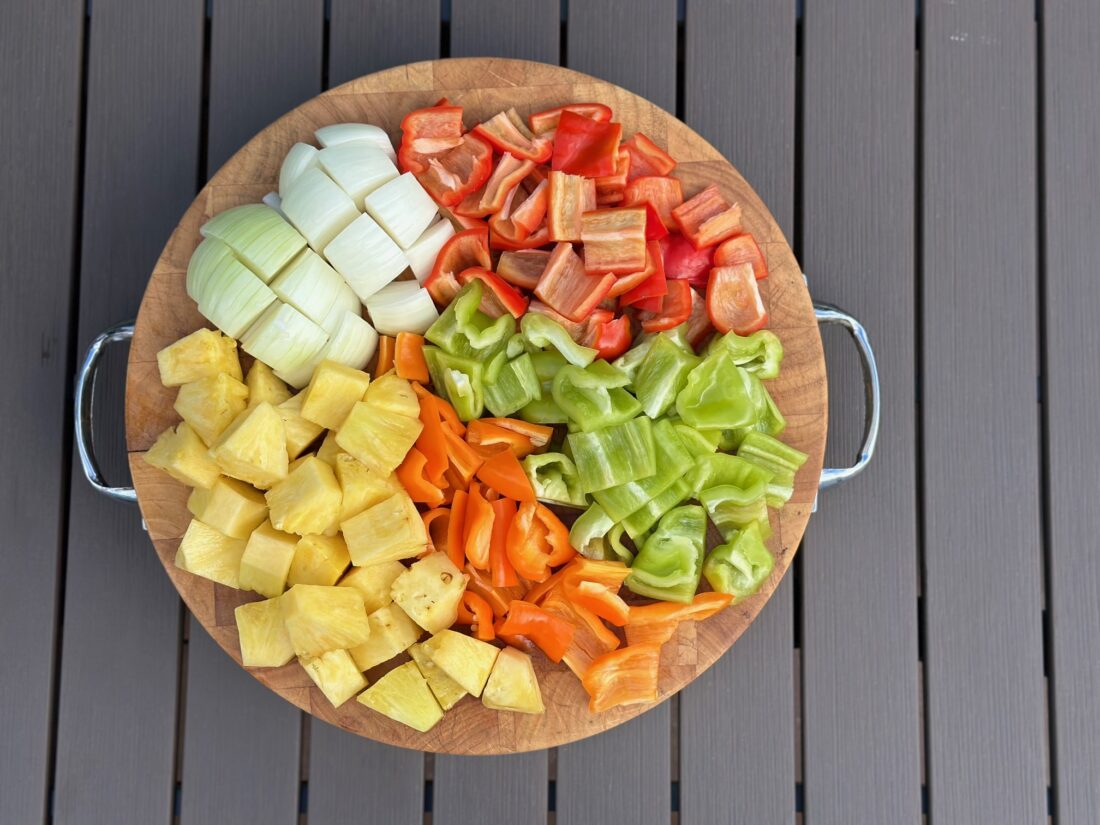
  • Prepare vegetables.
    • Brussels Sprouts- clean and peel outside layers off. For small brussels, leave whole.  For medium ones, cut in half.  For larger ones, cut into fourths.
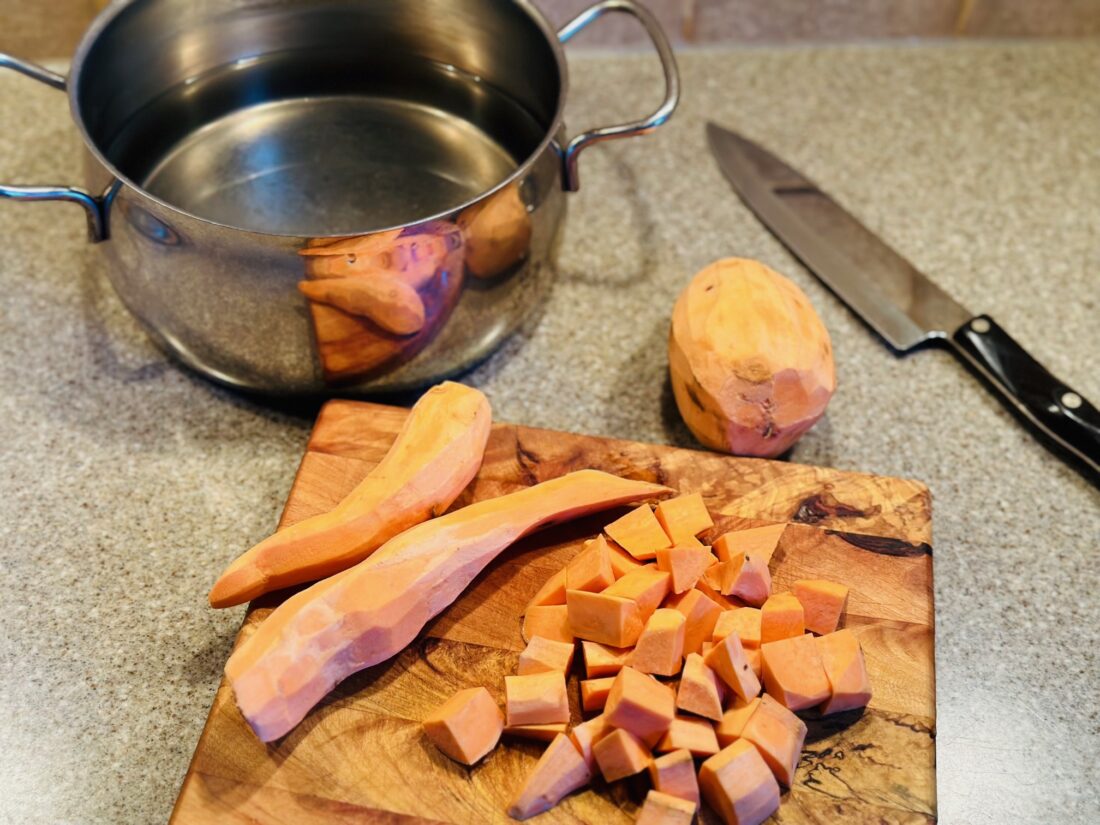
    • Sweet Potato- peel and cut into ½ inch pieces.
    • Sweet Onions- peel and cut into eighths.
    • Garlic- peel and leave whole.
  • Preheat oven to 425°F.
  • Combine brussels sprouts, sweet potato, onions, garlic, oil, maple syrup, salt, pepper, and ham in a large bowl. Toss to combine everything.
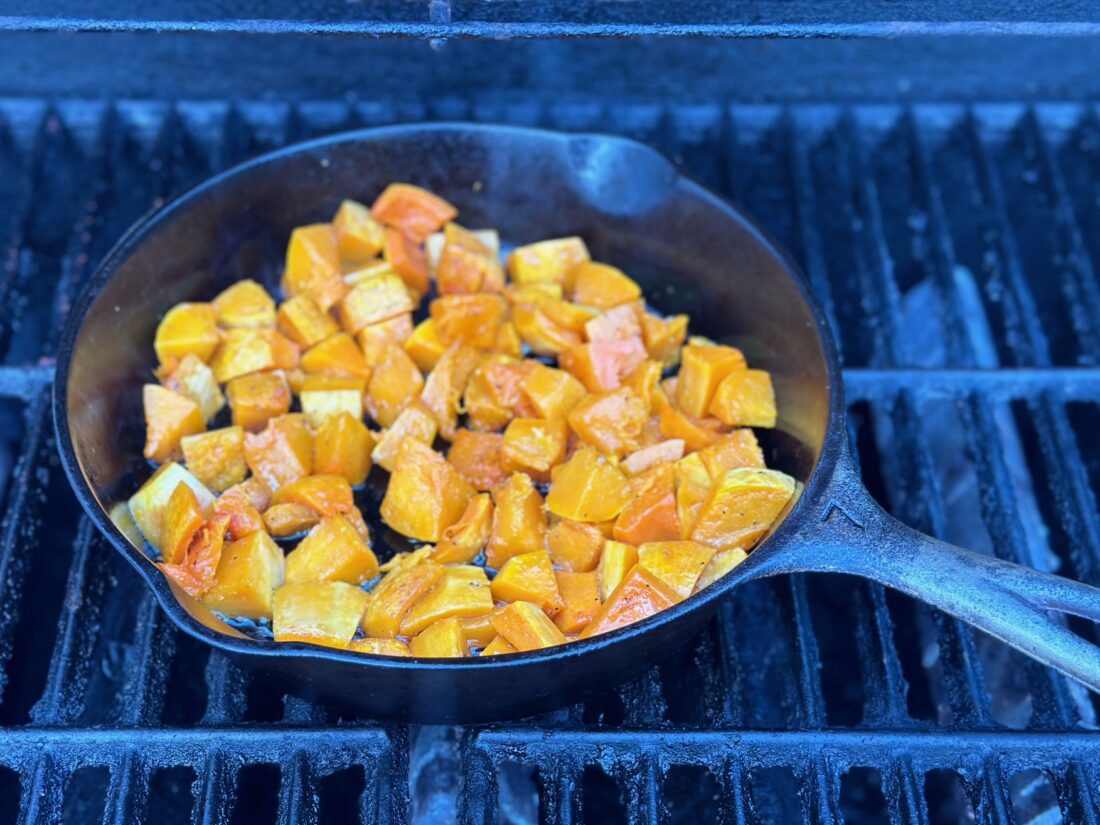
  • Place mixture on baking sheet in a single layer.

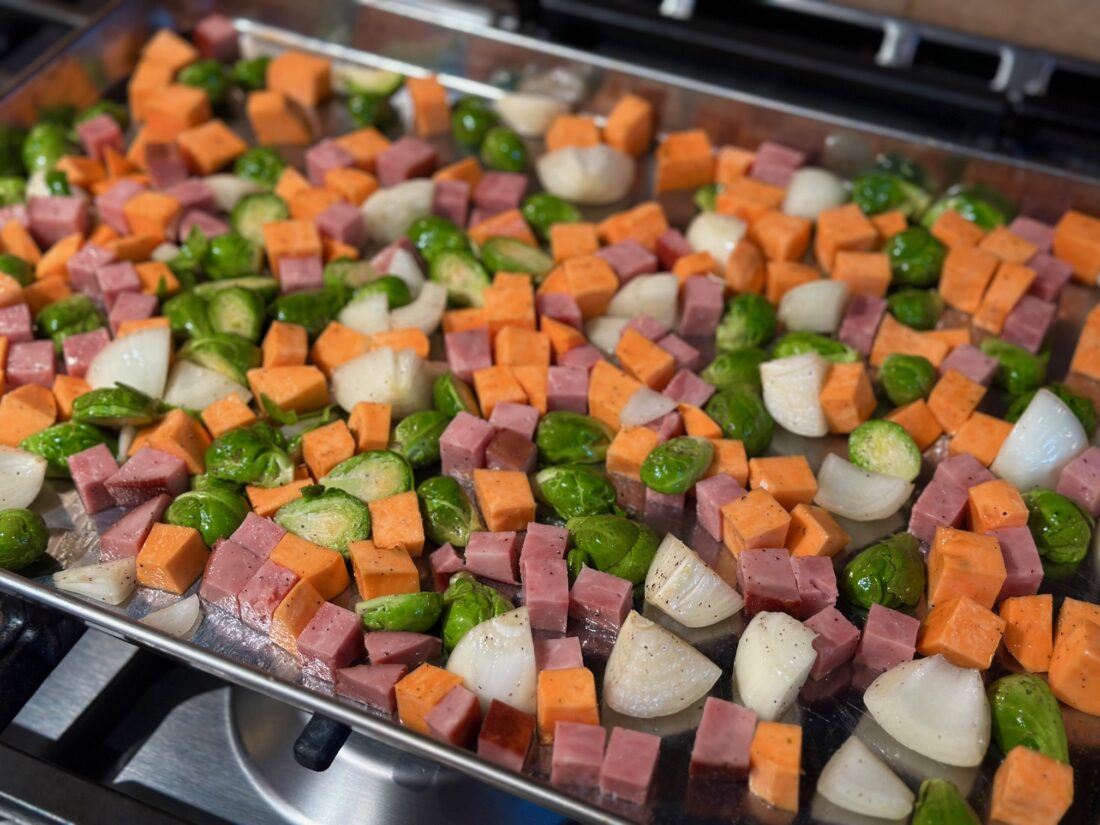
  • Roast for 25-30 minutes, mixing once halfway through baking time.
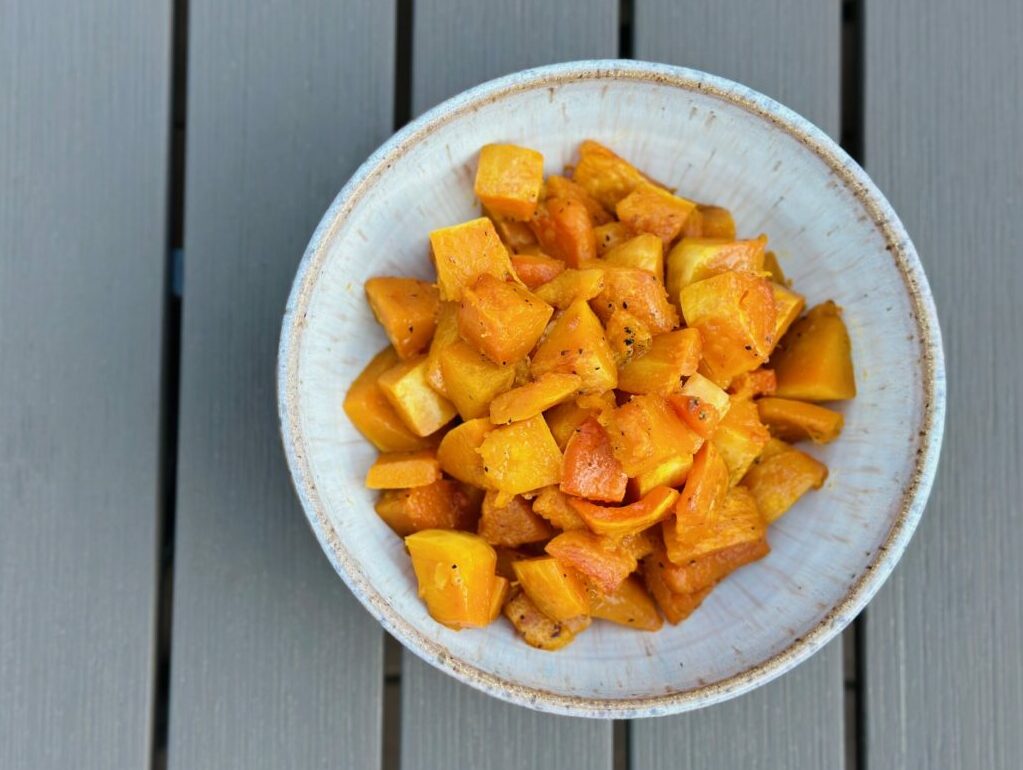
  • After the vegetables are done roasting, remove the garlic cloves and chop. Add them back into the roasted vegetables and mix.
  • Garnish with freshly chopped herbs of choice (optional) and serve immediately.
  • Enjoy!

*You can leave the ham out for a meatless dish.  You can also sub the ham for bacon (fully cooked and chopped), but this should be added after cooking the vegetables.


Recipe and photos by Stephanie Borzio.  Stephanie is a mom of three active boys and is an autoimmune warrior.  After battling her own health for several years, Stephanie found healing through food and lifestyle changes, including joining Blooming Glen Farm CSA of which she is a long-time member.  She is a Board Certified Integrative Nutrition Health Coach who is passionate about sharing healthy living tips and real food recipes.  Instagram and Facebook: Tru You Essentials; Website: www.truyouessentials.com

Sweet potatoes are jam packed with nutrients and vitamins.  They can be roasted, boiled, grilled, or fried and served at any meal.  I love creating recipes that are a little different and use the farm produce in ways we wouldn’t normally think of.  This recipe does just that by using the sweet potatoes in a cookie- not one that is super sweet, but definitely one that is full of flavor.  They would be perfect for on the go breakfasts or a healthy snack after school or work.

Sweet Potato Oatmeal Cookies

Ingredients:
1 large sweet potato
Pinch sea salt
¼ cup butter, melted
1/3 cup maple syrup
2 eggs
1 tsp vanilla
½ cup all-purpose flour
1 ½ cups Morganics Family Farm oats
½ tsp baking soda
½ tsp cinnamon
¼ tsp sea salt
1/8 tsp nutmeg
5 medjool dates, finely chopped (optional)*

  • Peel and dice sweet potato into ¼ inch pieces. Place sweet potato cubes in a medium pot with enough water to cover by at least an inch.  Add a pinch of salt.  Bring to a boil.  Reduce to medium heat and cook until tender, about 18-20 minutes.

  • Once sweet potatoes are done, drain and place in a medium bowl. Mash until texture is smooth.  Allow to cool to room temperature.
  • Combine ½ cup sweet potato puree, butter, maple syrup, eggs, and vanilla in large bowl. Mix well. (Freeze any extra sweet potato puree for another time.)

  • In a medium bowl, combine flour, oats, baking soda, cinnamon, sea salt, and nutmeg.
  • Slowly add dry mixture into the sweet potato mixture. If adding dates, do that now.  Once well combined, let the batter sit for 10 minutes.
  • While batter is sitting, preheat oven to 350°F.
  • Drop batter onto a cookie sheet a tablespoon at a time. You will get about 2 dozen cookies.

  • Bake for 10-12 minutes.
  • Enjoy these warm or cooled!
  • Store in an airtight container for up to a week. You may also freeze.

*Adding the dates to this recipe, adds additional sweetness and texture.  If you prefer a cookie that is more savory, try the recipe without first, as the sweet potatoes and maple syrup add their own sweetness alone.


Recipe and photos by Stephanie Borzio.  Stephanie is a mom of three active boys and is an autoimmune warrior.  After battling her own health for several years, Stephanie found healing through food and lifestyle changes, including joining Blooming Glen Farm CSA of which she is a long time member.  She is a Board Certified Integrative Nutrition Health Coach who is passionate about sharing healthy living tips and real food recipes.  Instagram and Facebook: Tru You Essentials; Website: www.truyouessentials.com

Quick and easy side dish recipes are great to have on hand.  Ones that incorporate several seasonal ingredients are even better. This recipe features fresh celeriac, a knobby root that has an earthy celery flavor that pairs well with carrots, hakurei turnips and sweet onions in a delicious slaw.

Celeriac Slaw

Ingredients:
1 celeriac
½ bunch of carrots (about 6 oz)
1-2 turnips
1 small sweet onion
1 lime, juiced and zested
3 Tbsp olive oil
2 Tbsp toasted sesame oil
3 Tbsp apple cider vinegar
1 Tbsp honey
¾ tsp sea salt
¼ tsp black pepper
1-2 Tbsp sesame seeds, black or white

  • Prepare the following ingredients.
    • Celeriac- peel and cut into fourths
    • Carrots- scrub and cut off tops
    • Turnips- scrub and cut off tops
    • Sweet onion- peel and cut in half

  • In a medium bowl, shred celeriac, carrots, turnips, and sweet onion.
  • In a small bowl, combine lime juice, lime zest, olive oil, sesame oil, apple cider vinegar, honey, salt, and pepper. Whisk to combine.

  • Add dressing and sesame seeds to the shredded vegetables. Mix well.
  • Chill for at least 15-30 minutes before serving.
  • Enjoy!

Recipe and photos by Stephanie Borzio.  Stephanie is a mom of three active boys and is an autoimmune warrior.  After battling her own health for several years, Stephanie found healing through food and lifestyle changes, including joining Blooming Glen Farm CSA of which she is a long time member.  She is a Board Certified Integrative Nutrition Health Coach who is passionate about sharing healthy living tips and real food recipes.  Instagram and Facebook: Tru You Essentials; Website: www.truyouessentials.com

The sweet onions from the farm are delicious either served thinly sliced on sandwiches or salads, or sauteed, grilled, or roasted with other farm fresh veggies.  They are a staple in our household, and a building block to lots of great recipes, but here’s a dish that really showcases their flavor all by themselves.  These whole roasted onions make a wonderful side dish to any protein, can be used on top of your favorite grain bowls, or can be sliced and served on top of a fall inspired salad.

Whole Roasted Onions

Ingredients:
2 whole sweet onions
2 Tbsp olive oil
1 Tbsp butter
½ tsp sea salt
1/8 tsp black pepper
Fresh herbs of choice (parsley, oregano, thyme, marjoram, chives, etc.)

  • Preheat oven to 375°F.
  • Cut top and bottom off of onions and peel outside skin.
  • Place onions in a small baking dish. Drizzle each onion with 1 Tbsp olive oil.
  • Place ½ Tbsp butter on top of each onion and sprinkle with salt and pepper.
  • Place fresh herbs on top of each onion.

  • Cook for 50 minutes.
  • After 30 minutes of cooking, baste onions with the juice from the baking dish. Continue cooking.
  • After cooking time is up, baste with juices again. Remove fresh herbs and broil on low for 5-7 minutes.  Outside of onions should be nice and golden.

  • Remove from oven and allow to cool for a few minutes before serving.
  • Serve as a side dish to your favorite protein or on top of a salad or grain bowl.
  • Enjoy!


Recipe and photos by Stephanie Borzio.  Stephanie is a mom of three active boys and is an autoimmune warrior.  After battling her own health for several years, Stephanie found healing through food and lifestyle changes, including joining Blooming Glen Farm CSA of which she is a long time member.  She is a Board Certified Integrative Nutrition Health Coach who is passionate about sharing healthy living tips and real food recipes.  Instagram and Facebook: Tru You Essentials; Website: www.truyouessentials.com

Rainbow Swiss chard has edible leafy greens that are wonderful in soups, frittatas and sautés- basically anywhere you’d enjoy leafy greens like kale, spinach or collards.  The colorful stems are also edible- with a crunch similar to celery.  If your recipe doesn’t call for the stems, here is a great alternative to tossing them in the compost pile. The beautiful Swiss chard stems can be pickled, which can then be used on salads, sandwiches, hot dogs, tacos, charcuterie boards, and more.

Pickled Swiss Chard Stems

Ingredients:
1 bunch Swiss chard
½ tsp black peppercorns
1 clove garlic, thinly sliced
½ cup white vinegar
½ cup apple cider vinegar
¼ cup + 2 Tbsp water
1 ½ Tbsp honey
1 tsp sea salt

  • Remove Swiss chard stems from leaves. Reserve leaves for another use.
  • Cut stems so they fit in a pint size glass jar.

  • Place garlic and peppercorns in the bottom of the glass jar.
  • Place the stems in the jar and set aside.
  • Heat white vinegar, apple cider vinegar, and water in small saucepan. Add honey and salt.  Heat to a boil.
  • Turn down to a simmer and stir until honey and salt are dissolved.

  • Remove from heat. Pour vinegar mixture over chard stems.   Make sure that the stems are fully submerged in the liquid.  Let cool on the counter.
  • Once the vinegar reaches room temperature, place a plastic lid on the jar and move to the fridge.
  • Refrigerate for at least 24 hours.
  • Enjoy right out of the jar or as a topping on tacos, hot dogs, salads, or sandwiches.

Recipe and photos by Stephanie Borzio.  Stephanie is a mom of three active boys and is an autoimmune warrior.  After battling her own health for several years, Stephanie found healing through food and lifestyle changes, including joining Blooming Glen Farm CSA of which she is a long time member.  She is a Board Certified Integrative Nutrition Health Coach who is passionate about sharing healthy living tips and real food recipes.  Instagram and Facebook: Tru You Essentials; Website: www.truyouessentials.com

As the weather cools down and the autumn vibes begin to roll in, we start to see the delicious fall squash at the farm.  This simple recipe makes use of your cast iron skillet for high heat roasting the wonderfully sweet honeynut squash.  It is great side dish to any meal- breakfast, lunch, or dinner!

Cast Iron Roasted Honeynut Squash

Ingredients:
2 honeynut squash*
2 Tbsp butter
½ tsp sea salt
1/8 tsp black pepper

  • Preheat grill or oven. If you are using the grill, preheat and then turn down to about 400°F.  If you are using the oven, preheat to 425°F.
  • Cut honeynut squash in half and then remove the seeds. Peel and cube into about ½ inch pieces.  Set aside.
  • Add butter to a cast iron pan and place in the oven or on the grill. Allow to heat for a few minutes until butter is melted.
  • Add the cubed squash, salt, and pepper to the heated cast iron. Stir well until the squash is coated with the melted butter.

  • Allow the squash to cook for 15-20 minutes. Stir halfway through cooking time.
  • Squash should be a little caramelized when done and tender when poked with a fork.
  • Enjoy!

*You can substitute any other fall squash (except spaghetti squash) for honeynut squash in this recipe.

Recipe and photos by Stephanie Borzio.  Stephanie is a mom of three active boys and is an autoimmune warrior.  After battling her own health for several years, Stephanie found healing through food and lifestyle changes, including joining Blooming Glen Farm CSA of which she is a long-time member.  She is a Board-Certified Integrative Nutrition Health Coach who is passionate about sharing healthy living tips and real food recipes.  Instagram and Facebook: Tru You Essentials; Website: www.truyouessentials.com

Escarole is the star of this recipe.  It looks very similar to head lettuce but has a very different flavor profile.  It is one of our bitter greens and is full of amazing vitamins and minerals.  Combining the inner leaves of the escarole with some apple, sweet onion, dates, and shaved parmesan creates a fantastic combination of flavors and textures.

Escarole Salad

Ingredients:
1 head escarole
½ sweet onion, thinly sliced
1 apple, cored and thinly sliced
5-6 medjool dates, pit removed and chopped
¼ cup shaved parmesan (optional)

Dressing Ingredients:
¼ cup olive oil
2 Tbsp apple cider vinegar
1 Tbsp maple syrup
2 tsp Dijon mustard
½ tsp sea salt
Pinch black pepper

  • Remove outer leaves from escarole (about ¼ of the head). Save for another use or add to your veggie scrap freezer bag.
  • Wash and dry remaining escarole leaves and chop. Place in a large bowl.
  • Make dressing by placing all ingredients in a small bowl and whisk to combine.
  • Pour dressing on escarole and toss to coat.
  • Add onion, apple, dates, and parmesan to bowl. You can either layer these on top and serve or toss everything together and serve that way.
  • Enjoy immediately!

Recipe and photos by Stephanie Borzio.  Stephanie is a mom of three active boys and is an autoimmune warrior.  After battling her own health for several years, Stephanie found healing through food and lifestyle changes, including joining Blooming Glen Farm CSA of which she is a long time member.  She is a Board Certified Integrative Nutrition Health Coach who is passionate about sharing healthy living tips and real food recipes.  Instagram and Facebook: Tru You Essentials; Website: www.truyouessentials.com

When sweet peppers are in season, it is always a treat.  You can eat them raw or cook them.  They make a great addition to sheet pan meals, stir fries, grill packets, or kabobs.  When bulk sweet peppers are available from the farm, we like to make a big batch of roasted peppers.  Once roasted, we marinate them in oil and fresh garlic.  Roasted sweet peppers are a fantastic addition to any charcuterie platter, can be added to sandwiches or burgers, are a great addition to any salad, or can be used on top of your favorite protein.  They are incredibly versatile, but full of flavor no matter how you choose to enjoy them.

Roasted Sweet Peppers with Garlic

Ingredients:
sweet peppers
1-1 ½ garlic cloves
2 Tbsp olive oil or avocado oil

  • Wash sweet peppers.
  • Preheat grill to medium high. Temperature should be around 450°F.

  • Oil grill grates and then place whole peppers directly on the grates. Rotate peppers every 5 minutes.
  • Grill until the skin is blistered and blackened on all sides. It should take about 15-20 minutes total depending on the size of the peppers.

  • Remove from grill and place in a bowl. Cover with tight fitting lid or plastic wrap.  Allow to cool enough to handle.  May take about 30 or more minutes.
  • Once you are able to handle the peppers, remove the skin, stem, and seeds. It is easiest to do this under running water in the sink.

  • Slice peppers into ¼ -½ inch strips.
  • Thinly slice garlic cloves.
  • In a medium bowl, place roasted pepper slices and garlic. Top with oil.  Toss to coat.

  • Cover, place in refrigerator, and allow to marinate at least 24 hours.
  • Enjoy on your favorite sandwich, on a charcuterie board, or on a salad.

  • You may also can the roasted peppers for long term storage.


Recipe and photos by Stephanie Borzio.  Stephanie is a mom of three active boys and is an autoimmune warrior.  After battling her own health for several years, Stephanie found healing through food and lifestyle changes, including joining Blooming Glen Farm CSA of which she is a long time member.  She is a Board Certified Integrative Nutrition Health Coach who is passionate about sharing healthy living tips and real food recipes.  Instagram and Facebook: Tru You Essentials; Website: www.truyouessentials.com

It is always a treat to get fresh arugula from the farm.  Enjoy this week’s arugula with a simple dressing and sauteed French breakfast radishes.  It is a delicious combination of flavors.

Arugula Salad with Sauteed Radish and Onion

Ingredients:
½ lb arugula
1 bunch French breakfast radishes, bulbs only
1 sweet onion
2 Tbsp olive oil
¼ tsp sea salt
Pinch black pepper
½ tsp honey
Goat cheese (optional)

Dressing Ingredients:
3 Tbsp olive or avocado oil
1 Tbsp vinegar of choice
¼ tsp sea salt
Pinch black pepper
1 tsp honey

  • Wash and dry arugula. Place in medium bowl.
  • Chop radishes into small cubes (about ½ inch in size). Peel and cut onion into a similar size.
  • Heat oil in medium pan on stovetop.
  • Add onion and radish cubes. Cook on medium to low heat for 13-15 minutes, stirring often.

  • Remove onion/radish mixture from heat. Add salt, pepper, and honey.  Toss to coat.
  • In a small bowl, mix all dressing ingredients.
  • Drizzle dressing over arugula. Toss to coat.
  • Top arugula with cooked onion/radish mixture. If using goat cheese, add to top of salad.
  • Serve immediately.
  • Enjoy!

Recipe and photos by Stephanie Borzio.  Stephanie is a mom of three active boys and is an autoimmune warrior.  After battling her own health for several years, Stephanie found healing through food and lifestyle changes, including joining Blooming Glen Farm CSA of which she is a long time member.  She is a Board Certified Integrative Nutrition Health Coach who is passionate about sharing healthy living tips and real food recipes.  Instagram and Facebook: Tru You Essentials; Website: www.truyouessentials.com

The farm has been bursting with peppers- hot peppers, bell peppers, sweet peppers, and cubanelles.  This recipe came as an idea from my brother and is perfect for your Labor Day barbecue. The hot peppers are used in a marinade for the chicken, while the other peppers are chopped up with onions to add to the kabob. Cooked on your grill, these kabobs are simple to assemble, beautiful and delicious!

Sweet and Spicy Chicken Kabobs

Ingredients:
½ pound boneless chicken breasts, cut into 1-inch cubes
½ fresh pineapple, peeled and sliced into cubes
2 sweet onions, peeled and cut into chunks
3 peppers (sweet, bell, or cubanelle), cut into 1-inch pieces

Marinade Ingredients:
½ cup pineapple juice
1 hot pepper, stem removed*
½ tsp sea salt
1/8 tsp black pepper

*You can use any hot pepper.  The one you choose will dictate the level of “heat” in the marinade.

**If you really enjoy spice, you can even add some chunks of hot peppers to the kabobs.

  • Prepare all kabob ingredients as listed above.
  • In a blender, combine marinade ingredients. Blend until fully combined.
  • Place chicken cubes in glass dish or bowl. Pour marinade over top and toss to coat.  Cover and refrigerate for at least two hours.  You can even marinate overnight.
  • You will need skewers. If using metal skewers, you don’t need to do anything extra.  If you are using wooden skewers, be sure to soak them in water for at least an hour before cooking kabobs.
  • After chicken is done marinating, assemble kabobs. Place a few pieces of chicken, some pineapple cubes, pepper pieces, and onion chunks on each kabob.
  • Preheat grill.
  • Once grill is hot, turn it down to low. It should be about 300-350°F.
  • Oil grill grates and then place kabobs in a single layer. Cook for about 20-25 minutes, rotating about every 5 minutes.

  • After about 20 minutes, test a piece of chicken to make sure it is cooked through. Once chicken is done, remove kabobs from grill.
  • You can serve the kabobs as is or with a side of rice.
  • Enjoy!

Recipe and photos by Stephanie Borzio.  Stephanie is a mom of three active boys and is an autoimmune warrior.  After battling her own health for several years, Stephanie found healing through food and lifestyle changes, including joining Blooming Glen Farm CSA of which she is a long time member.  She is a Board Certified Integrative Nutrition Health Coach who is passionate about sharing healthy living tips and real food recipes.  Instagram and Facebook: Tru You Essentials; Website: www.truyouessentials.com