basil Tag

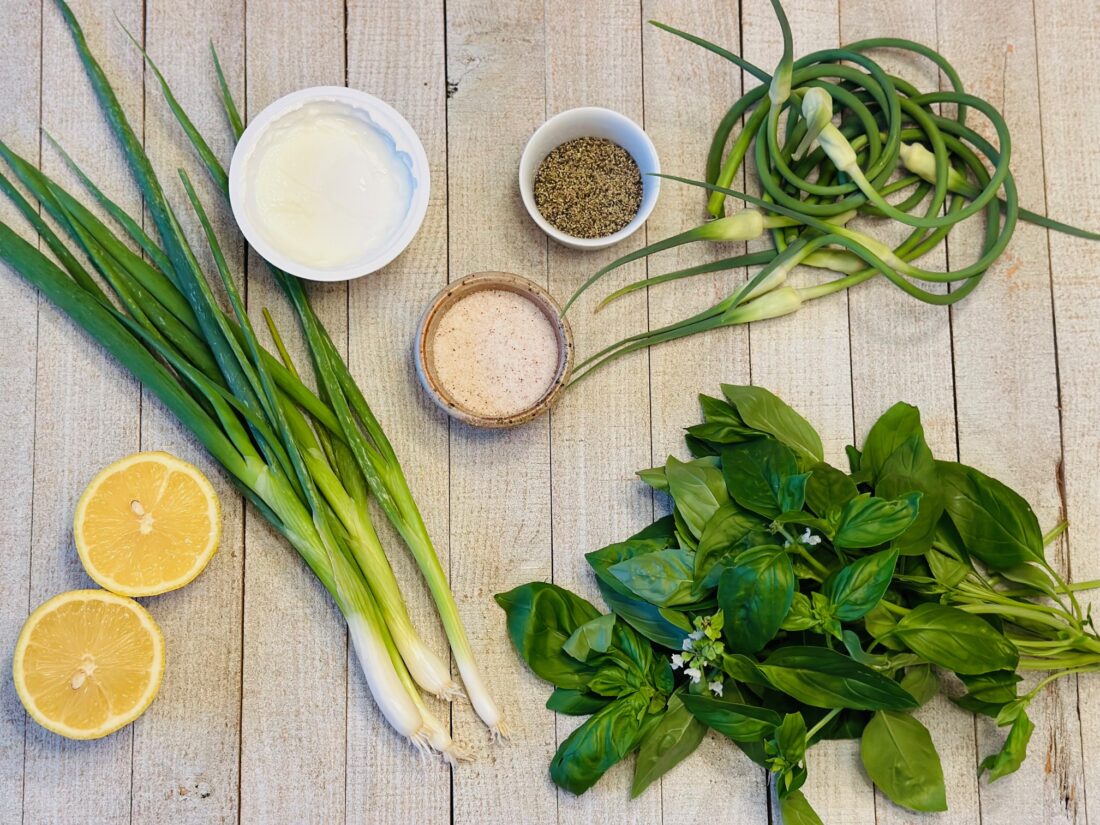
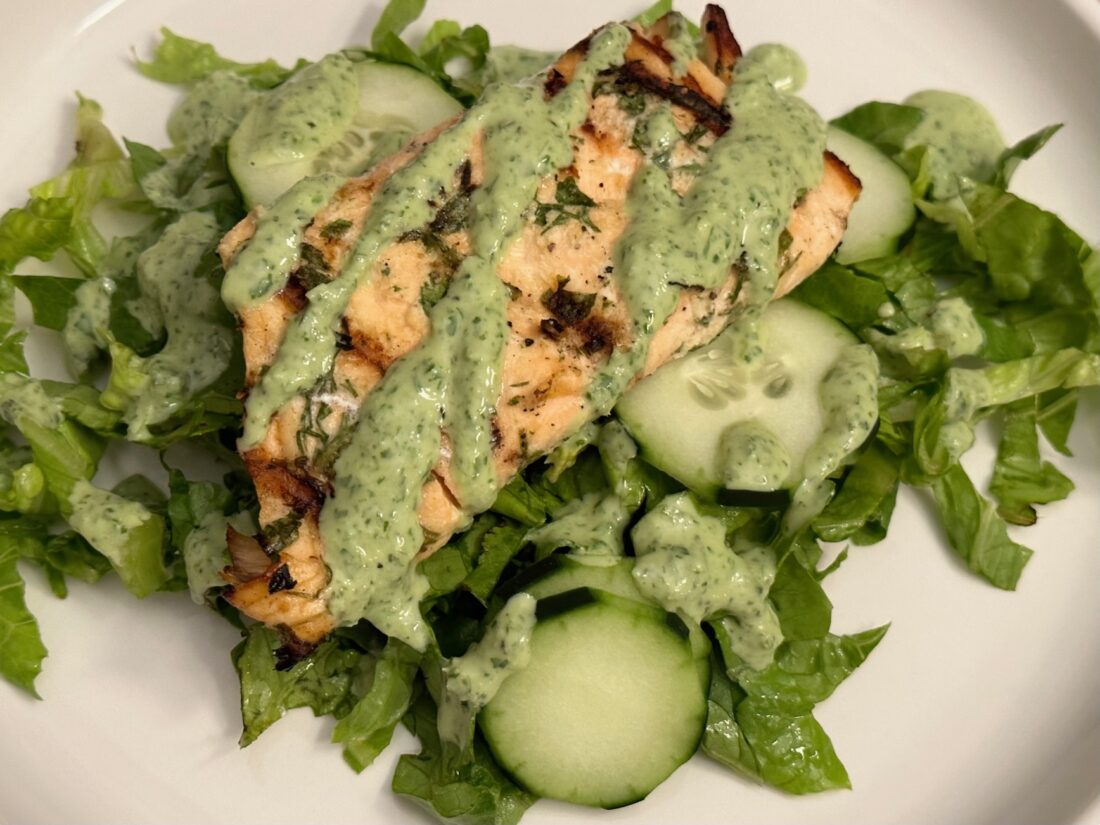
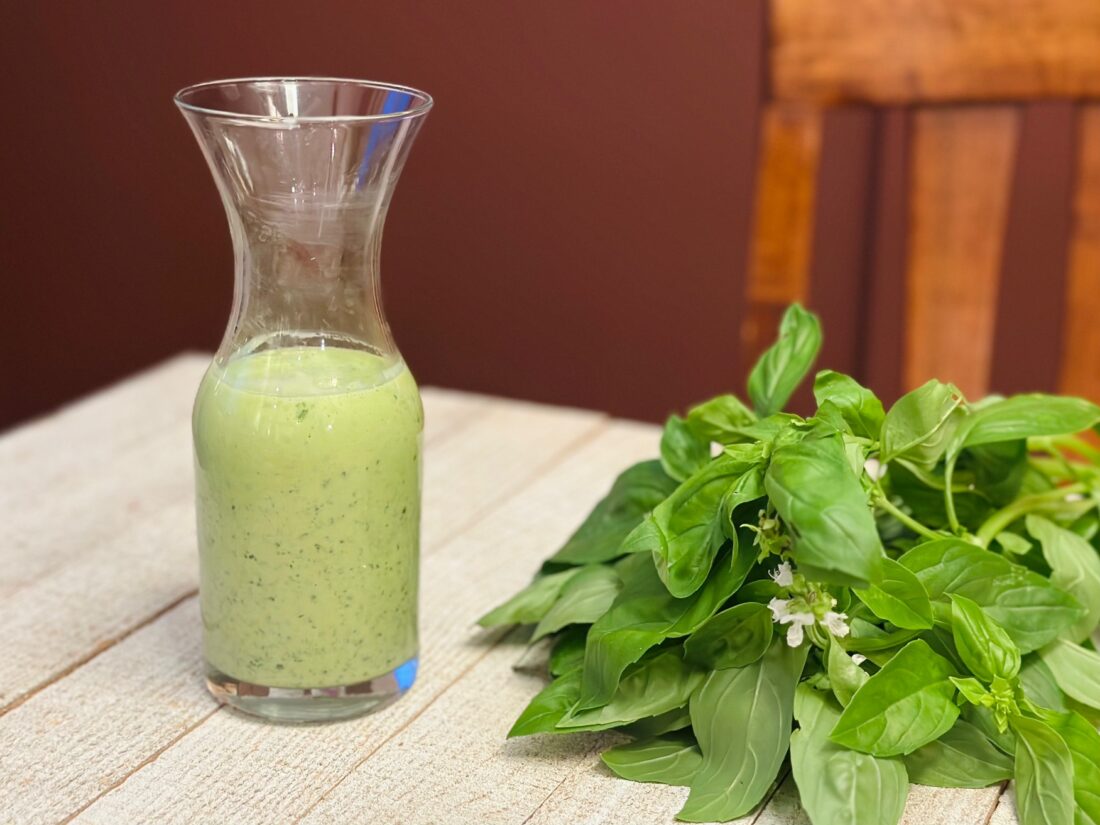
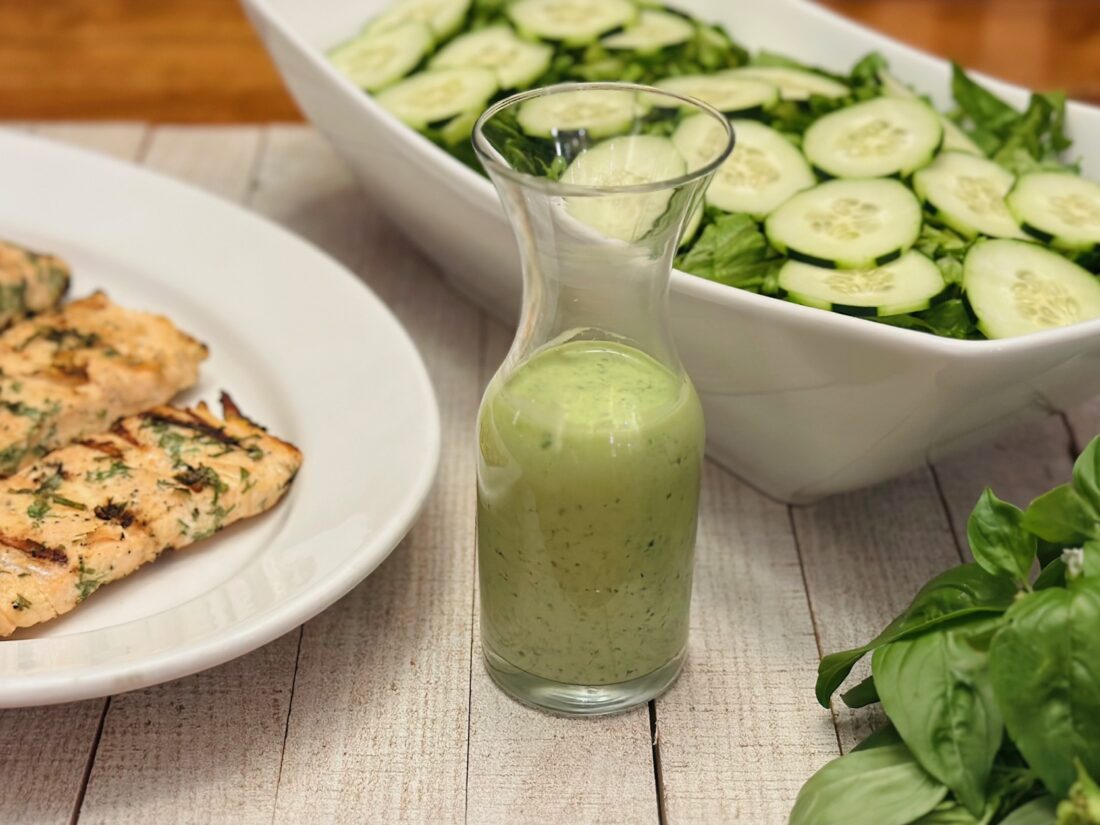
Fresh basil is such a wonderful addition to our CSA shares.  I wanted to use this fresh aromatic herb to create a flavorful dressing that could be used on salad, but also in a variety of other ways.  This dressing can be used as a sandwich spread, as a topping on baked potatoes, on top of your favorite protein, drizzled on roasted vegetables, or even used to dip bread or raw veggies into.

Creamy Basil Dressing

Ingredients:
1 cup basil leaves, loosely packed
1 large scallion
2 garlic scapes
5 oz plain yogurt
½ tsp lemon zest
2 tsp lemon juice
¾ tsp sea salt
¼ tsp black pepper
2 Tbsp olive oil
1 tsp honey (optional)

  • Place basil leaves, scallion, and garlic scapes in food processor. Pulse until finely chopped.  Scrape sides and pulse again.
  • Add remaining ingredients to food processor. Mix for at least two minutes or until all ingredients are chopped and well combined.
  • Remove and place in glass container.
  • Store in refrigerator for up to a week. Shake well before using.
  • Enjoy!

Recipe and photos by Stephanie Borzio.  Stephanie is a mom of three active boys and is an autoimmune warrior.  After battling her own health for several years, Stephanie found healing through food and lifestyle changes, including joining Blooming Glen Farm CSA of which she is a long time member.  She is a Board Certified Integrative Nutrition Health Coach who is passionate about sharing healthy living tips and real food recipes.  Instagram and Facebook: Tru You Essentials; Website: www.truyouessentials.com

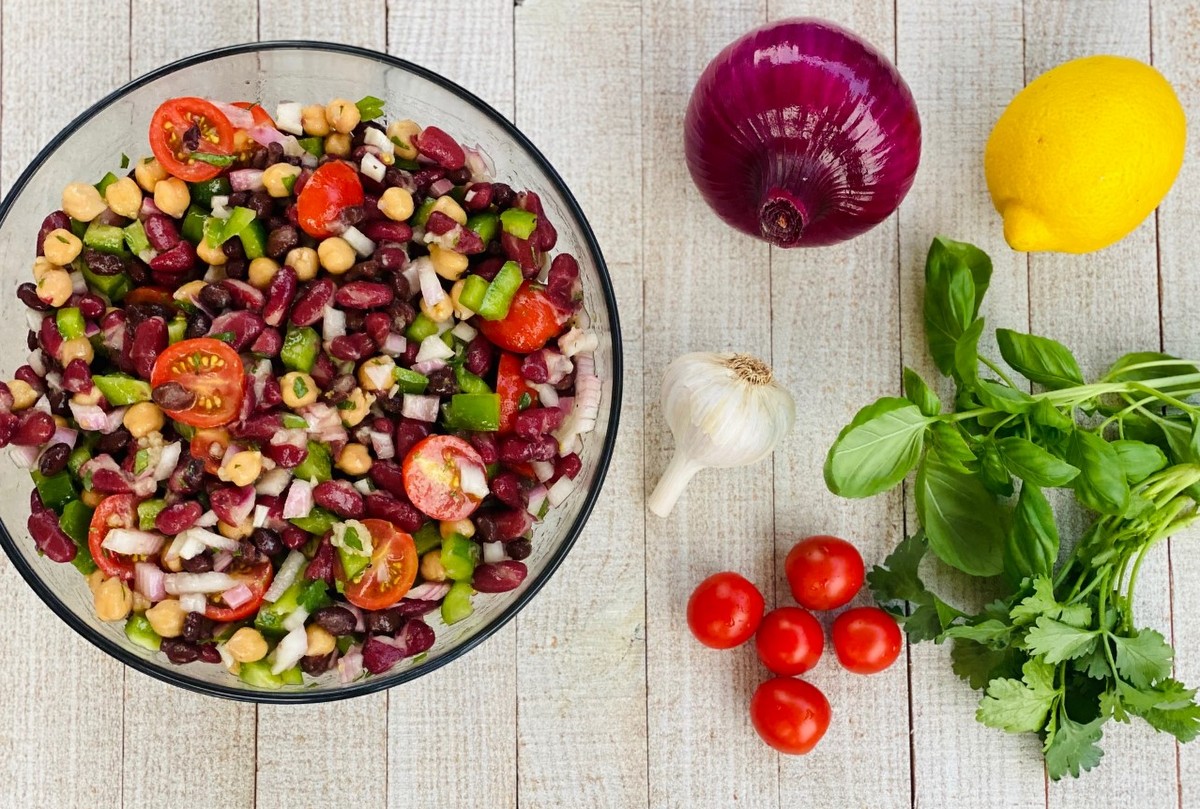
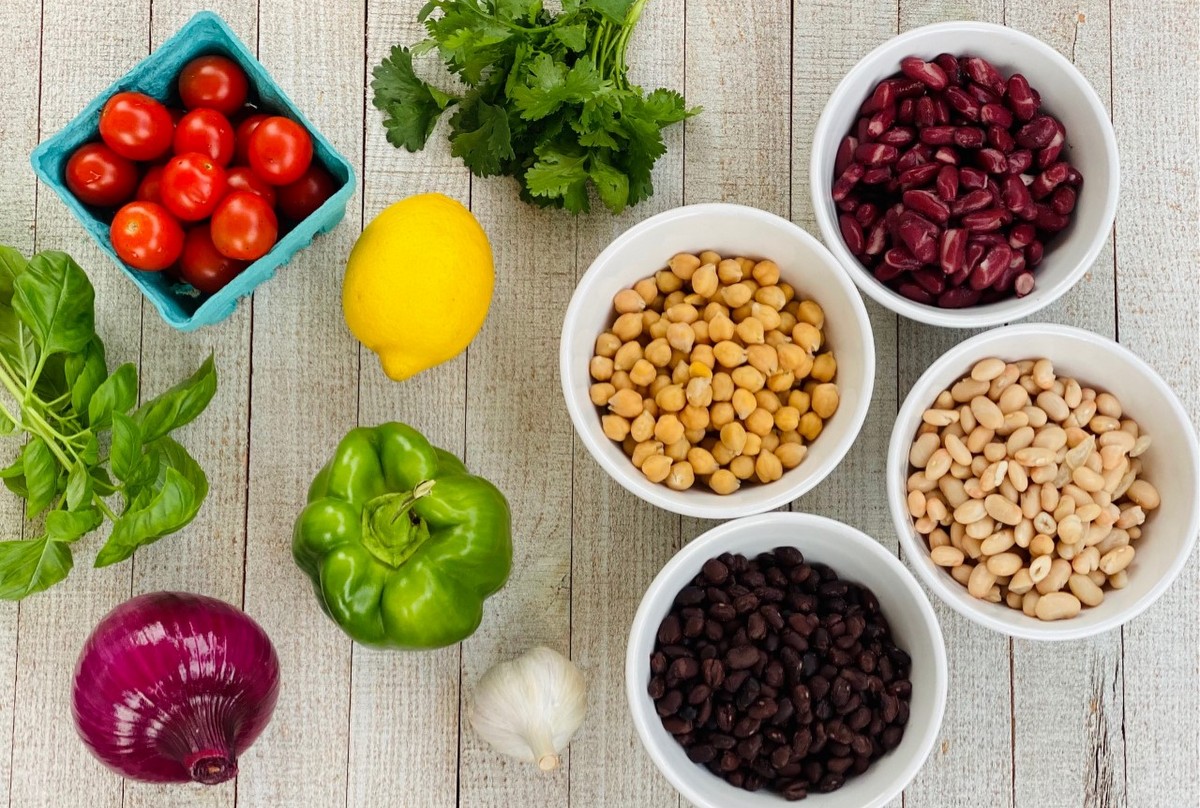
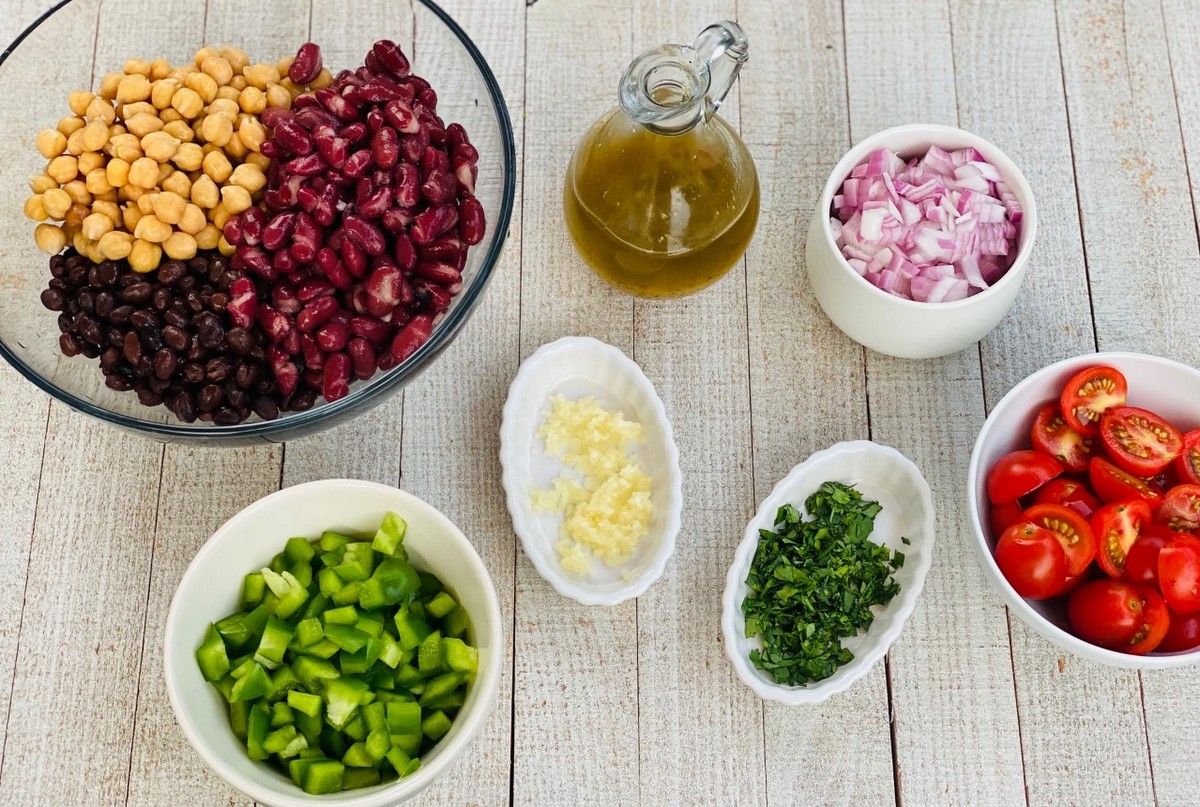
This colorful bean salad is a great make-ahead dish for the summer days when you don’t want to cook.  It pairs well with grilled protein, is a great side dish for barbecues, and is always a hit at picnics.  This week’s harvest gives us the bell pepper, cherry tomatoes, onion, garlic, and fresh herbs needed for this recipe.

Summer Bean Salad

Ingredients:
4 cups beans, cooked and drained (kidney, black beans, chickpeas, white beans, etc.)*
1 green bell pepper, diced
1 pint cherry tomatoes, sliced in half
1 cup onion, diced (red, yellow or sweet onion)
1 clove garlic, minced
1 Tbsp fresh herbs, finely chopped

Dressing:
8 Tbsp olive oil or avocado oil
4 Tbsp apple cider vinegar
2 Tbsp lemon juice
1 tsp lemon zest
½ tsp sea salt
1/8 tsp black pepper

  • Combine all salad ingredients in a large bowl.
  • Mix together dressing ingredients in a small bowl. Whisk until well combined and then pour over salad.
  • Toss to coat.
  • Enjoy!
  • Refrigerate any leftovers. This salad will keep for a few days in the fridge.

*You can use any variety of beans.  If you are using canned beans, drain and rinse them before adding to salad.  If you are using dried beans, they should be cooked and cooled before adding to salad.

Recipe and photos by Stephanie Borzio.  Stephanie is a mom of three active boys and is an autoimmune warrior.  After battling her own health for several years, Stephanie found healing through food and lifestyle changes, including joining Blooming Glen Farm CSA of which she is a long time member.  She is a Board Certified Integrative Nutrition Health Coach who is passionate about sharing healthy living tips and real food recipes.  Instagram and Facebook: Tru You Essentials; Website: www.truyouessentials.com

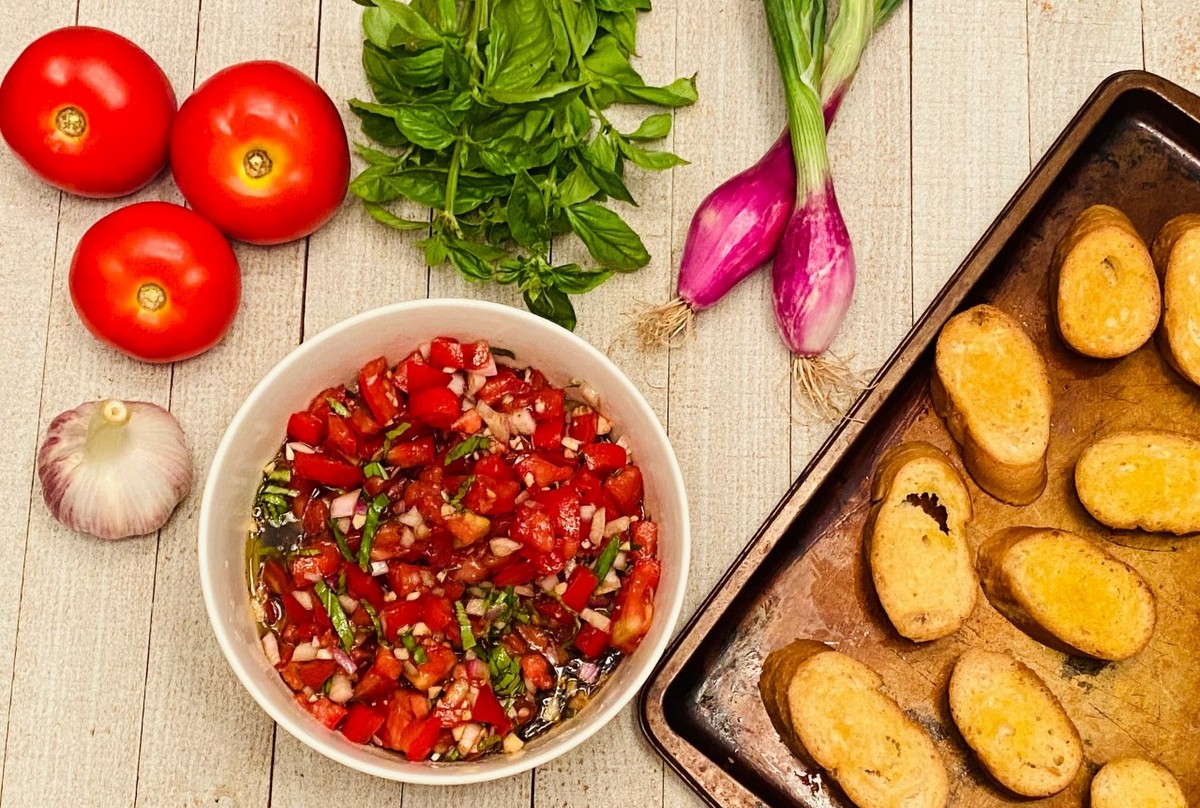
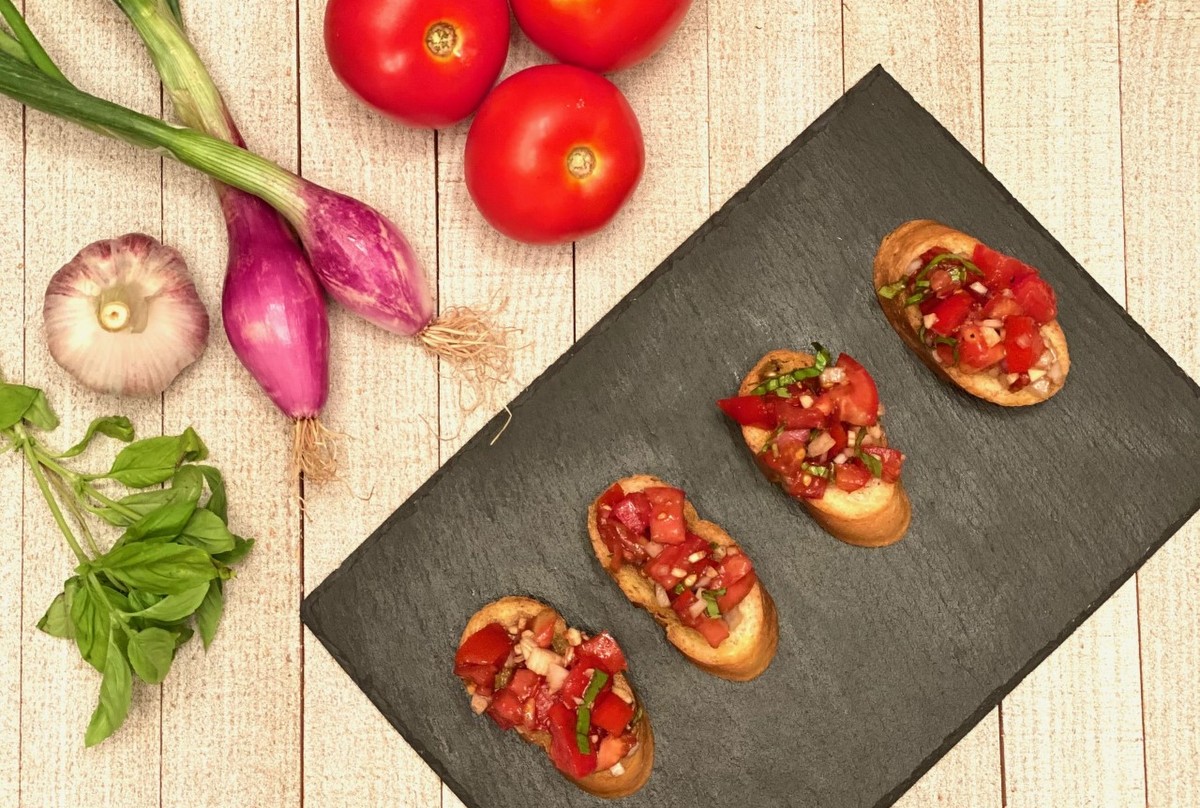
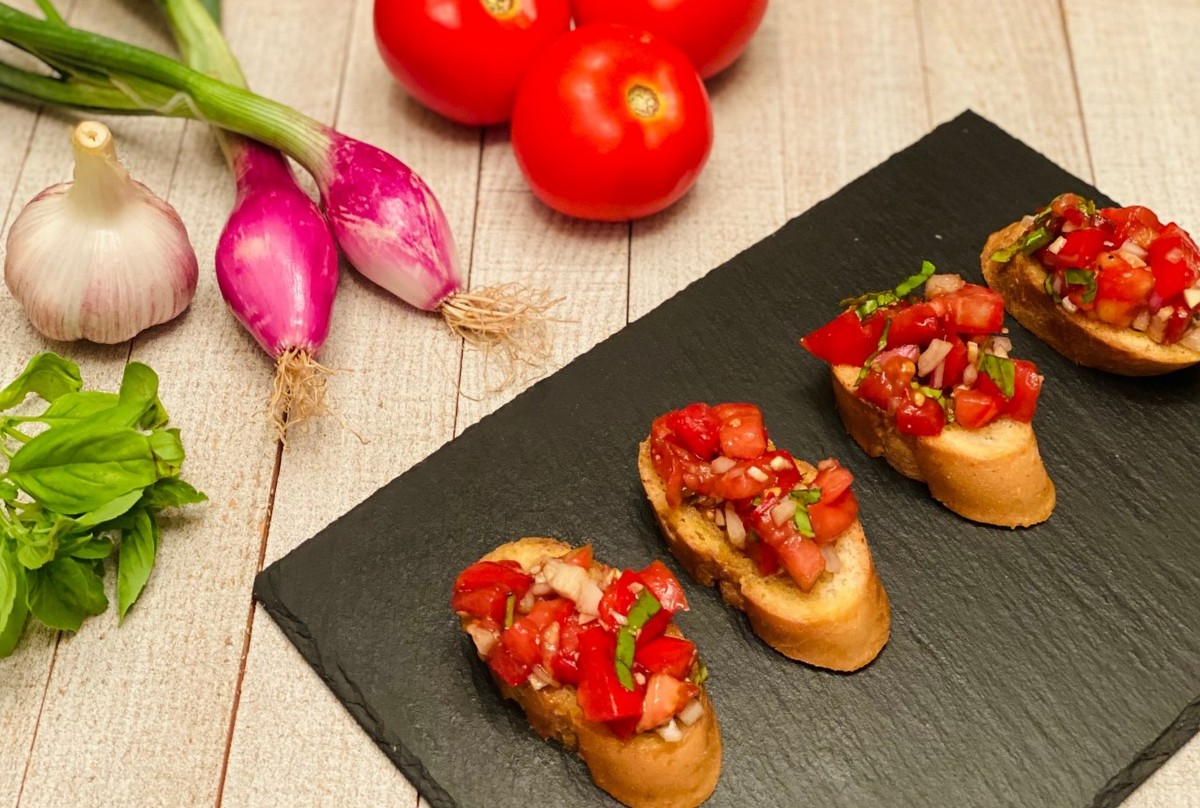
Our farm shares this week have all of the ingredients to make the perfect bruschetta- vine ripened tomatoes, fresh onions, garlic, and fresh herbs (basil from last week’s share, or try other options like oregano or marjoram from the pick-your-own herb boxes).  This recipe showcases the freshness of these ingredients by keeping them in their raw form and allowing them to marinate in a blend of oil and vinegar.  You can keep it traditional by serving on toasted bread or get creative and serve on top of grilled summer squash instead.

Bruschetta

Ingredients:
Tomato mixture
¼ cup olive oil
3 Tbsp balsamic vinegar
½ tsp sea salt
Pinch black pepper
5 smaller red tomatoes (equivalent to about 2 ½ cups once diced)
2 torpedo onions or ½ medium red onion
3 cloves garlic
3 Tbsp basil, cut into ribbons*

Toasted bread
1 loaf baguette or favorite bread
3 Tbsp olive oil
1 clove garlic

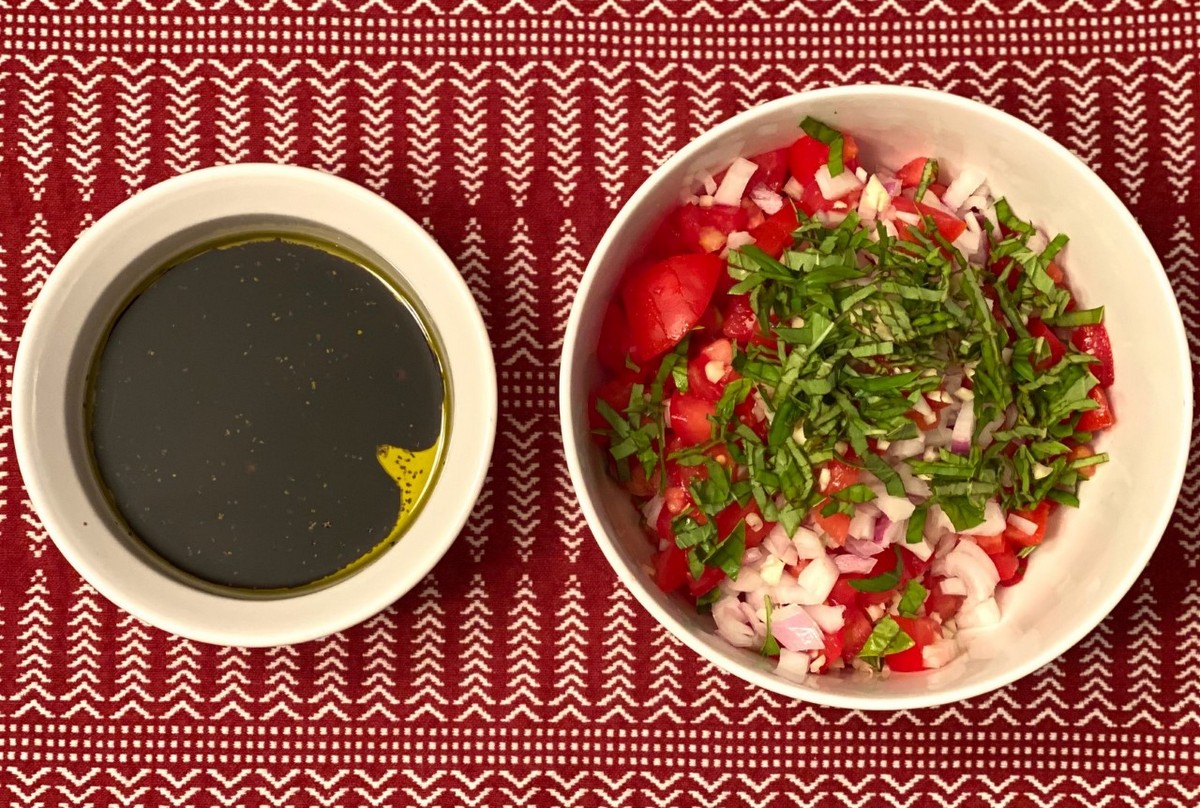
  • Combine oil, vinegar, salt, and pepper in small bowl.
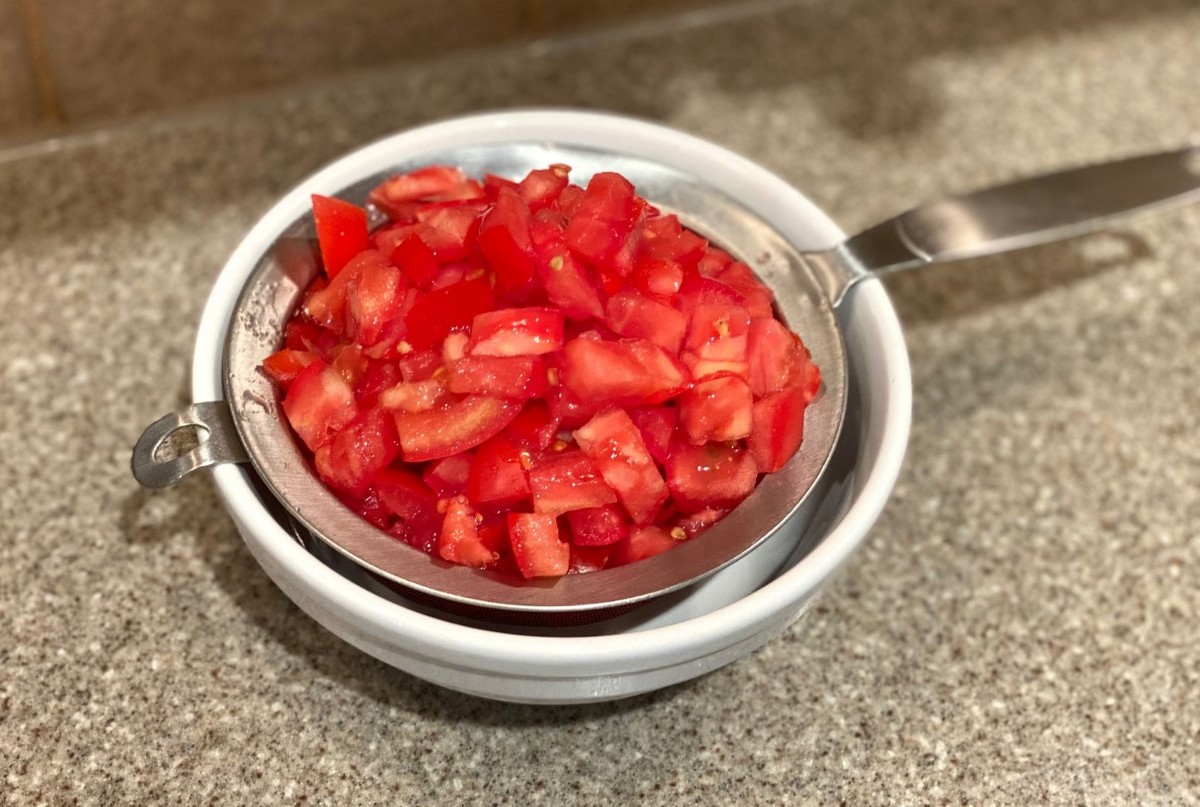
  • Dice tomatoes. Place in fine mesh sieve to drain excess liquid.

  • Finely chop onions and garlic.
  • Place tomatoes, onions, garlic, and basil in large bowl. Mix well.
  • Pour marinade over tomato mixture and toss to coat. Allow to marinate for at least 30 minutes before serving.

  • While tomatoes are marinating, prepare toast. Preheat oven to 400°F.
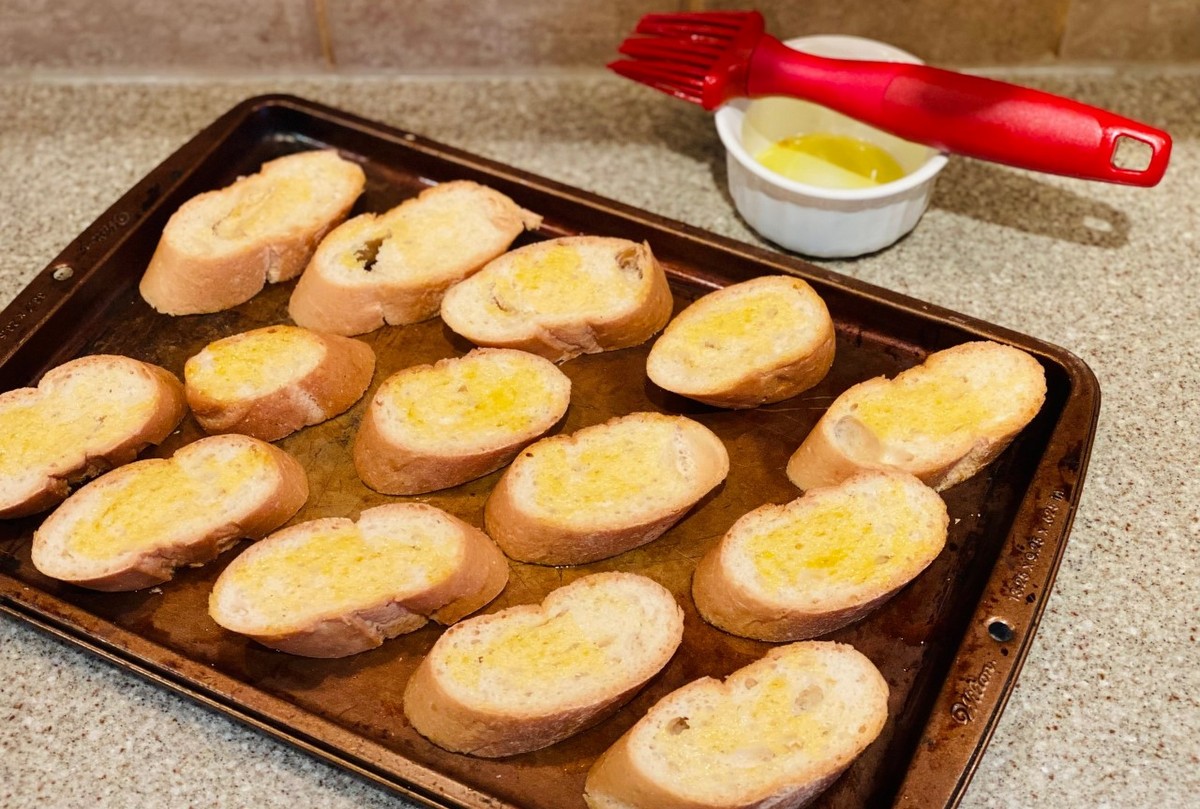
  • Cut bread into ½ inch slices and place on baking sheet. Using a pastry brush, spread olive oil on both sides of the bread slices.

  • Place toast in oven and bake for 5 minutes. Flip and bake for an additional 2 minutes.
  • Slice garlic clove in half and rub cut side on the top of each toasted bread slice. If you don’t want to waste this garlic after using on the toast, just finely chop and add it to the tomato mixture.
  • Top each slice of toast with a scoop of tomato mixture and serve.
  • Enjoy!

*To cut basil into ribbons- stack leaves on top of each other, roll, and thinly slice.  Basil easily bruises, so using a sharp knife is really important.

**For a low carb option, serve tomato mixture on grilled summer squash slices!  Or for a twist on the traditional bruschetta, add 1 cup of finely diced summer squash to the tomato mixture before marinating.

***Other optional add-ins: parmesan cheese or your favorite minced fresh herbs.


Recipe and photos by Stephanie Borzio.  Stephanie is a mom of three active boys and is an autoimmune warrior.  After battling her own health for several years, Stephanie found healing through food and lifestyle changes, including joining Blooming Glen Farm CSA of which she is a long time member.  She is a Board Certified Integrative Nutrition Health Coach who is passionate about sharing healthy living tips and real food recipes.  Instagram and Facebook: Tru You Essentials; Website: www.truyouessentials.com

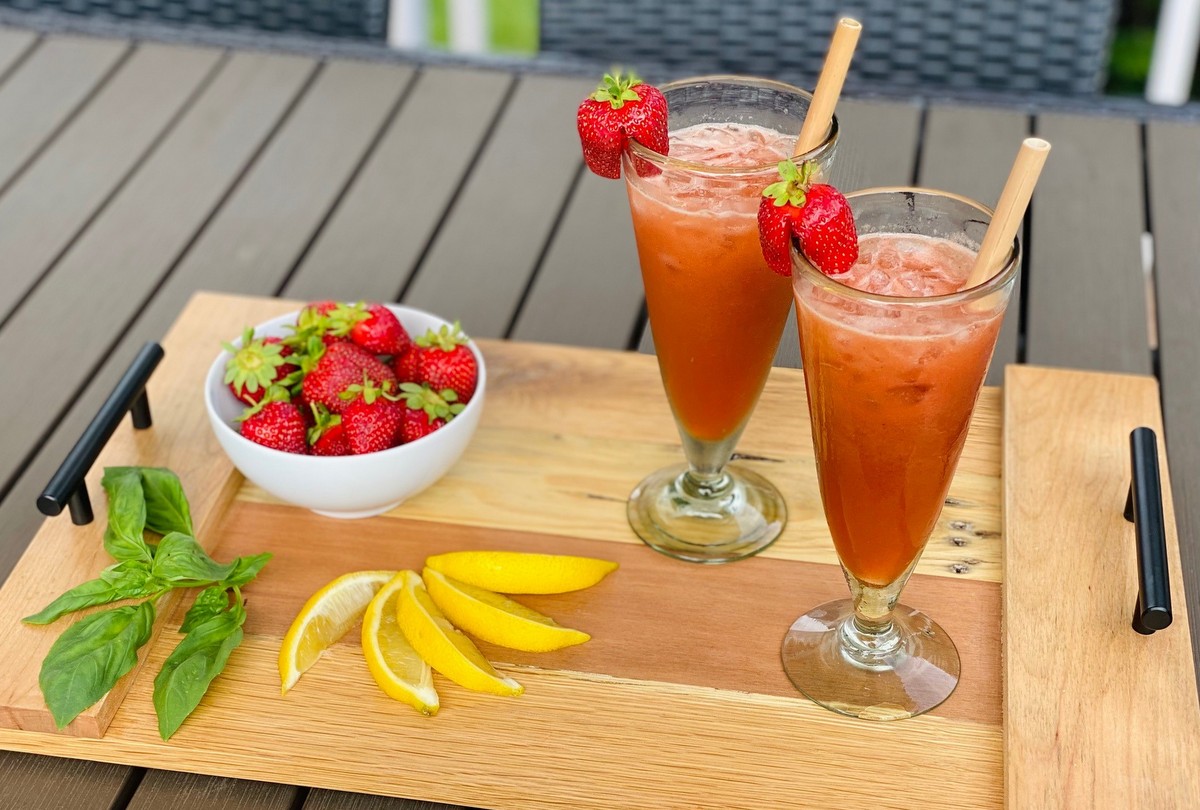
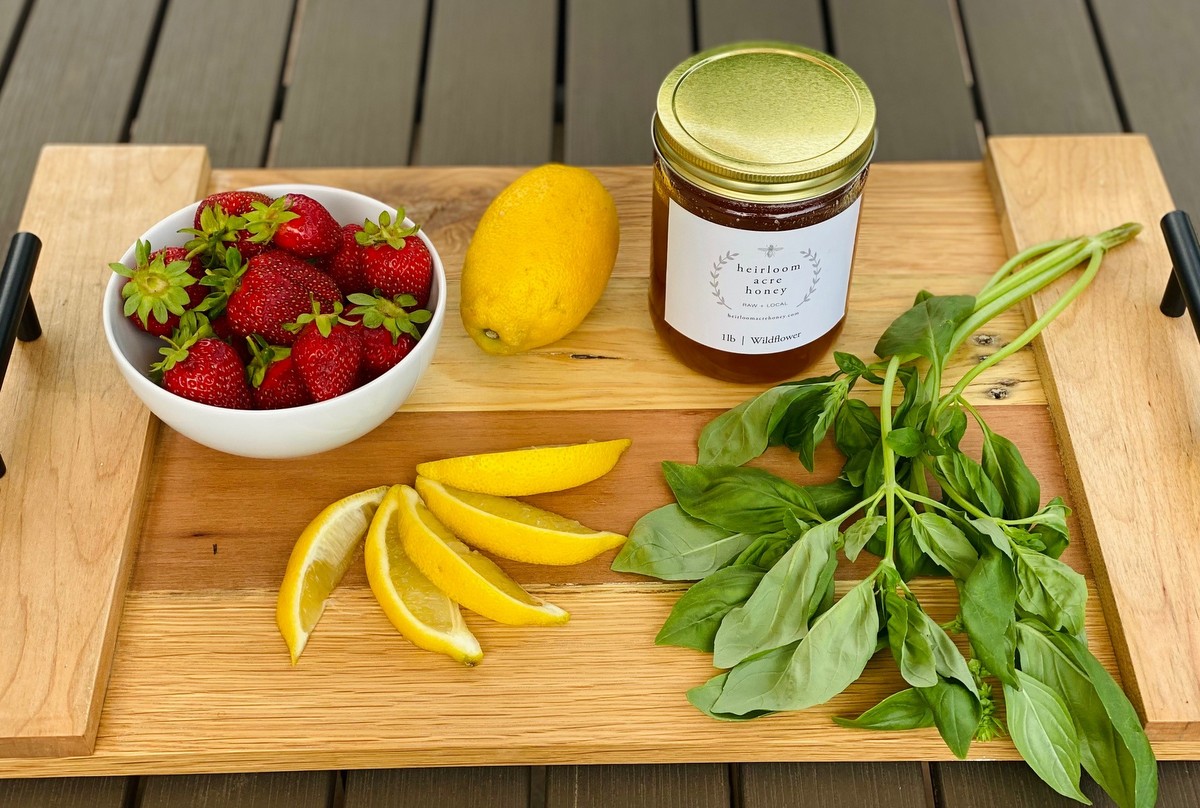
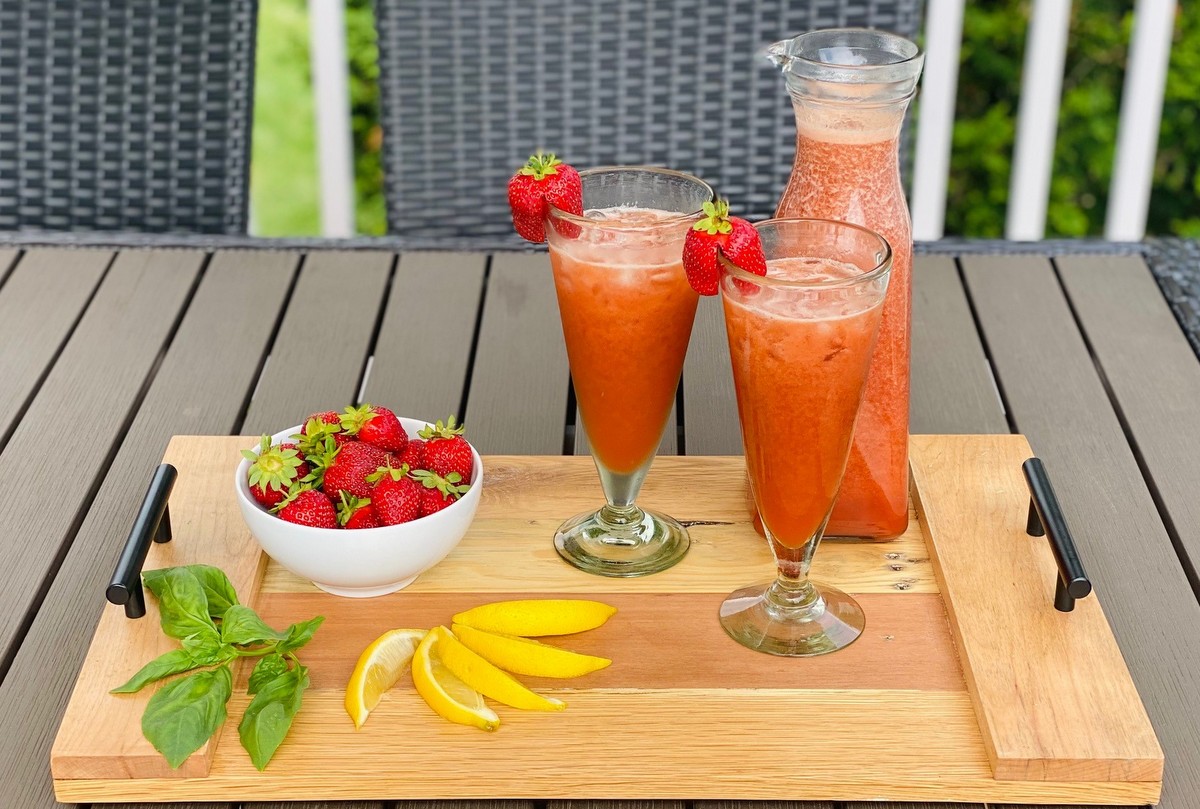
Strawberry season always brings a smile to my face.  I love heading out to the fields and picking the amazing berries that our farmers work so hard to provide for us.  They are little bites of juicy, organic goodness.  While just snacking on them is perfect, the farm fresh strawberries also pair really well with the basil we get in our shares.  So, this week’s recipe combines the berries with some basil to create the perfect summer drink- Strawberry Basil Lemonade.

Strawberry Basil Lemonade

Ingredients:
1 ½ cups strawberries, washed and hulled
½ cup maple syrup or honey
4 cups water, divided
½ cup fresh basil leaves
1 cup ice
¾ cup lemon juice

Directions:

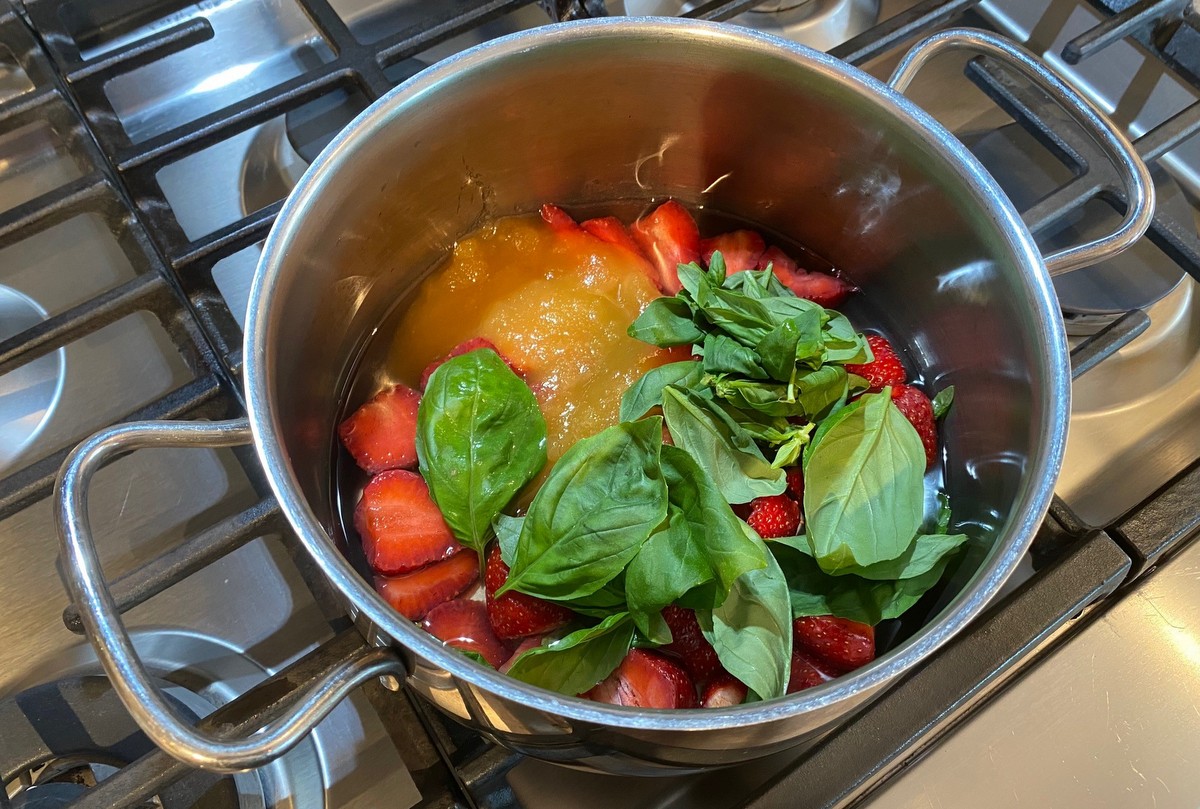
  • Place strawberries, maple syrup/honey, 1 cup water, and basil leaves in medium saucepan.

  • Bring to a boil. Reduce to a simmer and cook for 8 minutes, stirring often.
  • Remove from heat.
  • Place ice in blender. Add strawberry mixture.
  • Puree until well blended and then strain.
  • In large pitcher, combine 3 cups water and lemon juice.
  • Add in strained strawberry mixture and mix well.
  • Serve over ice. Garnish with a strawberry.
  • Store in refrigerator.

**Serve as is or spike with your favorite alcohol.

**Can also freeze to preserve for serving later in the summer.  You can even freeze just the strawberry syrup after pureeing.  Defrost when ready to use and combine with water and lemon juice.

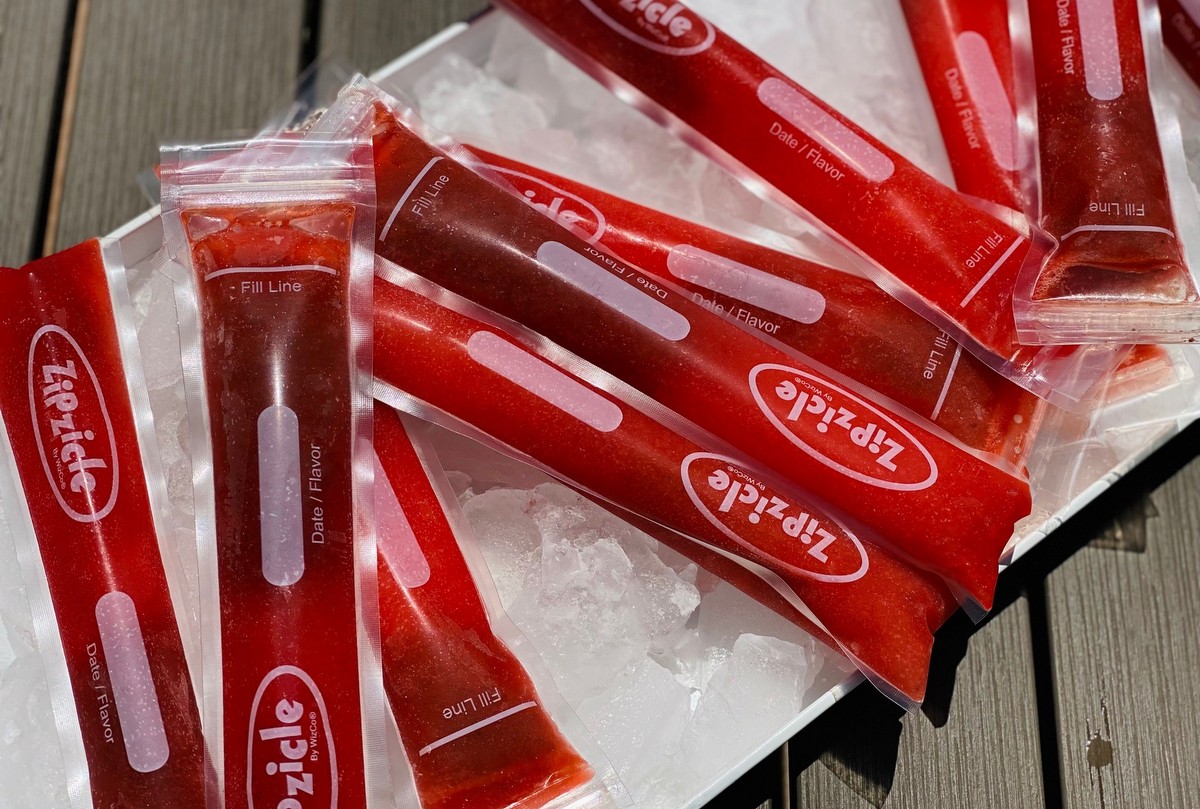
**Want to make a fun, refreshing treat?  Pour the finished lemonade in these freezer pop bags.  Lay flat in the freezer overnight and the next day you will have delicious, homemade freezer pops.

Recipe and photos by Stephanie Borzio.  Stephanie is a mom of three active boys and is an autoimmune warrior.  After battling her own health for several years, Stephanie found healing through food and lifestyle changes, including joining Blooming Glen Farm CSA of which she is a long time member.  She is a Board Certified Integrative Nutrition Health Coach who is passionate about sharing healthy living tips and real food recipes.  Instagram and Facebook: Tru You Essentials; Website: www.truyouessentials.com

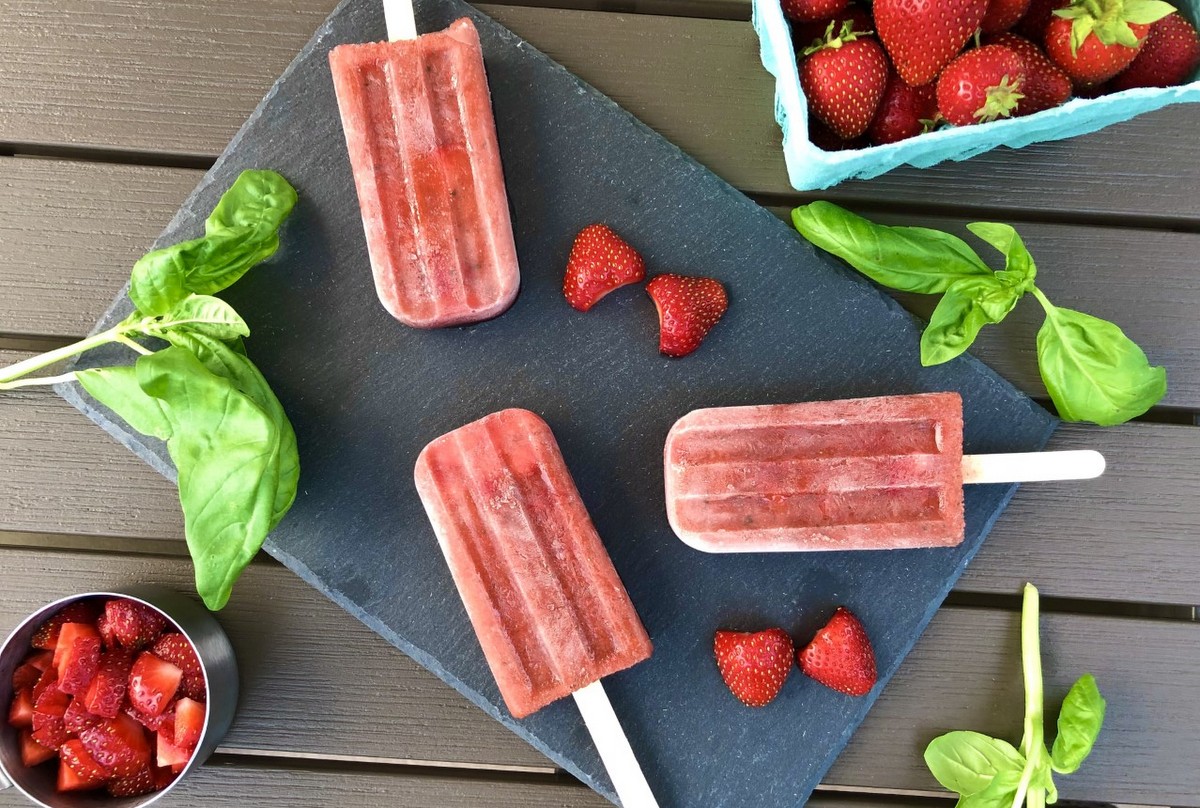
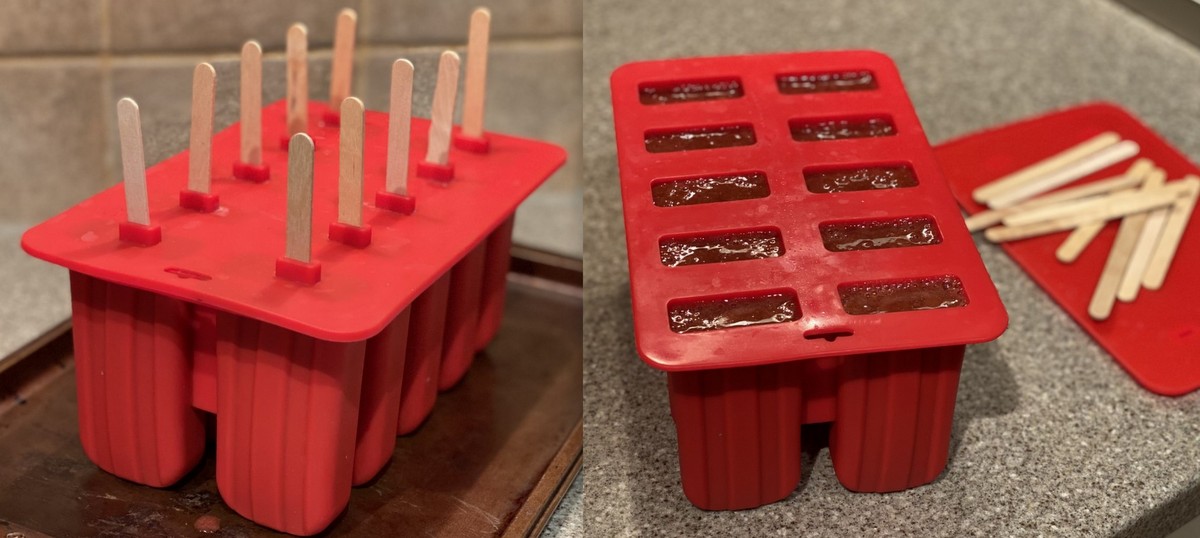
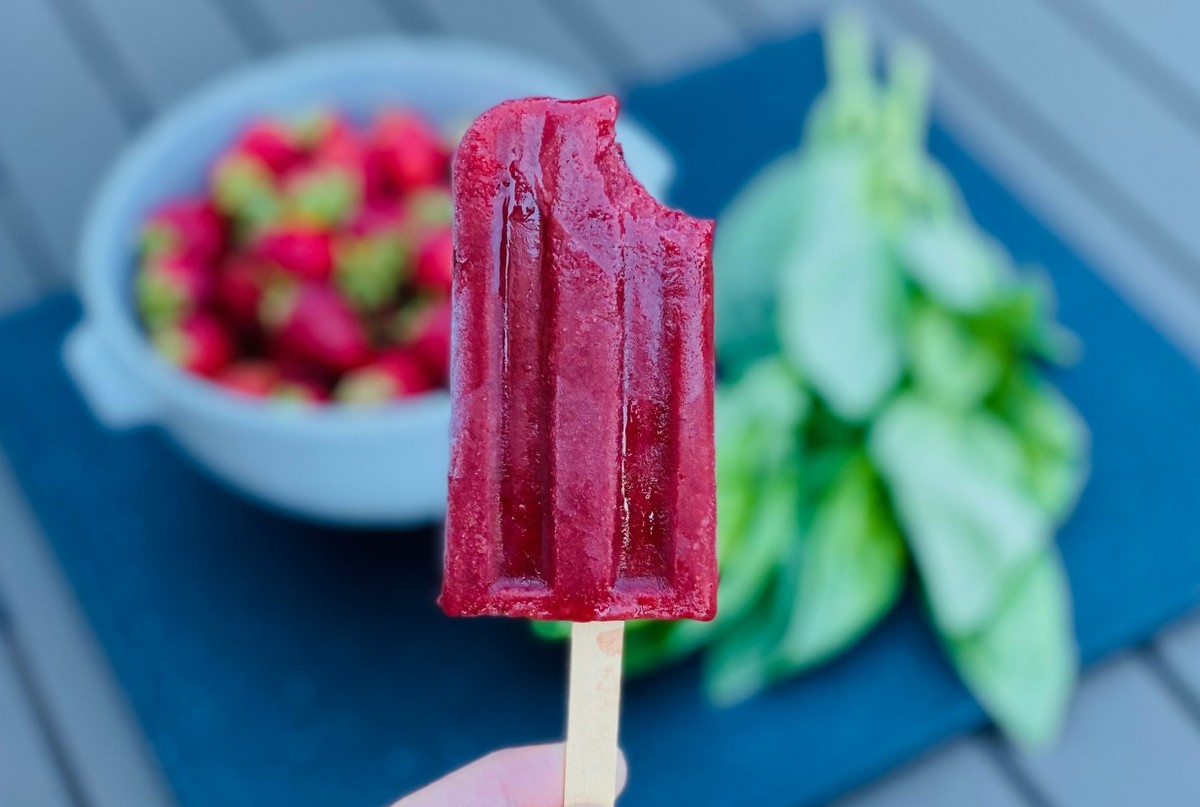
It is always a treat when we get to head out to the fields and pick our own strawberries at the farm.  There really is nothing better than farm fresh organic strawberries.  This recipe combines these flavorful berries with some basil to create a tasty and refreshing popsicle.  Great for both adults and kids!  If you don’t want to use your whole quart of strawberries that you picked this week, feel free to half this recipe. You can also use frozen strawberries, just soften enough to be able to chop them and blend them really well. Recipe made 10 popsicles, but amount will vary depending on mold size.

Strawberry Basil Popsicles

Ingredients:
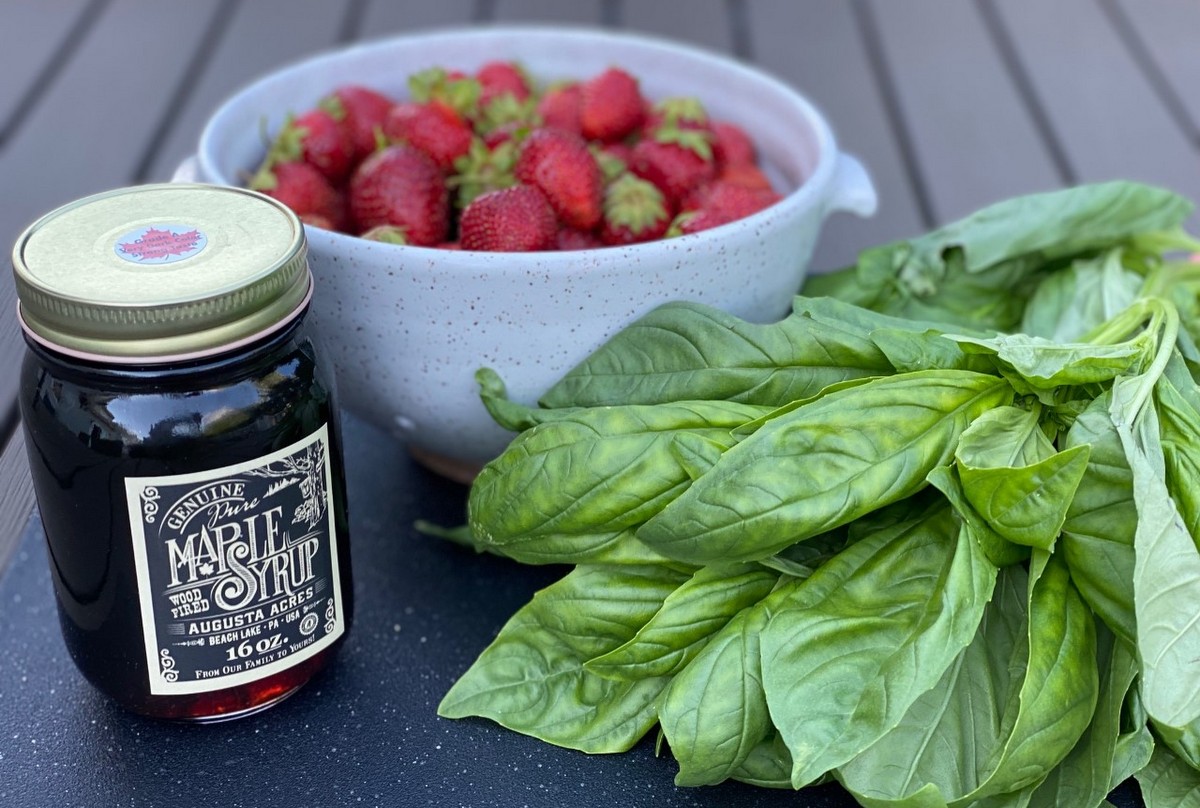
1 cup maple syrup
¼ cup packed, chopped basil leaves
½ cup water
1 quart strawberries (4 cups, divided), cleaned with stems removed

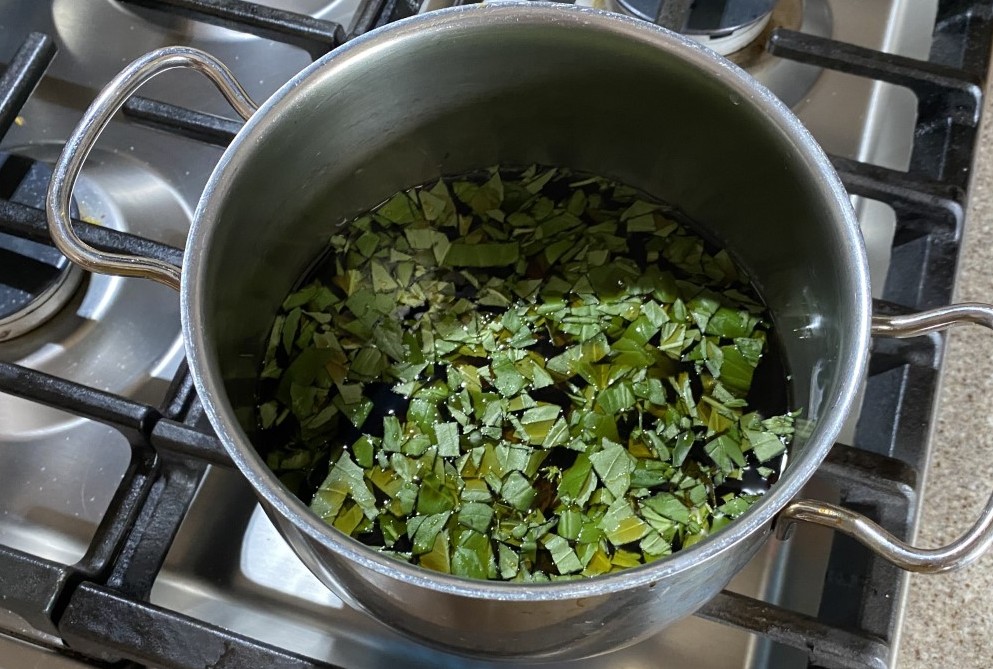
  • Combine maple syrup, basil, and water in small saucepan. Bring to a boil and then reduce to a simmer.

  • Simmer for 5 minutes. Turn burner off.  Cover and allow the mixture to infuse for an hour.
  • Chop ½ cup of berries into small pieces. Place the strawberry pieces into the bottoms of the popsicle mold.
  • Place remaining 3 ½ cups strawberries into the blender. Blend until a smooth puree is formed.
  • Add basil syrup into the blender with strawberry puree. Blend again to combine.  Continue blending until mixture is smooth and uniform.
  • Fill molds with puree.

  • Freeze overnight.
  • Carefully remove popsicles from molds and enjoy!

 Recipe and photos by Stephanie Borzio.  Stephanie is a mom of three active boys and is an autoimmune warrior.  After battling her own health for several years, Stephanie found healing through food and lifestyle changes, including joining Blooming Glen Farm CSA of which she is a long time member.  She is a Board Certified Integrative Nutrition Health Coach who is passionate about sharing healthy living tips and real food recipes.  Instagram and Facebook: Tru You Essentials; Website: www.truyouessentials.com

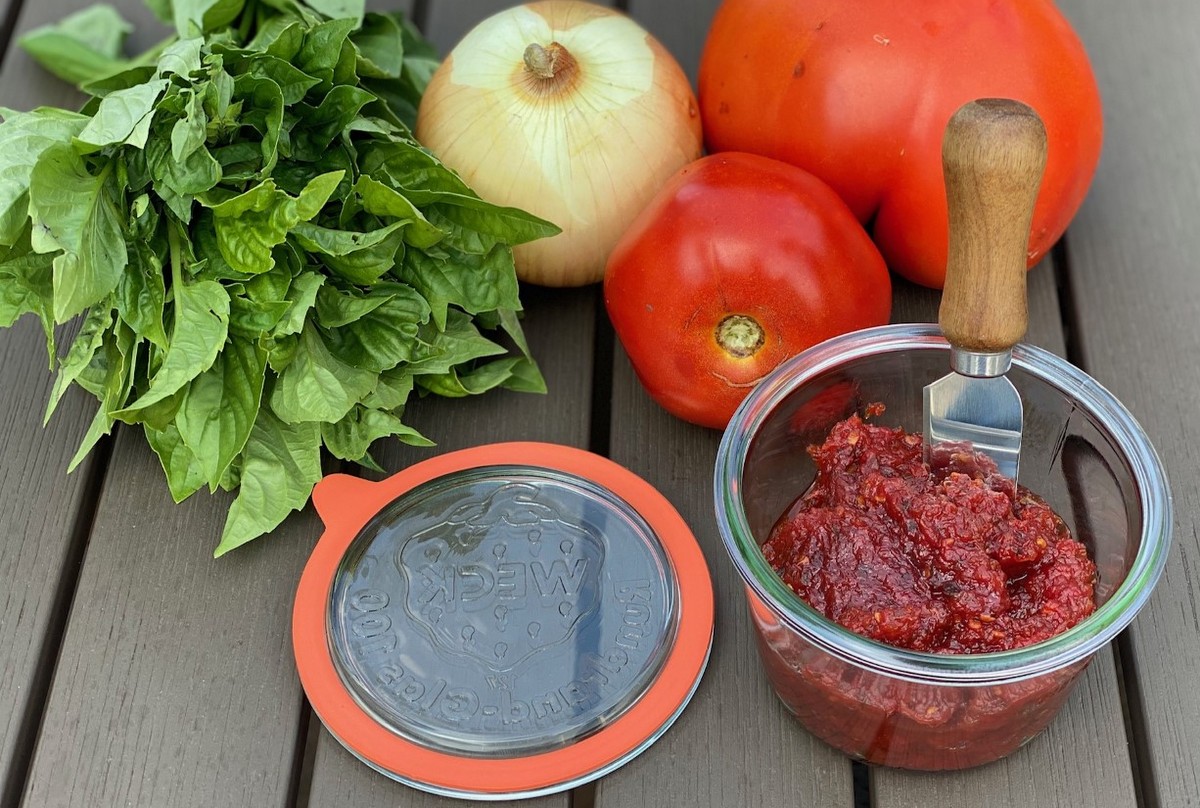
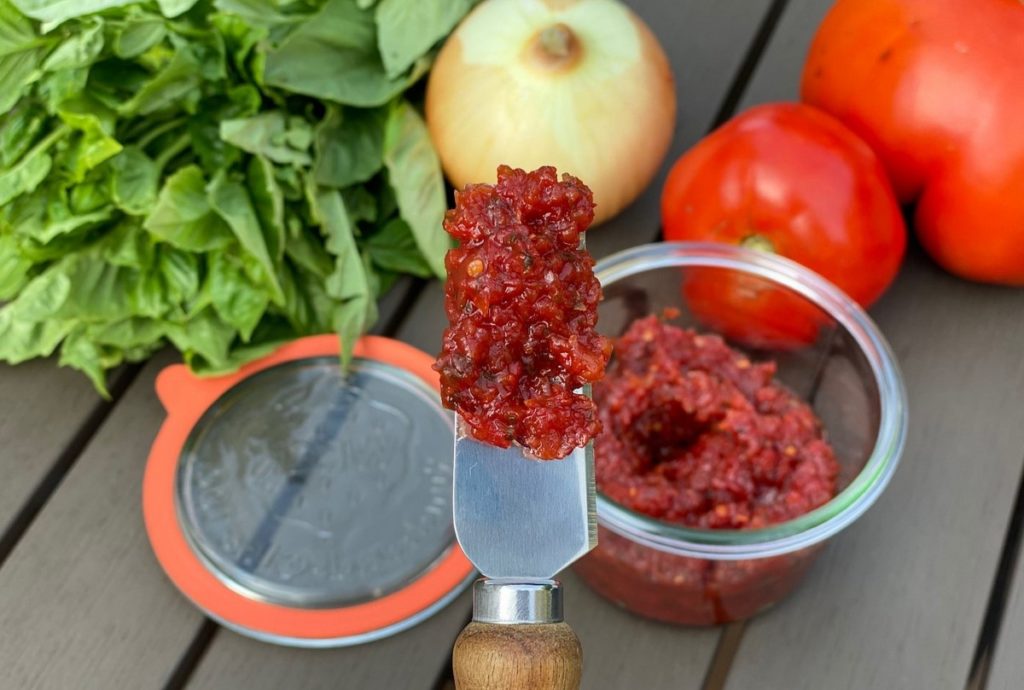
Nothing says summer like a ripe juicy tomato!  Eating a handful of cherry tomatoes is one of my favorite snacks and fresh tomato salads are always a welcome addition to our dinner table.  But I wanted to create something different that showcased the beautiful tomatoes we receive in our CSA shares.  This tomato jam was enjoyed by our whole family- even the little ones that claim they don’t like tomatoes!

Tomato Jam

Ingredients
1 ½ lbs tomatoes**
½ medium onion, chopped
1 Tbsp fresh basil, packed
¼ cup honey
2 Tbsp lemon juice
½ tsp sea salt

  • Place all ingredients in food processor. Pulse to combine and break down.
  • Transfer tomato mixture to a large saucepan.
  • Bring to a boil. Allow to boil for 8-10 minutes or until mixture reduces by half.  Be sure to stir often to prevent burning.
  • Reduce to simmer and cook for an additional 6-8 minutes until the mixture becomes the consistency of jam.
  • Let cool.
  • Store in an airtight container in the refrigerator for up to a week.
  • Use the jam with cheese and crackers, on fish or chicken, on top of a burger, or even on a sandwich or grilled cheese.

**You can use any kind of tomato for this recipe- beefsteak, Roma, heirloom, or cherries.  Cook time will vary slightly due to the moisture content of the tomatoes.

Recipe and photos by Stephanie Borzio.  Stephanie is a mom of three active boys and is an autoimmune warrior.  After battling her own health for several years, Stephanie found healing through food and lifestyle changes, including joining Blooming Glen Farm CSA of which she is a long time member.  She is a Board Certified Integrative Nutrition Health Coach who is passionate about sharing healthy living tips and real food recipes.
Instagram and Facebook: Tru You Essentials; Website: www.truyouessentials.com

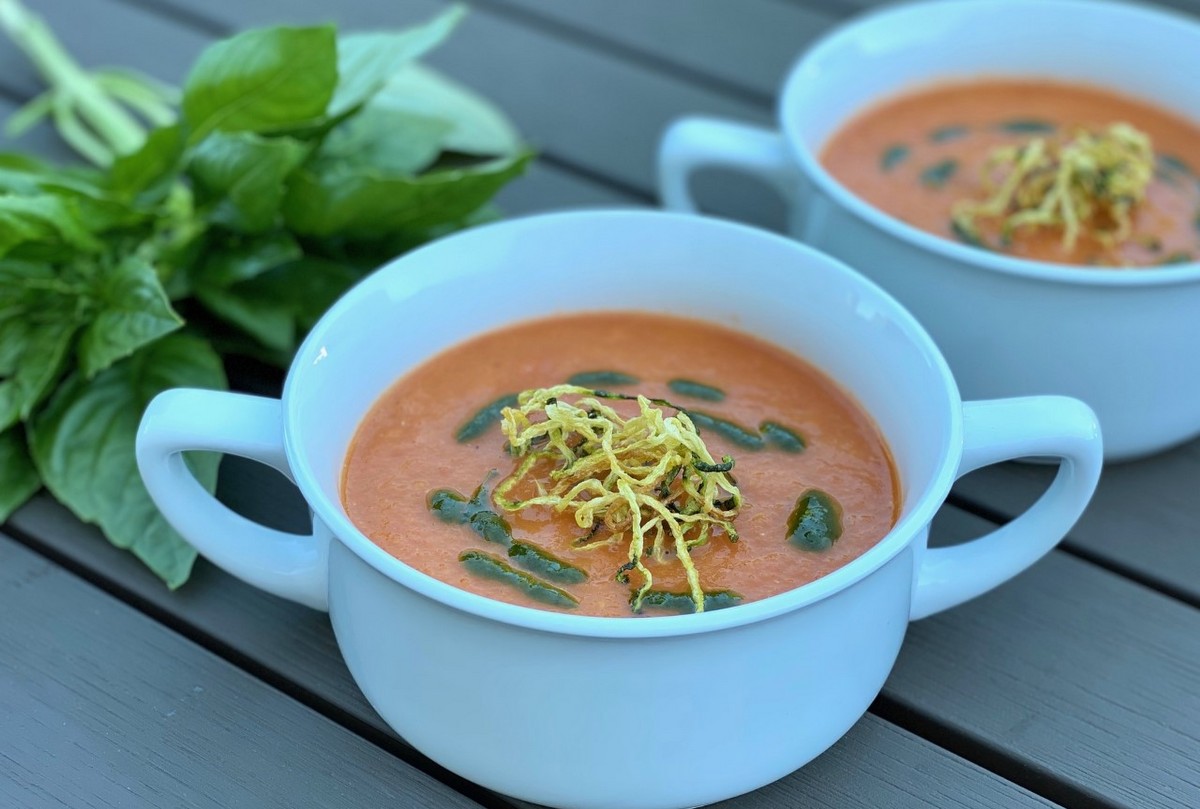
Cherry tomatoes, plum tomatoes, heirloom tomatoes, and beefsteak tomatoes… oh my!  There are so many amazing things we can do with tomatoes.  They can be the star of a meal or a delicious side.  Eat them as is, add them to salads, can them, make sauce, or create this delicious soup.

Roasted Tomato Soup with Basil Oil and Fried Zucchini Noodles

Ingredients:
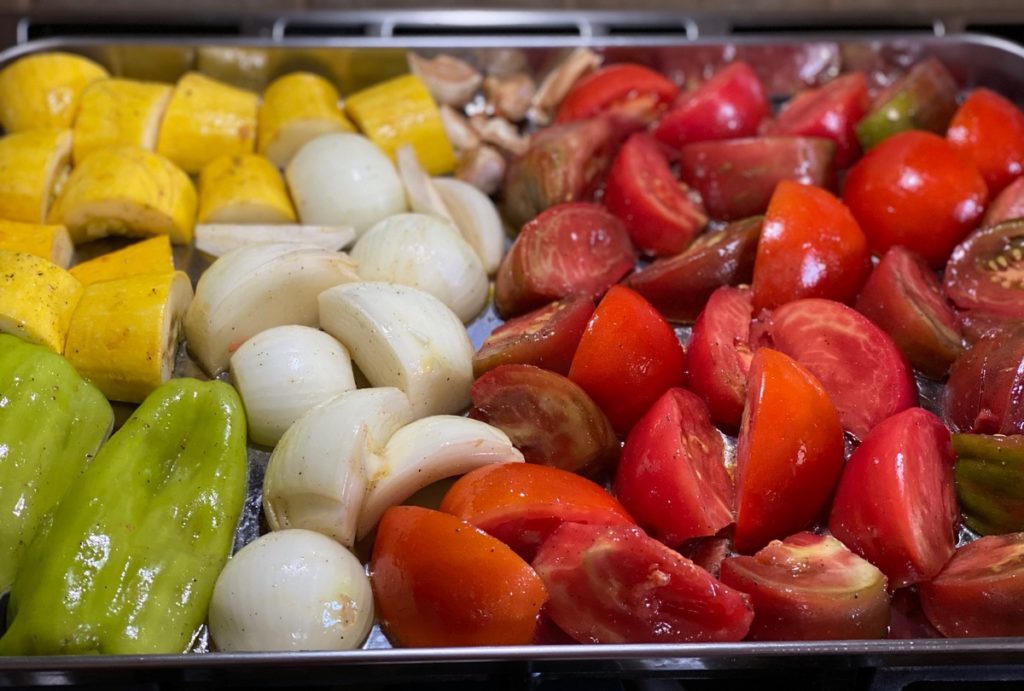
3.5- 4 lbs fresh tomatoes
2 medium onions, peeled and quartered
1 pepper (green bell or sweet cubanelle), halved and seeds removed
1 medium summer squash (zucchini or yellow squash), roughly chopped
6 cloves garlic, with skin on
3 Tbsp olive oil
1 tsp sea salt
½ tsp black pepper
6 basil leaves
Basil oil (recipe below)
Fried zucchini spirals (recipe below)

  • Preheat oven to 400°F.
  • Slice tomatoes into quarters or eighths if they are really big.
  • Place tomatoes, onions, pepper, summer squash and garlic in a large bowl. Add olive oil, salt, and pepper.  Toss to coat.
  • Place tomato mixture on baking sheet.

  • Roast for 25-30 minutes. Vegetables should be fork tender.
  • Allow to cool for a few minutes. Remove the skin from the garlic cloves.
  • Transfer mixture to blender, including juices on baking sheet. Add basil.  Process until smooth.  You may need to process in two batches.
  • Serve immediately or place in large saucepan and reheat later.
  • To serve, ladle soup into bowls. Drizzle on basil oil and top with fried zucchini spirals.
  • Soup can be stored in the refrigerator for up to a week. It also freezes well.

Basil Oil

Ingredients:
¼ cup basil leaves, packed
2 Tbsp olive oil
Pinch sea salt

  • Place boiling water in a bowl. Quickly blanch basil leaves (about 10 seconds) and then pat dry.
  • In food processor or blender, combine basil leaves, salt, and olive oil. Process well.

Fried Zucchini Spirals

Ingredients:
½ zucchini
½ cup avocado or coconut oil
Sea salt

  • Spiralize zucchini. If you don’t have a spiralizer, you can thinly slice strips of zucchini.  Place between paper towels to remove some of the water.
  • Heat oil in small saucepan.
  • When oil is hot, fry zucchini. Place one spiral in the oil to make sure it is hot enough.  Process the spirals in small batches for about 6 minutes each.  When done, the zucchini spirals should be crunchy.
  • Lay on paper towels and sprinkle with sea salt.

Recipe and photos by Stephanie Borzio.  Stephanie is a mom of three active boys and is an autoimmune warrior.  After battling her own health for several years, Stephanie found healing through food and lifestyle changes, including joining Blooming Glen Farm CSA of which she is a long time member.  She is a Board Certified Integrative Nutrition Health Coach who is passionate about sharing healthy living tips and real food recipes.  Instagram and Facebook: Tru You Essentials; Website: www.truyouessentials.com

With the weather getting warmer it seemed the perfect time to cook some simple food that can be good on its own, be packed for a veg heavy picnic, or work as the anchor for food off the grill.

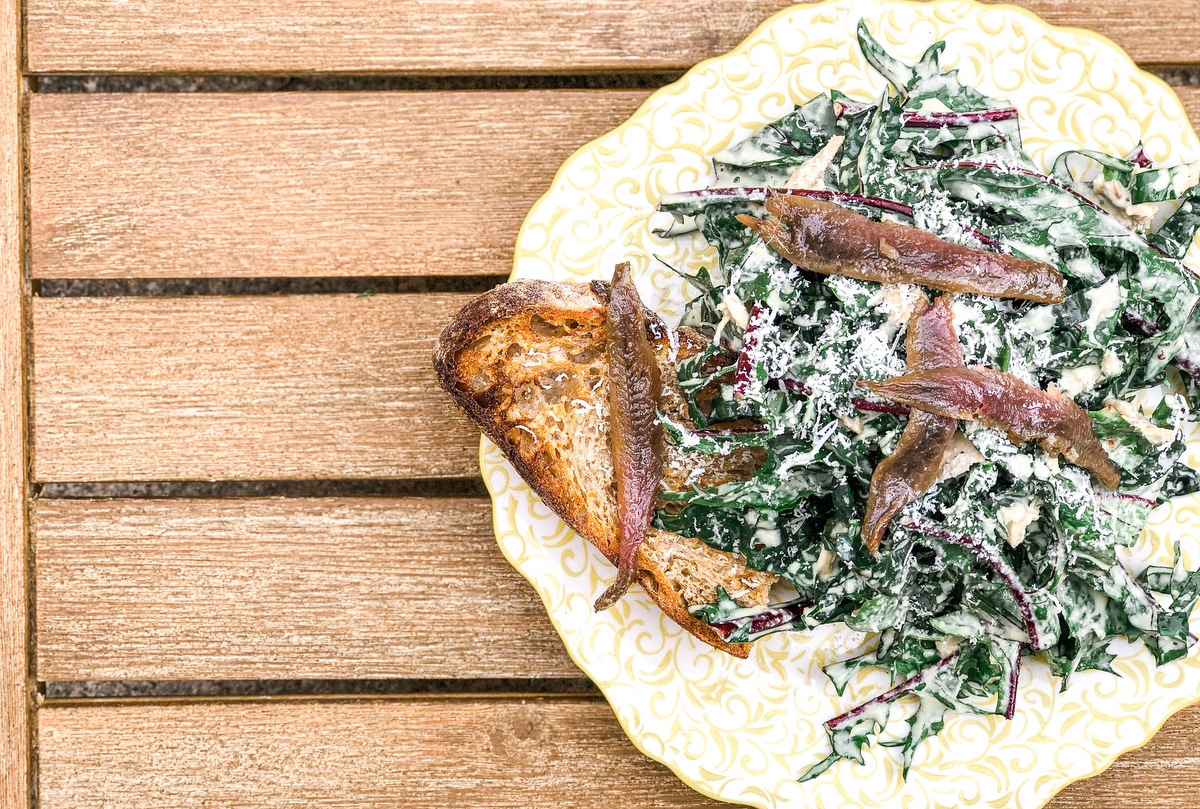
Dandelion & Kale Caesar
This salad is perfect for packing because the hearty greens actually improve after being dressed, becoming more supple and absorbing the dressing. For this reason we make the tonnato creamier than regular caesar dressing. (*Tonnato is an Italian condiment often made with tuna, anchovies, olive oil, and mayonnaise or egg.)

Ingredients
1/2 bunch kale, cut into quarter inch ribbons, bottom stems removed
1 bunch dandelion, cut every two inches, bottom stems removed
1 6oz can of tuna, drained
1 yolk
1 oz white wine vinegar
.5 oz grated pecorino cheese, with more to garnish
1 tablespoon water
1 garlic clove
3 oz olive oil
salt and pepper
anchovy filets
crusty bread to serve

Place the yolk, grated cheese, vinegar, water, garlic, and half the tuna in a blender. Blend on medium speed until smooth, then stream the oil in. Season with salt and pepper. Place the greens and remaining tuna in a bowl, and dress well, seasoning aggressively with black pepper and salt. Place a piece of well toasted crusty bread on each plate or container you are using and place the dressed salad on top of it. Sprinkle some extra cheese and place over a few anchovy filets.

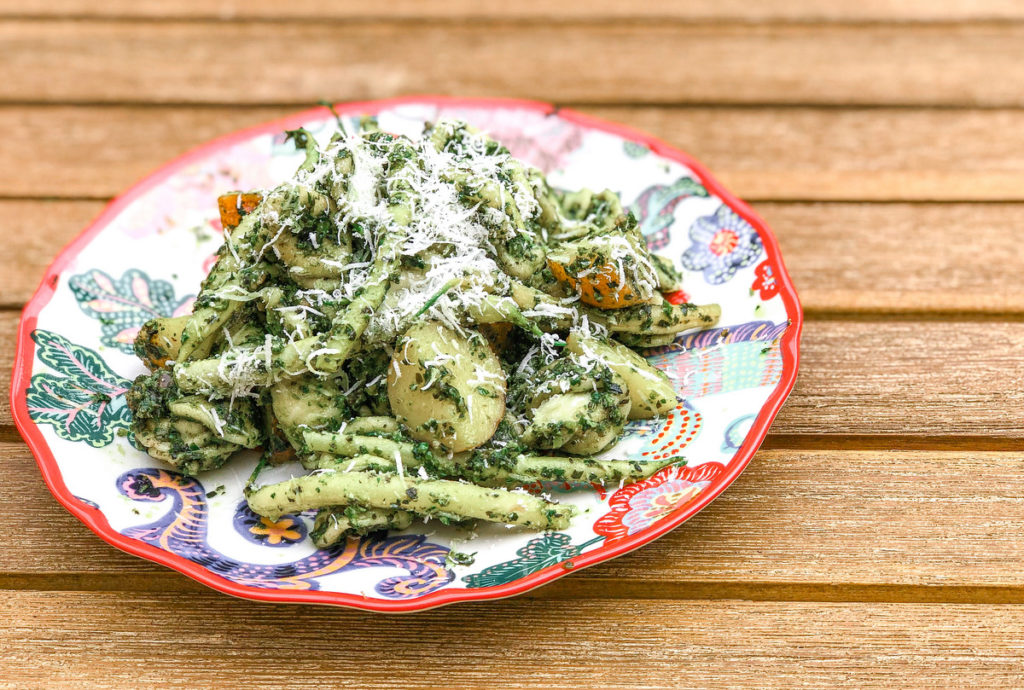
Genovese Pasta Salad

In Genoa, where basil pesto comes from, they enjoy their pasta with beans and potato. It’s delicious, but rather than hot, it makes a great salad (even better when the first cherry tomatoes come). Just like the Genovese, you can cook everything in one pot.
Ingredients
8 oz Orecchiette, or your favorite short pasta
1 bunch basil
1/4 bunch parsley
1 bunch garlic scapes, ends and flower heads trimmed
1 oz grated pecorino
1 clove garlic, crushed
1.5 oz sunflower seeds
4 oz olive oil
4 small potatoes, quartered
1/2 quart green or wax beans, trimmed
1/2 lemon

Bring a medium pot of water to a boil and salt aggressively. Add the pasta and cook according to the directions on the label. With 8 minutes to go, add the potato. With 1 minute to go, add the beans. Drain well and dress the pasta and vegetables in a little olive oil to prevent sticking. Heat a cast iron pan to smoking and place the scapes in. Add a shot of oil and let them char one minute, resist the temptation to move them, then turn, and let char another minute. Remove to a board, and let cool, then chop finely. Add the scapes, herbs, garlic, cheese, and seeds to a food processor. Blend thoroughly, then stream in the oil. Season with salt and dress the pasta and vegetables with it. Squeeze the lemon through and dress as soon as possible to eating.

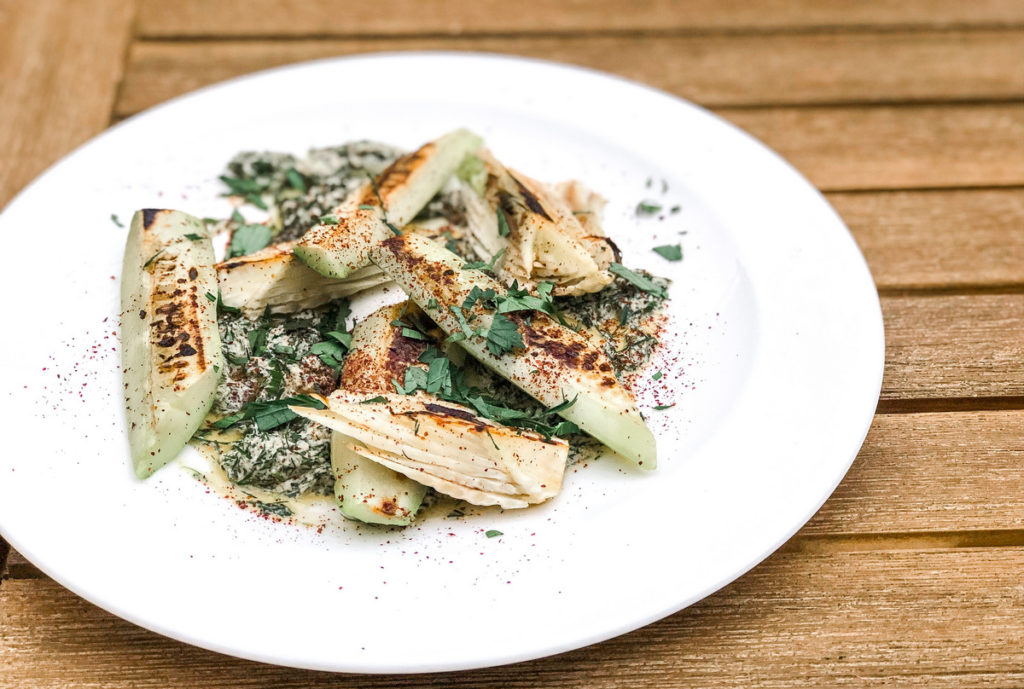
Grilled Cucumber and Fennel, tahini dressing

Grilling cucumber brings out the vegetale notes, and makes it more nuanced, and somehow juicy, and the fennel adds good sweetness. Keeping the vegetables in large pieces helps them hold up.
Ingredients
1 cucumber, peeled
2 fennel bulbs
1 clove garlic, grated
2 Tbs. tahini
juice of 1/2 lemon
1/4 bunch of dill, chopped fine
2 Tbs. water
1 teaspoon smoked paprika, preferably from Coddiwomple Canning
2 oz olive oil
Sumac to garnish

In a bowl place the tahini and stream the olive oil in while continuously whisking. Next, add the lemon juice, and then the water until you reach the desired consistency. Add the grated garlic, paprika, and dill and season with salt. Cut off the fennel stalks and reserve for future use. Cut ends off the bulbs, then in half, and remove the out leaves. Cut the core out of the bulb in a ‘V’, leaving enough that the bulb stays intact. Cut the cucumber into quarters lengthwise, then slice away some of the seedy core to make a flat surface. Cut those pieces in half horizontally. Rub the vegetables with olive oil and season with salt. On a very hot grill, place the cucumber seed side down for one or two minutes until charred but still mostly raw. Remove and cool. Place the fennel cut side down on a less hot section, and cook until well grilled, and about half cooked. Remove and cool. Dress a plate with the tahini and place the vegetables over top. Give a liberal sprinkle of sumac and serve.

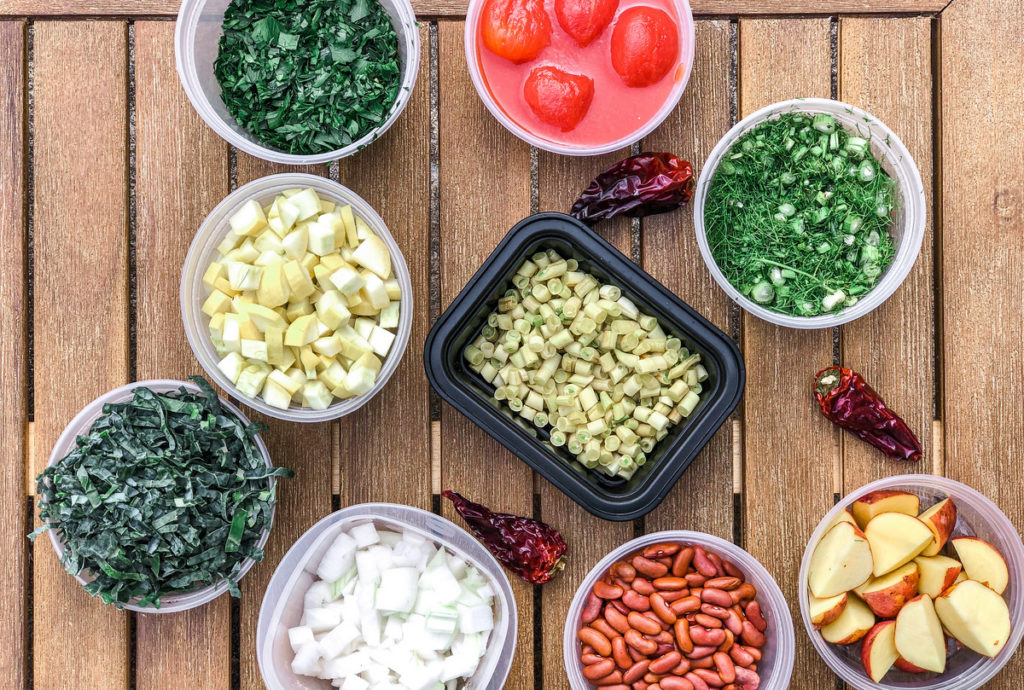
Minestrone

The first time my aunt went to visit our family in Italy each of our great aunts served her minestrone. More than 40 years later she refuses to eat it. I don’t suffer from the same affliction. Soup like this is restorative, and a great way to use the odds and ends left over from your CSA, plus the trimmings in broth, extra which can always be stored in the fridge for up to one week and frozen for no more than three months. We would serve it with a side of crusty bread or focaccia and a ball of mozzarella or burrata for a perfect lunch.
Ingredients
2 quarts vegetable broth (recipe below)
1 onion, small diced
3 cloves garlic, sliced
2 fennel stalks, sliced
1 squash, diced
1 cup peeled tomato and their juice, lightly crushed
1 cup dried beans, cooked ahead
1 cup kale, finely sliced
6 small potatoes, cut in half
1/4 bunch parsley, chopped
ground chili or chili sauce

In an instant pot, place all the trims from the vegetables for the week. Add a touch of oil and salt and turn on sauté . When you smell a bit of burning, and this is good!, add two quarts of water, seal, and pressure cook for 30 minutes. If you don’t have a pressure cooker, cook the vegetable bits in a heavy bottom pot until fragrant, then add the water and simmer for 70 minutes. Then strain the broth through a fine mesh sieve.

Sweat the onion and garlic on medium heat in some olive oil until translucent. Add a pinch of salt now, and every time you add an ingredient, to build the layers. Next add the fennel, and cook for one minute. Then the squash, potato, and kale, cooking until the kale starts to wilt. Then add the rest of the ingredients, bring to a boil, then cover and simmer on low for 20 minutes. Adjust the seasoning to your liking, and garnish with a splash of oil and some chili.

Palmer Marinelli is the Executive Director of Roughwood Table, an organization that uses heirlooms seed saving to shine a light on local foodways. Originally from Washington Crossing, he has been cooking locally for almost 20 years. 
Farro is an ancient grain, similar in appearance to rice, but with a more nutty nuanced flavor and a chewy texture. To prepare whole grain farro you need to think ahead and soak the grains overnight, but you can cheat and get the semi-pearled variety, which cooks in 15-25 minutes, and is available at most grocery stores and whole foods stores. Whole farro retains all the grain’s nutrients; with semipearled part of the bran has been removed but still contains some fiber.

I fell in love with farro after making this one-pan farro with tomato dish from Smitten Kitchen. If you aren’t familiar with the blog Smitten Kitchen, you should be! Her seasonal recipes that highlight the delicious flavors of farm fresh veggies always impress me- it is super easy to search her site by ingredient, and pull up lots of ideas. You can choose a simple recipe like the one pan farro and tomatoes, or get a little more ambitious, like this delicious zucchini galette I made with our zucchini and some farmers market ricotta from Fulper Farms (they have a stand at the Wrightstown Farmers Market on Saturday’s). And don’t get me started on Smitten Kitchen’s desserts!

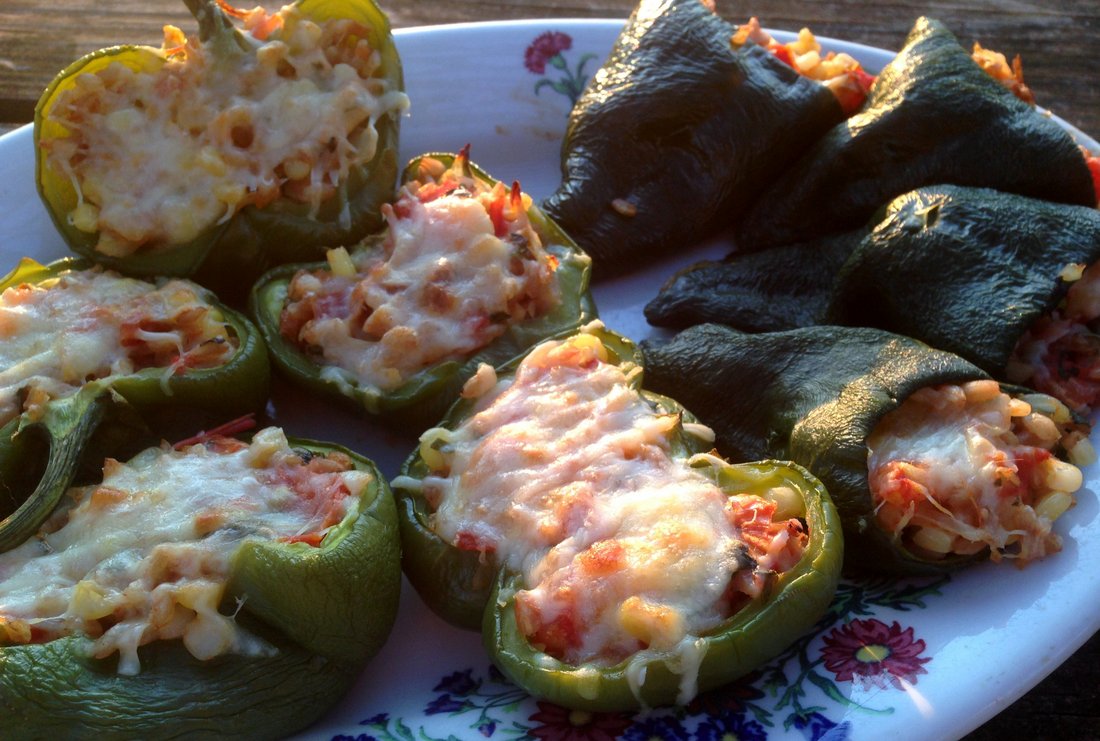
So when I saw the first harvest of our giant green bell peppers, I knew I wanted to stuff them with some sort of farro mixture. I brought 3 cups of water to boil and threw in a cup of farro and simmered it until the grains were the texture I wanted (chewy but not mushy), about 30 minutes. Some people say to simmer covered, I did it uncovered but had to add water periodically as it cooked off, so covered is probably a better bet (or start with more water and simmer gently).

In a large saucepan I sautéed in olive oil 4 cloves of garlic and one thinly sliced onion (you could use a sweet onion or the red torpedo’s). Then I added in a chopped tomato (or two), about a cup of leftover cooked corn kernels from our dinner the night before (cut off the cob). I also diced up a chicken breast from Hershberger Heritage, also leftover from grilling the evening before, and threw in a handful of chopped basil. Then I added most, but not all of the cooked and drained farro.  I simmered everything until the juices from the tomato were running.

Meanwhile, I cut two bell peppers in half lengthwise, seeding and coring them, being careful not to pierce the walls of the pepper. I also cut the tops off of some poblano peppers. The peppers went into a steamer basket for 15 minutes. Let cool enough to handle and carefully lay out on a cookie tray. Preheat your oven to 400 degrees. Spoon the farro mixture into the pepper halves, and stuff into the poblanos. Sprinkle with grated parmesan and mozzarella (or whatever cheese you have on hand). Bake for 20-25 minutes until cheese is melting and peppers are slightly browned. You can really improvise with the ingredients and scale depending on how many peppers you are stuffing and what you have on hand. Removing the seeds of the poblanos does reduce their heat, but I noticed that the membrane that the seeds are attached to is very hot, so as we got closer to the tip of the pepper, we were in for some delicious heat. You can either try to remove this membrane better than I did, or save the poblanos for those in your family who like that smoky heat.
Serve with a tossed salad- chopped romaine, cucumbers, grated carrots (and a glass of white wine?). Delicious!

Post and photos by Tricia Borneman, Blooming Glen farmer and co-owner.  Tricia and her husband Tom have been farming together since 2000. Blooming Glen Farm is celebrating its 11th season bringing high quality certified organic vegetables, herbs, fruits and cut flowers to our local community.