09 Sep Shishito Peppers- Three Ways!
Shishito peppers are one of my favorite discoveries from the farm. I didn’t even know they existed before receiving them in our CSA shares at Blooming Glen. They are generally mild but have the occasional spicy kick- you never know which one you are going to get! We have been receiving shishito peppers in our shares for a few weeks and I wanted to showcase them in this week’s recipe. What began as one way to use them quickly turned into three- charred shishitos, quick pickled shishitos, and tempura shishitos!
Shishito Peppers- Three Ways!
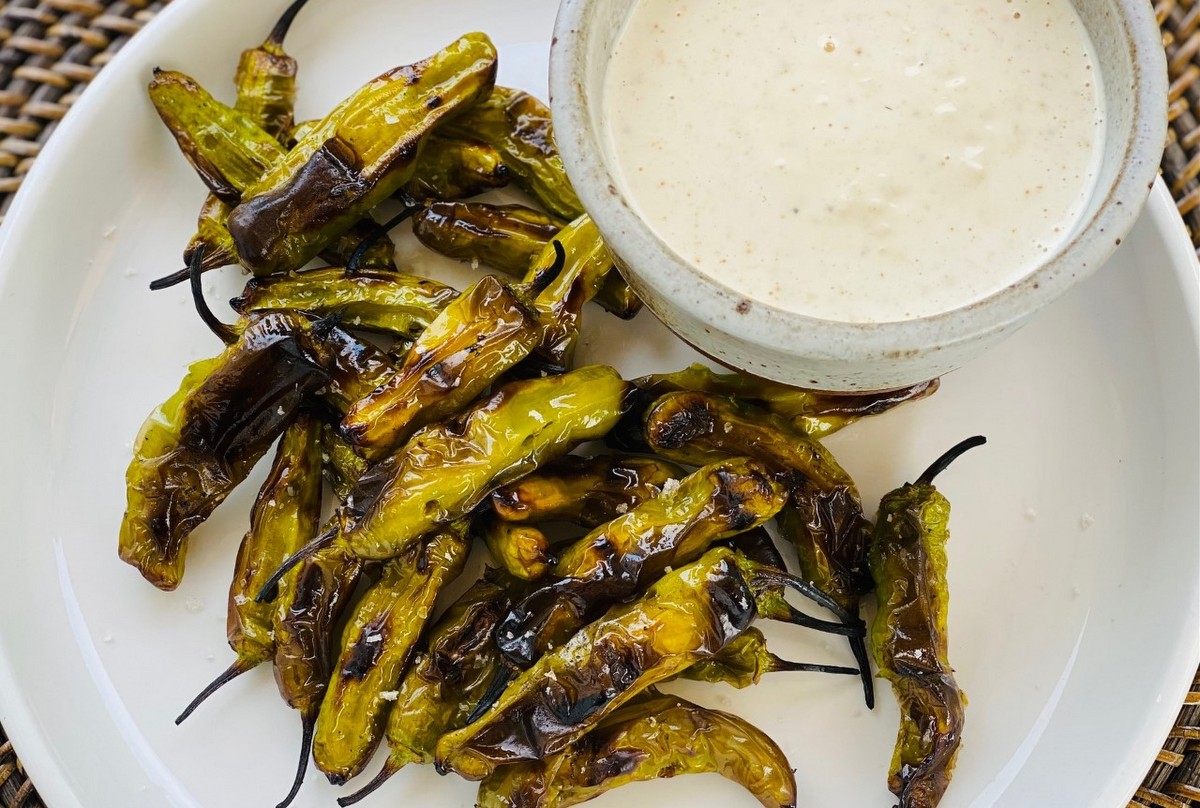
#1: CHARRED SHISHITOS
Ingredients:
20-30 shishito peppers
2 Tbsp olive oil
Coarse sea salt
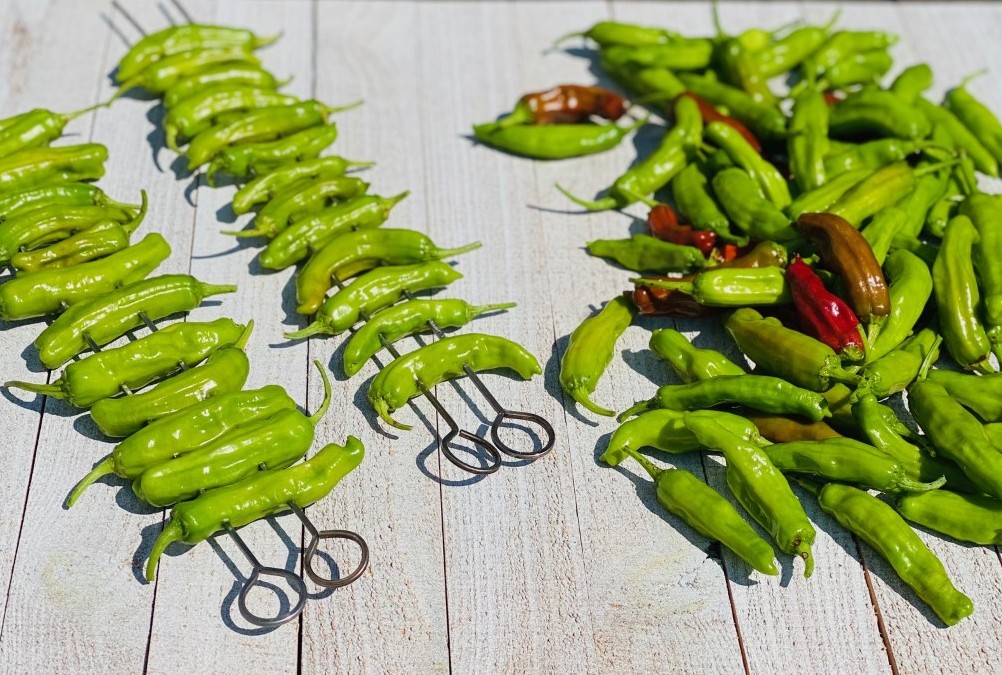
- Wash and dry peppers.
- Place peppers on skewers. It is best to use two skewers per row of peppers so that they don’t move around.
- Brush both sides with oil.
- Heat grill to high. Grill should be about 450°F.
- Grill skewers for 4-5 minutes on one side. Flip and cook an additional 4-5 minutes. Peppers should be cooked and charred where they hit the grill grates.

- Remove from grill and pull the peppers off the skewers.
- Sprinkle with salt and serve with roasted garlic sauce.
ROASTED GARLIC SAUCE
Ingredients:
1 small head garlic
½ cup mayonnaise
1/3 cup plain yogurt or sour cream
½ tsp sea salt
¼ tsp black pepper
½ tsp onion powder
¼ tsp paprika
- Wash garlic head and cut off the top. Wrap in foil. Bake at 350°F for 20 minutes.
- Remove garlic from oven and let cool for a few minutes.
- Once you can handle the garlic, remove the roasted cloves from the papery skins.
- Place the cloves in a bowl and smash them with a fork.
- Add the remaining ingredients and mix well.
- Chill before serving.
#2- QUICK PICKLED SHISHITOS
Ingredients:
3 cups shishito peppers, sliced into rings
4 cloves garlic, sliced
2 tsp sea salt
1½ cups vinegar (apple cider vinegar, white vinegar, or a mixture of both)
¾ cup water
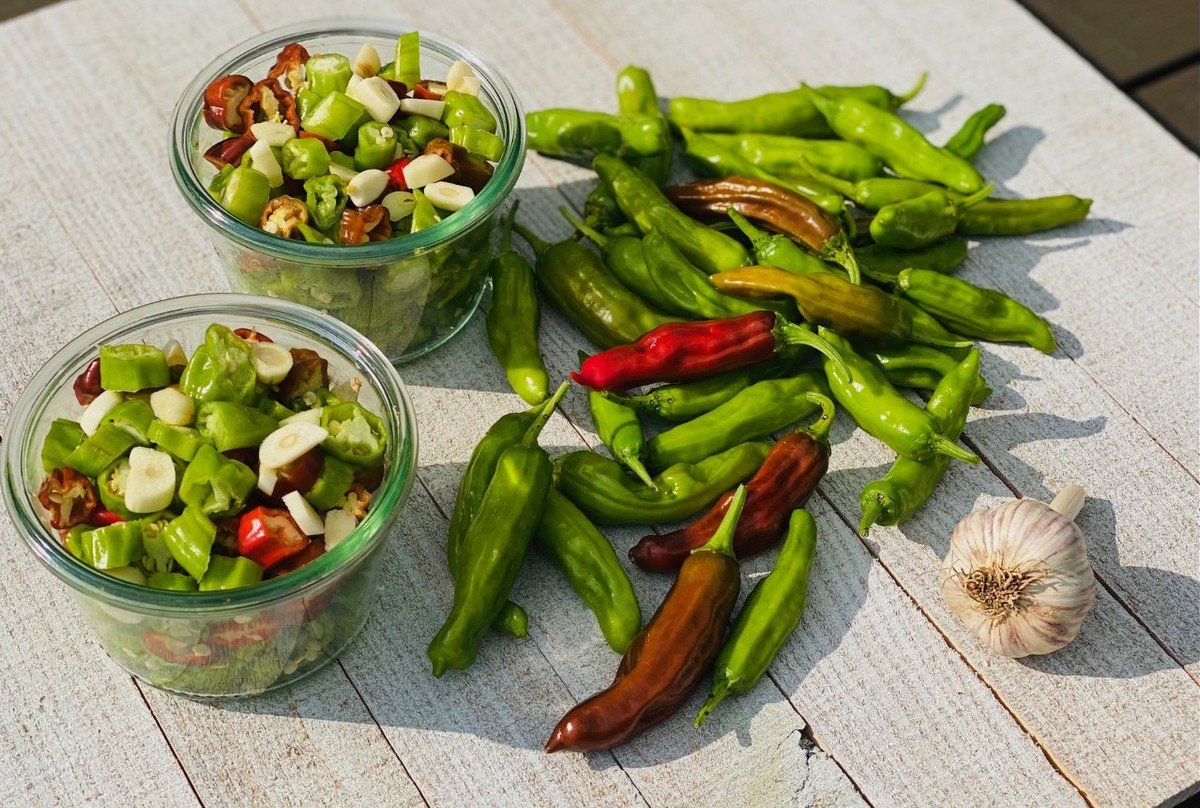
- Tightly pack the peppers and garlic into one or two glass jars. Sprinkle salt over top.
- In saucepan, heat vinegar and water to a boil. Reduce to a simmer and cook for 5 minutes.
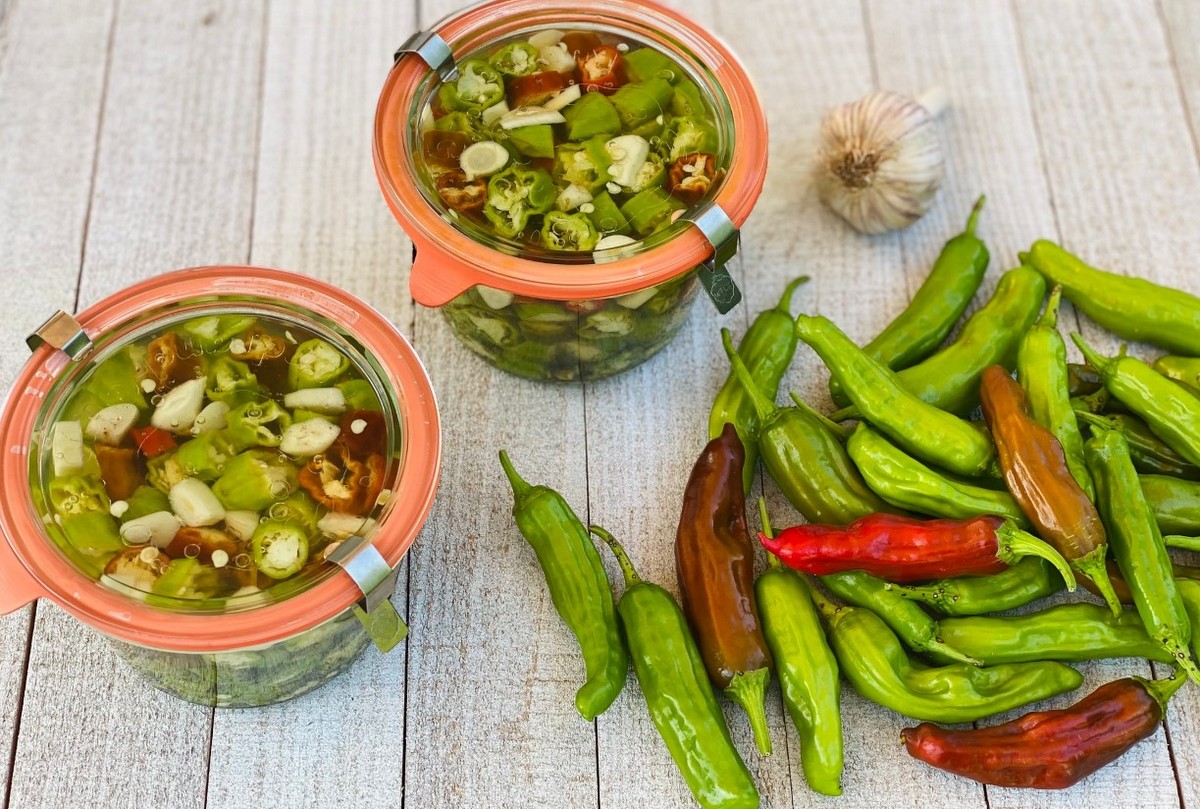
- Pour hot brine over the peppers and garlic. Liquid should cover all of the peppers and garlic.
- Cover jars, let cool on the counter, and then refrigerate.
- Allow to marinate for 24 hours.
- Enjoy with tacos, on chili, on sandwiches, on salads, or right out of the jar!
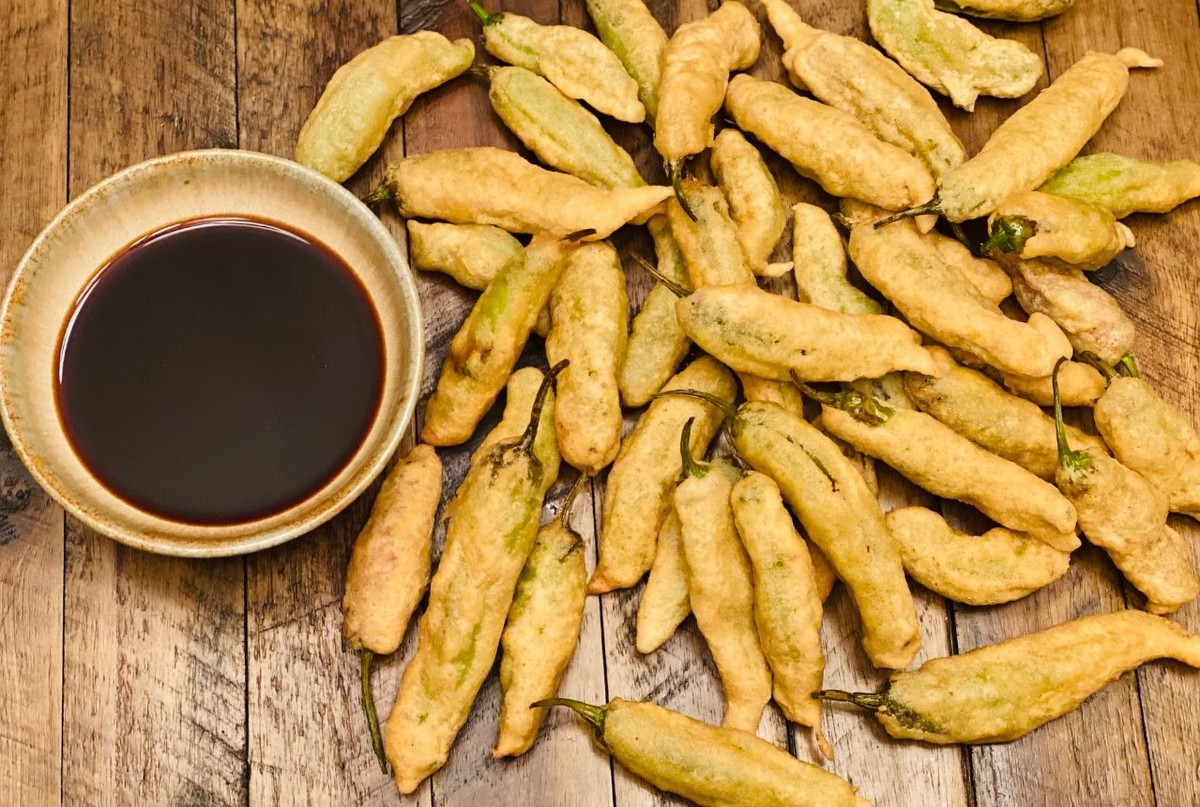
#3- TEMPURA SHISHITOS
Ingredients:
40 shishito peppers
1 egg
¾ cup plain seltzer or sparkling water
1 tsp sea salt
¾ cup all purpose flour (best gluten free option- cassava flour)
4-5 cups frying oil (avocado oil, coconut oil, palm shortening, etc.)
Soy sauce or coconut aminos, for dipping
- Wash and dry peppers.
- In a medium bowl, mix egg, seltzer, and sea salt.
- Add half of the flour and mix well. Add remaining flour and mix.
- If batter is too thin, add a little more flour 1 Tbsp at a time. If batter is too thick, add a little more seltzer 1 Tbsp at a time.
- Heat frying oil in large Dutch oven. The oil should be about 1 ½ – 2 inches deep. The temperature of the oil should be about 360-380°F.
- Holding the pepper by its stem, dip it into the batter and gently place in the hot oil. Continue to do this until you have about 6-10 peppers frying. You don’t want to overcrowd the oil.
- Fry the peppers for about 3-5 minutes or until golden.
- Remove from oil and place on a paper towel lined plate.
- Remove any loose batter pieces from the oil before frying the next batch.
- Continue cooking until all peppers are fried.
- Serve with soy sauce or coconut aminos.
Recipe and photos by Stephanie Borzio. Stephanie is a mom of three active boys and is an autoimmune warrior. After battling her own health for several years, Stephanie found healing through food and lifestyle changes, including joining Blooming Glen Farm CSA of which she is a long time member. She is a Board Certified Integrative Nutrition Health Coach who is passionate about sharing healthy living tips and real food recipes. Instagram and Facebook: Tru You Essentials; Website: www.truyouessentials.com