vegan Tag

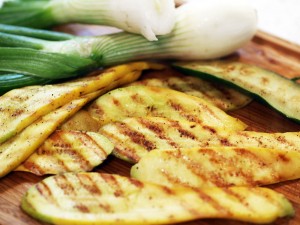
Grilled summer squashOne of my favorite parts of summer is the time we get to spend cooking and eating outside.  Grilling vegetables brings out a depth of flavor that just cannot be matched on the stovetop, and we’ve been taking full advantage of that with this season’s CSA share.  One of the best veggies to grill is summer squash and its partner, zuchinni.

Eating summer squash provides us with cancer-fighting antioxidant nutrients Grilled summer squashvitamin A, vitamin C and manganese. We also get a healthy dose of essential minerals magnesium and potassium, as well as copper. However, because many of these nutrients live in the skin of the squash, we need to make sure we leave it intact. Grilling summer squash allows us to do just that!

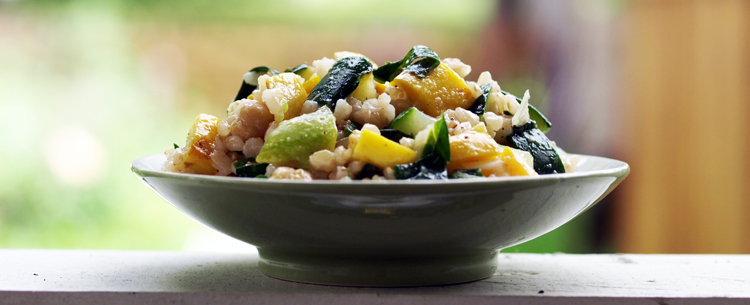
Of course, squash can be cubed or cut into disks for kabobs, but I really like it when its cut into planks and placed right on the grates of a hot grill. The recipe below calls for this method of cooking; give it a try and let us know what you think. I’ve paired the delicious and nutritious summer squashes with superfoods, brown rice and Swiss chard, and healthy plant protein from chickpeas. All that wrapped up into a summery salad suitable for a main dish or a side — that’s tough to beat!

Grilled summer squash

Grilled Summer Squash & Brown Rice Salad
Ingredients

1 cup brown rice
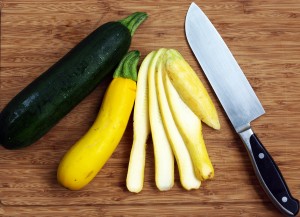
3-4 summer squash and/or zucchini, sliced lengthwise, about 1/4″ thick
5-6 leaves Swiss chard, stems completely removed (slice the stem out from between the two halves of the leaves)
1 can chickpeas, drained and rinsed
1/2 sweet onion and some of its greens, chopped

Dressing
2 tbs olive oil (or other oil of your choice)
1 tsp grated lemon zest plus 2 tbs juice
1/2 teaspoon agave
1/2 teaspoon salt
fresh herbs of your choice (basil works great here), chopped
additional salt and pepper to taste

Method
Cook the rice according to package directions.

Fire up your grill! Lay out the squash slices. Lightly spray each side with grapeseed (or other high-heat) oil, and then sprinkle with salt and pepper. Once the grill is heated, place the squash in one layer, cover and cook for ~3 minutes, until grill marks are apparent. Flip and cook another couple minutes, again until grill marks are apparent. Squash cooks very quickly on the grill and can become soggy (especially the larger ones) if left on too long, so be careful not to overcook. Remove from heat and let cool.

Blanch the Swiss chard in boiling water for 2 minutes, rinse in cold water and chop. Add chard, onion, chickpeas to a serving bowl.

Cut squash into a large dice and add to the bowl; you should have about 2 cups.  Gently stir in rice.

Combine the dressing ingredients in a small bowl. Mix well and then add to salad, stirring to combine everything. Adjust seasonings to taste.  Serve at room temperature, or chill.  This salad also make a great stuffing for tortillas or collard wraps.

Post and photos by Mikaela D. Martin: Blooming Glen CSA member since 2005, board-certified health counselor, and co-founder of Guidance for Growing, an integrative wellness practice in Souderton. Read more about healthy eating and living on her site, http://guidanceforgrowing.com!

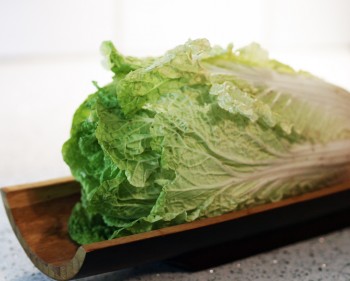
Napa CabbageThe delicate and pretty napa cabbage we found in our CSA shares this week regularly appears in East Asian dishes, from savory stir-fries to spicy Korean kimchi.  Napa is specifically a Chinese cabbage, comparable in flavor to bok choy and, of course, other cabbages.

Napa does have a milder flavor than the standard green and savoy cabbages, but still has all the nutrition those offer:

“[Cabbage’s] anti-inflammatory properties are stellar, thanks to the high content of an amino acid called glutamine. In addition to promoting the digestive process and intestinal health, glutamine has been shown to be useful in all sorts of treatments including burns and peptic ulcers. Because cabbage is a member of the cruciferous family, it’s also a great cancer-fighting food. Cruciferous veggies are high in indole-3-carbinol, a chemical shown to block the growth of cancer cells, as well as stimulate DNA repair in cells. Finally, a look at cabbage’s nutritional profile shows it as an excellent source of vitamins K and C, a very good source of fiber, manganese, folate, vitamin B6 potassium and omega-3 fatty acids, and a good source of thiamin (vitamin B1), riboflavin (vitamin B2), calcium, magnesium, vitamin A, and protein.”

This time of year, when the days are getting hotter and the air is humid, I prefer using napa uncooked, in a refreshing slaw.  There are tons of flavor varieties to play with when it comes to slaws.  Use the recipe below as a base, and try adding other shredded veggies, nuts, seeds, and vinegars.

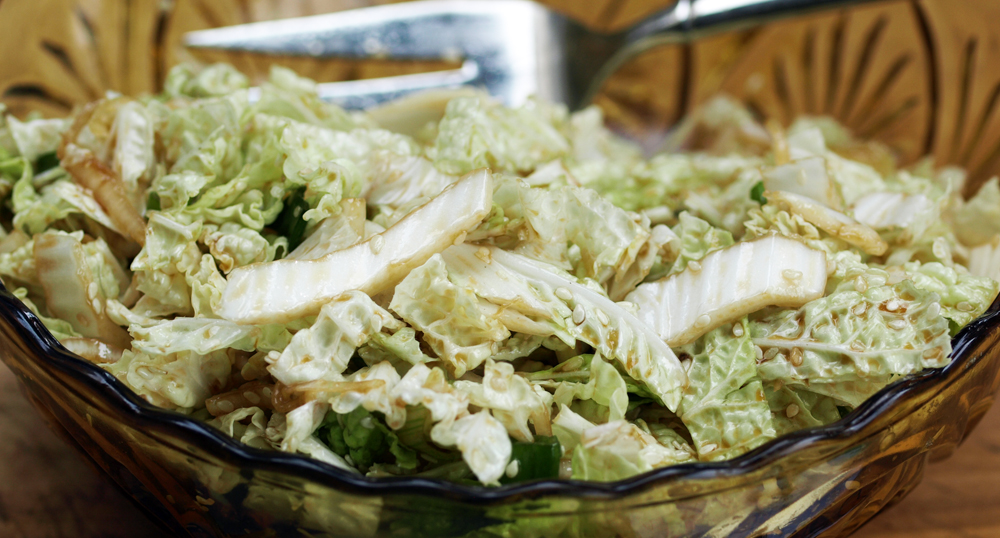
Sesame Napa Slaw
Sesame Napa Slaw
Ingredients
2 tablespoons sesame seeds
2 tablespoons sesame oil
1 tablespoon rice vinegar
1 tablespoon tamari sauce
1/2 teaspoon agave syrup
1 head napa cabbage, end trimmed, outer leaves removed, and chopped (about 4 cups)
2 green onions, with some of the greens, sliced thin
pepper, to taste

Method
In a bowl, mix the seeds, oil, vinegar, tamari and agave.  Add the cabbage and onion and toss, so that dressing coats the veggies. Pepper to taste and serve.

Post sources and recommended links:
Cabbages, from The Cooks Thesaurus.
8 Things to do with Napa Cabbage from She Knows.
Napa Cabbage: 5 Healthy Uses and Nutrition Facts, from Lunch Box Bunch.

Post and photos by Mikaela D. Martin: Blooming Glen CSA member since 2005, board-certified health counselor, and co-founder of Guidance for Growing, an integrative wellness practice in Souderton. Read more about healthy eating and living on her site, http://guidanceforgrowing.com!

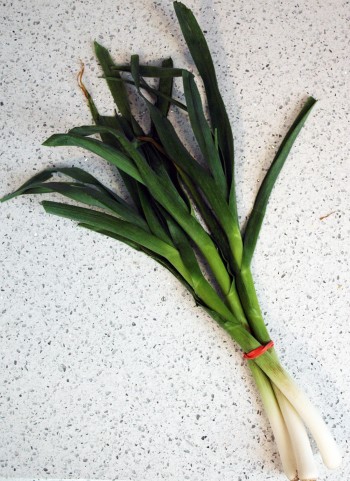
Green garlic stalkWoo hoo, another season has begun at Blooming Glen Farm! I’m sure you were as excited as I was about the first share of the year. Fresh strawberries, lots of greens (including gorgeous spinach), turnips, and green onions and garlic have been making their way into our meals all week.

Green garlic is probably a crop that most of us aren’t too familiar with, but can do a lot for meals and nutrition. Green garlic is “baby” garlic, also known as spring garlic. Although it’s smell is as pungent as the mature bulb, the flavor is much more mild and can be enjoyed raw in salads, or cooked, where it sweetens up a bit. The greens can also be used, similar to how one would use chives. As far as nutrition, green garlic contains the same great benefits as garlic:

  • Allicin, a natural antibiotic that helps boost your immune system by blocking infections.
  • Iron, which keeps iron levels high in your blood stream, and ferroportin, a protein that transports iron from the inside of a cell to the outside of it.
  • Vitamin C, a super vitamin that can help with everything from weight management to cancer prevention.
  • Vitamin B6, which has been shown to help prevent heart disease.
  • Selenium, which support our cancer-fighting antioxidant system.
  • Manganese, another mineral that supports antioxidant efforts, as well as our “good” cholesterol (HDL).

Luck for us, there are lots of ways to utilize green garlic in the kitchen. Here are a few yummy recipes to add to your recipe box:

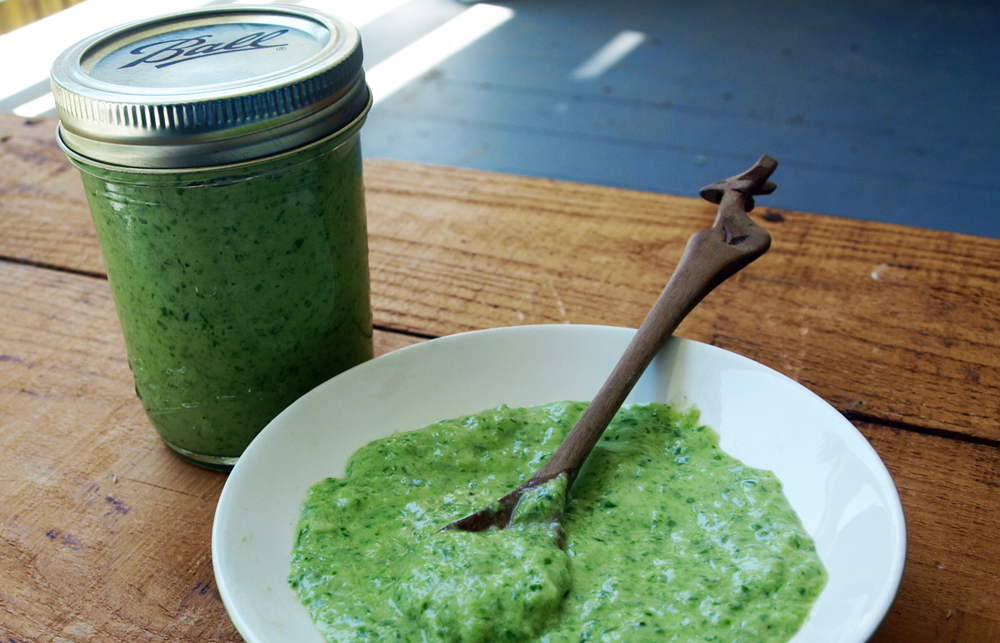
I’ve been using the creamy (and bright!) green garlic dressing below with grain and pasta salads, green salads, and in stirfries this week.  I’ve played with a couple different oils and vinegars and they all turned out tasty. If you don’t have the called-for ingredients, feel free to play around with what you do have on hand!

Green garlic dressingGreen Garlic Dressing
Ingredients
2 stems of green garlic, trim bulbs, include greens
1/4 cup champagne vinegar
1/4 cup sesame oil
1/4 cup water
1 tbs agave honey, plus more to taste
salt and pepper, to taste

Method
Simply add all the ingredients to a food processor or blender and blend until smooth, adding a bit of water if needed. Adjust agave, salt and pepper to taste.

Post sources and recommended links:
What’s New and Beneficial About Garlic, from WHFoods.
Ferroportin on Wikipedia.
Spring Vegetable to Try: Green Garlic, from PopSugar.
Green Garlic: All The Flavor & Nutrients 5 Calories Can Handle from Your Organic Gardening Guide.

Post and photos by Mikaela D. Martin: Blooming Glen CSA member since 2005, board-certified health counselor, and co-founder of Guidance for Growing, an integrative wellness practice in Souderton. Read more about healthy eating and living on her site, http://guidanceforgrowing.com!

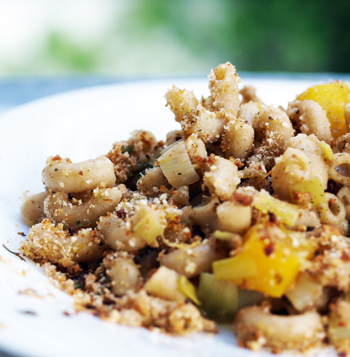
Butternut Squash & Leek CasseroleNothing says autumn harvest like a butternut squash, right? Like its buddy, the delicata squash, butternut is low in calories, carbs, and fat, and high in vitamins A and C. Butternut squash also provides a very healthy dose of the minerals, potassium and manganese, and is a good source of vitamin E, thiamin, niacin, vitamin B6, folate, calcium, and magnesium. Additionally, the carotenoids that provide its gorgeous color also deliver antioxidant and anti-inflammatory properties. As if that weren’t enough, butternut squash also lives up to its silky, delicious, buttery name. Beauty and brains — you just can’t beat it!

Butternut squash tastes divine after roasting, which really brings out its sweetness. It also makes a great soup, where you can add savory elements for a great depth of flavor — a loaf of Bakers on Broad bread completes this tasty meal! Finally, pair butternut squash with whole grains; the smooth texture of the squash makes an excellent partner to hardy whole grains. The cool weather inspired the butternut squash casserole recipe below, which also uses in-season leeks. Let the oven warm up the house and serve this comfort food with a side of green’s from this week’s share.

References and recommended links:

Butternut Squash & Leek CasseroleButternut Squash & Leek Casserole
Ingredients
1 tbs grapeseed oil
3 leeks, sliced into half-moons
1 butternut squash, peeled, seeded and cut into 1-inch pieces
1 can coconut milk
1/4+ tsp cayenne pepper
Salt and pepper to taste
1-2 tbs chopped herbs (rosemary, sage, and/or thyme work great)
1 box (13.25oz) dried whole wheat elbow macaroni
1/2 cup whole wheat bread crumbs

Method
Preheat oven to 350-degrees. Lightly spray a 9- x 13-inch casserole dish with grapeseed oil.

Heat oil in a heavy-bottom pot over medium heat. Add leeks and cook, stirring often, until softened, about 5-7 minutes. Add squash, coconut milk, cayenne, salt, and pepper and turn up heat to a boil. Cover, reduce heat, and simmer until squash is tender, about 15-20 minutes. Stir in herbs and simmer another minute.

Meanwhile, cook macaroni al dente, about 7 minutes. Rinse in cold water, drain, and put into a large bowl. Transfer squash mixture to bowl with macaroni. Add salt and pepper and toss to combine. Transfer to casserole dish and top with bread crumbs. Bake until it begins to brown and is cooked throughout, about 25 minutes.

Post and photos by Mikaela D. Martin: Blooming Glen CSA member since 2005, board-certified health counselor, and co-founder and -owner of Guidance for Growing, an integrative wellness practice in Souderton. Read more about healthy eating and living on her site, http://guidanceforgrowing.com!

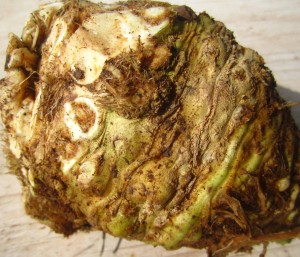
The knobby warty exterior of celeriac, also called celery root, hides a delightful interior. Peel away the rough skin and inside is the smooth ivory flesh, a wonderful aromatic alternative to starchy potatoes. Celeriac is one of those vegetables that can seem intimidating, but after some experimentation it will quickly become a versatile favorite in your kitchen.

Though celeriac will keep for many months in your refrigerator, and up to 6 months in the right root cellar conditions, hopefully you will be inspired to use it sooner. This first idea, because it really is more an idea than a recipe, utilizes celeriac in its raw state. Thanks to nutrition coach Patti Lombardi, who taught a class here at the farm All About Greens, this is quickly on its way to becoming a lunchtime staple in our house!

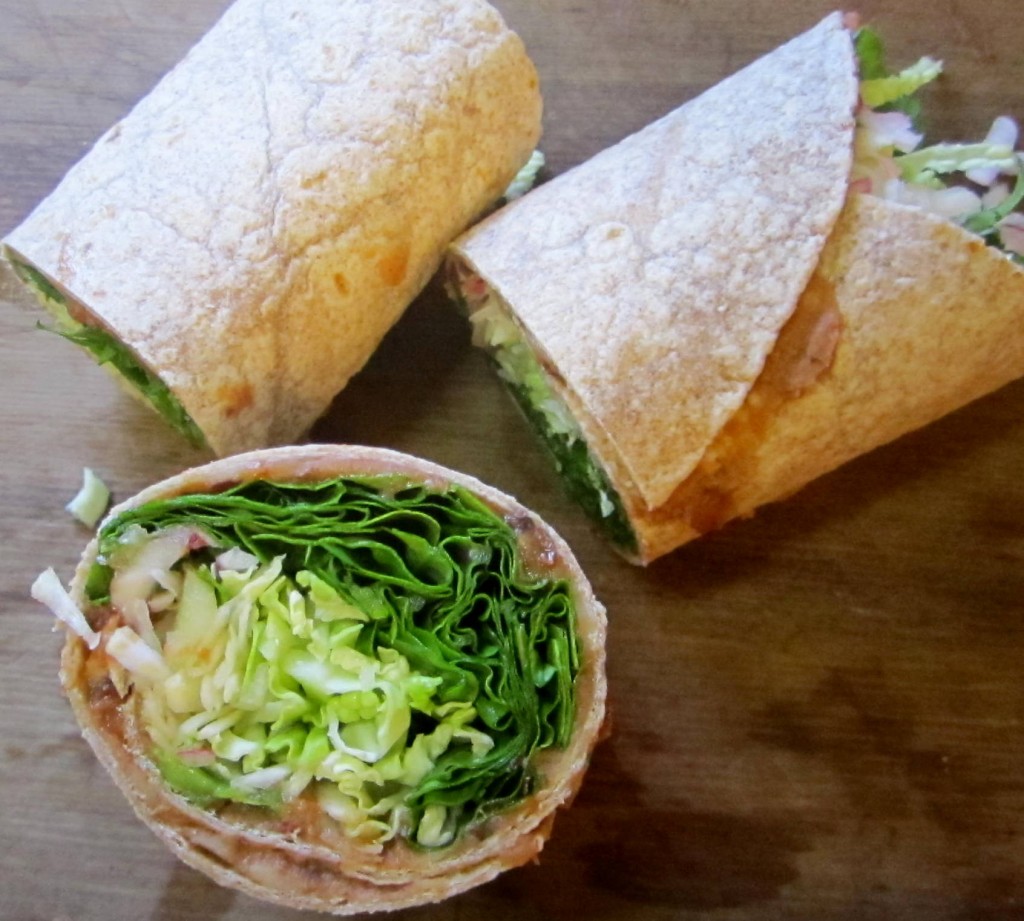
Spicy Green Wraps

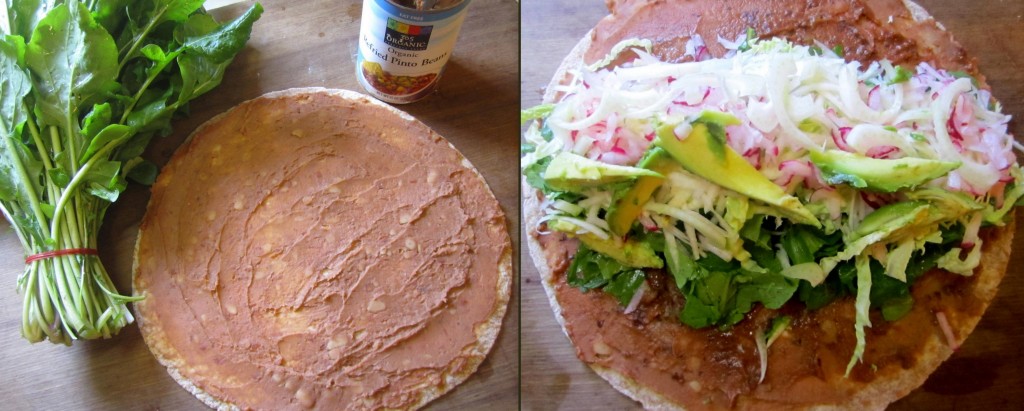
First take one large flour tortilla– I used the biggest ones I could find at Whole Foods- “All Natural Roll-Ups made with whole wheat flour“. Next, decide what you want to use as the “glue”. Patti suggested organic refried pinto beans– spread evenly over the tortilla, and for a little added flavor and spice, a bit of spicy black bean dip (or salsa if you prefer). Hummus would be another idea.

After painting on the “glue”, roughly chop 1/2 a bunch of arugula and pile it down the middle of the tortilla. (You can also experiment with lettuce or kale, always putting the softer greens down first onto the tortilla).

Next comes the crunch- add some finely chopped cabbage. Grate 1/3  of a celeriac, spread on top of the cabbage. Add three grated french breakfast radishes on top of that, and some thinly slivered fennel. I happened to have some ripe avocado, so that went into the mix. Lightly season with sea salt and squeeze a bit of lemon wedge on top.

Then it’s time to wrap it up. Lift the side of the tortilla closest to you (the edge at the bottom of the photo on the top right). Roll away from you into a big tube, using your fingers to press the greens under the wrap and your thumbs to keep the wrap rolling, pressing down tightly as you roll. Don’t worry if you rip it on your first try (I did), but my second one came out perfect. Cut in half (serves 2).

*In the class Patti held here at the farm, her version contained sweet peppers and grated carrot (no radishes), which was a bit sweeter. The great thing about these wraps is you can adjust to your taste, and use whatever happens to be in the share that week. You could also add chicken or turkey if you desire.

Simple Celeriac Saute

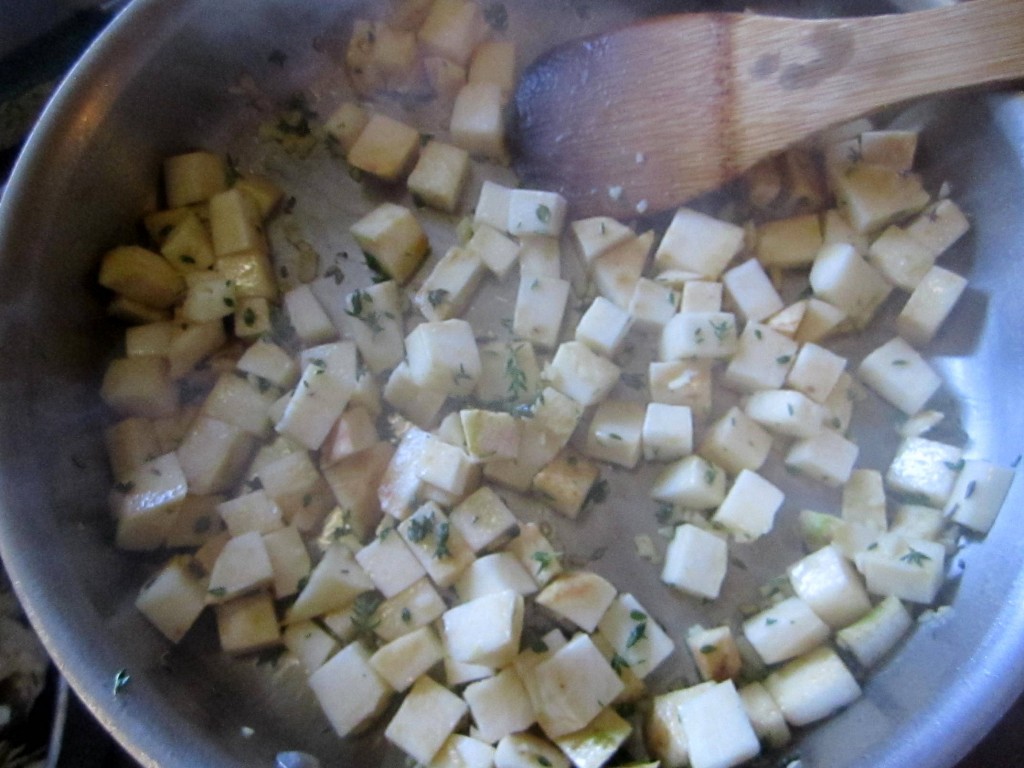
A lot of recipes with celeriac have you partnering it with potatoes in a mash, roasting it with other assorted root vegetables, or adding it to a soup. In this simple stove-top dish, celeriac plays the starring role. Lightly seasoned, the flavor of the celeriac shines through, making for a wonderful side dish. I also imagine it would be great on top of lentils.

Using a paring knife carefully off the rough exterior of one celeriac. Cut into 1/2-inch cubes. Over high heat, put a few tablespoons of olive oil in a large saute pan. Add the cubed celeriac, a handful of thyme leaves, and 2 cloves finely chopped garlic. Season with sea salt and fresh ground pepper. Stir to coat and fry for about 5 minutes. Turn down to a simmer and add 3-4 tablespoons water or stock– I used 3 cubes homemade chicken stock I’d frozen in ice cube trays.  Place a lid on top and cook for around 25 minutes, until tender. You can leave in the celeriac in cubes or smash it a little (somewhere in between a cube and a mash). (*Recipe courtesy of JamieOliver.com)

Celeriac Gratin

So far we’ve done celeriac raw and a simple seasoned stove-top celeriac saute. Now let’s do an indulgent comfort dish, sure to please any picky eaters in your family.

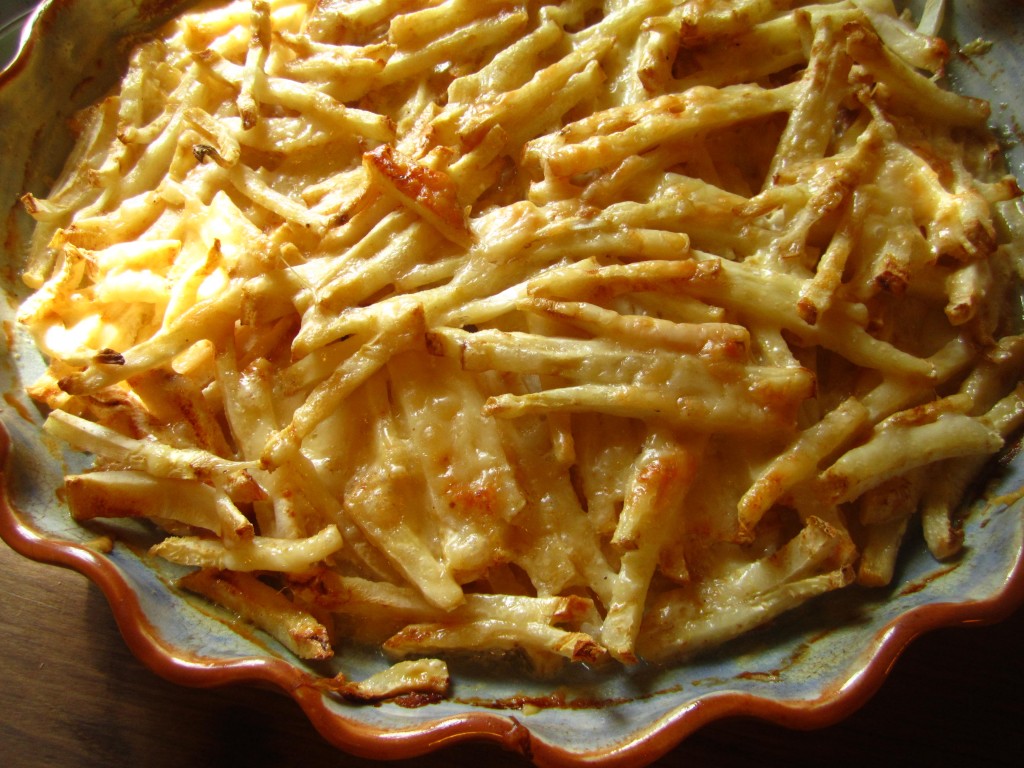
Pre-heat your oven to 400 degrees. Butter a 1 1/2 quart gratin dish, or large deep dish pie plate. Scatter 4 thinly sliced shallots over the bottom of the dish. Take two large peeled celeriacs, cut in half, then cut each half into 1/4-inch thick slices, and julienne. Arrange evenly in gratin dish. Sprinkle 2 sprigs thyme leaves over celeriac.

In a small bowl, whisk together 1 cup heavy cream, 1 tablespoon Dijon mustard, dash of nutmeg, and salt and pepper. Pour over celeriac. Sprinkle on top 3/4 cup grated Gruyere cheese and 1/4 cup freshly grated Parmesan cheese. Cover with foil and bake 20 minutes. Remove foil and continue baking until top is brown and bubbly and cream is thickened and reduced, about 20-30 more minutes. Let cool 10 minutes and serve. (*Recipe from MarthaStewart.com)

Photos and text by Tricia Borneman, Blooming Glen farmer and co-owner.

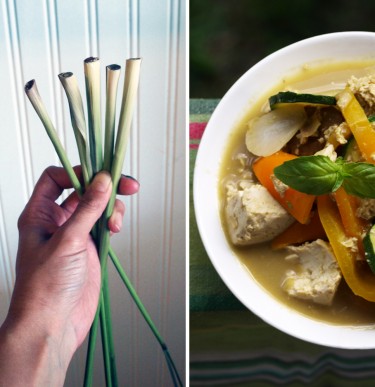
Lemongrass and CurryLemongrass is one of the many herbs grown at Blooming Glen Farm. Its lovely scent is due to citral, also the active ingredient in lemon peel, which has strong bacteria- and fungal-fighting antimicrobial qualities. Lemongrass is high in folic acid and essential vitamins, including B5, B6, ND B1, as well as the antioxidants vitamins C and A, potassium, zinc, calcium, iron, manganese, copper, and magnesium.

Native to India, lemongrass is not only nutritious, but tasty, too! It’s commonly used in Thai and Vietnamese dishes, particularly soups and curries. It’s unique citrus flavor really brightens up recipes, and is more versatile than one might think. It pairs well with everything from tofu to beef, and can even be used in tea. See below for a flavorful green curry recipe that not only uses lemongrass, but also lots of other goodies from this week’s share.

References and recommended links:

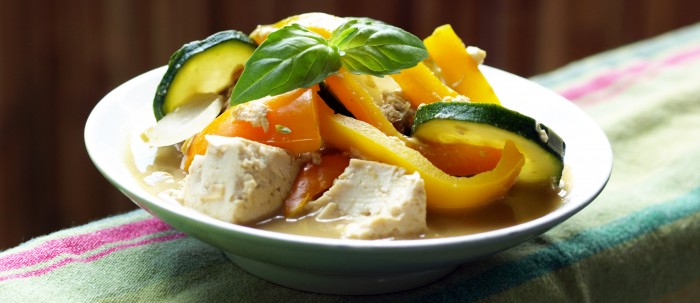
Summer Veggie and Lemongrass Green Curry

Summer Veggie and Lemongrass Green Curry

Ingredients:
1 can coconut milk
2-3 tbs green curry paste (I use Thai Kitchen, available in the Asian section of the grocery store)
4-5 stalks of lemongrass; trim off the grassy tops so that you’re left with about 6 inches or the stalk, then remove any tough outer leaves and mince.
2 tbs tamari
2 tbs brown sugar
1 lb tofu, drained, pressed, and cubed
2 sweet peppers, julienned
1 zuchinni, sliced into disks
1/2 an onion, julienned
1/2 Chinese eggplant, sliced into disks
1/3 cup basil, cut into ribbons

Method:
Heat coconut milk, lemongrass, curry paste, tamari, and brown sugar in a deep skillet over medium-high heat. Mix well, bring to boil, reduce heat and simmer 5 minutes. Add tofu, simmer 7 minutes longer. Add vegetables, cover, and simmer, stirring occasionally, until veggies are cooked through, about 10 minutes. Stir in basil and serve.

Post and photos by Mikaela D. Martin: Blooming Glen CSA member since 2005, board-certified health counselor, and co-founder and -owner of Guidance for Growing, an integrative wellness practice in Souderton. Read more about healthy eating and living on her site, http://guidanceforgrowing.com!
Mmm… nothing says summer like a refreshing, juicy, crunchy slice of watermelon, does it? Big fat watermelons are in the share and at the markets again this week. This, of course, is a great thing, and not just because of the incredible taste — this big fruit offers up some big nutrition, too!

Watermelon is a natural thirst-quencher that has been shown to decrease the inflammation linked to health conditions from asthma to skin conditions. It also provides several beneficial antioxidants, including vitamin C, beta-carotene and lycopene. And, because of watermelon’s high water content, calorie for calorie, it’s a very good source of vitamin B6 and a good source of vitamin B1, magnesium, and potassium.

Here are two new ways to get this delicious and nutritious fruit into your belly:

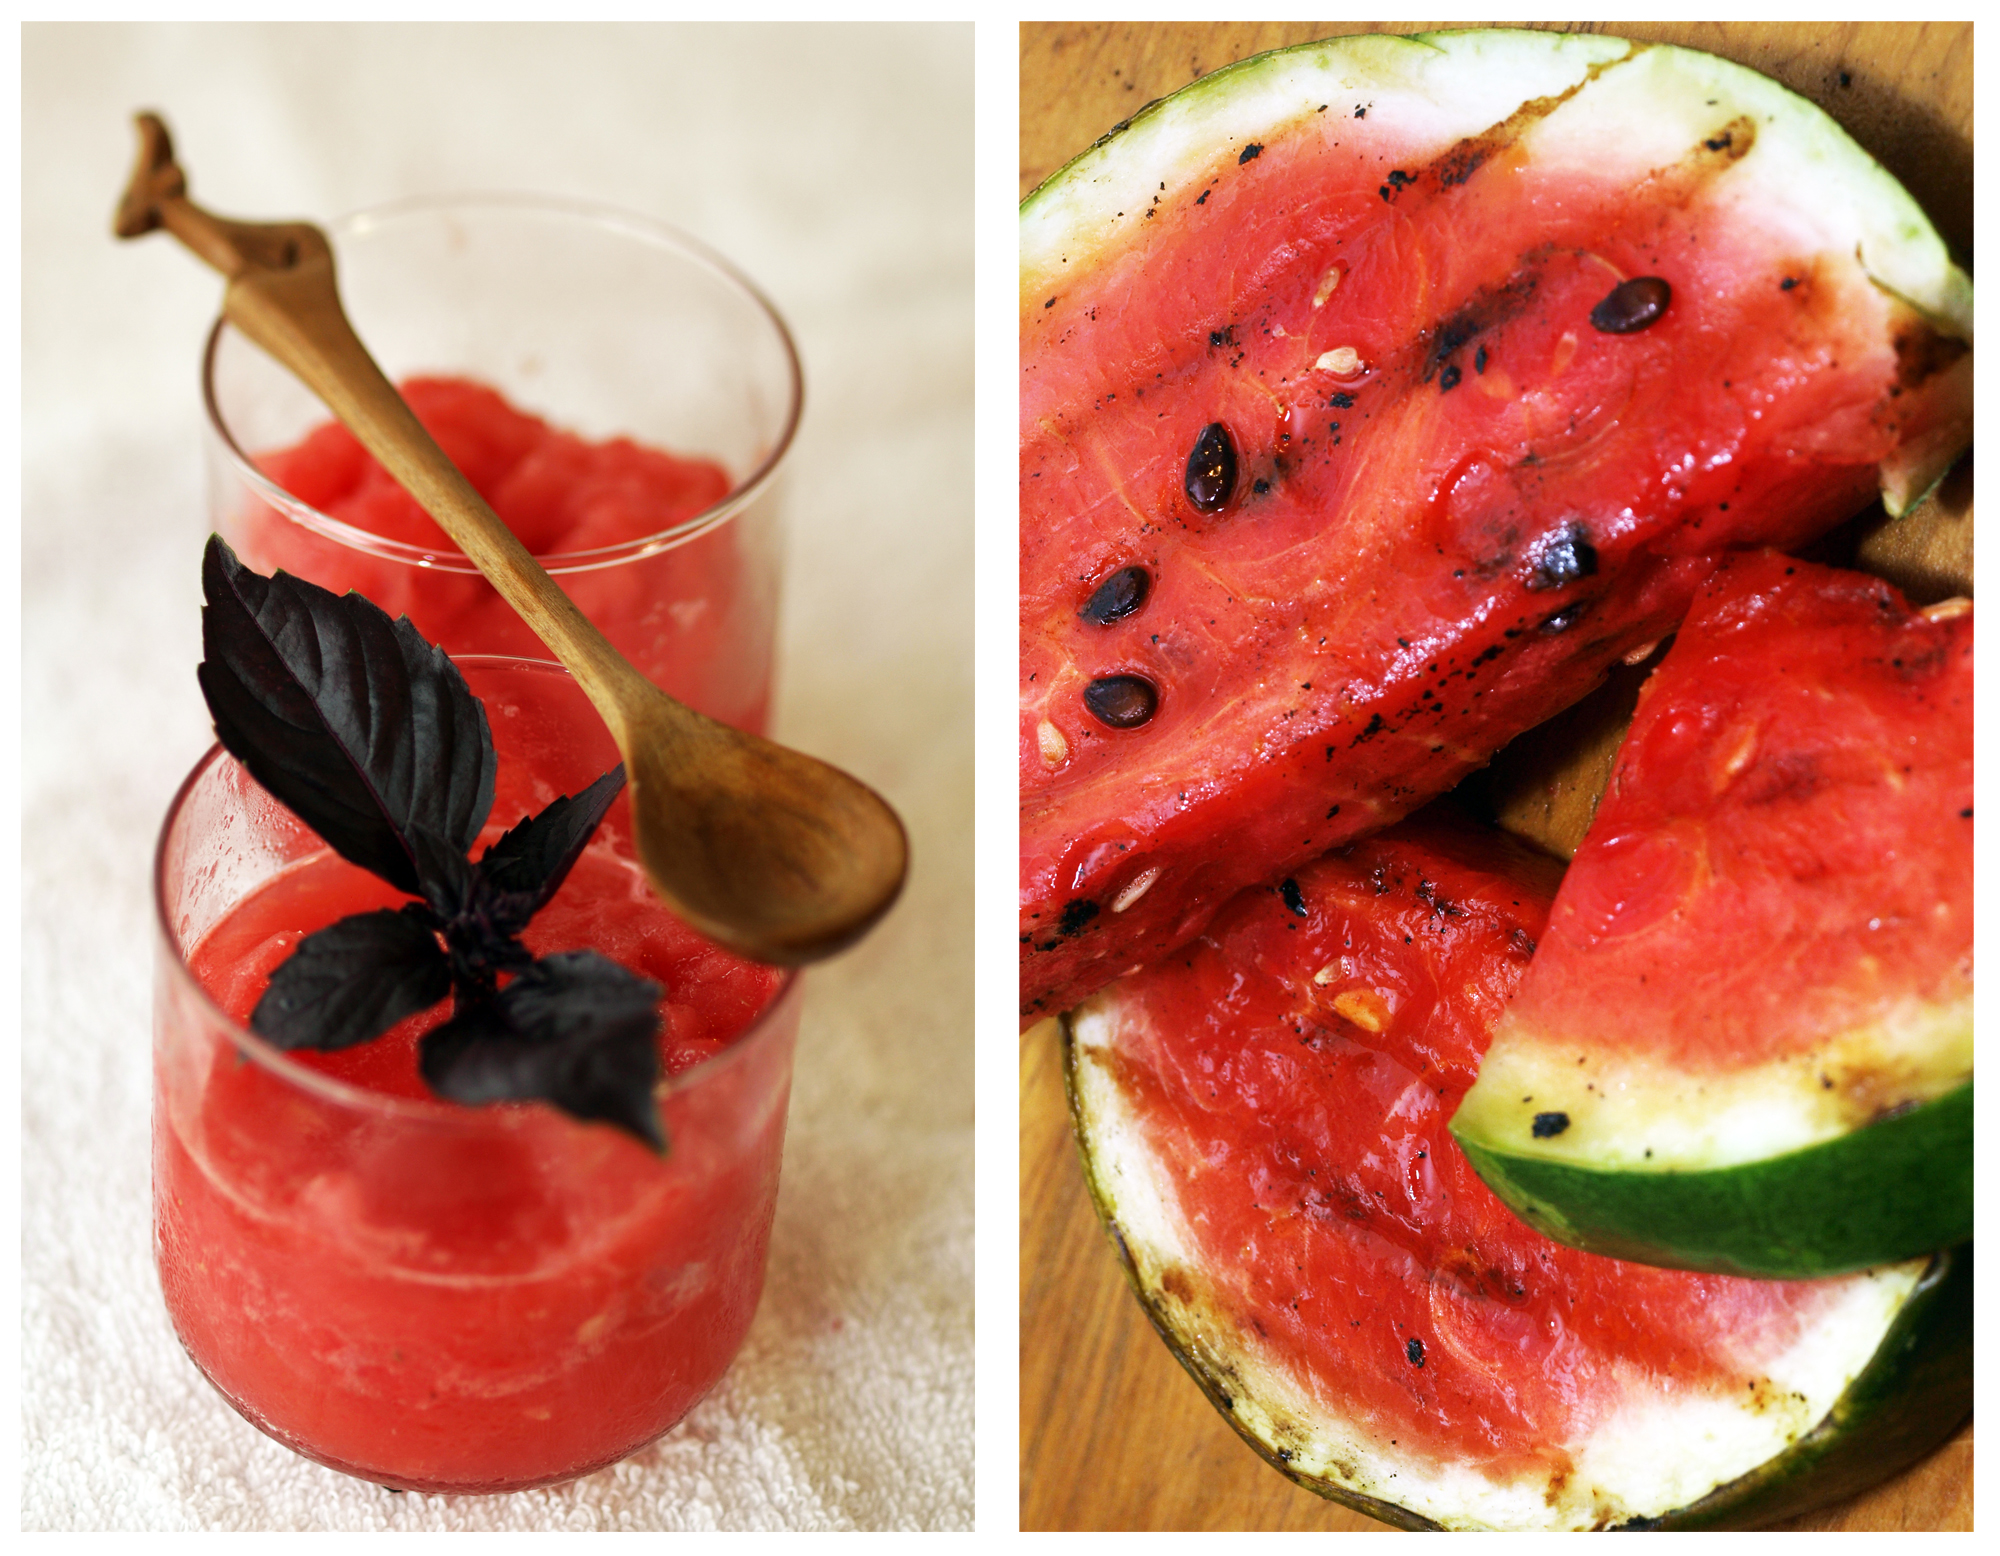
Watermelon two ways: Frozen & Grilled


Frozen —
Cut watermelon into chunks, place on a clean cookie sheet (removing seeds as you go) and freeze overnight. Frozen watermelon chunks can then be used to make all kinds of smoothies, just add your favorite juice or water, a bit of sweetener and/or fresh herbs, and blend. Our most recent favorite flavor is a raspberry-lime watermelon smoothie: Mix 2 cups of watermelon chunks, 1/2 cup water, 1/2 teaspoon raspberry agave and a squeeze of lime juice in a in a blender or food processor (or use a hand blender). Garnish with basil — or blend it in!

Grilled — Slice watermelon in 1″ slices. Place on heated grill for 2-3 minutes, flip and heat for another 2-3 minutes. You should see grill marks and the sugars from the fruit should become caramelized. Eat slices as is, or cut into chunks and serve on a bed of spring greens with vinaigrette dressing, a topping of feta cheese and/or nuts.

Post and photo by Mikaela D. Martin: Blooming Glen CSA member since 2005, board-certified health counselor, and co-founder and -owner of Guidance for Growing, an integrative wellness practice in Souderton. Read more about healthy eating and living on her site, http://guidanceforgrowing.com!
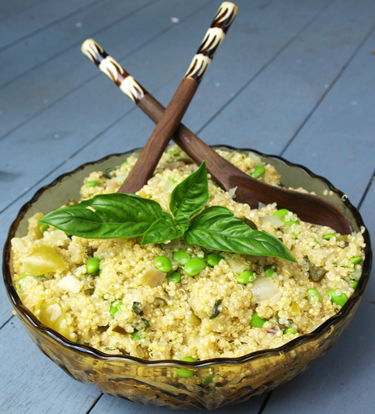
Basil Quinoa with Edamame and TomatillosPoblano peppers are one of the most mild of hot peppers, measuring 1,000 to 2,000 Scoville Heat units. This is quite modest compared to, for example, it’s fiery relative the cayenne pepper, which has a heat unit of 30,000 to 50,000! The light spice of the poblano makes it a very versatile ingredient in the kitchen, and since it won’t singe taste buds, you can really taste its flavor.

The heat in poblanos and other peppers is caused by plant compounds called capsaicinoids, which are generally thought to exist as a natural deterrent against animals and fungi. Capsaicinoids have been linked to several health benefits over the years including, improved circulatory and heart function; pain management for arthritis, neuropathy and psoriasis; balanced and healthy cholesterol; increased metabolism; and even prevention against prostate cancer. Of course, poblanos mildness does means it has less capsaicinoids than the aforementioned cayenne or even a jalapeño, but it is worth noting.  And, like most veggies, all peppers are low in fat and cholesterol, high in fiber, and contain free radical-fighting antioxidants — a great addition to any diet!

We’ve posted a few recipes on the blog that feature poblanos; Summertime Chili, Creamed Sweet Corn with Poblanos, and Stuffed Poblanos with Mexican-style Quinoa. The recipe below uses two superfoods, edamame and quinoa, as well as flavorful basil and tomatillos, making it not only a nutritious, but delicious dish.

References and recommended links:

Ingredients:
1 bunch fresh edamame, pods removed from branches
1 cup quinoa
1 tbs grapeseed oil
4-5 tomatillos, chopped
1 onion, chopped
3 garlic cloves, minced
1-2 poblano peppers, seeded and chopped
2 tbs chopped fresh basil, chopped
2 cups No-chicken Broth

Method:
Heat enough water to cover edamame pods and bring to a boil. Add edamame and blanch for 3 minutes. Drain and set aside.

Heat oil in a heavy-bottomed pan or pot (a dutch over works great). Add onions and cook until translucent, about 3-4 minutes. Add garlic, tomatillos, and jalapeño and cook until tender, about 5 minutes. Add quinoa, basil, and broth and bring to a boil. Reduce heat to low, cover and let simmer 10-15 minutes, until quinoa is cooked through.

Shell edamame and put beans aside.

Remove quinoa from heat, stir in edamame and let sit for 5 minutes. Salt to taste.

Post and photo by Mikaela D. Martin: Blooming Glen CSA member since 2005, board-certified health counselor, and co-founder and -owner of Guidance for Growing, an integrative wellness practice in Souderton. Read more about healthy eating and living on her site, http://guidanceforgrowing.com!
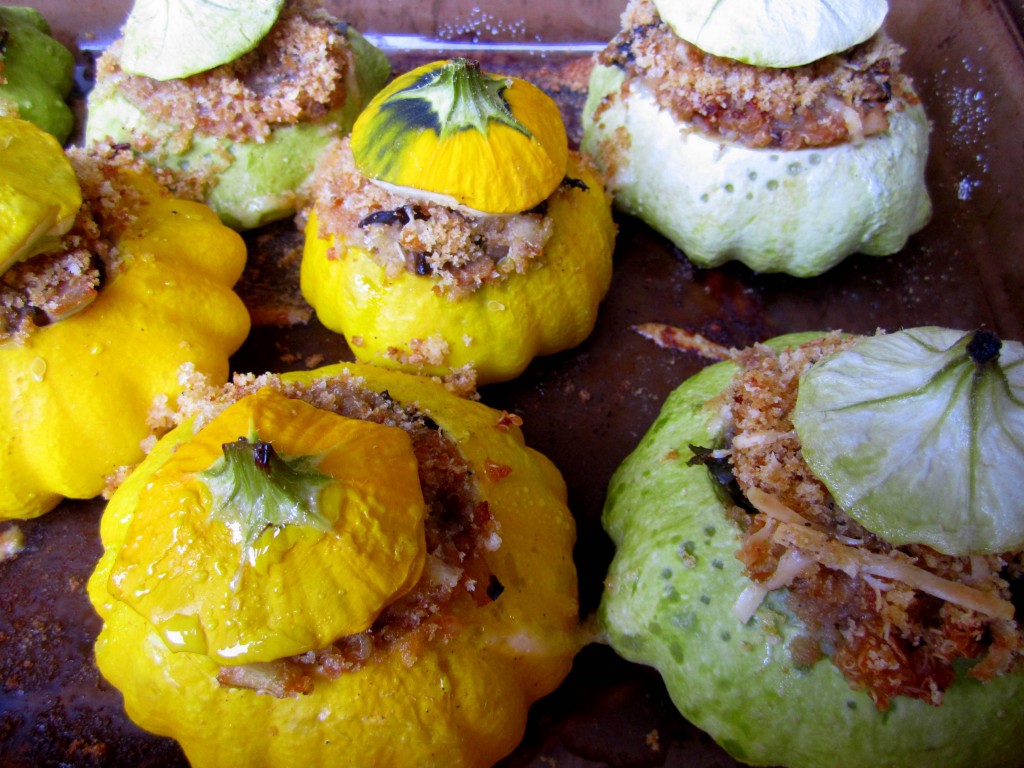
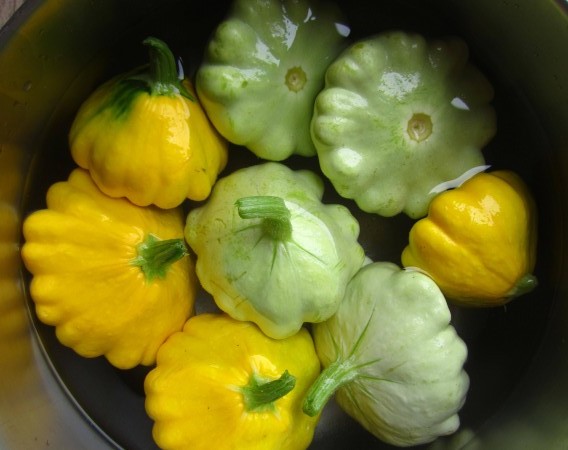
You might have seen them at the market or in your CSA share, and wondered what are those flying-saucer shaped squashes? Depending on where you’re from, they go by any number of different names. When we farmed in Oregon it was called sunburst squash, here we call it pattypan squash, but it also goes by scallop squash, white squash, button squash, granny squash or custard squash. Their light green or bright gold rinds remain thin and edible. Their insides are white, with a mild, buttery flavor. It’s shape is whimsical and versatile- you can chop it up and use it like regular zucchini, or if you want to preserve its character, stuff it whole.

Stuffed Pattypan Squash

I used three pounds of pattypan squash, 8 squash, each about the size of my fist, or smaller. You could do less, larger squash, and just adjust the cooking time accordingly.

Cook 1/2 cup quinoa in 1 cup water, or for more flavor I used homemade chicken broth. Feel free to substitute your grain of choice.

Meanwhile pre-boil the whole patty pan squash for about 5 min, just to soften them a bit and make cutting them easier.

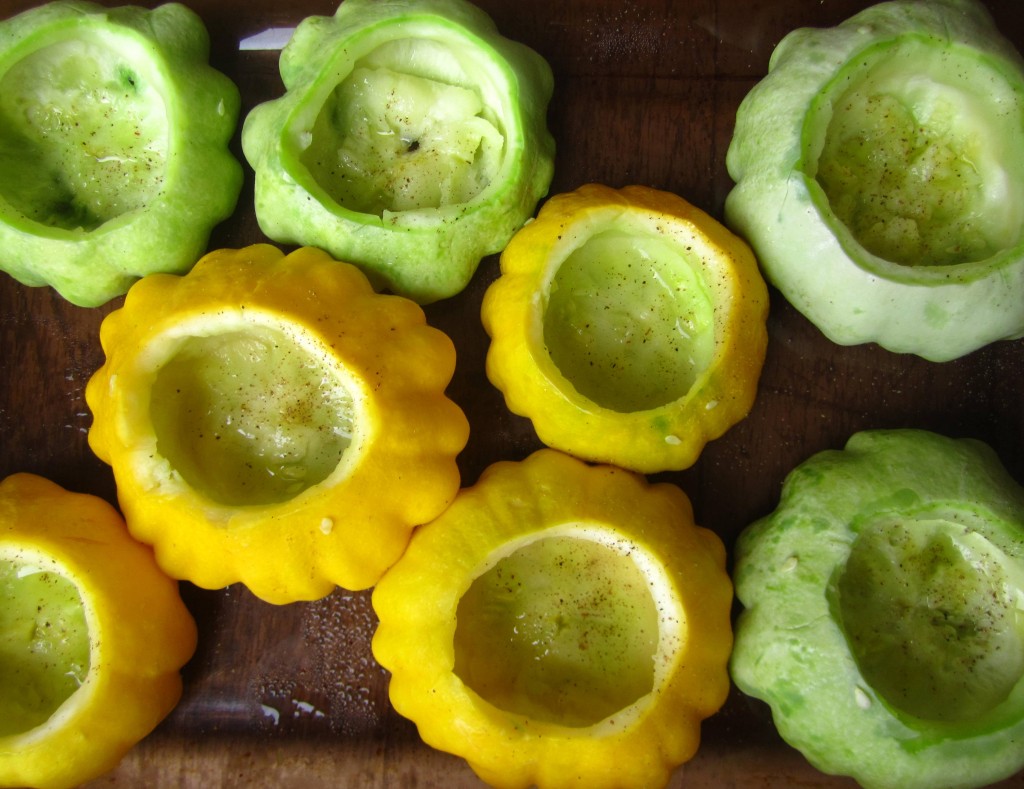
To cut, just imagine you are carving the top off a pumpkin. Insert your knife at an angle and remove the cap. Scoop out the insides with a spoon, being careful not to pierce the wall. (Though have no fear, I did, and things still turned out just fine). Put prepared pattypans in a baking dish. I oiled the inside of each and salt and peppered them.

Add a tablespoon or two of olive oil to a pan, heat up and saute 1/2 of a large sweet onion, diced, 4 cloves fresh garlic, diced, and cook until the onions begin to sweat. Add 1 asian eggplant, diced, and one chopped tomato. Cook for a few minutes then add 1 1/2 cups Swiss Chard, cut into thin strips. You can also add any fresh herbs you like- I used a few sprigs of basil and thyme. Salt and pepper to taste.

The great thing about making a stuffing for a squash, or even stuffed peppers, you can pretty much use whatever you have on hand. If you prefer to go the meat route, I think sausage or ground beef would work well also.

After sauteing the vegetables, stir in the quinoa, taste and adjust seasoning to your preference. Fill the squash to the brim with the quinoa mixture. To top it off, I combined a cup of bread crumbs with some melted butter and parmesan cheese. Then after oiling and seasoning the lids, I re-capped the cuties, added a bit of water to the bottom of the baking dish, and covered with foil. Bake at 375 for 35 minutes or so, until squash is soft, but not mushy. I removed the foil for the last 10 minuted to get a bit of browning.

Enjoy!

Photos and text by Tricia Borneman, Blooming Glen farmer and co-owner.

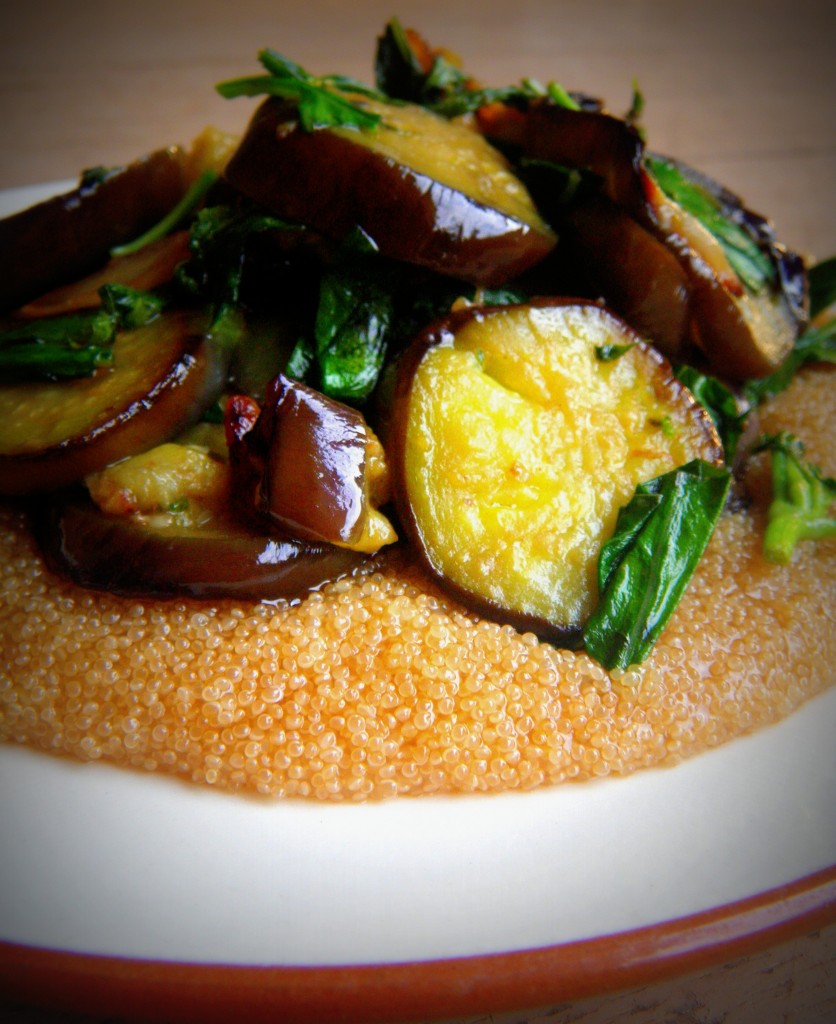
While the farm crew was wilting in last week’s hot weather, our heat-loving summer crops were having a hay day. You’ll notice one of them, eggplant, in this week’s share for the first time. The elongated Oriental variety can be used just like the classic Italian eggplant, and I actually prefer it because it is thinner skinned, more convenient to cut, and has fewer seeds. This recipe takes inspiration from the vegetable’s Asian heritage and from the giant basil patch open to the CSA this week.

Stir-Fried Eggplant and Basil

In a very hot skillet or wok, heat 1/4 cup coconut oil (or other light oil suitable for high-heat frying). When the oil is hot, throw in 5 cloves of thinly sliced garlic, 1 tablespoon minced fresh ginger, and 2 Asian eggplant, sliced into 1/4 inch coins. Sprinkle with a small pinch of salt. Stir eggplant so that oil is evenly distributed.

Continue to cook on medium-high heat, stirring occasionally, until eggplant melts down and garlic becomes golden and slightly crispy. Toss in 1 cup basil leaves, stripped from stems. Remove from heat.

Drizzle lightly with soy sauce and sesame oil. Serve over rice or other grain of choice (I chose amaranth, a great pseudo-grain that actually grows as a weed on the farm, but whose seeds are high in protein and have a porridge-like consistency).

Text and photography by Kate Darlington – Blooming Glen Farm second year intern, fresh food enthusiast, and budding food blogger. She also writes for the Digging Deep Campaign as well as for her personal blog, Growing Things.