Posted at 21:38h
in
Recipes
by bloomingglenfarm
As a farmer I consider myself food rich- my currency is not in dollars, but in the bounty and flavors of the season. As the stream of veggies flows by my front door from field to market, I can often get overwhelmed with the impermanence of it all. On those occasions the only thing that helps soothe my nagging thoughts is to put some of that food in jars. Seeing the freezer stocked and some preserves on the shelves brings a satisfaction like no other. I admit, my canning is limited to what I can do with a water bath canner, but that’s okay- there is so much in that realm, and every year I discover a new favorite. I hope to take a class and master the pressure canner someday, but for now I stick to jams, pickles and tomatoes, low in risk and high in satisfaction.
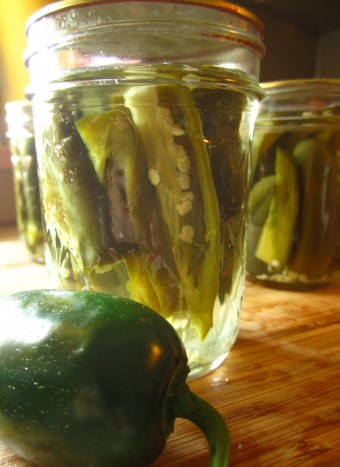 This week, for Farmer Tom, I decided to put up some pickled jalapenos, and for myself, some cantaloupe preserves. (We don’t grow tree fruit on our farm, but thanks to a gift of a box of peaches from our neighbors at Easton farmers market, Scholl Orchards, I also discovered the joy of homemade peach jam! I won’t go into that in this post, but I encourage you to make some- it was amazing! (I used the recipe in Put ’em Up, by Sherri Brooks Vinton.)
I have been canning on and off for the 12 years since we started farming. But I had a eureka moment after attending a class by blogger and cookbook author Marisa McClellan of Food in Jars fame. I had the mentality that canning needed to be an all day production involving crates of vegetables, cases of jars, a hot kitchen and my big black enamelware canning pot. Low and behold, Marisa talked about small batch canning, 3 pints or even better, 6 half pint jars of jam at a time. And, here comes the clincher: using your staple stock pot, not the big black canning pot that takes an hour to get the water to boil.
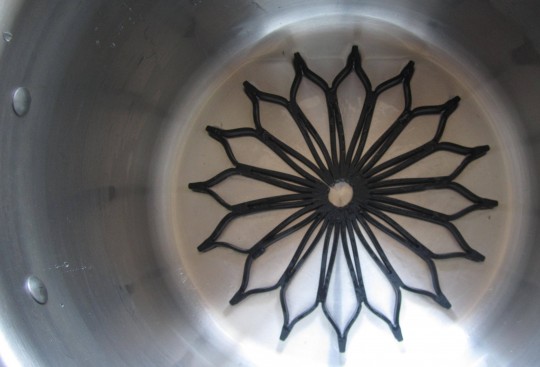
I ordered a cheap flexible flower-shaped trivet for sitting the jars on in the bottom of my pot and voila, my basic 12-quart stainless-steel stock pot was turned into a maneageable canning pot. As long as your jars can be covered by an inch or two of boiling water, you can use any size pot you’ve got.
Now don’t get me wrong, there is a place for the big canning pot: salsa, and canned whole tomatoes, and my grandmothers sweet and sour relish, those I like to spend part of a day on and do in big batches. But pickled okra, pickled garlic scapes, pickled jalapeno, bread and butter pickles, and fruit jams with various herbs- now those can be done in smaller amounts in an hour or so. Smaller batches takes some of the pressure off to produce larger quantities and puts the fun back into exploring new flavor combinations. From past experience I’ve learned that you may can a lot of something, but if it’s not a hit, it will sit for a year in your pantry collecting dust. So making smaller batches is a great way to find your family’s favorite preserves, and to focus your precious time on canning what you really can’t make it through winter without!
Pickled Jalapenos
*This basic recipe is from Food in Jars. It makes approx. 5 half pint jars.
Prepare a boiling water bath and boil your empty jars while preparing the other ingredients. Place the lids in a small saucepan and simmer over very low heat.
Combine 2 cups distilled white vinegar, 2 cups water and 2 tablespoons pickling salt in a pot over high heat and bring the brine to a boil.
Meanwhile prepare 1 pound jalapeno peppers (about 1 quart). Wearing rubber gloves (very important!!), slice the jalapenos in half lengthwise, but leave on the seeds and guts- this is where the heat is.
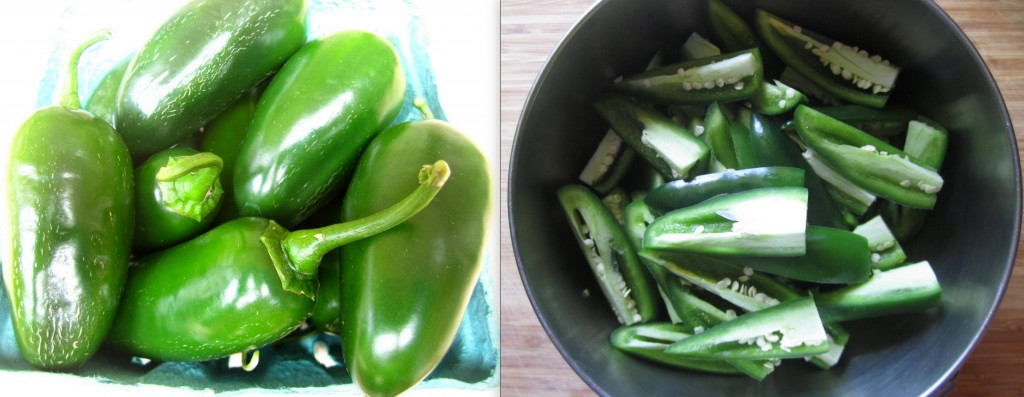
Pack the peppers tightly into the jars. Pour in the hot brine, leaving a 1/2 inch headspace. Gently tap the jars on a towel lined surface to release any air bubbles before using a wooden chopstick to dislodge any more bubbles. Check the headspace and add any more brine if necessary.
Wipe the rims, apply the lids and rings, and process in a boling water bath for 10 minutes.
Let these pickles cure for at least one week before eating. Tom loves these in burritos, on hot dogs or nachos, on scrambled eggs with tomatoes- anywhere you want a little extra heat.
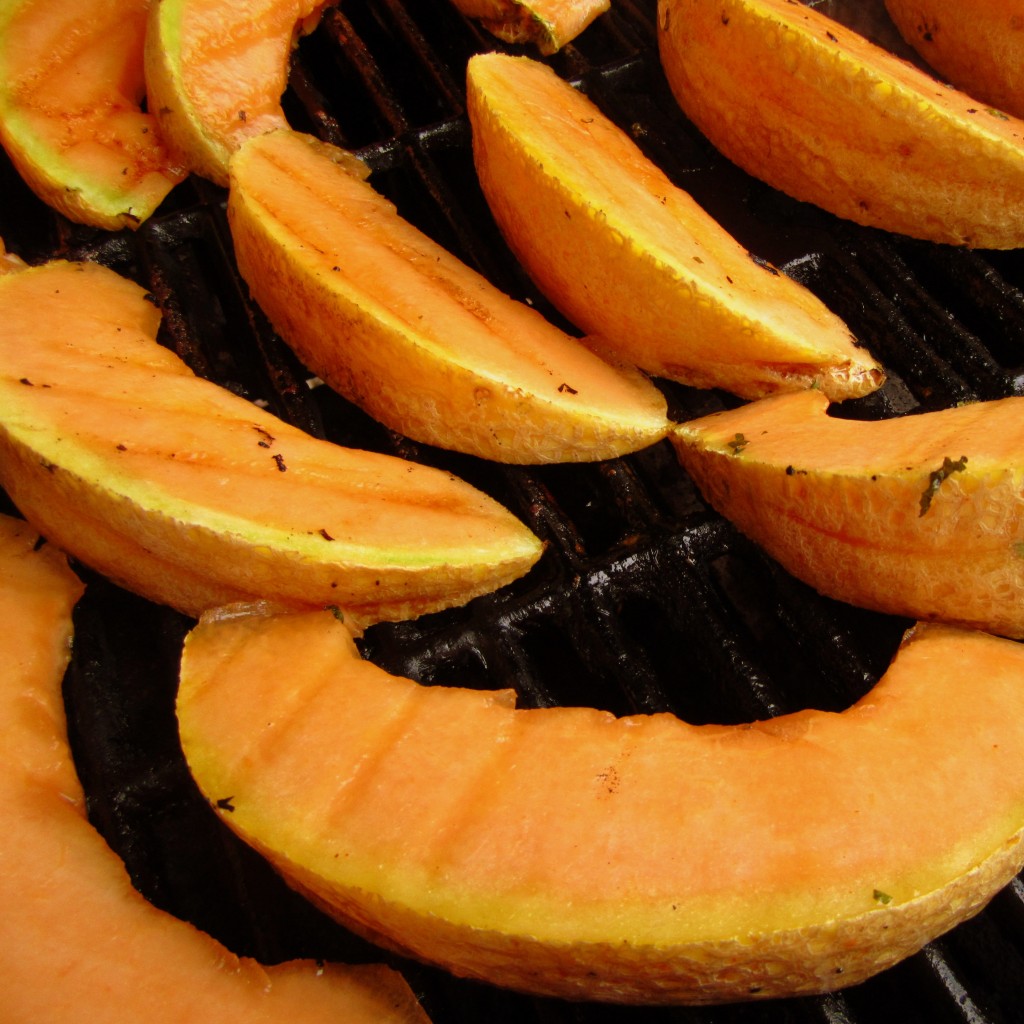
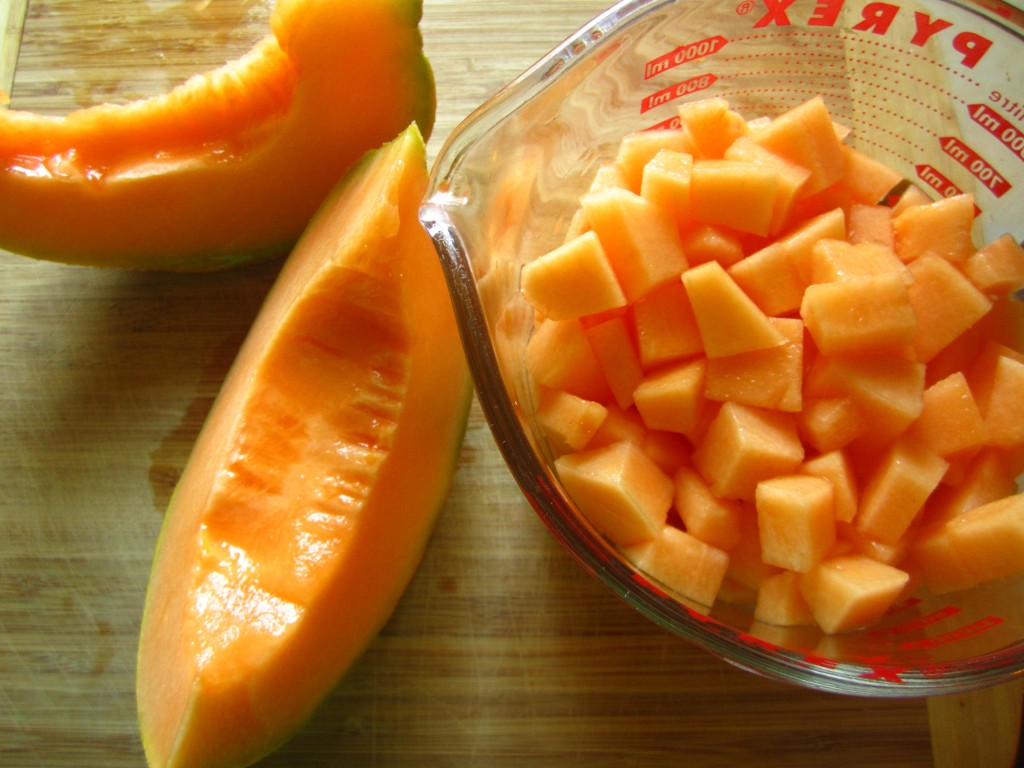
The cantaloupe we are growing at the farm is a new variety this season with a wonderful aromatic sweet flavor. They don’t have the best shelf life, however, so I rescued one that was a bit soft and headed for the compost heap. It made the best small batch of cantaloupe jam. And I figured since cantaloupes have been in the share for the past few weeks, you too might want something new to do with them. The cantaloupe I used was on the larger end, so I even had a few slices left to eat.
Cantaloupe Preserves
*This recipe is from Put ’em Up!
Cut one cantaloupe into 1-inch chunks; you should have about 4 cups. Combine the melon with 1/2 cup water in a large pot and bring to a boil. Stir together 1 cup sugar and 2 teaspoons Pomona’s Universal Pectin powder. Add the mixture to the boiling fruit and stir some more. When the mixture returns to a boil, stir in 2 teaspoons calcium water (included in the Pomona box, with instructions), 1/2 cup bottled lemon juice, and 1 teaspoon cinnamon. Remove from the heat and let rest for 5 minutes, stirring occasionally to enable air bubbles to settle out. Skim off any foam (and enjoy a taste!).
You can refrigerate for up to 3 weeks, or can it using the boiling-water method. Process for 10 minutes- it should fill about 4 half pint jars.
Photos and text by Tricia Borneman, Blooming Glen farmer and co-owner.
 Just as food effects our nutrition, it also effects our energy. A classic example of this is how we feel after eating a fast food meal of a burger and fries, versus how we feel after eating a home-cooked meal of, say, baked fish and steamed veggies. Processed foods, high in unhealthy fats and carbs and low in nutrients, not only overwork our bodies, but also provide very little value, leaving us feeling heavy and tired. They’re like the mooch of the food world — taking a lot of our bodies resources and giving nothing in return.


