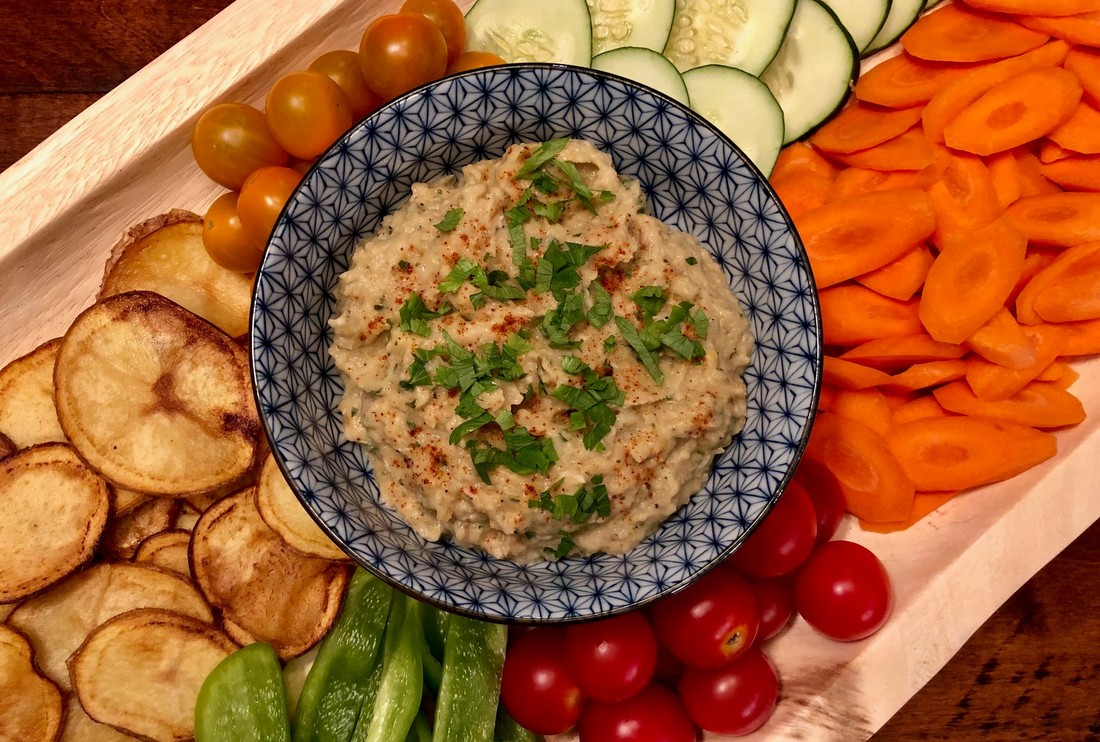
29 Jul Roasted Eggplant Dip
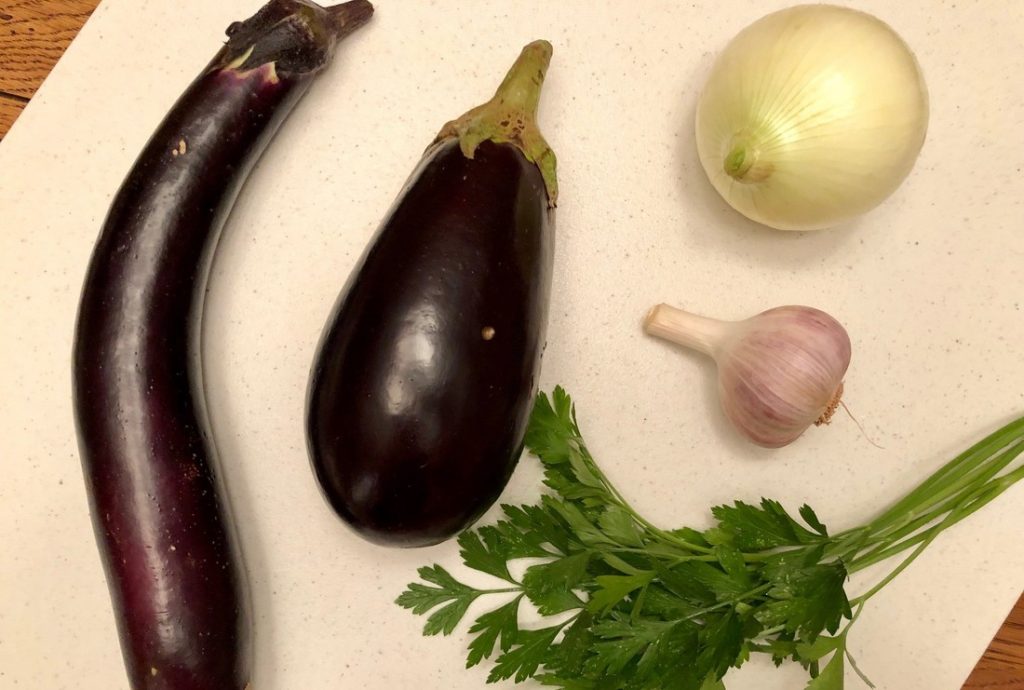
Eggplants have made their way into our CSA shares! Eggplant comes in many varieties and we received two in our shares this week- Italian and Asian. Either of these can be used in this recipe. Eggplant is full of amazing vitamins, minerals, and nutrients…including vitamin C, vitamin K, magnesium, fiber, and potassium. It’s a wonderful addition to any meal and is the star of this dish!
Ingredients
1-2 eggplant (you want about 1 cup of pulp after roasting)
1 sweet onion
4 large garlic cloves
1 Tbsp fresh parsley
¼ tsp paprika
Sea salt
Black pepper
Avocado or olive oil
- Preheat oven to 375°
- Slice eggplant in half lengthwise. Peel outside of onion off (if there is a dry skin) and cut into fourths. Peel garlic cloves. Place eggplant, onion, and garlic on baking sheet.
- Brush vegetables with either avocado or olive oil. Sprinkle with sea salt and black pepper.
- Roast vegetables for 25 minutes or until fork tender.
- Let eggplant cool for a few minutes. Peel away the skin from the pulp.
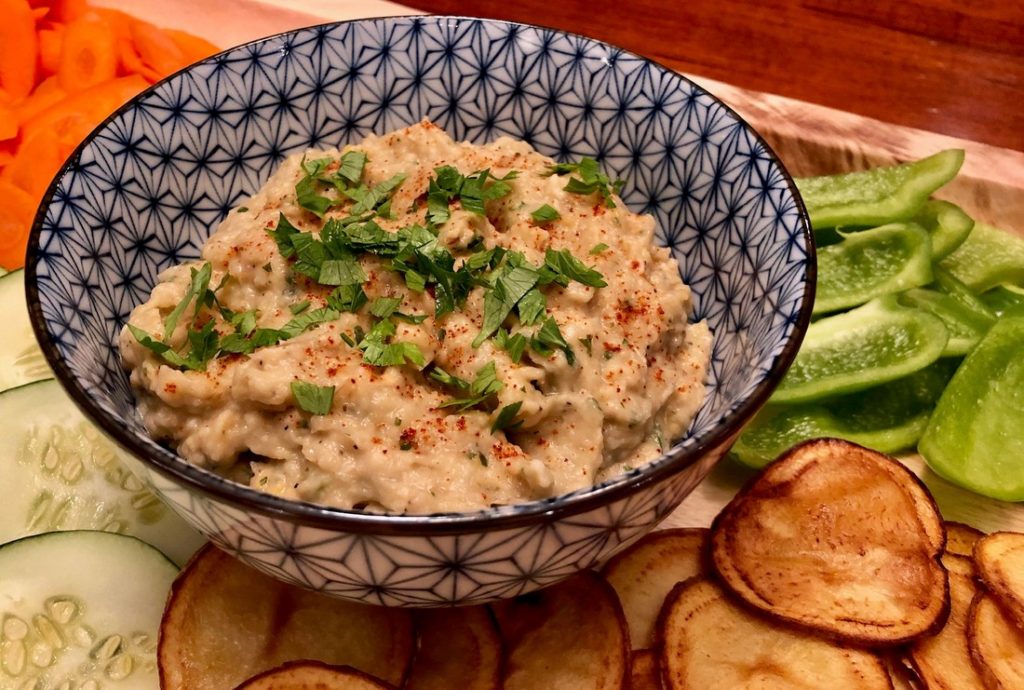
- Place roasted eggplant pulp, onion, and garlic cloves in food processor. Add in fresh parsley and paprika. Process to combine. I like to keep it a little bit chunky, but you can certainly process it to create a smoother texture.
- Season the dip with sea salt and black pepper to taste.
- Place dip in small bowl. Garnish with paprika and fresh parsley.
- Serve the dip with fresh vegetables, crackers, or fresh bread. You can even use it as a spread on a wrap or sandwich.
- Enjoy!
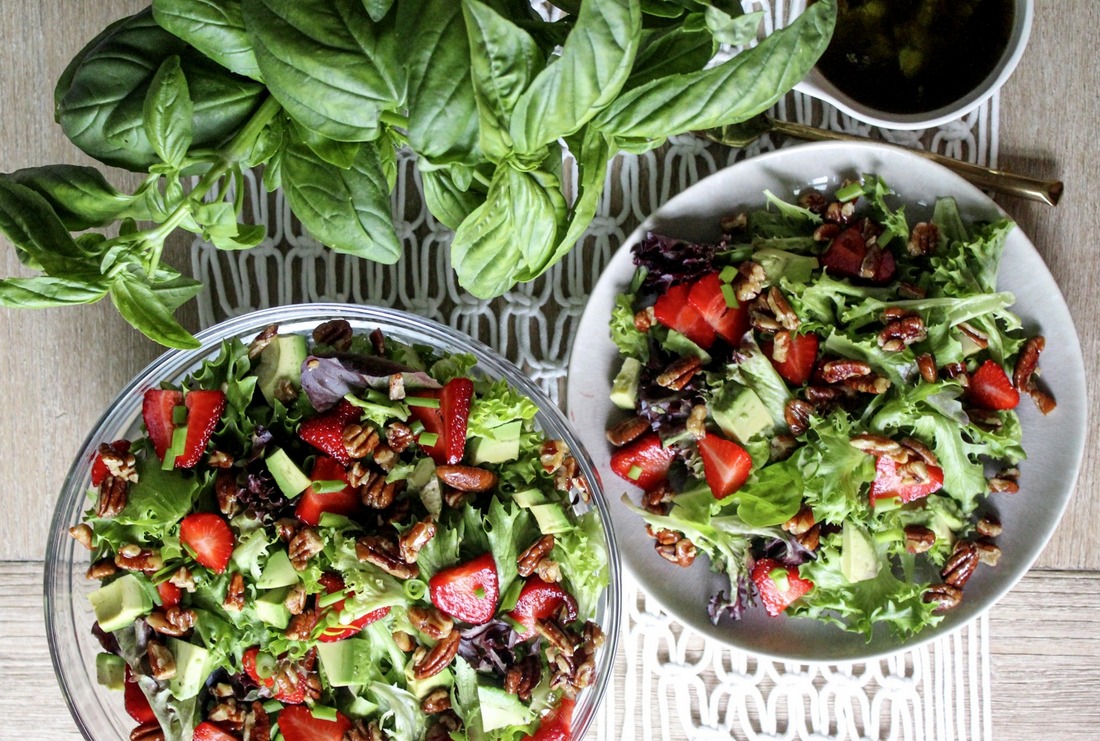
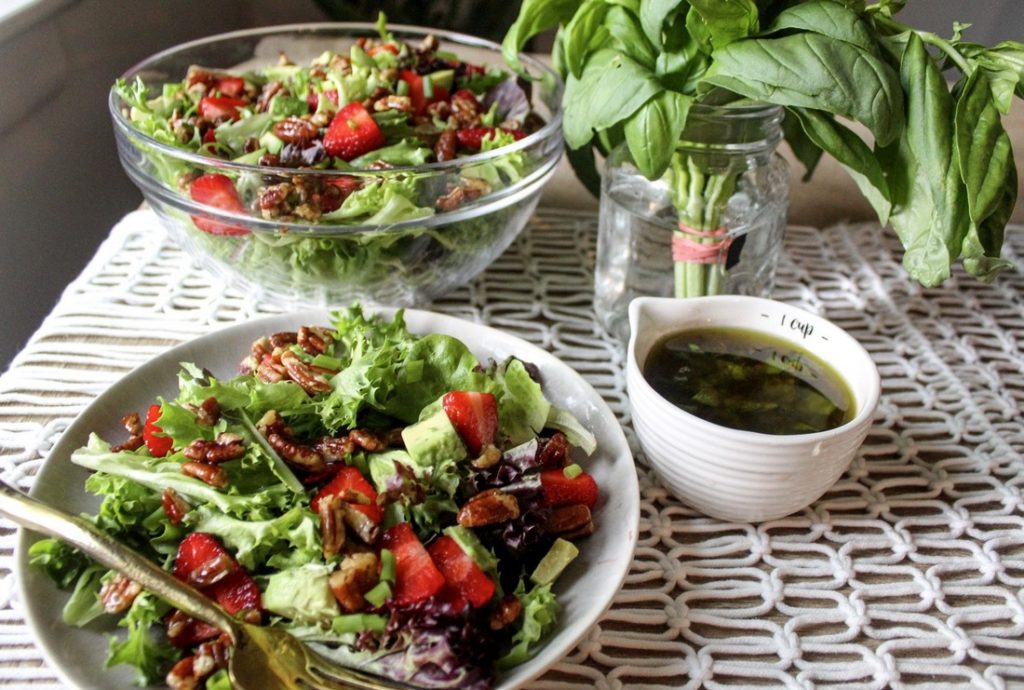
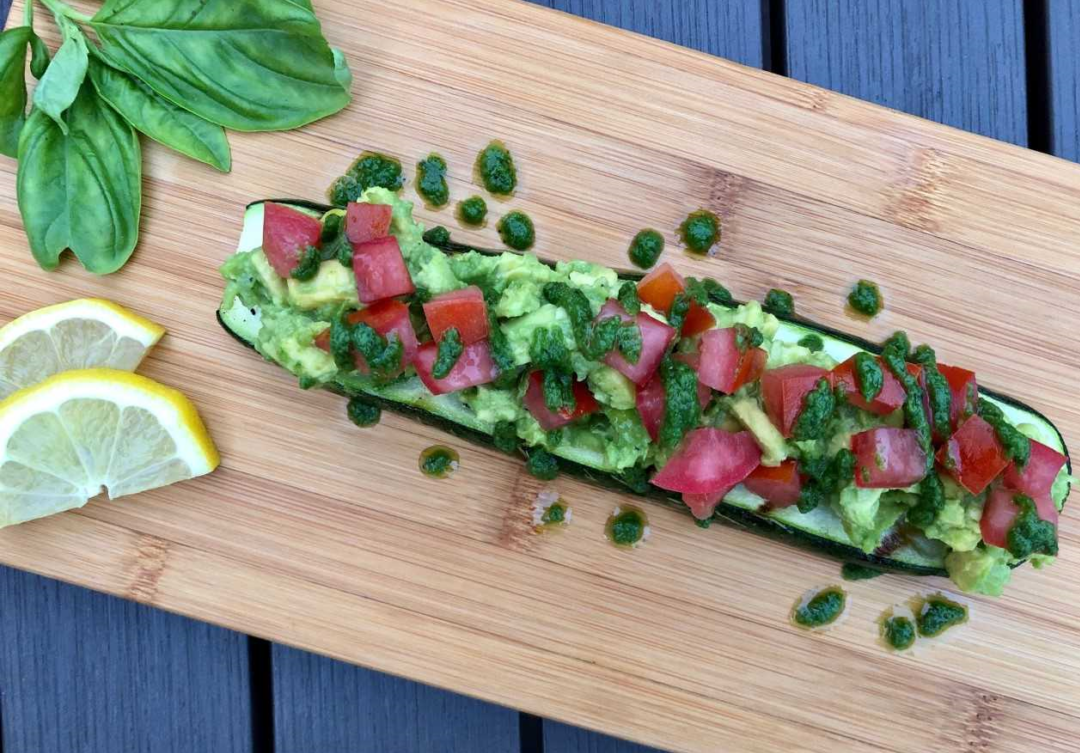
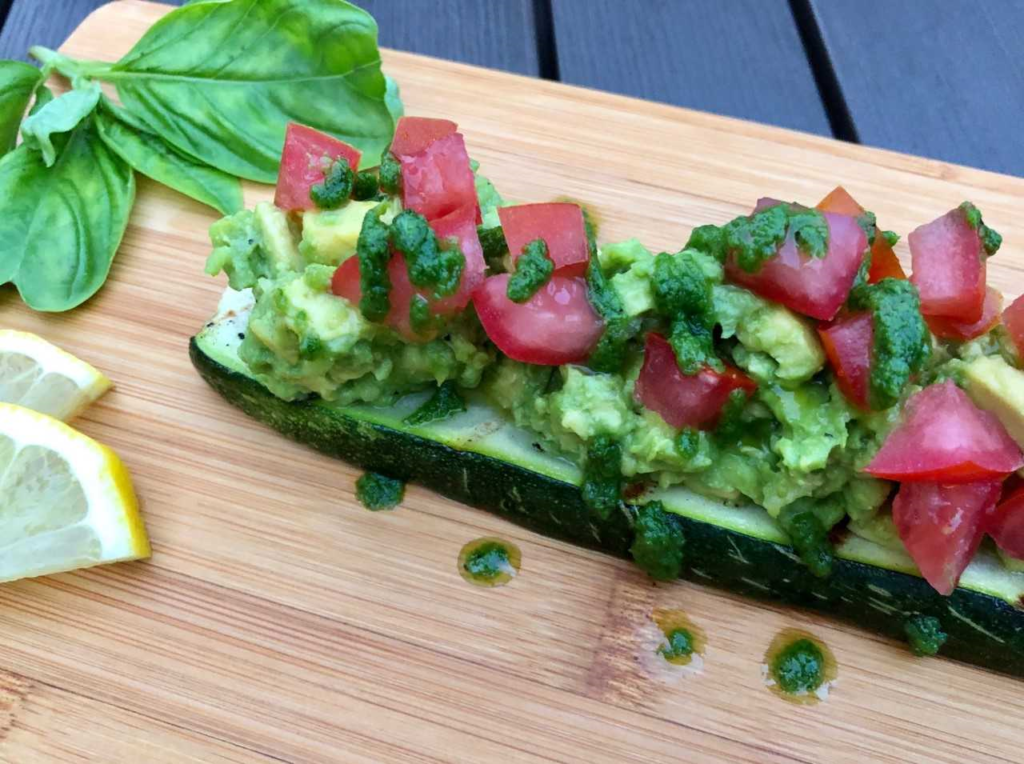
Recipe and photos by Stephanie Borzio. Stephanie is a mom of three active boys and is an autoimmune warrior. After battling her own health for several years, Stephanie found healing through food and lifestyle changes, including joining Blooming Glen Farm CSA of which she is a long time member. She is a Board Certified Integrative Nutrition Health Coach who is passionate about sharing healthy living tips and real food recipes. Instagram and Facebook: Tru You Essentials, Website: www.truyouessentials.com
 Green Garlic Spread: